Best Filament for Lithophane 3D Printing: Complete Material Guide
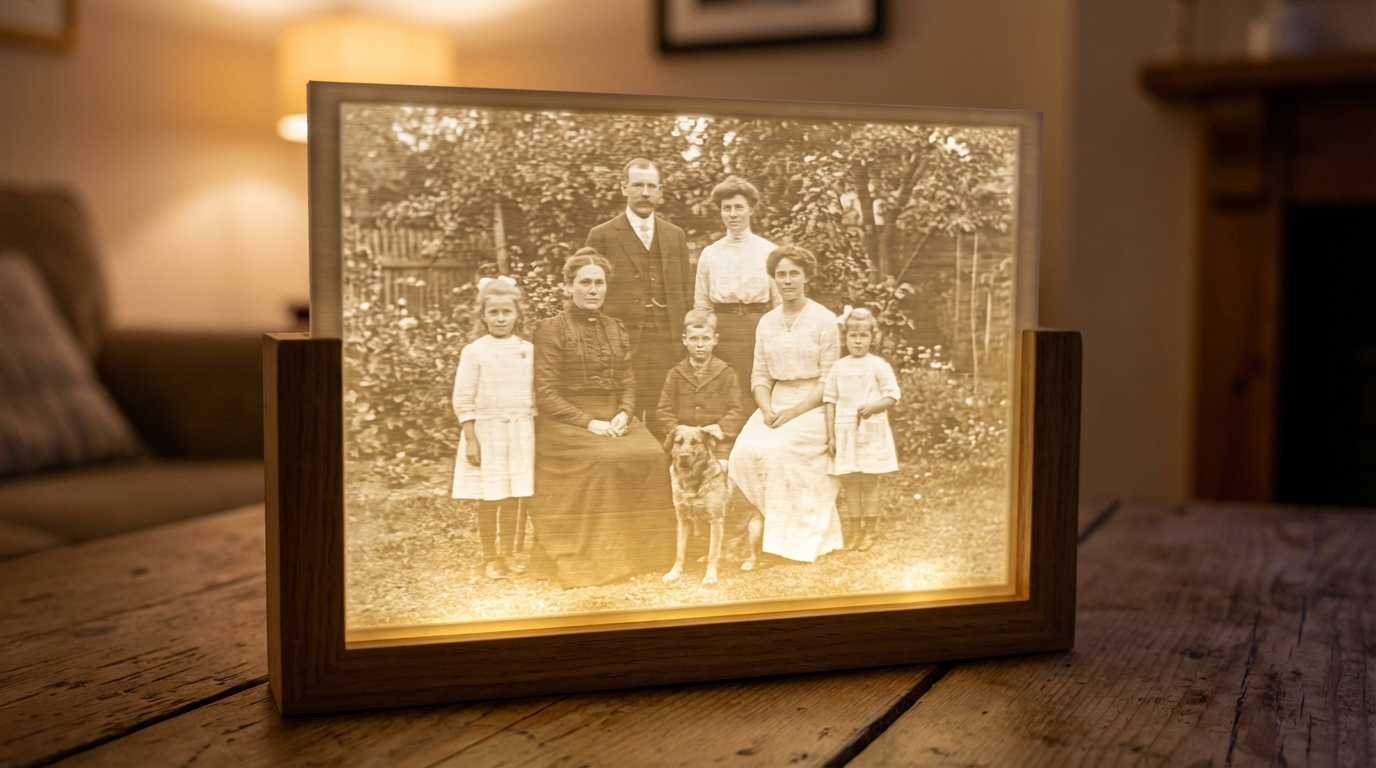
Lithophanes are one of the most magical things you can create with a 3D printer. These thin panels turn any photograph into a three-dimensional relief that reveals stunning detail when lit from behind. The trick is that thicker areas block more light (appearing darker) while thinner areas let light through (appearing brighter). The result is a backlit image with incredible depth — and choosing the right filament is the difference between a showstopper and a milky mess.
Why Filament Choice Matters for Lithophanes
Unlike regular 3D prints where strength, flexibility, or heat resistance might be your priority, lithophanes have one critical requirement: the filament must transmit light predictably. Each layer needs to block or pass light in proportion to its thickness. This means you need a material that’s semi-translucent when thin, opaque when thick, and prints with consistent layer adhesion so there are no gaps or delamination that scatter light randomly.
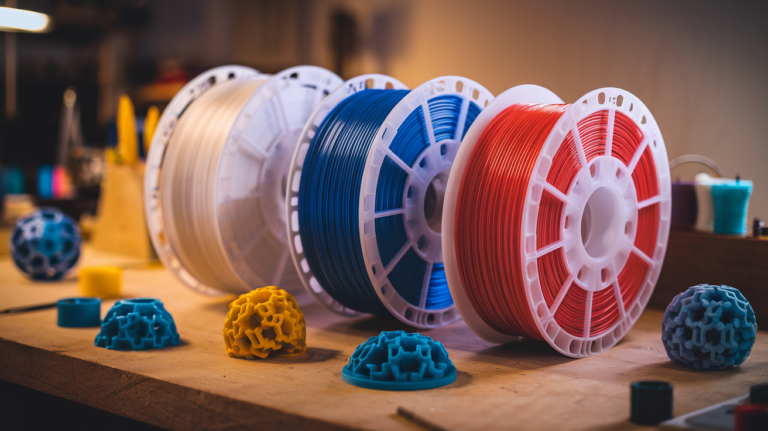
Color matters enormously too. White and natural (uncolored) filaments work best because they transmit light evenly without color shifts. Colored filaments tint the image and reduce contrast. Black is obviously out — it blocks all light regardless of thickness.
Best Filaments for Lithophane Printing
1. White PLA — The Gold Standard
Plain white PLA is hands-down the best filament for lithophanes. Here’s why:
- Excellent light transmission — white PLA goes from opaque at 3mm to beautifully translucent at 0.4mm
- Consistent layer adhesion — no gaps between layers means no light leaks that ruin the image
- Easy to print — low warping, no enclosure needed, prints at 190-210°C
- Smooth surface finish — good layer bonding creates a uniform surface that doesn’t scatter light
- Cheap and available — every filament brand makes white PLA
Not all white PLAs are equal though. Some brands use titanium dioxide pigment more heavily, which makes the filament more opaque and reduces light transmission. You want a white that leans slightly toward translucent. Brands like Hatchbox, eSun, and Polymaker white PLA work excellently for lithophanes.
2. Natural / Translucent PLA
Unpigmented PLA (often labeled “natural” or “translucent”) transmits more light than white, which can create brighter lithophanes but with lower contrast. The lighter areas become very transparent while darker areas don’t block light as effectively. It works, but white generally produces better contrast and more photographic results.
3. White PETG
PETG can work for lithophanes but has some drawbacks. It’s slightly more translucent than PLA, which reduces contrast. PETG also tends to string more, and those tiny strings can scatter light and create visual artifacts. If you need a lithophane that will be near a heat source (like a lamp), PETG’s higher heat resistance makes it a reasonable choice. Use the same settings as for regular PETG but slow down to 30mm/s for better detail.
4. Lithophane-Specific Filaments
Some manufacturers (like Sunlu and eSun) have released filaments specifically formulated for lithophanes. These typically use a carefully balanced opacity that maximizes the contrast between thin and thick sections. If you can find them and don’t mind paying a small premium, they’re worth trying — but standard white PLA gets you 90% of the way there.
Filaments to Avoid
- Any dark color — blocks too much light
- Silk PLA — the metallic particles scatter light unpredictably and reduce image clarity
- Matte PLA — the matte finish diffuses light and softens detail
- Wood/marble fill — particles create noise in the image
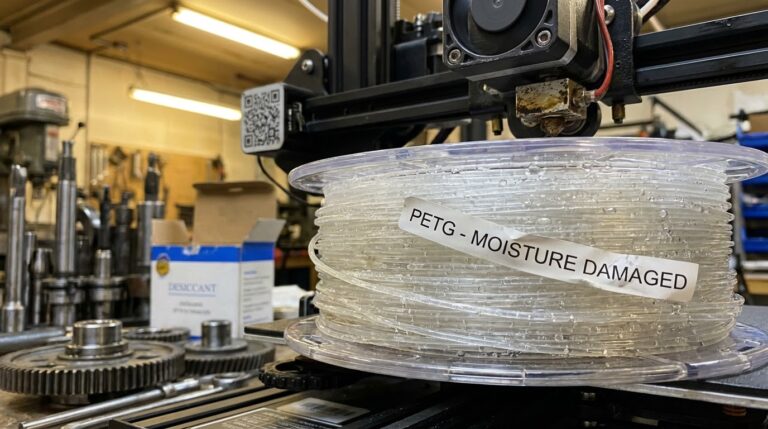
- ABS — inconsistent layer adhesion creates light leaks; warping distorts the thin panel
- TPU — too flexible, the thin panel won’t hold its shape
Optimal Print Settings for Lithophanes
The filament is only half the equation. Print settings make or break a lithophane:
Layer Height: 0.12-0.16mm
Thinner layers mean more tonal gradations. Each layer represents a step in brightness, so more layers = smoother transitions. 0.12mm is the sweet spot for detail vs. print time. Don’t go below 0.08mm — the improvement is marginal and print times triple.
Speed: 25-35mm/s
Slow is key. Lithophanes need perfect layer adhesion with zero gaps. Fast printing introduces vibration (ghosting in the image) and potential under-extrusion on fine details. 30mm/s is a good default.
Temperature: 200-215°C
Print slightly hotter than usual for your PLA. Higher temperature improves layer bonding and reduces the chance of light leaking between layers. Don’t go so hot that you get stringing though — 210°C is usually perfect for lithophane PLA.
Infill: 100%
Always. No exceptions. Any infill pattern or gap creates visible artifacts when lit. Set infill to 100% and use a rectilinear or line pattern.
Walls: 999 (Effectively Infinite)
You want the entire lithophane to be solid walls. Set your wall/perimeter count to maximum so the slicer treats everything as walls rather than infill. Walls print more consistently than infill patterns.
Orientation: Vertical
This is counterintuitive, but print lithophanes standing up vertically — not flat on the bed. When flat, each layer represents a horizontal line of the image and any slight variation in layer adhesion creates visible banding. When vertical, each layer contains parts of many different tonal regions, so inconsistencies are spread across the image and become invisible.
Yes, vertical printing requires supports or a frame, and it’s slower. But the quality improvement is dramatic. Use a brim for stability and print with the long edge vertical.
Preparing Your Image
The lithophane is only as good as the source image. A few tips:
- High contrast images work best — portraits, landscapes with distinct light and shadow, architectural details
- Convert to grayscale first — this is how you’ll see it anyway, and it lets you adjust contrast before printing
- Increase contrast and sharpness — lithophanes naturally soften detail, so start with a punchier image
- Avoid images with large uniform areas — gradients print beautifully, but flat areas show every imperfection
- Use a lithophane generator — ItsLitho.com, 3DP Rocks, or the built-in tool in Cura can convert images to STL files
Size and Thickness
Standard lithophane dimensions that work well:
- Minimum thickness — 0.4-0.6mm (lightest areas)
- Maximum thickness — 3.0-3.2mm (darkest areas)
- Overall size — 100-150mm wide is the sweet spot for detail and print time
- Positive vs negative — use “positive” mode where thickness increases with darkness
Lighting Your Lithophane
A lithophane without backlighting is just a bumpy white rectangle. Your light source matters:
- LED strip behind a frame — even, diffuse lighting that works great for flat panels
- LED tea light inside a cylinder — for curved lithophane lamps
- Window light — free and beautiful, but changes throughout the day
- Daylight-balanced LED (5000-6500K) — preserves the neutral white tone. Warm LEDs add a yellowish tint.
The distance between the light and the lithophane also matters. Too close and you get hot spots; too far and the image is dim. 20-40mm of space with a diffused LED source works well for most panel sizes.
Troubleshooting Common Lithophane Issues
- Image appears washed out — filament is too translucent or maximum thickness is too thin. Increase max thickness to 3.2mm or switch to a more opaque white PLA.
- Visible horizontal lines — you’re printing flat instead of vertical. Rotate the print 90°.
- Dark spots or blotches — inconsistent extrusion or gaps between layers. Increase temperature by 5°C and slow down.
- Lithophane warps or curls — bed adhesion issue or draft. Use a brim and eliminate air currents near the printer.
- Low detail/blurry — image resolution too low or layer height too coarse. Use at least 0.12mm layers and a high-res source image.
Final Thoughts
Lithophanes are a perfect blend of technology and art. A spool of white PLA, the right settings, and a good photograph is all you need to create a personalized gift that impresses everyone who sees it. Start with a simple flat panel, nail your settings, then experiment with curved lamps, night light bases, and even lithophane globes. Just remember: white PLA, vertical orientation, slow speed, 100% infill. Everything else is refinement.