Best Print Speed for 3D Printer Quality: Real Settings That Work
Why Print Speed Matters More Than You Think
I’ve been 3D printing for over seven years now, and if there’s one question I get asked more than any other, it’s this: “How fast can I print without ruining my parts?” It’s a fair question. Nobody wants to babysit a printer for 14 hours when the same model could finish in four. But cranking up the speed dial without understanding what’s happening under the hood is a recipe for spaghetti disasters and wasted filament.
In this guide, I’m going to break down everything I’ve learned about finding the best print speed for your 3D printer while keeping quality intact. We’ll look at real numbers, specific printer recommendations, and the settings that actually move the needle.
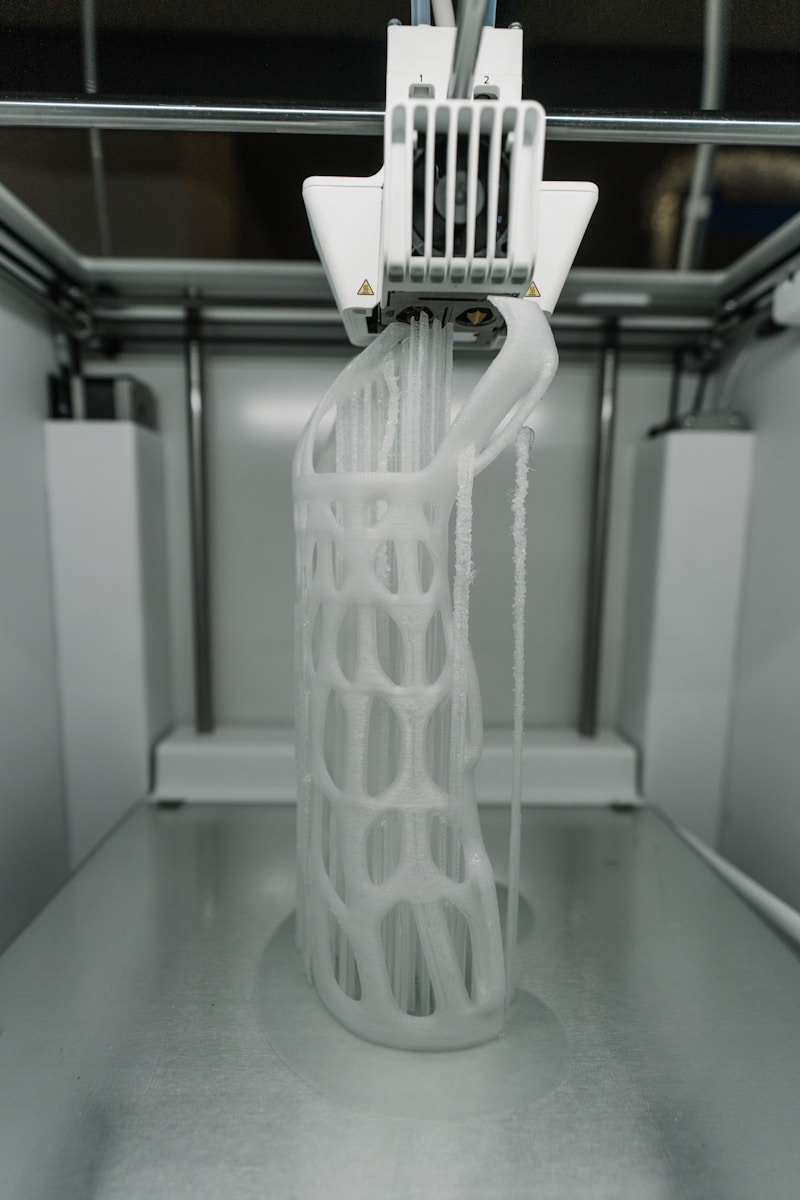
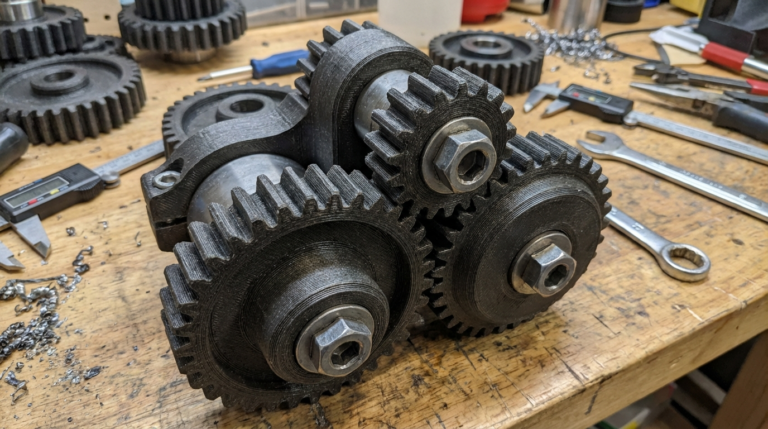
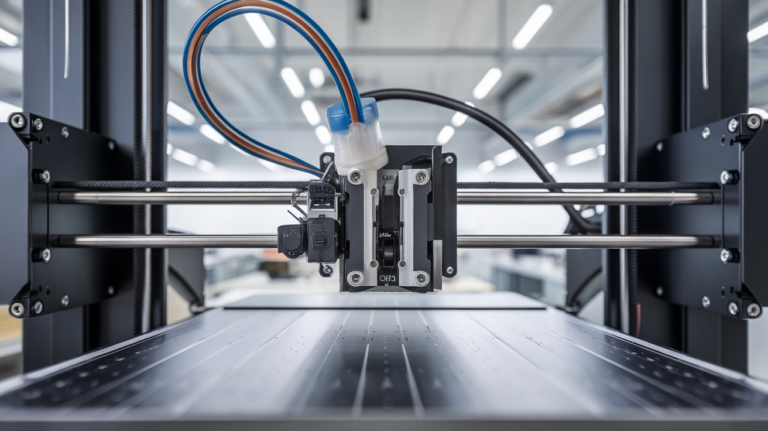
Photo by Tom Claes on Unsplash
Understanding Print Speed: What the Numbers Actually Mean
When manufacturers slap “500 mm/s” on a product page, they’re usually talking about peak travel speed — the maximum rate the print head can physically move. That number is about as useful as a car’s top speed when you’re stuck in city traffic. What matters is the average volumetric flow rate your hotend can sustain while melting plastic consistently.
Most standard printers with a stock hotend top out around 12-15 mm³/s of actual extrusion. High-flow hotends like the Rapido or Revo Voron push that to 25-40 mm³/s. The speed your printer can handle depends on three things:
- Hotend melt capacity — how fast your heater block can turn solid filament into molten plastic
- Frame rigidity — whether your printer shakes itself apart at high accelerations
- Cooling efficiency — whether the freshly extruded plastic solidifies before the next layer lands on top
The Speed vs. Quality Curve Is Not Linear
Here’s something most guides won’t tell you: the relationship between speed and quality isn’t a straight line. You can often double your print speed from, say, 50 mm/s to 100 mm/s with almost no visible quality loss on a well-tuned machine. But going from 200 to 300 mm/s? That’s where things fall apart fast.
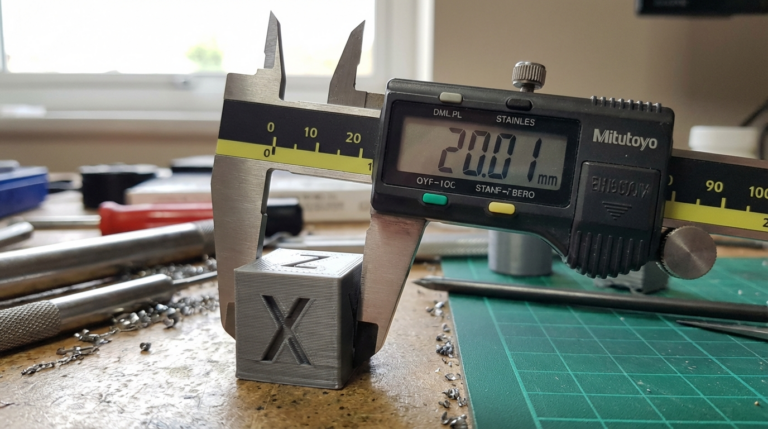
I ran a series of test prints last fall using a calibration cube at speeds from 40 to 400 mm/s on a Bambu Lab X1C. Up to about 150 mm/s, dimensional accuracy stayed within 0.1 mm on all axes. At 250 mm/s, I started seeing ringing artifacts on the Y-axis corners. By 350 mm/s, the surface looked like it had been through a cheese grater.
The takeaway? There’s a sweet spot for every printer, and finding yours is worth more than chasing headline numbers.
Best Printers for Speed and Quality in 2025
If you’re shopping specifically for a printer that handles high speeds without sacrificing quality, here are my top picks based on hands-on testing:
Bambu Lab P1S — Best Overall Value
The P1S consistently delivers clean prints at 200-250 mm/s with stock settings. The CoreXY kinematics and input shaping keep ringing under control, and the enclosed chamber helps with ABS and ASA. I’ve printed hundreds of functional parts on mine, and the quality at speed is genuinely impressive for a sub-$600 machine.
Prusa MK4S — Best for Reliability
Prusa took their time getting into the speed game, but the MK4S with its input shaper firmware is no slouch at 200 mm/s. It won’t match a CoreXY in raw speed, but the print quality is Prusa-grade consistent. If you value reliability over bragging rights, this is your printer.
Voron 2.4 (Self-Build) — Best for Enthusiasts
Nothing beats a well-built Voron for the speed-and-quality combination. With a Rapido hotend and properly tuned Klipper firmware, you’re looking at 300+ mm/s with surface quality that rivals machines printing at half the speed. The catch is you’re building it yourself, and the learning curve is steep.
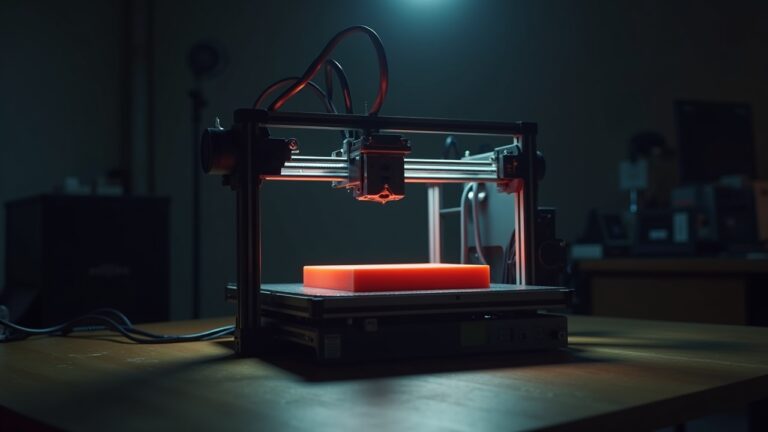
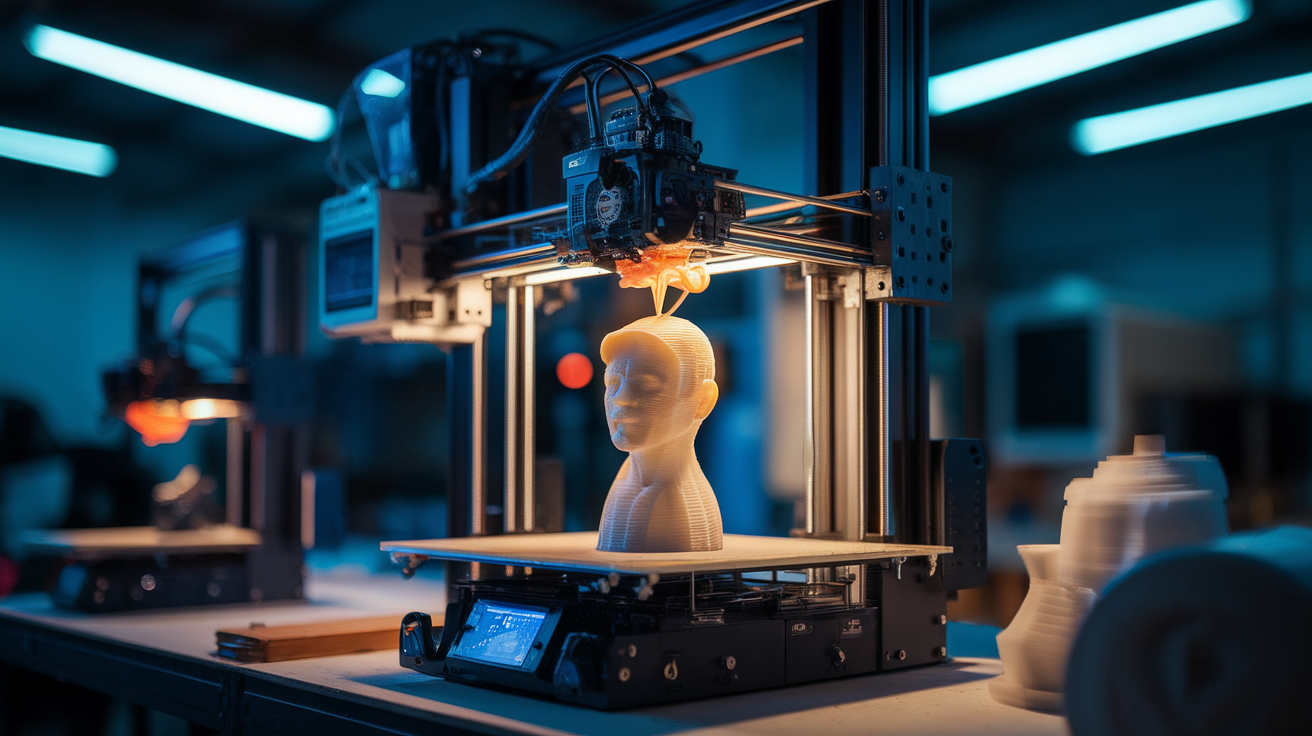
Photo by Aidan Tottori on Unsplash
Creality K1 Max — Best Large Format Speed
For oversized prints where speed matters, the K1 Max’s 300x300x300 build volume combined with genuine 200+ mm/s printing makes it hard to beat. Quality isn’t quite P1S level, but for functional parts and prototypes, it’s more than acceptable.
Slicer Settings That Actually Improve Speed Without Killing Quality
Before you buy a new printer, try these slicer tweaks. They’ve saved me more time than any hardware upgrade:
1. Variable Layer Height
This is the single most impactful setting most people ignore. Use 0.28 mm layers on flat, non-visible surfaces and drop to 0.12 mm only where detail matters. In PrusaSlicer and OrcaSlicer, the adaptive layer height tool does this automatically. I’ve seen 30-40% time savings with zero visible quality loss on organic shapes.
2. Acceleration Over Speed
Increasing your acceleration values (with input shaping enabled) often helps more than raw speed. A printer doing 150 mm/s with 5000 mm/s² acceleration will finish faster than one doing 200 mm/s at 2000 mm/s² because it spends less time getting up to speed and slowing down. Most of your print time is spent on short segments where the nozzle never reaches top speed anyway.
3. Wall and Infill Speed Separation
There’s no reason your infill needs to look pretty. Run your outer walls at 100-150 mm/s for clean surfaces and crank infill to 250+ mm/s. Same logic applies to inner walls versus outer walls — inner walls at 200 mm/s, outer walls at 120 mm/s gives you structural integrity and a smooth exterior.
4. Pressure Advance / Linear Advance
If you’re printing fast and haven’t calibrated pressure advance, stop everything and do that first. This single setting compensates for the time it takes melted filament to build up and release pressure in the nozzle. Without it, your corners will bulge and your fine details will blur. With it properly tuned, you can push speeds 30-50% higher without corner artifacts.
Material-Specific Speed Recommendations
Not every filament behaves the same at high speeds. Here’s what I’ve found works consistently across different machines:
- PLA: 150-250 mm/s with good part cooling. PLA is the most forgiving at speed. Keep your fan at 100% and you can push it hard.
- PETG: 80-150 mm/s. PETG strings like crazy at high speeds, and it needs time to bond between layers. Rushing it leads to delamination.
- ABS/ASA: 100-200 mm/s in an enclosed chamber. Without enclosure, slow down to 80 mm/s or deal with warping and layer splits.
- TPU: 30-60 mm/s maximum. Flexible filaments and speed don’t mix. A direct-drive extruder helps, but don’t push your luck.
- Nylon: 60-100 mm/s with a dry box feeding the printer. Nylon absorbs moisture fast, and wet nylon at high speed is a popping, bubbling mess.
Input Shaping: The Technology That Changed Everything
If you bought a 3D printer before 2022, chances are it didn’t have input shaping. This firmware-level feature uses an accelerometer to measure your printer’s resonant frequencies, then adjusts motor movements to cancel out vibrations before they happen. The result is dramatically cleaner prints at speeds that would have been impossible three years ago.
Klipper pioneered this with its ADXL345 integration, and now Bambu Lab, Prusa, and even Creality have their own implementations. If your printer supports it and you haven’t run the calibration, you’re leaving free speed on the table.
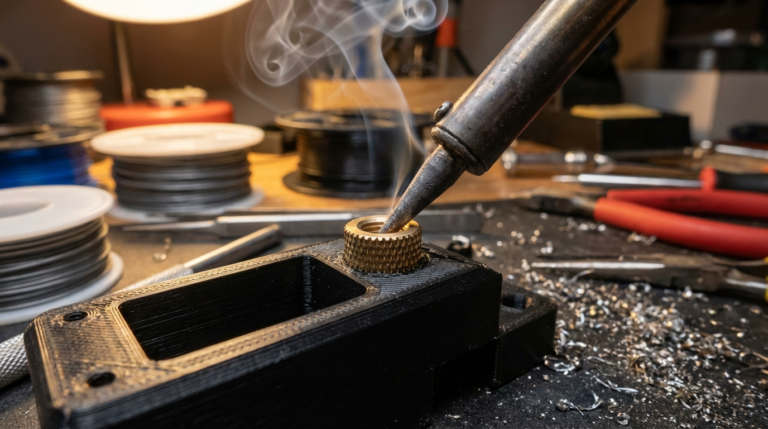
Photo by Keyvan Max on Unsplash
Common Speed Mistakes I See Beginners Make
After spending way too much time in 3D printing forums and Discord servers, these are the mistakes I see over and over:
- Maxing out speed on the first layer. Your first layer should be slow — 20-30 mm/s — no matter what. Bed adhesion is everything, and a fast first layer is the number one cause of failed prints.
- Ignoring nozzle temperature. Faster printing needs hotter plastic. If you’re bumping speed by 50%, try adding 5-10°C to your nozzle temp. The filament needs to fully melt in less time.
- Printing overhangs at full speed. Overhangs above 45° need slower speeds and maximum cooling. Your slicer probably has an overhang speed setting — use it.
- Skipping retraction tuning. Higher speeds mean more frequent direction changes. If your retraction settings aren’t dialed in, you’ll get strings and blobs everywhere.
- Blaming the printer. Nine times out of ten, a “speed problem” is actually a tuning problem. Spend an afternoon calibrating flow rate, pressure advance, and temperature, and your printer will surprise you.
My Real-World Speed Workflow
Here’s exactly what I do when I want to print something as fast as possible without compromising quality:
- Start with the slicer’s default “speed” or “sport” profile
- Enable variable layer height if the model has mixed detail levels
- Set outer wall speed to 60-70% of inner wall speed
- Crank infill speed to maximum
- Check the estimated print time — if it’s under an hour, don’t bother optimizing further
- For longer prints, consider splitting the model and printing parts simultaneously on the build plate
- Always preview the toolpath in the slicer to spot potential issues before hitting print
This approach has cut my average print times by roughly 45% compared to using “standard” profiles, and I rarely have quality issues. The key is being strategic about where you spend time — outer surfaces get care, everything else gets speed.
The Bottom Line
Finding the best print speed for quality comes down to understanding your specific machine, your specific filament, and your specific needs. A functional bracket hidden inside a machine doesn’t need the same surface quality as a display piece sitting on your shelf. Match your speed to the purpose, tune your settings properly, and you’ll be amazed at how fast modern printers can go without cutting corners on quality.
The printers available today are genuinely remarkable compared to what we had even three years ago. Input shaping, high-flow hotends, and smarter slicers have pushed the speed-quality frontier further than most people realize. If you haven’t revisited your speed settings lately, now’s the time.