Cura Retraction Settings for Ender 3 V2: Complete Guide
Why Retraction Settings Matter on the Ender 3 V2
Retraction is the single most important setting for eliminating stringing and oozing on any FDM printer. When your printhead travels between two points without extruding, the filament in the melt zone remains molten and tends to ooze out — gravity and residual pressure push it through the nozzle, leaving thin strings or blobs on your print.
I’m Mike Reynolds, and I’ve owned three different Ender 3 V2 units over the years. The Ender 3 V2 uses a Bowden tube extruder, which means the extruder motor sits on the frame and pushes filament through a PTFE tube to the hotend. This setup introduces more slack and delay in retraction compared to direct drive systems, so getting your retraction settings right is especially critical.
The good news is that once you dial in these settings, the Ender 3 V2 produces remarkably clean prints. The Bowden system is well-understood at this point, and the optimal settings fall within a fairly narrow range that works for most people.
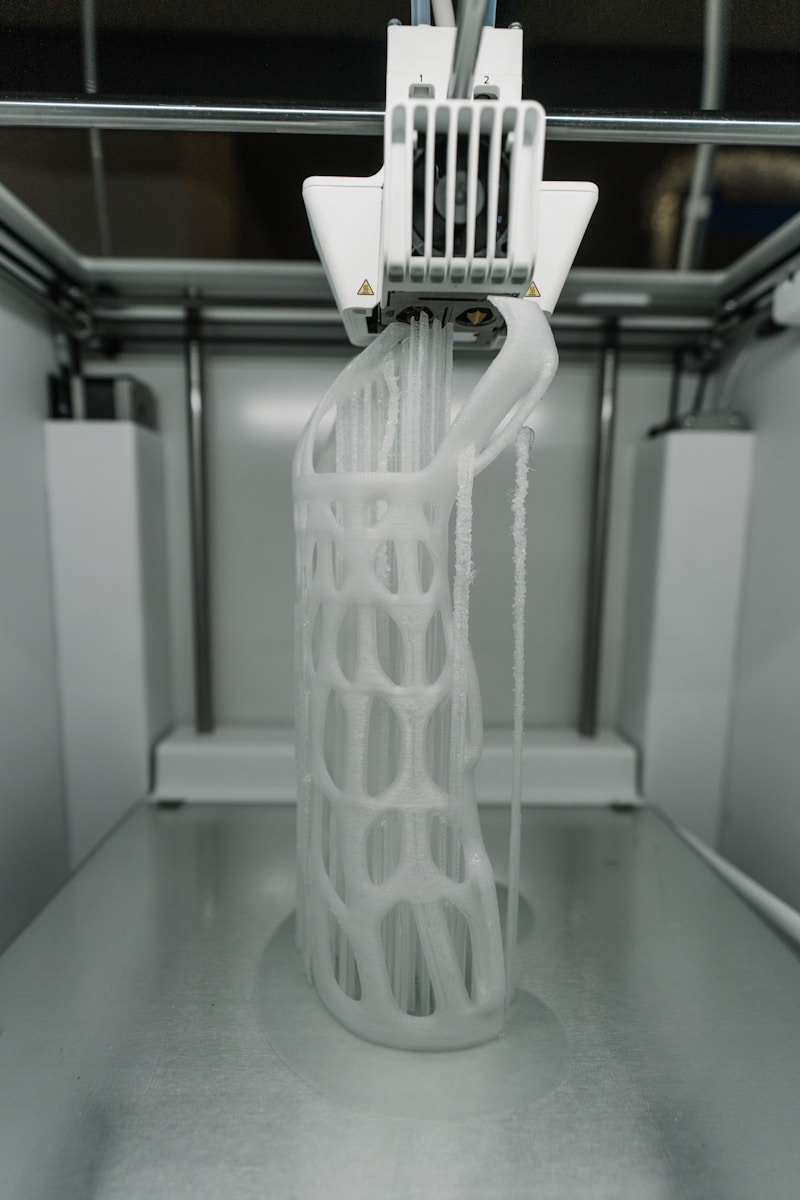
Photo by Tom Claes on Unsplash
Optimal Retraction Distance for the Ender 3 V2
Retraction distance is how far the extruder motor pulls the filament back. On the Ender 3 V2’s Bowden setup, you need more retraction distance than a direct drive printer because the PTFE tube adds compliance — the filament can compress and flex within the tube, so more distance is needed to actually relieve pressure at the nozzle tip.
Recommended: 5–7mm
Here’s how I narrow it down:
- PLA: 6mm is my standard starting point. PLA is relatively viscous when molten and responds well to retraction.
- PETG: 5–6mm. PETG is stringier than PLA, and going above 6mm can cause clogs because the molten PETG gets pulled too far back into the cold zone.
- ABS: 5–6mm. Similar to PETG — enough to relieve pressure but not so much that you get heat creep issues.
- TPU: 3–4mm (or disable retraction entirely). TPU is flexible and compresses in the Bowden tube. Aggressive retraction causes jams.
Going above 7mm on the Ender 3 V2 is almost never beneficial and frequently causes problems. Excessive retraction pulls molten filament up into the cold zone of the hotend, where it solidifies and forms a plug. This is one of the most common causes of mid-print clogs on Bowden machines.
Retraction Speed
Retraction speed determines how fast the extruder motor pulls the filament back. Too slow, and the filament oozes before the retraction completes. Too fast, and you risk grinding the filament (especially with softer materials) or stripping the filament where the drive gear bites into it.
Recommended: 40–50 mm/s
- PLA: 45 mm/s works great. PLA is stiff enough to handle fast retraction without grinding.
- PETG: 40 mm/s. PETG is slightly softer and more prone to grinding at higher speeds.
- ABS: 40–45 mm/s. Similar to PLA in terms of stiffness.
- TPU: 20–25 mm/s (if using retraction at all). Fast retraction on TPU is a guaranteed jam.
I’ve tested retraction speeds from 20 mm/s to 70 mm/s on the Ender 3 V2. Below 35 mm/s, stringing increases noticeably. Above 55 mm/s, I start seeing filament grinding and inconsistent extrusion after retraction. The 40–50 mm/s range is the sweet spot where retraction is fast enough to beat the ooze but gentle enough to avoid mechanical issues.
How to Set These in Cura
Cura is the most popular slicer for the Ender 3 V2, so let’s walk through exactly where to find and set these values:
- Open Cura and load your model.
- Click the three horizontal lines next to the search bar in Print Settings to access all settings.
- Search for “retraction” to find all relevant settings in one view.
The key settings you need to adjust:
- Enable Retraction: Must be ON (it should be by default).
- Retraction Distance: Set to 6mm for PLA.
- Retraction Speed: Set to 45 mm/s for PLA.
- Retraction Minimum Travel: 1.5mm. This prevents retraction on very short moves where it’s not needed and would just slow the print down.
- Maximum Retraction Count: 10. Limits how many times the filament is retracted in a small area to prevent grinding.
- Minimum Extrusion Distance Window: 10mm. Works with the maximum retraction count to prevent over-retraction in dense areas.

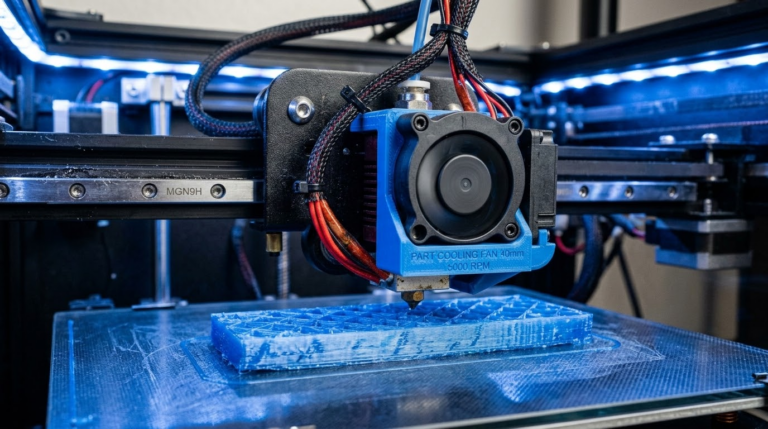
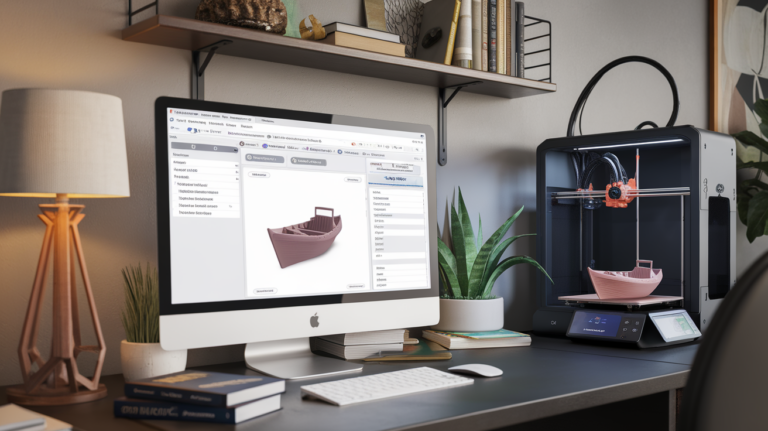
Photo by Jakub Żerdzicki on Unsplash
Additional Cura Settings That Affect Stringing
Retraction distance and speed are the main controls, but several other settings interact with retraction and can make the difference between a clean print and a stringy mess.
Combing Mode
Combing controls how the nozzle moves during non-printing travel moves. When combing is on, the nozzle tries to stay within the boundaries of the print during travel, which means fewer retractions are needed.
My recommendation: Set Combing Mode to “Not in Skin”. This allows combing inside the print (reducing unnecessary retractions) but ensures the nozzle retracts when crossing visible top surfaces, keeping them clean. The “All” setting reduces retractions even further but can leave marks on top surfaces. “Off” causes maximum retractions, which increases print time and wear on the filament.
Z-Hop When Retracted
Z-hop lifts the nozzle slightly during travel moves after retraction. This prevents the nozzle from dragging across the print surface and leaving marks or blobs.
My settings: Z-hop enabled, 0.2mm height. This is just enough to clear the top of the current layer without adding significant time. Higher Z-hop values (0.4mm+) can actually increase stringing because the nozzle has more room to ooze during the longer vertical movement.
Travel Speed
Faster travel speed means less time for filament to ooze during non-printing moves. On the Ender 3 V2, I run travel speed at 150 mm/s. The printer can handle 200 mm/s, but the stock frame can vibrate at higher speeds, causing artifacts. 150 mm/s is a good balance of speed and stability.
Wipe Distance
Cura has an “Outer Wall Wipe Distance” setting that wipes the nozzle at the end of each perimeter loop before retraction. This dumps any excess pressure in the nozzle before the retraction happens, which improves retraction effectiveness. Set this to 0.2–0.4mm.
Running a Retraction Test
The best way to dial in retraction is to print a retraction test model. The most popular one is the “retraction tower” or “stringing test” — a model with multiple thin pillars spaced apart, forcing lots of travel moves between them.
Here’s my process for dialing in retraction on a new Ender 3 V2:
- Download a stringing test model (search “stringing test” on Thingiverse or Printables).
- Start with 6mm retraction distance and 45 mm/s retraction speed for PLA.
- Print the test. Examine for strings between the pillars.
- If strings are present, increase retraction distance by 0.5mm and reprint.
- If strings persist at 7mm, try increasing retraction speed by 5 mm/s instead.
- If you’re getting blobs instead of strings, decrease retraction distance or speed slightly.
- Once you find the sweet spot, save it as a profile for that filament type.
This process usually takes 2–3 test prints. Each test print takes about 15–20 minutes, so you can have optimized retraction settings in under an hour.
Temperature’s Role in Retraction Effectiveness
Your nozzle temperature directly affects how well retraction works. Hotter filament is thinner (lower viscosity) and oozes more readily. If you’re getting stringing even with good retraction settings, try lowering the nozzle temperature by 5°C.
For PLA on the Ender 3 V2:
- 190–200°C: Less oozing, easier retraction, but potentially weaker layer adhesion and more risk of clogs.
- 200–210°C: Good balance of flow, adhesion, and retraction performance. This is where I run most of my PLA.
- 210–220°C: Better flow and layer bonding, but more stringing. Needs more aggressive retraction.
A temperature tower is a useful complement to a retraction test. Print one to find the lowest temperature that still gives you good layer adhesion, and you’ll find retraction becomes much more effective at that temperature.
Common Retraction Problems on the Ender 3 V2
Stringing Won’t Stop No Matter What
If you’ve tried retraction distances up to 7mm and speeds up to 50 mm/s and you’re still getting strings:
- Check your Bowden tube fittings. The pneumatic couplers on the Ender 3 V2 are notorious for loosening over time. If the tube has even 0.5mm of play at the hotend coupling, retraction effectiveness drops dramatically. Replace the stock couplers with better-quality ones and use the small blue clips to lock them.
- Check the PTFE tube in the hotend. The tube should be cut perfectly flat and pushed firmly against the nozzle. A gap between the tube and the nozzle creates a pocket where filament accumulates, causing persistent oozing that no retraction setting can fix.
- Lower nozzle temperature. Drop by 5–10°C and see if stringing improves.
- Check filament moisture. Wet filament oozes more due to steam pressure inside the melt zone. Dry your filament at 45°C for 4–6 hours.
Photo by Haripriya K on Unsplash
Blobs at Seam Points
If you’re seeing blobs or zits where each layer starts and ends, that’s not purely a retraction issue — it’s related to how the printer handles the start/end of each loop. In Cura:
- Set Z Seam Alignment to “Sharpest Corner” to hide seams at corners where they’re less visible.
- Enable Coasting (0.064 mm³ volume). Coasting stops extruding slightly before the end of each perimeter, reducing the pressure blob at the seam.
- Adjust Retract at Layer Change to ON. This ensures a retraction happens during the Z-move between layers.
Under-Extrusion After Retraction
If you see gaps or thin spots right after a travel move (where the printer resumes extruding), the filament isn’t priming back fast enough after retraction. Solutions:
- Set Retraction Extra Prime Amount to 0.04–0.08 mm³. This extrudes a tiny bit of extra filament when resuming after retraction to compensate for any pressure loss.
- Reduce retraction distance by 0.5mm. Less retraction means less distance to travel back.
- Check for partial clogs — a partially blocked nozzle increases the time needed to rebuild extrusion pressure.
Filament Grinding
If you hear clicking from the extruder or find filament dust/shavings near the drive gear, the extruder is grinding the filament. This usually means too many retractions in a short area or too-fast retraction speed. Reduce the retraction count limit and lower retraction speed by 5–10 mm/s.
Ender 3 V2 With Direct Drive Upgrade
If you’ve upgraded your Ender 3 V2 to a direct drive system (like the Creality Sprite, Micro Swiss DD, or a printed direct drive adapter), your retraction settings need to change significantly:
- Retraction distance: 1–3mm (down from 5–7mm). Direct drive eliminates the Bowden tube slack.
- Retraction speed: 25–35 mm/s (can be slightly lower since the motor is closer to the nozzle).
Using Bowden retraction settings on a direct drive setup will cause massive under-extrusion, clogs, and heat creep issues. If you upgrade, update your retraction settings immediately.
My Complete Cura Retraction Profile for Ender 3 V2
Here’s my full retraction-related profile for PLA on a stock Ender 3 V2, all in one place:
- Enable Retraction: Yes
- Retraction Distance: 6 mm
- Retraction Speed: 45 mm/s
- Retraction Minimum Travel: 1.5 mm
- Maximum Retraction Count: 10
- Minimum Extrusion Distance Window: 10 mm
- Combing Mode: Not in Skin
- Z-Hop When Retracted: Yes
- Z-Hop Height: 0.2 mm
- Travel Speed: 150 mm/s
- Outer Wall Wipe Distance: 0.2 mm
- Coasting: Yes (0.064 mm³)
- Retract at Layer Change: Yes
- Nozzle Temperature: 200–205°C
Import these settings into your Cura profile as a starting point, print a stringing test, and adjust from there. Most people find this profile works with minimal or no changes on a stock Ender 3 V2.
Wrapping Up
Retraction on the Ender 3 V2 is one of those settings that seems complicated but boils down to a few key numbers. 6mm distance, 45 mm/s speed, and sensible supporting settings will get you 90% of the way there. Fine-tune with a stringing test, and you’ll have clean, string-free prints in no time.
Don’t forget to check the physical setup too — loose Bowden fittings and gaps in the PTFE tube cause more stringing problems than bad slicer settings. When the hardware is right and the software is dialed in, the Ender 3 V2 produces prints that rival machines costing three times as much.