How to 3D Print Clear Transparent PETG: Settings for Maximum Clarity
What Causes PETG to Cloud, Fog, or Lose Clarity?
PETG is one of the few FDM filaments that can produce genuinely transparent or translucent prints — vases, light diffusers, window panels, and display cases that let light pass through beautifully. But achieving that clarity isn’t as simple as loading a clear PETG spool and hitting print. Most first attempts come out foggy, milky, or completely opaque.
The secret to clear PETG prints lies in understanding what makes plastic transparent in the first place: each layer needs to fuse completely with the previous one, with no air gaps, no moisture bubbles, and minimal crystallization. Every printing parameter — temperature, speed, cooling, layer height — either helps or hurts this goal.
In this guide, I’ll break down the exact settings and techniques that produce the clearest possible PETG prints, plus the common mistakes that turn transparent filament into translucent disappointment.
Choosing the Right Clear PETG Filament
Not all “clear” or “transparent” PETG filaments are equal. The clarity you can achieve starts with the filament itself:
- Truly transparent PETG: Look for filaments specifically marketed as “transparent” or “crystal clear” — not just “natural.” Natural PETG is often slightly yellowish or foggy by nature.
- Diameter consistency matters more: Diameter variations cause flow inconsistencies that create micro-gaps between layers. These gaps scatter light and kill clarity. Premium filament with ±0.02mm tolerance is worth the extra cost for transparent prints.
- Fresh filament: PETG absorbs moisture, and moisture creates steam bubbles during printing. Tiny bubbles scatter light and make prints cloudy. Always use dry filament for transparent prints.
Recommended Transparent PETG Brands
- Prusament PETG Transparent: Tight diameter tolerance (±0.02mm), excellent clarity potential. Expensive but worth it for clear prints.
- Overture PETG Clear: Good mid-range option with decent transparency. The vacuum-sealed packaging with desiccant helps with moisture.
- eSUN PETG Transparent: Budget-friendly with surprisingly good clarity when properly tuned.
- Polymaker PolyLite PETG Transparent: Consistent quality and good optical properties.
Critical Print Settings for Maximum Clarity
Temperature: Go Hotter Than Normal
This is counterintuitive for many PETG users, but higher temperatures produce clearer prints. Why? Hotter PETG flows more freely, filling gaps between layers more completely and creating better layer fusion.
- Nozzle temperature: 245–260°C (vs. typical 230–240°C for standard PETG prints)
- Bed temperature: 80–90°C
- Start at 250°C and increase by 5°C if you still see layer fog
The risk of going hotter is increased stringing, but for transparent prints, clarity is the priority and strings can be cleaned up afterward.
Layer Height: Go Thinner
Each layer boundary is a potential surface that scatters light. Thinner layers mean better inter-layer fusion and fewer visible layer lines to break up the light path.
- Recommended layer height: 0.1–0.15mm (vs. typical 0.2mm for PETG)
- First layer: 0.2mm for adhesion, then switch to your target height
- Thinner = clearer but also longer print times — expect 2x or more
Extrusion Width: Go Wider
Wider extrusion lines overlap more with adjacent lines, reducing gaps within each layer. These internal gaps are a major source of cloudiness.
- Line width: 120–150% of nozzle diameter (e.g., 0.48–0.6mm for a 0.4mm nozzle)
- This creates more “squish” between lines, forcing plastic to fill every gap
Print Speed: Slow Down
Slower printing gives each layer more time to bond with the layer below while the previous layer is still warm. Speed is the enemy of clarity.
- Perimeter speed: 20–30 mm/s
- Top/bottom layers: 15–20 mm/s
- Infill speed: Not relevant for clear prints (see next section)
Walls and Infill: Print Solid or Use Special Modes
For truly clear parts, you want to eliminate infill entirely. Infill creates visible internal structures that scatter light and destroy transparency.
- Best option: “Vase mode” / “Spiralize outer contour” — prints a single continuous wall with no seams and no infill. Perfect for vases, lampshades, and thin-walled items.
- For solid parts: Use 100% infill with a rectilinear pattern, or increase wall count to fill the entire part with perimeters.
- Maximum walls: Instead of infill, set wall count to 10+ so the entire part is concentric perimeters. This eliminates the infill pattern visibility.
Cooling Fan: Minimal
Part cooling makes PETG solidify faster, which sounds good but actually hurts transparency. Faster cooling means less time for the new layer to fuse with the previous one, creating micro-gaps that scatter light.
- Fan speed: 0–30% (yes, nearly off)
- First 5 layers: Fan off completely
- Exception: If you see severe drooping or stringing, bump to 30% maximum
The Moisture Problem
Moisture is the single biggest killer of PETG clarity. Even slightly damp PETG produces microscopic steam bubbles inside each layer. These bubbles scatter light and turn what should be a clear print into a foggy mess.
How to Tell If Your PETG Is Wet
- You hear faint popping or crackling from the nozzle during printing
- The extruded line has a matte or rough surface instead of glossy and smooth
- Tiny bubbles are visible in the extruded plastic (use a magnifying glass)
- The print has a consistent haze that wasn’t there in your first print from the sealed spool
Drying PETG for Clear Prints
- Filament dryer: 65°C for 4–6 hours (this is the most reliable method)
- Food dehydrator: Same temp, same time — verify temperature with a separate thermometer
- Oven: 65°C for 4 hours — use an oven thermometer and NEVER exceed 70°C or the spool may deform
- For maximum clarity: Dry the filament AND print from a dry box or active dryer. Even 2–3 hours of ambient exposure can introduce enough moisture to affect transparency.
Vase Mode: The Easiest Path to Clear Prints
If you’re new to transparent PETG, start with vase mode. It eliminates most variables and produces the clearest results:
- Enable “Spiralize outer contour” (Cura) or “Spiral vase” (PrusaSlicer)
- Set wall thickness: One wall at 0.5–0.6mm width
- Temperature: 250°C
- Speed: 20–25 mm/s
- Fan: 10–20%
- Layer height: 0.15mm
Vase mode prints a single continuous wall with no seam — meaning no z-seam blob, no layer start/stop artifacts, and no internal structure. Just a single, smooth, spiral wall. The result is often stunning with good clear PETG: you can literally read text through the wall.
Post-Processing for Extra Clarity
Even with perfect settings, FDM layer lines still reduce clarity somewhat. If you want glass-like transparency, some post-processing helps:
Heat Gun Polishing
Gently passing a heat gun over the surface of a clear PETG print can melt the outer surface just enough to smooth layer lines and improve light transmission. Use a low setting (150–200°C air temperature) and keep the gun moving. Staying in one spot for even a second too long will deform the part.
Clear Coat Spray
Automotive clear coat or UV-resistant clear spray paint fills micro-gaps on the surface and creates a smooth, glossy finish that dramatically improves transparency. Apply 2–3 thin coats with proper drying time between each.
Wet Sanding
For flat surfaces, wet sanding with progressively finer grits (400 → 800 → 1500 → 2000) followed by a polishing compound produces near-glass clarity. This is labor-intensive but produces the best results on flat panels.
Epoxy Coating
A thin layer of crystal-clear epoxy resin creates the most glass-like finish possible on a 3D print. It self-levels to fill layer lines and cures to a perfectly smooth, transparent surface. The downside is that it adds thickness and requires proper mixing and curing.
Common Clarity Problems and Quick Fixes
Foggy/Milky Appearance
- Cause: Wet filament (90% of the time) or temperature too low
- Fix: Dry filament, increase nozzle temperature by 10°C
Visible Layer Lines Killing Transparency
- Cause: Layer height too tall or insufficient layer bonding
- Fix: Reduce layer height to 0.1mm, increase temperature, slow down
Visible Infill Pattern Inside the Print
- Cause: Using standard infill that shows through transparent walls
- Fix: Use vase mode, 100% infill, or maximum wall count
Bubbles or Rough Texture on Surface
- Cause: Moisture in filament
- Fix: Dry filament at 65°C for 6 hours, print from dry box
Yellowish Tint
- Cause: Temperature too high (filament degradation) or natural filament color
- Fix: Lower temperature by 5–10°C. If the filament is naturally yellow, switch brands.
Good Clarity on Walls but Opaque Top Surface
- Cause: Top layers don’t have enough coverage or ironing isn’t enabled
- Fix: Increase top layer count to 6–8, enable ironing in slicer, use 100% top infill overlap
Clear PETG Project Ideas
Once you’ve dialed in your clear PETG settings, here are some popular projects:
- Lithophanes: Photos printed as thin panels that reveal the image when backlit. Clear PETG adds a unique look compared to standard white PLA lithophanes.
- Lamp shades and light diffusers: Vase mode prints make excellent custom lampshades that create beautiful light patterns.
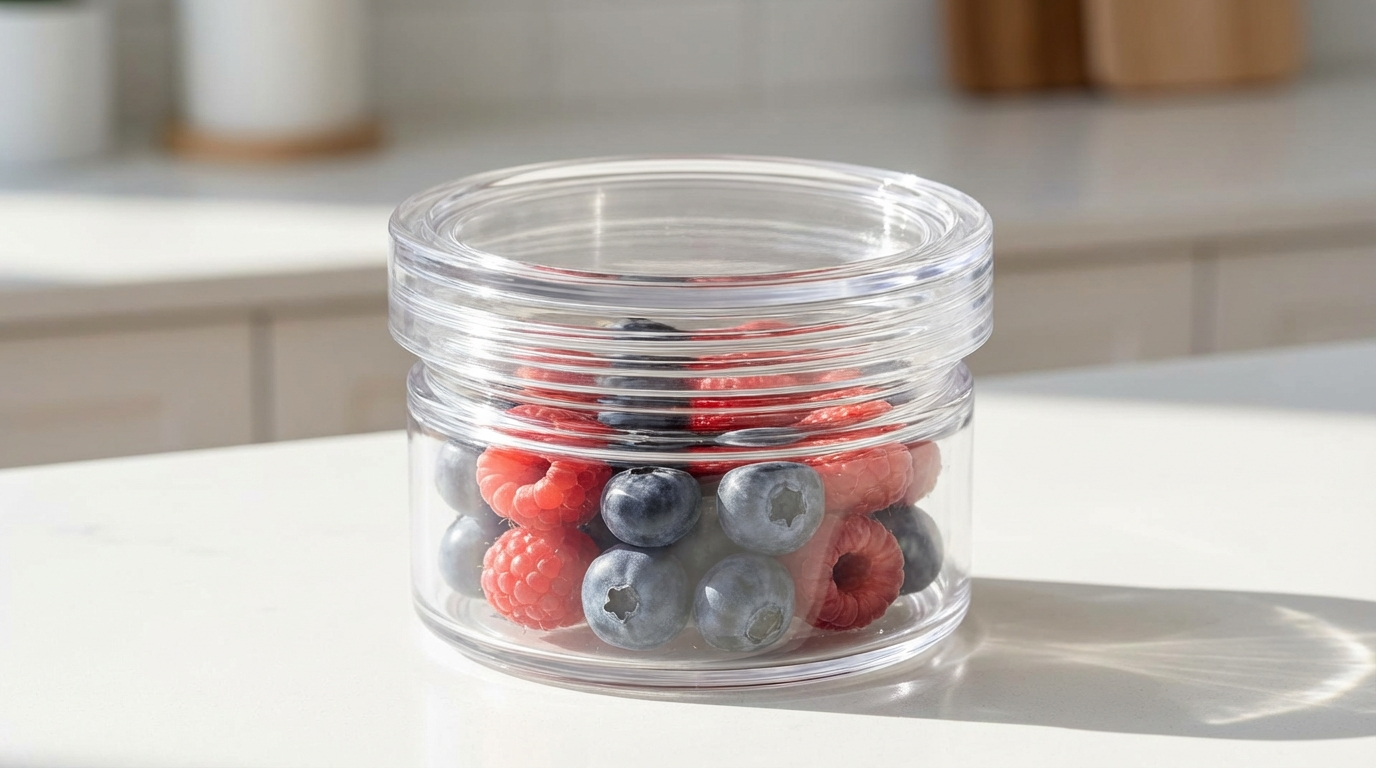
- Window panels: For enclosures, electronics housings, or display cases where you need to see inside without opening.
- Lenses and light guides: While not optically perfect, clear PETG can guide and diffuse light for LED projects and indicators.
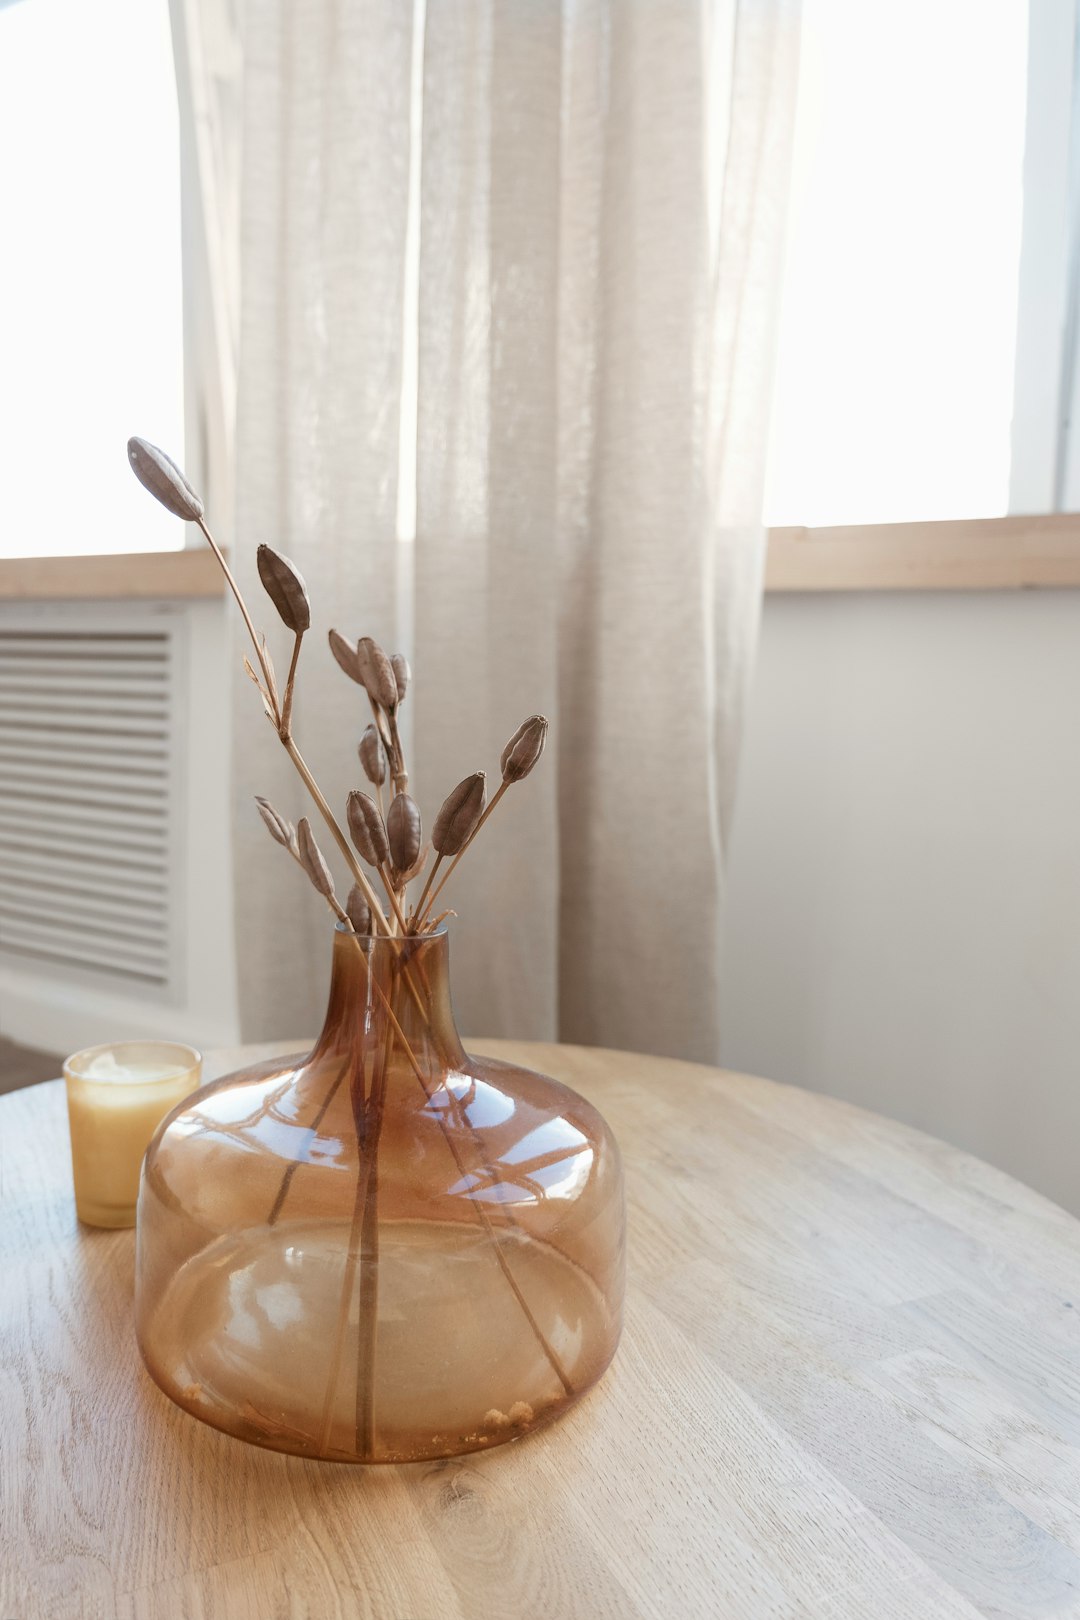
- Vases and decorative items: Clear PETG vases with LED bases create striking decorative pieces.
PETG vs. Other Clear Filaments
- Clear PETG vs. Clear PLA: PLA can also be printed transparent, but it’s less durable and more brittle. PETG offers better clarity potential, chemical resistance, and isn’t as sensitive to temperature.
- Clear PETG vs. Polycarbonate: PC offers the best optical clarity of any FDM material but requires much higher temperatures and an enclosure. If you can print PC, it wins on clarity.
- Clear PETG vs. Resin: SLA/MSLA resin prints are optically superior for clarity, but limited in size and require post-processing. For large transparent objects, PETG on an FDM printer is the practical choice.
Final Thoughts
Printing truly clear PETG isn’t hard — it just requires understanding that clarity comes from complete layer fusion and absence of light-scattering defects. Dry filament, high temperature, slow speed, thin layers, and wide extrusion width are the five pillars of transparent PETG printing.
Start with vase mode to learn how your filament behaves, then apply the same principles to solid prints when you’re confident in the settings. Post-processing with clear coat or epoxy can take a good transparent print and make it genuinely impressive.
The results are worth the extra effort — there’s something deeply satisfying about holding a 3D printed object that you can see straight through.