How to 3D Print Without Supports: Mastering Overhangs and Bridges
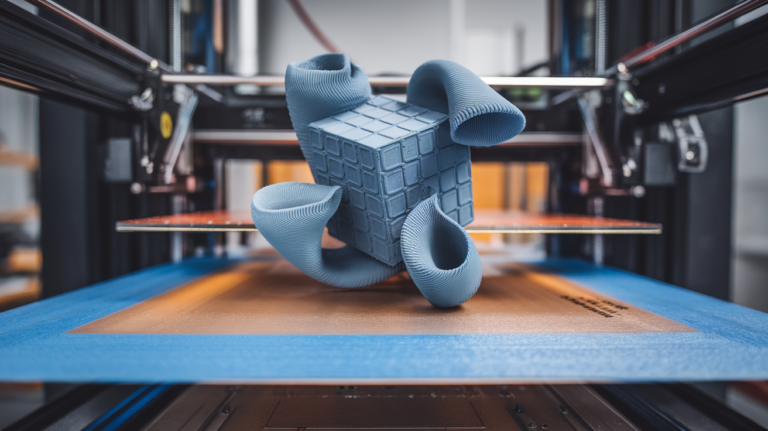
One of the most satisfying skills you can develop in 3D printing is learning to design and print parts that need little to no support material. Supports waste filament, leave ugly marks on your prints, and can be a nightmare to remove — especially in tight spaces. The good news? With the right design techniques and slicer settings, you can dramatically reduce or even eliminate the need for supports on most prints.
In this guide, I’ll walk you through everything you need to know about printing overhangs without supports — from understanding the physics behind it to practical tips you can use right now.
Understanding Overhangs and the 45-Degree Rule
Before we dive into techniques, let’s talk about why overhangs are a problem in the first place. FDM 3D printing works by depositing melted plastic layer by layer. Each new layer needs something underneath it to stick to. When you print a section that extends outward beyond the layer below — that’s an overhang.
The general rule of thumb is the 45-degree rule. Most printers can handle overhangs up to about 45 degrees from vertical without any support. Beyond that angle, you start to see drooping, curling, and rough surfaces. However, this isn’t a hard limit — with the right settings and cooling, many printers can push to 50 or even 60 degrees.
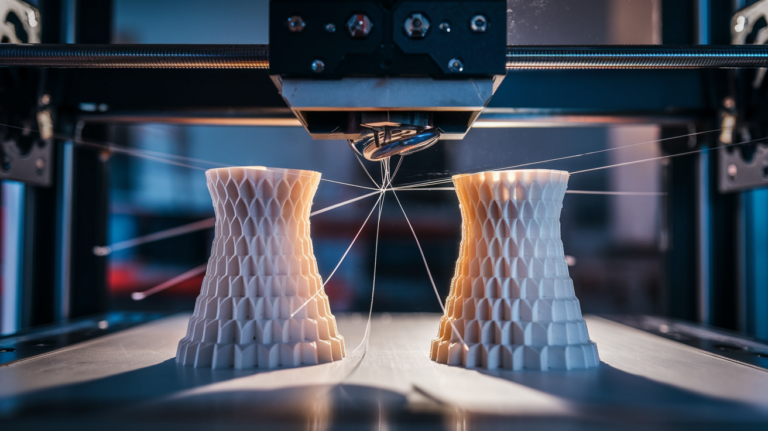
Bridges are a special case. A bridge is a horizontal span between two supported points. Unlike overhangs that extend into open air on one side, bridges have anchor points on both ends, which means your printer can actually stretch filament across the gap. With good cooling and the right speed, bridges of 50mm or more are totally achievable.
Design Techniques to Avoid Supports
The best way to print without supports starts at the design stage. Here are proven techniques that experienced designers use:
Chamfers Instead of Fillets
This is probably the single most impactful design change you can make. A fillet (rounded edge) at the bottom of a vertical wall creates an overhang that gradually increases from 0 to 90 degrees. A chamfer (angled flat edge) at 45 degrees, on the other hand, stays within the safe overhang zone throughout. When designing functional parts, use chamfers on bottom edges and save fillets for top edges where overhangs aren’t an issue.
Teardrop Holes
Horizontal holes are a classic support headache. The top of a circular hole is essentially a bridge, and small holes (under 10mm) tend to print poorly with supports anyway. The teardrop hole technique replaces the top of the circle with a pointed V-shape at 45 degrees. You get nearly the same functionality — bolts and pins still fit fine — but no support needed. Most CAD programs have teardrop hole plugins, and it’s a standard feature in OpenSCAD and FreeCAD.
Split and Rotate Your Model
Sometimes the simplest solution is the best one. If a part has complex overhangs, consider splitting it into two or more pieces that can each be printed flat. A well-placed split with alignment pins or dovetail joints can eliminate all overhangs while actually making the part easier to print. The bond line from super glue or epoxy is often stronger than layer adhesion anyway.
Self-Supporting Angles
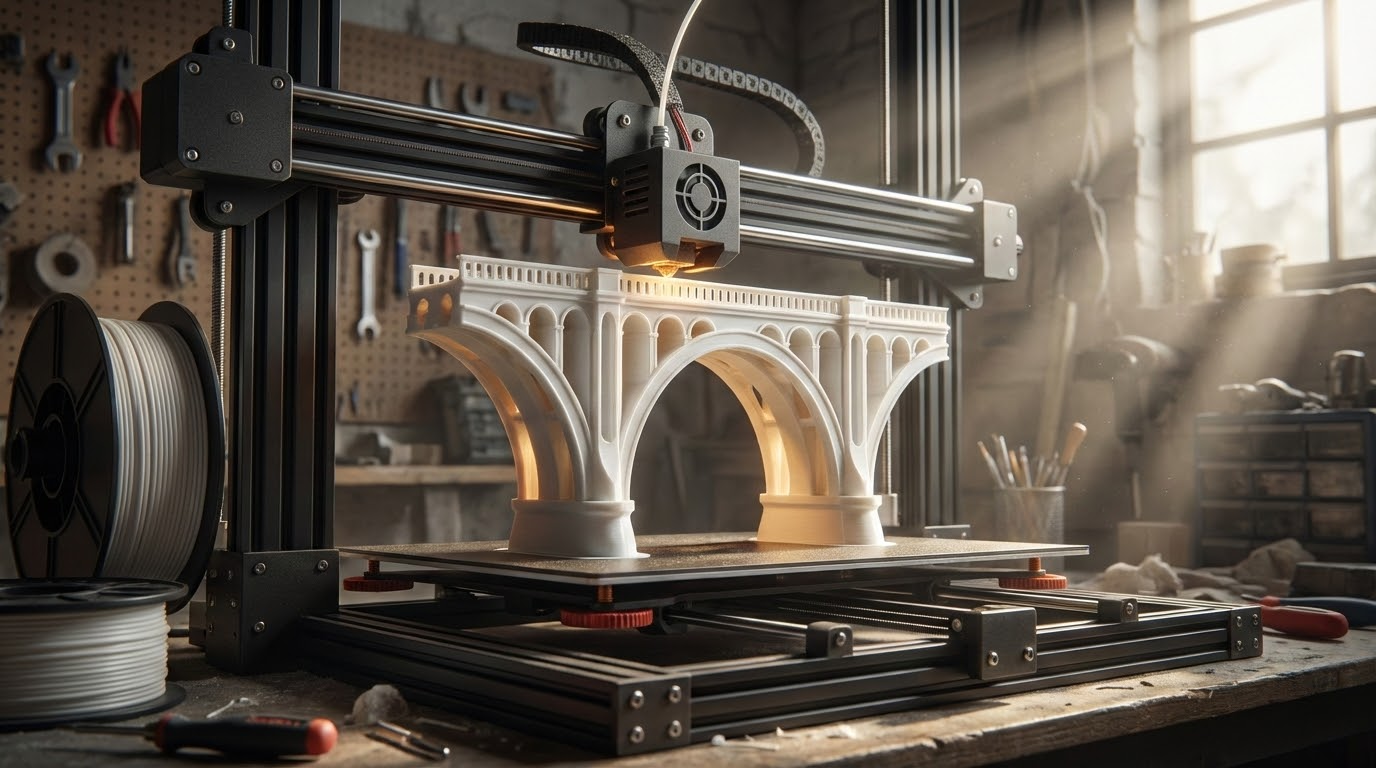
When you need an L-shaped bracket or a shelf, consider adding a 45-degree support rib right into the design. It uses less material than slicer-generated supports, it’s stronger because it’s part of the actual geometry, and there’s nothing to remove after printing. Think of it like architectural buttresses — they’re not just structural, they look intentional.
Print Orientation Matters
Before slicing, rotate your model and check different orientations. A part that needs extensive supports in one orientation might need zero supports in another. The preview function in your slicer is your best friend here. Spend two minutes rotating the part and checking overhang warnings before committing to a print.
Slicer Settings for Better Overhangs
Even with good design, you’ll still encounter overhangs. Here’s how to configure your slicer to handle them better:
Layer Height
Lower layer heights improve overhang performance significantly. At 0.2mm layer height, each new layer extends about 0.2mm beyond the one below (at 45 degrees). Drop to 0.12mm and that extension shrinks to 0.12mm — meaning each layer has more overlap with the one below, giving the filament more to grab onto. For critical overhangs, dropping your layer height to 0.12mm or even 0.08mm can make the difference between a clean print and spaghetti.
Print Speed
Slower speeds give the filament more time to cool and solidify before the next bit of filament lands on it. For overhangs, try reducing your print speed to 60-70% of your normal speed. Many slicers, including Cura and PrusaSlicer, have specific overhang speed settings that slow down automatically when the printer detects an overhang angle. In Cura, look for “Overhanging Wall Speed” — set it to around 20-25mm/s for best results.
Cooling
This is the single most important factor for overhang quality. Your part cooling fan should be at 100% for overhangs in PLA and PETG. If your printer has a single-sided fan duct, the side facing the fan will always print overhangs better. Consider upgrading to a dual-sided duct like the Hero Me or Satsana for more even cooling. For ABS, you’re in a tougher spot since ABS doesn’t like fan — but even 30-40% fan during overhangs can help without causing too much warping.
Extrusion Width
A narrower extrusion width means less material hanging off the edge of each layer. Try reducing your wall line width from the typical 0.4mm to 0.35mm for overhang sections. In PrusaSlicer, you can set a specific external perimeter width. The trade-off is slightly longer print times, but the improvement in overhang quality is noticeable.
Temperature
Lower nozzle temperatures mean the filament solidifies faster after extrusion. For PLA, try dropping 5-10°C below your normal printing temperature when dealing with heavy overhangs. A temperature tower test print can help you find the lowest temperature that still gives good layer adhesion. Don’t go too low though — you’ll trade overhang quality for weak layer bonds.
Advanced Techniques
Bridging Settings
Most modern slicers have dedicated bridging settings that kick in when they detect a bridge. These typically include reduced flow rate (85-90% works well), increased fan speed (100%), and a specific bridge speed (usually slower, around 20-30mm/s). In Cura, enable “Bridge Settings” under the experimental section. In PrusaSlicer, bridging detection is on by default — just make sure your bridge speed and flow are tuned.
Support Painting
When you can’t avoid supports entirely, use support painting (called “Paint-on Supports” in PrusaSlicer or “Support Blocker” in Cura) to add supports only exactly where needed. This gives you the best of both worlds: support where it’s critical, and clean surfaces everywhere else. You can also use support blockers to prevent the slicer from adding supports in areas where you know the overhang will print fine.
Organic/Tree Supports
When you do need supports, tree supports (available in Cura, PrusaSlicer, and OrcaSlicer) are vastly superior to traditional line supports. They use less material, they’re easier to remove, and they leave cleaner surfaces. They also tend to only touch the model at the minimum necessary points. If you haven’t tried tree supports yet, you’re missing out — they’ve improved dramatically in recent slicer versions.
Material-Specific Tips
PLA
PLA is the easiest material for overhangs thanks to its relatively low printing temperature and ability to handle high fan speeds. With good cooling, PLA can often handle 60-degree overhangs without support. Keep the fan at 100% and temperatures around 195-200°C for best results.
PETG
PETG is trickier than PLA because it’s stringier and doesn’t like aggressive cooling as much. For overhangs, use 80-100% fan speed and slow down to 25mm/s on overhang sections. PETG bridges surprisingly well with the right flow rate (try 85%).
ABS/ASA
ABS is the hardest material for support-free printing because fan cooling causes warping. If you must print overhangs in ABS, use an enclosure with the lid partially open and run the fan at 20-30% only on overhang layers. Consider PETG or ASA as alternatives when you need heat resistance but also need clean overhangs.
TPU
Flexible filaments are nearly impossible to print with supports because the supports fuse to the part. Design your TPU parts to be completely support-free. The good news is that TPU’s flexibility means it tolerates rough overhangs better since you can often just trim imperfections.
Testing Your Printer’s Limits
Every printer is different, and the best way to know your specific machine’s overhang capabilities is to print a test. The classic overhang test prints at angles from 20 to 70 degrees in 5-degree increments. Print one with your default settings, then print another with optimized overhang settings, and compare. You might be surprised — many modern printers with good cooling can handle 55-60 degrees cleanly.
For bridges, print a bridge test with spans from 10mm to 100mm. You’ll quickly see where your printer starts to droop. Most well-tuned printers handle 30-50mm bridges easily, and with optimized settings, 80-100mm is achievable.
Practical Workflow
Here’s my recommended workflow for minimizing supports:
- Design smart — use chamfers, teardrop holes, self-supporting angles
- Orient strategically — rotate the model to minimize overhangs
- Check the preview — look at overhang warnings in your slicer
- Paint supports selectively — block supports where they’re not needed, add them only where critical
- Optimize settings — lower layer height, slower speed, max cooling for overhang areas
- Test and iterate — print an overhang test with your specific settings and filament
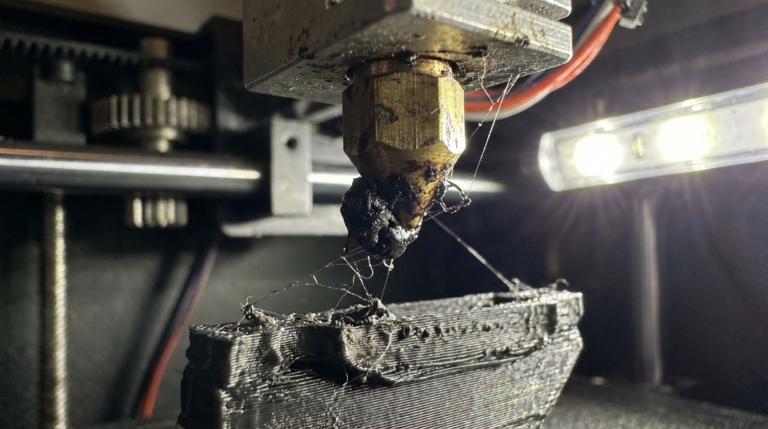
Common Mistakes to Avoid
I see beginners make these mistakes repeatedly when trying to print without supports:
- Ignoring print orientation — they slice the model however it appears in the STL without considering alternatives
- Fan too low — especially on PLA, there’s rarely a reason not to run the fan at 100% after the first few layers
- Printing too fast — overhangs need time. Slow down.
- Using supports as a crutch — supports should be a last resort, not the default for every print
- Not calibrating — an uncalibrated printer with loose belts and bad Z-offset will struggle with overhangs regardless of slicer settings
Final Thoughts
Printing without supports isn’t just about saving filament and time — it’s about understanding your printer’s capabilities and pushing them further. Every print where you successfully avoid supports is a print with better surface quality, less post-processing, and less waste. Start with the design techniques, dial in your cooling, and experiment with test prints. Once you internalize these principles, you’ll find yourself reaching for the “generate supports” button less and less.
Remember: the best support is no support at all.