How to Calibrate Extruder E-Steps on Any 3D Printer
Why E-Steps Calibration Matters
Your 3D printer’s extruder has one job: push the exact right amount of filament through the hotend. When it pushes too much, you get over-extrusion — blobby surfaces, elephants foot, and dimensional inaccuracy. When it pushes too little, you get under-extrusion — weak layers, gaps, and failed prints.
The setting that controls this is called E-steps — short for extruder steps per millimeter. It tells your printer’s firmware exactly how many stepper motor steps are needed to move 1mm of filament. Get this number wrong, and every single print you make will be slightly off.
The factory default E-steps value is usually close, but it’s rarely perfect. Manufacturing tolerances in the extruder gear, filament diameter variations, and motor differences all add up. Calibrating your E-steps takes about 10 minutes and will improve every print you make going forward.
What You’ll Need
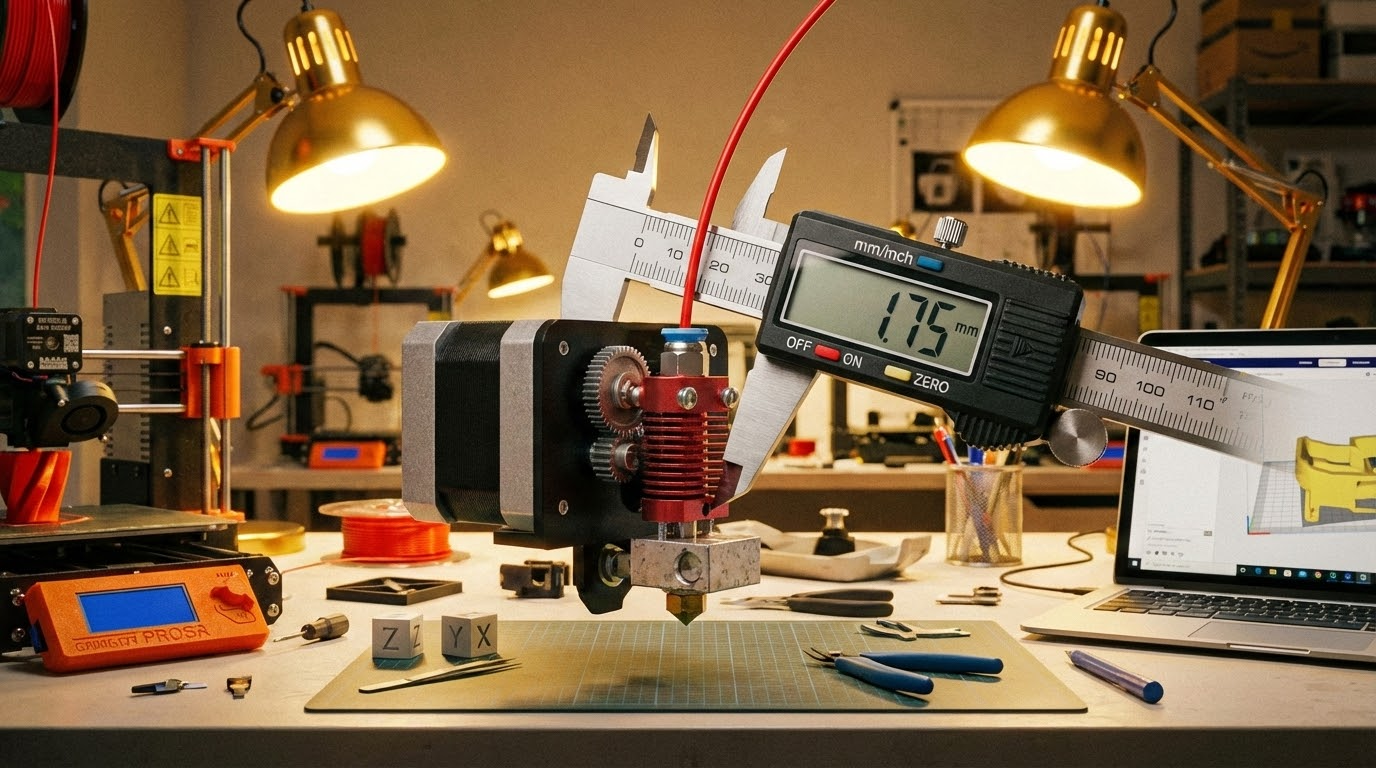
- Digital calipers or a ruler (calipers are much more accurate)
- A marker or piece of tape
- Your printer connected via USB, or access to the LCD menu
- A terminal program like Pronterface, OctoPrint, or your printer’s built-in console
Step 1: Check Your Current E-Steps Value
Before changing anything, let’s see what your printer is currently set to. Connect to your printer via terminal and send this G-code command:
M503
Look for a line that starts with M92. It’ll look something like:
M92 X80.00 Y80.00 Z400.00 E93.00
The number after “E” is your current E-steps value. Write it down — for most Creality printers with a Bowden extruder, the default is around 93. For direct drive setups, it’s often in the 400-420 range.
Step 2: Remove the Bowden Tube (Important!)
Here’s where a lot of guides get it wrong. You need to disconnect the Bowden tube from the hotend (or remove the filament from the hotend if you’re on direct drive). Why? Because we want to measure raw extruder performance without any resistance from the nozzle or hotend.
If you measure with the nozzle attached, back-pressure from the melt zone will affect how much filament actually moves, and you’ll end up compensating for nozzle resistance rather than calibrating the extruder itself.
For Bowden setups: disconnect the PTFE tube at the hotend end. Leave it connected at the extruder.
For direct drive: heat the hotend to printing temperature, then proceed with the tube connected (you can’t easily disconnect on most DD setups). Just be aware the measurement might be slightly less accurate.
Step 3: Mark the Filament
With filament loaded in the extruder, use your calipers or ruler to measure exactly 120mm from the point where filament enters the extruder body. Mark this spot with a marker or a small piece of tape.
Why 120mm and not 100mm? Because we’re going to extrude 100mm, and the extra 20mm gives us a buffer. If your extruder happens to over-extrude, we need somewhere for that extra filament to come from.

Step 4: Extrude 100mm of Filament
Heat your hotend to at least 200°C (you need the hotend warm, or the firmware will refuse to extrude as a safety measure). Then send this G-code:
G1 E100 F100
This tells the printer to extrude 100mm of filament at a slow speed (100mm/min). Wait for it to finish — it’ll take about a minute at this speed.
Step 5: Measure What’s Left
Now measure the distance from your mark to the extruder entry point again. In a perfect world, you’d measure exactly 20mm remaining (120mm start – 100mm extruded = 20mm left).
In reality, you’ll probably get something different. Let’s say you measure 23mm remaining. That means your extruder only pushed 97mm instead of 100mm (120 – 23 = 97). It’s under-extruding by 3%.
If you measure 18mm, your extruder pushed 102mm — it’s over-extruding by 2%.
Step 6: Calculate the New E-Steps Value
The formula is straightforward:
New E-steps = (Current E-steps × 100) ÷ Actual distance extruded
Using our example: if your current E-steps is 93 and you measured 97mm actually extruded:
New E-steps = (93 × 100) ÷ 97 = 95.88
Round to two decimal places: 95.88.
Step 7: Apply and Save the New Value
Send these two G-code commands:
M92 E95.88 (sets the new value)
M500 (saves to EEPROM so it persists after power off)
That’s it. Your extruder is now calibrated.
Step 8: Verify
It’s worth running the test one more time to confirm. Make a new mark at 120mm, extrude 100mm, and measure again. You should now get very close to 20mm remaining. If you’re within 0.5mm (19.5-20.5mm), that’s excellent. If it’s still off, repeat the calculation with the new E-steps value.
Common Mistakes to Avoid
Calibrating With the Nozzle Attached
I mentioned this earlier, but it bears repeating. If you calibrate with the full hotend and nozzle in the path, back-pressure will make your extruder appear to under-extrude. You’ll set the E-steps too high to compensate, and then you’ll get over-extrusion during actual prints (especially on first layers and solid infill where the flow is less restricted).
Using Flow Rate Instead of E-Steps
Some people skip E-steps calibration entirely and just tweak the flow rate (extrusion multiplier) in their slicer. This works as a band-aid, but it’s the wrong approach. E-steps is a hardware calibration — it should be set once in firmware. Flow rate is a per-material fine-tuning that you adjust after E-steps are correct.
Think of it this way: E-steps makes sure your extruder physically moves the right amount of filament. Flow rate adjusts for material-specific behavior like how much the plastic expands after exiting the nozzle.
Extruding Too Fast
When you send G1 E100 F100, the F100 means 100mm/min — intentionally slow. If you extrude too fast, the extruder motor might skip steps (especially on Bowden setups where there’s more resistance), giving you an inaccurate measurement.
Not Saving to EEPROM
If you forget the M500 command, your new E-steps value will be lost as soon as you power off the printer. I’ve seen people calibrate perfectly, then wonder why their next print is still off. Always save.
After E-Steps: What to Calibrate Next
E-steps is the foundation of extrusion calibration, but it’s not the whole picture. Once your E-steps are dialed in, consider calibrating these in order:
- Flow rate / extrusion multiplier: Print a single-wall cube and measure wall thickness. Adjust flow until it matches your nozzle diameter.
- Temperature tower: Find the optimal temperature for each filament brand you use.
- Retraction settings: Minimize stringing without causing clogs.
- Pressure advance / linear advance: Compensate for pressure buildup in the nozzle during speed changes.
But E-steps comes first. Always. It’s the baseline that everything else builds on. Spend 10 minutes getting it right, and you’ll save hours of troubleshooting down the road.