How to Dry Filament for 3D Printing
Wet filament is the silent killer of print quality. You can have a perfectly tuned printer, ideal slicer settings, a spotless bed — and still get rough, bubbly, stringy prints because your filament soaked up moisture from the air while sitting on a shelf.
It took me an embarrassingly long time to figure this out. For months, I blamed my printer for inconsistent extrusion. Replaced nozzles, recalibrated, swapped extruder gears. Turned out the spool of PETG I’d been using had been sitting open in my garage through a humid summer. Twenty minutes of reading about filament moisture, four hours in a dryer, and suddenly my prints looked perfect again.
If you’re fighting print quality issues and nothing seems to work, dry your filament. It might be the only fix you need.
How Filament Absorbs Moisture
Most 3D printing filaments are hygroscopic — they absorb water vapor from the surrounding air. The plastic itself acts like a sponge at the molecular level, pulling in moisture through the surface.
Some materials absorb moisture much faster than others:
- Nylon (PA): Extremely hygroscopic. Can absorb 1-2% of its weight in water within hours. Nylon that’s been out for a day in humid conditions is basically unusable without drying.
- PETG: Moderately hygroscopic. Noticeable effects after a few days of exposure. Gets worse over weeks.
- TPU: Moderate absorption. Flexible filaments tend to be more sensitive to moisture.
- ABS: Somewhat hygroscopic, but less than PETG. Can tolerate more exposure before issues appear.
- PLA: Least hygroscopic of the common filaments, but still affected. PLA that’s been open for months in a humid climate will show symptoms.
The ambient humidity matters enormously. Printing in Arizona? Your filament will probably be fine sitting on an open shelf. Printing in Florida, the Pacific Northwest, or the UK? You need to actively manage storage.
Symptoms of Wet Filament
Before you drag out the filament dryer, confirm that moisture is actually the problem. Here’s what to look for:
Popping and crackling sounds during printing. This is the number one giveaway. Moisture trapped in the filament turns to steam inside the hot nozzle, creating tiny explosions. You can actually hear it — little pops and sizzles as the filament extrudes. If you hear this, your filament is wet. No question.
Rough, pitted surface finish. The steam bubbles create tiny craters and roughness on the print surface. What should be a smooth wall looks textured and uneven, even at low layer heights.
Excessive stringing and oozing. Steam pressure inside the nozzle pushes filament out during travel moves, making stringing worse than it should be. If you’ve already tuned retraction and temperature but stringing won’t go away, moisture could be the cause.
Poor layer adhesion. Steam disrupts the bond between layers, creating weak prints that delaminate easily. You might notice layers separating when you apply force.
Bubbles in the extruded filament. Extrude some filament into the air and look at it closely. Wet filament produces a bubbly, foamy strand instead of a clean, smooth line.
Inconsistent diameter. Not from manufacturing — the filament swells slightly as it absorbs water, which can cause intermittent under or over-extrusion.
Method 1: Dedicated Filament Dryer
This is the best option if you print regularly. Filament dryers are purpose-built for the job — they maintain a consistent low temperature with airflow to pull moisture out.
Popular Options
Sunlu FilaDryer S2: Around $50. Holds one spool, goes up to 70°C. Gets the job done for PLA, PETG, and TPU. Basic but reliable.
EIBOS Cyclopes: About $70. Higher temperature range (up to 80°C) and holds larger spools. Good for Nylon and ABS that need hotter drying temps.
PrintDry Pro: Around $100. Two-spool capacity with more precise temperature control. If you’re running multiple materials, this saves time.
Bambu Lab AMS with drying function: If you have a Bambu Lab printer with AMS, it has a built-in drying mode. Not as powerful as a dedicated dryer, but convenient for maintenance drying.
Drying Times and Temperatures
| Filament | Temperature | Time |
|---|---|---|
| PLA | 45-50°C | 4-6 hours |
| PETG | 60-65°C | 4-6 hours |
| ABS | 65-70°C | 4-6 hours |
| Nylon | 70-80°C | 6-12 hours |
| TPU | 50-55°C | 4-6 hours |
| ASA | 65-70°C | 4-6 hours |
| PC (Polycarbonate) | 70-80°C | 6-12 hours |
These are starting points. Severely wet filament — like a spool that sat open for months in a humid basement — might need 8-12 hours even for PLA.
I usually run the dryer overnight. Set it before bed, wake up to dry filament. Easy.
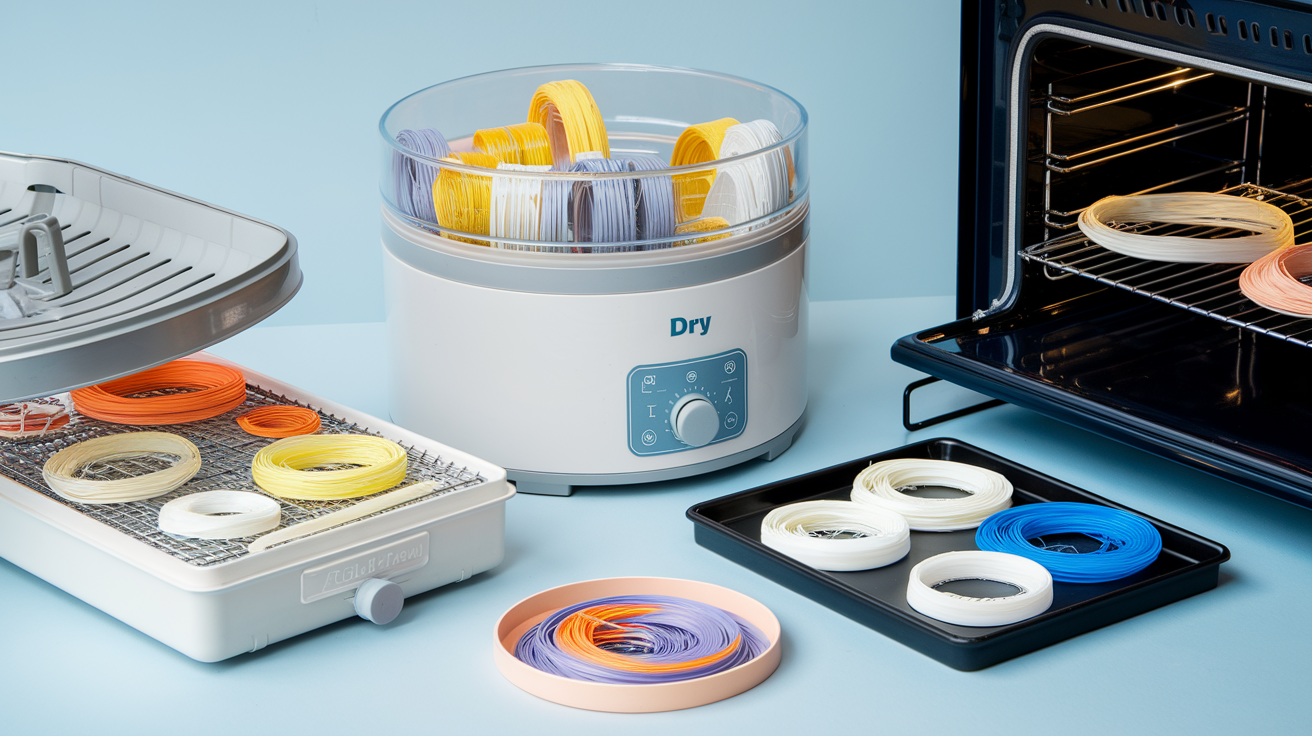
Method 2: Kitchen Oven
Free if you already own an oven, but risky. The problem with kitchen ovens is temperature accuracy — most ovens fluctuate by ±10-15°C, and the actual temperature can be 20°C off from what the dial says. PLA softens at around 55-60°C. If your oven swings up to 70°C during a “50°C” cycle, you’ll end up with a melted blob of PLA on your baking sheet.
If You Must Use an Oven
- Get an oven thermometer. Don’t trust the dial. Put a separate thermometer inside and verify the actual temperature.
- Preheat first. Let the oven reach temperature and stabilize for 15-20 minutes before putting filament in.
- Use the lowest setting. Many ovens can’t go below 170°F (77°C), which is already too hot for PLA. If your oven’s minimum is above 65°C, only use it for PETG, ABS, and Nylon.
- Place the spool on a baking sheet lined with parchment paper. Don’t let the spool touch the oven rack directly.
- Leave the door cracked slightly to let moisture escape and reduce temperature peaks.
- Check frequently for the first 30 minutes. If the spool starts to deform, pull it out immediately.
I used the oven method for my first year of printing before buying a dedicated dryer. It works, but I had two close calls with PLA getting soft. The $50 for a Sunlu dryer was money well spent.
Method 3: Food Dehydrator
A solid middle ground between a filament dryer and an oven. Food dehydrators are designed for low, consistent temperatures with air circulation — exactly what filament drying needs.
The main issue is size. Many food dehydrators have small circular trays that won’t fit a standard 1kg spool. You’ll need one with removable trays or a large enough chamber. The Presto 06300 and similar models work if you remove a few trays.
Temperature range is usually 35-70°C, which covers PLA and PETG nicely. For Nylon or ABS, you might not get hot enough.
Method 4: Heated Print Bed (Emergency Fix)
This one’s clever — use the heated bed you already have. Place the spool on the bed (still on the printer or removed), set the bed to 50°C, and cover it with a cardboard box to trap the heat. Leave it for 4-6 hours.
This won’t win any efficiency awards, but it works in a pinch when you don’t have a dryer and need to get a print done. I’ve used this method for PLA plenty of times.
How to Store Filament to Prevent Moisture
Drying filament is a reactive fix. The real goal is to keep it dry in the first place.
Dry Boxes
The gold standard is a sealed container with desiccant. You can buy purpose-built filament dry boxes, or make your own from a large plastic storage bin with a gasket lid.
My setup: I use IRIS weathertight storage boxes from Amazon ($15-20 each). Each one holds 3-4 spools. I throw in 2-3 rechargeable silica gel packs (the orange-indicating kind that turn green when saturated). When the beads go green, I microwave them for 5 minutes to recharge. Simple, cheap, effective.
Vacuum Bags
For long-term storage of filament you won’t use for weeks or months, vacuum-seal bags work great. Suck out the air, throw in a desiccant pack, and the filament stays bone-dry indefinitely. I vacuum-seal specialty filaments I only use occasionally — silk PLA, wood fill, carbon fiber PETG.
Silica Gel: Indicating vs Non-Indicating
Always use indicating silica gel — the kind that changes color when saturated. Orange-to-green or blue-to-pink varieties let you see at a glance when the desiccant needs recharging. Non-indicating (white) silica gel is cheaper but you have no idea when it stops working.
Humidity Monitor
A small digital hygrometer inside your dry box tells you exactly what’s going on. Aim for below 20% relative humidity inside the box. Most cost $5-10 and run on a coin cell battery for a year.
Real Talk: How Paranoid Should You Be?
The internet makes filament moisture sound like the apocalypse. The reality is more nuanced.
PLA is pretty forgiving. A spool that’s been sitting out for a week or two in moderate humidity (40-50% RH) will probably print fine. I’ve printed PLA that’s been on my shelf for months without drying and gotten acceptable results. Not perfect, but acceptable.
PETG is more sensitive. After about a week of open-air exposure in my workshop (Florida, ~60% humidity), I start hearing pops. I try to keep PETG sealed when not in use.
Nylon is a different beast entirely. I’ve had nylon absorb enough moisture to be unprintable in under 24 hours in humid conditions. Nylon goes straight from the vacuum bag to the dryer to the printer. No exceptions.
TPU sits somewhere between PETG and Nylon. It absorbs faster than you’d expect and the effects are noticeable — more stringing, rougher surface, weaker prints.
My practical approach: I keep PLA on an open shelf and dry it every few months or when I notice symptoms. Everything else goes in dry boxes with desiccant, and I run it through the dryer before printing if it’s been opened for more than a few days.
The Bottom Line
If your prints have gotten worse over time and nothing else seems to fix them — dry your filament. It’s the most common overlooked issue in 3D printing, especially for people who’ve been at it for a while and have spools sitting around from months ago.
Buy a $50 filament dryer, a few rechargeable silica gel packs, and a sealed storage container. That’s maybe $80 total, and it’ll save you countless hours of troubleshooting phantom print quality issues.
Your filament is like coffee beans — keep it sealed, keep it dry, and it’ll perform the way it’s supposed to.