How to Fix 3D Printer Clogging After Filament Change: Complete Guide
Why Does Your 3D Printer Clog After Switching Filament?
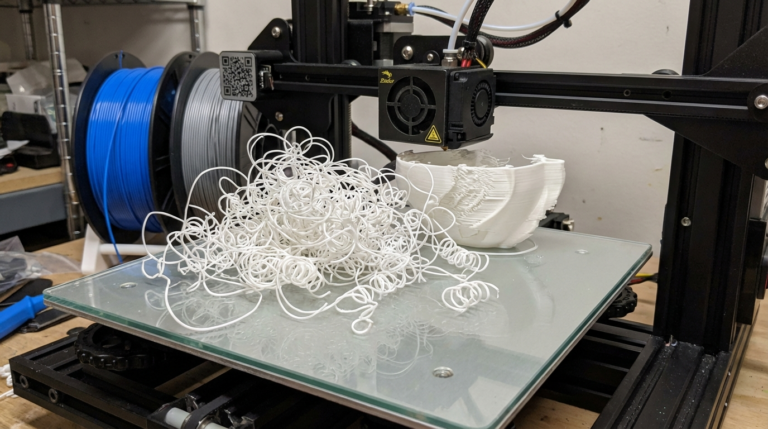
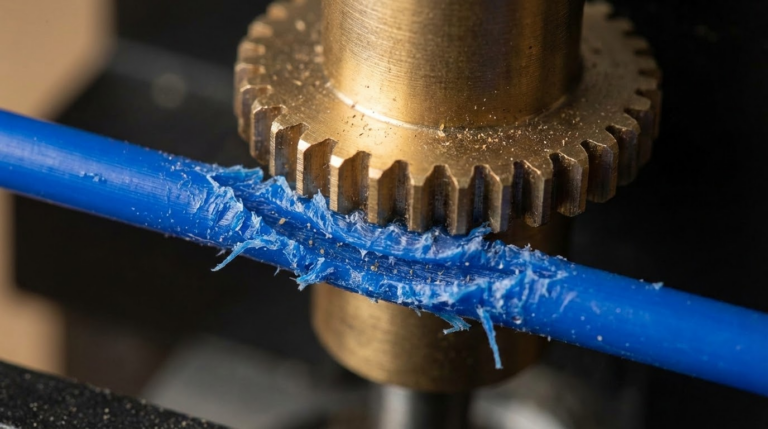
You just swapped from PLA to PETG, hit print, and… nothing comes out. Or worse, you hear that dreaded clicking sound from the extruder. Filament changes are one of the most common triggers for 3D printer clogs, and understanding why it happens is the first step to preventing it.
The root cause usually boils down to one thing: residual material from the previous filament mixing with the new one. Different filaments have different melting points, and leftover plastic can carbonize or create blockages inside the hotend. But that’s just one of several culprits we’ll cover in this guide.
The Most Common Causes of Post-Change Clogs
1. Temperature Mismatch Between Filaments
This is the number one reason for clogs after a filament swap. If you were printing PETG at 240°C and switch to PLA at 200°C, any remaining PETG in the hotend won’t fully melt at the lower temperature. It hardens inside the nozzle and blocks the path for the new filament.
The reverse is also problematic. Running a high-temperature filament through a hotend with residual PLA can cause the PLA to carbonize, creating dark specks and eventually a full blockage.
2. Incompatible Filament Transitions
Some filament combinations are particularly troublesome:
- PLA to ABS or ASA: PLA residue can carbonize at ABS temperatures (230-250°C), creating char that blocks the nozzle.
- PETG to PLA: PETG is notoriously sticky and clings to the inside of the heatbreak. At PLA temperatures, it becomes a solid plug.
- Any material to Nylon: Nylon absorbs moisture rapidly, and any moisture combined with residual filament creates steam that leads to bubbling and clogs.
- Filled filaments (carbon fiber, wood, glow-in-the-dark) to standard filaments: Abrasive particles lodge in the nozzle bore and restrict flow even after switching.
3. Not Purging Enough Material
A quick color change isn’t the same as a material change. When switching between different filament types, you need to purge significantly more material than you might think. The general rule is to extrude at least 100-150mm of the new filament before considering the transition complete. For particularly sticky materials like PETG, double that amount.
4. Cold Pull Neglect
If you never perform cold pulls between filament changes, residue builds up over time. Think of it like never changing your car’s oil filter — eventually, all that accumulated debris creates a blockage.
How to Fix a Clog After Filament Change
The Cold Pull Method (Best First Step)
A cold pull is the most effective way to clear a clog caused by mixed filament residue:
- Heat your hotend to the higher of the two filament temperatures you were switching between.
- Manually push filament through until you see clean, consistent extrusion.
- Set the temperature to 90°C for PLA or 160°C for PETG/Nylon.
- Once at temperature, firmly pull the filament straight up and out of the hotend.
- Inspect the tip — you should see a clean cone shape with debris from the old filament.
- Repeat 3-5 times until the tip comes out clean.
The Atomic Pull Variation
If a standard cold pull doesn’t clear the clog, try the atomic pull. Heat the nozzle to full printing temperature, push filament through, then let the hotend cool completely to room temperature with the filament still in place. Reheat to just above the glass transition temperature of the filament (around 60-70°C for PLA), then pull sharply. This captures more debris than a standard cold pull.
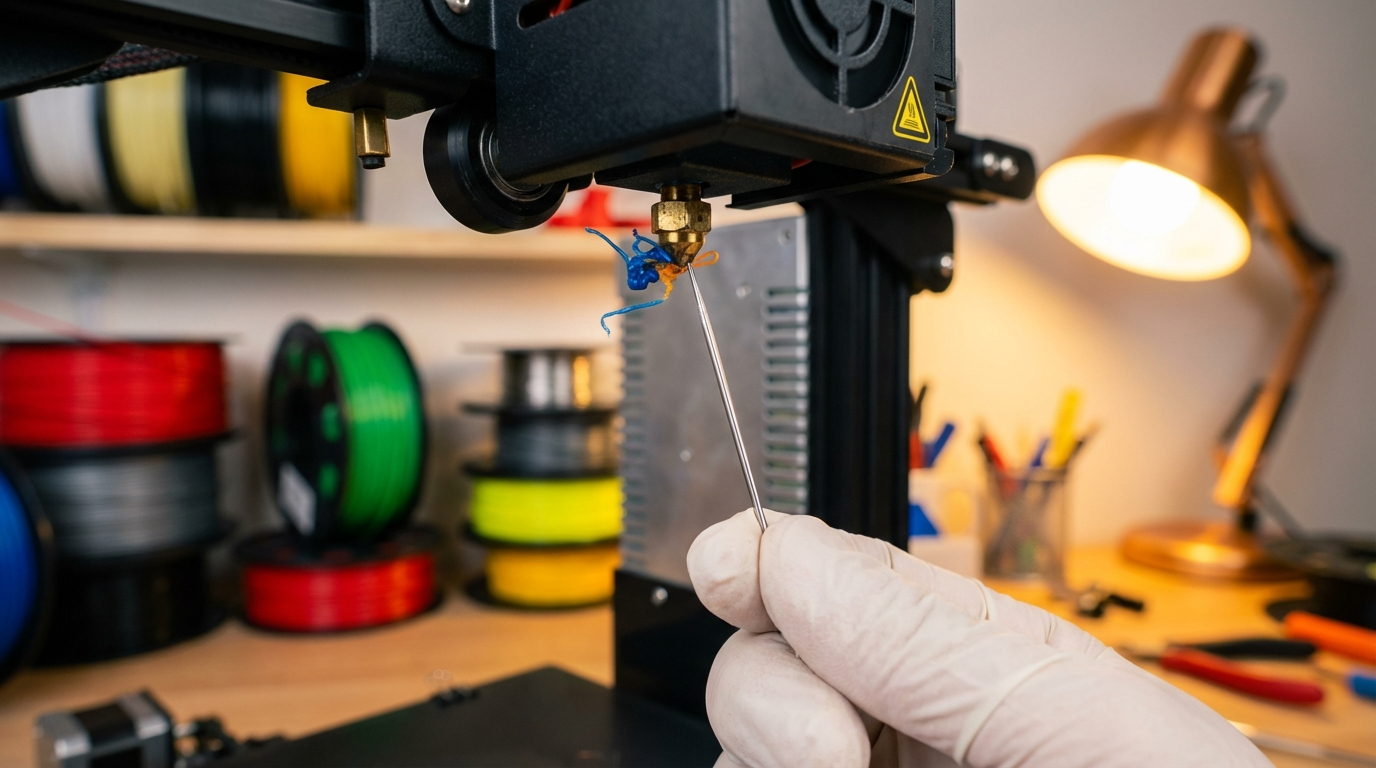
Needle Cleaning
For stubborn partial clogs that cold pulls can’t fully resolve:
- Heat the nozzle to printing temperature.
- Use an acupuncture needle or the cleaning needle that came with your printer.
- Insert it from below, into the nozzle opening.
- Move it up and down several times to break up any carbonized material.
- Follow up with a cold pull to extract the loosened debris.
Complete Hotend Disassembly (Nuclear Option)
When nothing else works, it’s time to take things apart:
- Heat the hotend to 250°C and remove the nozzle using a socket wrench while hot (use thermal gloves).
- Remove the heatbreak from the heater block.
- Soak metal components in acetone (for ABS residue) or use a heat gun to burn out remaining plastic.
- Clean the bore of the heatbreak with a drill bit of the appropriate diameter.
- Reassemble while hot, ensuring the nozzle is tight against the heatbreak with no gap.
Prevention: The Proper Filament Change Procedure
Step 1: Match Temperatures
Always unload the current filament at its printing temperature, not a lower one. If you’re removing PETG, keep the hotend at 240°C while retracting. This ensures the filament pulls out cleanly without leaving a blob.
Step 2: Purge at the Higher Temperature
When loading new filament, start at the higher temperature of the two materials. For example, if switching from PETG (240°C) to PLA (200°C):
- Unload PETG at 240°C
- Load PLA at 240°C and purge 150mm
- Drop temperature to PLA’s normal range (200-210°C)
- Purge another 50mm at the correct temperature
Step 3: Use Cleaning Filament for Difficult Transitions
Dedicated cleaning filament (available from brands like eSun and Polymaker) is designed to bond with residual material and pull it out of the hotend. Run 100mm of cleaning filament between material changes, especially when going from higher to lower temperature materials.
Step 4: Periodic Cold Pulls
Even if you don’t have a clog, performing a cold pull every 5-10 filament changes maintains a clean hotend. It takes 5 minutes and saves you from dealing with a full clog later.
Special Considerations by Filament Type
After Printing with Filled Filaments
Carbon fiber, wood-fill, and glow-in-the-dark filaments contain abrasive particles that can embed in a brass nozzle. After printing with these materials:
- Perform multiple cold pulls (5-7 times)
- Consider dedicating a hardened steel nozzle to filled filaments
- Inspect the nozzle bore — if it’s worn beyond 0.4mm (for a 0.4mm nozzle), replace it
After Printing with TPU or Other Flexibles
TPU is notorious for leaving residue in the hotend due to its sticky nature. When switching away from TPU:
- Run PLA or PETG at 240°C for extended purging (200mm+)
- The rigid filament will push out any remaining flexible material more effectively than a cold pull
After Printing with Nylon
Nylon absorbs moisture aggressively. If it sat in your printer for any length of time:
- Dry the filament before attempting to unload (otherwise moisture causes popping and clogs)
- Unload at full temperature (250-260°C) to ensure clean removal
- Purge extensively with the next filament
When to Just Replace the Nozzle
Sometimes a clog is actually a worn-out nozzle in disguise. Replace your nozzle if:
- Cold pulls consistently come out with an irregular tip shape
- Print quality has degraded gradually over time (not just after a filament change)
- You’ve printed more than 200 hours with filled or abrasive filaments on a brass nozzle
- The nozzle exterior shows significant buildup that cleaning can’t remove
Quality brass nozzles cost less than $2 each. Keeping a pack of spares on hand means you’re never more than a 5-minute swap away from a fresh start.
Quick Reference: Filament Change Cheat Sheet
| From → To | Risk Level | Recommended Procedure |
|---|---|---|
| PLA → PLA (color change) | Low | Purge 100mm at 210°C |
| PLA → PETG | Medium | Purge 150mm at 240°C, cold pull |
| PETG → PLA | High | Multiple cold pulls at 90°C, purge at 240°C first |
| Any → Nylon | High | Full purge + cleaning filament |
| Filled → Standard | High | 7+ cold pulls, consider nozzle swap |
| TPU → Any rigid | Medium | Extended purge (200mm) at 240°C |
Final Thoughts
Filament clogs after material changes are frustrating but almost entirely preventable. The key takeaways are simple: always purge at the higher temperature, perform regular cold pulls, and don’t skip the transition procedure just because you’re in a hurry. Those extra 5 minutes of proper filament change procedure will save you hours of troubleshooting down the line.
If you’re regularly working with multiple materials, consider setting up a filament change routine that you follow every single time. Consistency is the best defense against clogs.