How to Fix a 3D Printer Hotend Gap — Stop Filament Leaking Between Nozzle and Heatbreak
What Is a Hotend Gap and Why Does It Leak?
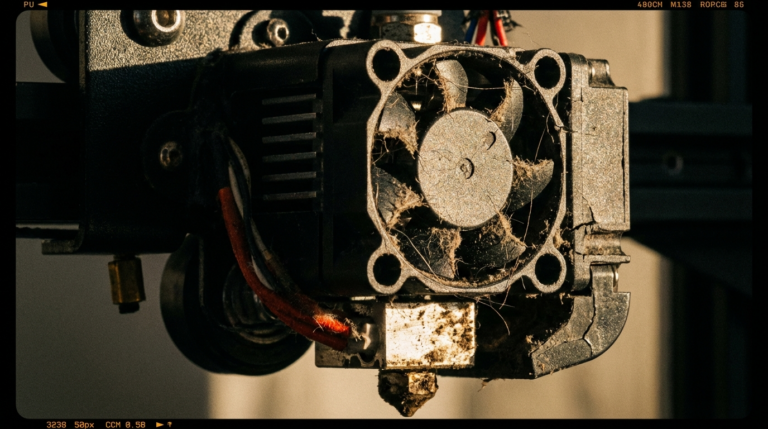
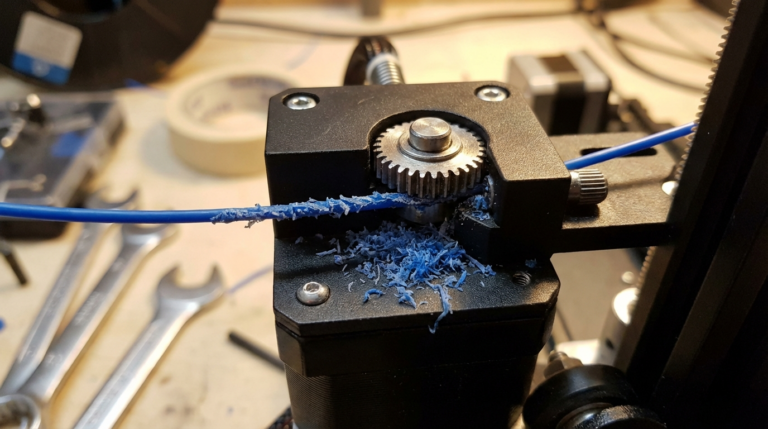
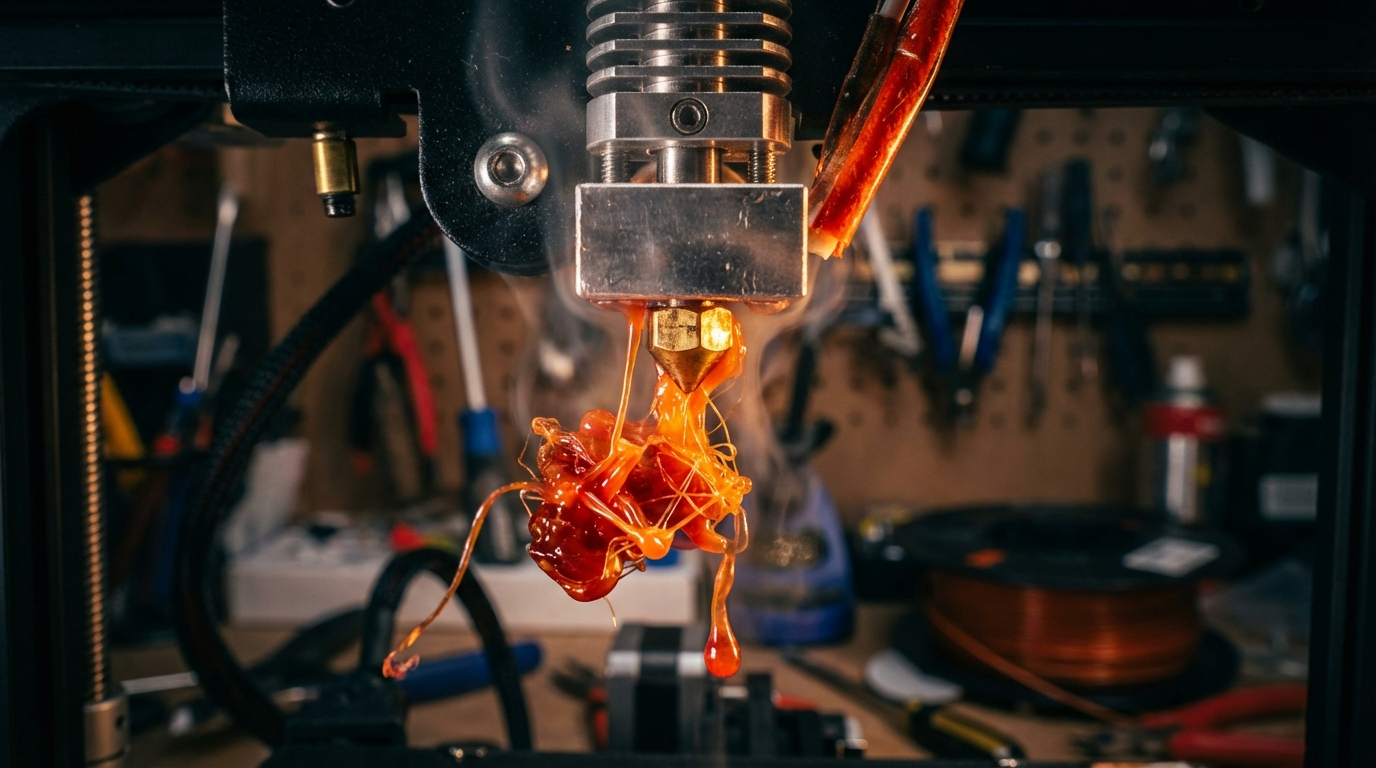
If you’ve noticed filament oozing from somewhere above the nozzle, accumulating around the heater block, or seeing dark burnt material mixed into your prints, you’re likely dealing with a hotend gap. This is one of the most common — and most misunderstood — issues in FDM 3D printing.
A hotend gap occurs when the nozzle and heatbreak don’t form a tight, flush connection inside the heater block. Even a gap as small as 0.1mm creates a pocket where molten filament can accumulate, degrade, and leak out. Over time, this leads to clogs, inconsistent extrusion, and in severe cases, a complete mess of melted plastic coating your hotend.
The gap typically forms during assembly, after a nozzle change, or when thermal cycling gradually loosens the connection. Understanding exactly how these components fit together is the key to preventing and fixing this problem permanently.
How the Hotend Assembly Works
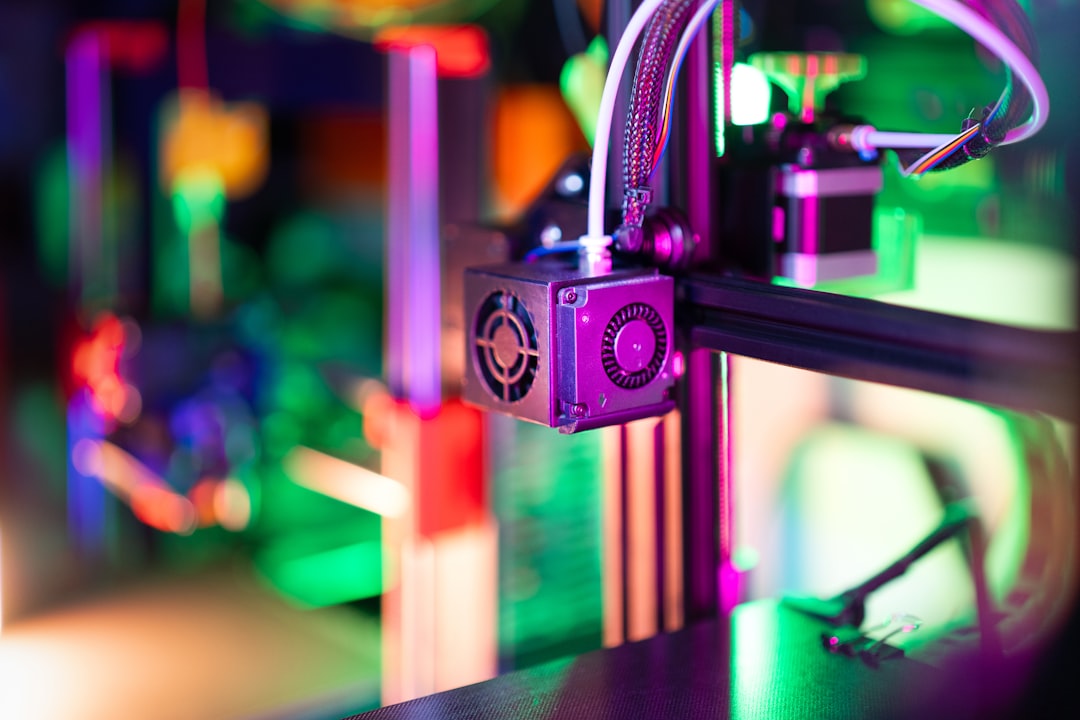
A standard hotend has three critical components that must form a sealed filament path:
- The nozzle — threads into the bottom of the heater block
- The heater block — the aluminum body that houses the heater cartridge and thermistor
- The heatbreak — threads into the top of the heater block and connects to the heatsink above
The critical design principle: the nozzle and heatbreak must butt up against each other inside the heater block, creating a metal-to-metal seal. The nozzle should not bottom out against the heater block itself. If the nozzle seats against the block before touching the heatbreak, a gap exists between the two — and that’s where leaks happen.
Think of it like plumbing. Two pipes need to meet inside a fitting with no gaps. If there’s even a tiny space between them, the fluid (in this case, molten plastic) will find its way into that gap and cause problems.
Signs You Have a Hotend Gap
Before diving into fixes, let’s confirm the diagnosis. A hotend gap produces several telltale symptoms:
Visual Signs
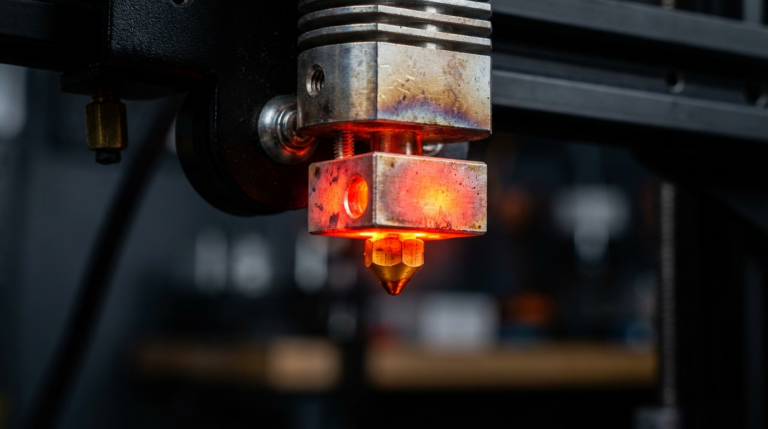
- Filament leaking around the heater block: You’ll see plastic oozing from between the nozzle and the block, or from around the top of the block where the heatbreak enters
- Burnt material buildup: A blob of dark, carbonized plastic forming on the outside of the hotend
- Filament “boogers”: Small drips of plastic on your prints that fall from the hotend during printing
Print Quality Signs
- Dark specks or streaks in prints: Burnt filament from the gap gets pushed into the print. This is especially visible with white or light-colored filament
- Intermittent under-extrusion: Some filament diverts into the gap instead of going through the nozzle
- Inconsistent extrusion after filament changes: Old material trapped in the gap mixes with new filament
- Sudden clogs: Material in the gap carbonizes and eventually blocks the filament path
Behavioral Signs
- The problem gets worse over time: A small gap allows more material to accumulate, which expands the gap further
- Cleaning the nozzle doesn’t fix extrusion issues: Because the problem is above the nozzle
- New nozzles clog quickly: If you replace the nozzle without fixing the gap, the new one will develop the same issue
How to Fix a Hotend Gap: Step-by-Step
The fix involves disassembling the hotend, cleaning everything, and reassembling with the correct tightening procedure. Here’s the complete process:
What You’ll Need
- Socket wrench or spanner that fits your nozzle (usually 6mm or 7mm)
- Wrench for the heater block (varies by hotend model)
- Brass wire brush
- Heat-resistant gloves or pliers
- Thermal compound (optional but recommended for the heatbreak threads)
- Torque wrench (optional, for precise tightening)
Step 1: Heat the Hotend
Heat the hotend to printing temperature (200-230°C for PLA/PETG nozzle changes). Never try to remove a nozzle cold — you’ll strip the threads or crack the heater block. The thermal expansion from heating loosens the threads and prevents damage.
Step 2: Remove the Nozzle
While holding the heater block steady with one wrench, use the socket wrench to unscrew the nozzle. Turn counter-clockwise. Be careful — it’s hot. Set the nozzle aside.
Step 3: Remove the Heatbreak
Let the hotend cool down. Once cool, unscrew the heatbreak from the top of the heater block. On many printers, you’ll need to remove the heatsink first. Note how many turns it takes — this helps during reassembly.
Step 4: Clean Everything
Use the brass wire brush to clean the threads on the nozzle, heatbreak, and inside the heater block. Remove all traces of old filament, carbon buildup, and debris. For stubborn deposits, you can use a heat gun to soften the material before brushing.
Inspect the heatbreak throat. If the internal bore has significant carbon buildup, soak it in acetone (for ABS residue) or run a drill bit of the appropriate size through it by hand.
Step 5: Reassemble with the Correct Procedure
This is the critical step where most people make the mistake that causes the gap in the first place:
- Thread the heatbreak into the heater block until it’s snug. Don’t overtighten — just finger-tight plus a small turn with a wrench
- Thread the nozzle into the heater block from the bottom — but stop about one full turn before it seats against the block. The nozzle should NOT be flush with the bottom of the heater block
- Heat the hotend to 250-285°C — hotter than your normal print temp. This accounts for thermal expansion and ensures a tight seal at operating temperature
- While hot, tighten the nozzle the final turn so it presses firmly against the heatbreak inside the block. You should feel resistance as the nozzle contacts the heatbreak. Give it about 1-1.5 Nm of torque (firm but not gorilla-strength)
The key insight: the nozzle must push against the heatbreak, not bottom out on the block. That metal-to-metal contact between nozzle and heatbreak is what seals the filament path.
Preventing Hotend Gaps in the Future
Once you’ve fixed the gap, these practices will prevent it from coming back:
Always Hot-Tighten
Every single nozzle change should involve hot-tightening. Cold-tightened nozzles will loosen as the hotend heats up due to thermal expansion differences between the steel/brass nozzle and aluminum block. This is the number one cause of recurring gaps.
Use the Right Torque
Over-tightening can strip threads in the aluminum heater block, which is softer than the steel nozzle. Under-tightening leaves a gap. If you have a torque wrench, 1-1.5 Nm is the sweet spot for most hotends. Without one, “firm but not forcing it” is a good guideline.
Apply Thermal Compound to Heatbreak Threads
A thin coat of thermal compound (like boron nitride paste or copper anti-seize) on the heatbreak threads serves two purposes: it improves heat transfer and prevents the threads from seizing over time. Don’t apply compound to the nozzle-to-heatbreak contact surface — that joint needs to be metal-on-metal.
Re-Tighten After First Heat Cycle
After installing a new nozzle, do one print, let the hotend cool completely, then reheat and give the nozzle another quarter-turn tightening. The first thermal cycle often causes slight settling, and this second tightening locks everything in place.
Don’t Mix Thread Standards
Most consumer 3D printers use M6 threads for the nozzle. If you’re buying replacement nozzles, make sure they match your hotend’s thread specification. An M6 nozzle in an M6 block with a different thread pitch will cross-thread and never seal properly.
Special Cases: All-Metal vs PTFE-Lined Hotends
PTFE-Lined Hotends (Ender 3, CR-10, etc.)
On PTFE-lined hotends (like the stock Creality hotends), the PTFE tube extends all the way down through the heatbreak to the top of the nozzle. Here, the gap problem has an extra dimension: the PTFE tube must butt up flush against the nozzle with zero gap.
If the PTFE tube is cut at an angle, has degraded, or isn’t pushed all the way down, you get a gap between the tube and nozzle. Filament collects in this gap, causing the same symptoms as a metal-to-metal gap.
The fix: Cut the PTFE tube perfectly square (use a PTFE tube cutter, not scissors or a blade), push it all the way down until it contacts the nozzle, and secure it with the coupler. Some people add a small spring to the coupler to maintain downward pressure on the tube.
All-Metal Hotends (E3D V6, Micro Swiss, Dragon, etc.)
All-metal hotends rely entirely on the nozzle-to-heatbreak metal contact. The procedure described above applies directly. These hotends are generally more reliable once properly assembled, but they’re less forgiving of improper assembly.
With all-metal heatbreaks, you may also encounter a gap if the heatbreak’s internal bore has a machining defect or if the sealing surface is damaged. Inspect the mating face of the heatbreak — it should be flat and smooth. Any scoring or pitting on this surface will compromise the seal.
When to Replace Instead of Fix
Sometimes a hotend gap has caused enough damage that repair isn’t viable:
- Stripped heater block threads: If the nozzle spins freely without tightening, the aluminum threads are stripped. You need a new heater block (about $5-10)
- Warped or damaged heatbreak: If the heatbreak is bent or the sealing surface is damaged, replace it. Especially common with cheap stainless steel heatbreaks
- Severely carbon-clogged nozzle: If the nozzle bore is permanently restricted despite cleaning, just replace it. Brass nozzles are consumable items
- Cracked heater block: Rare but possible with over-tightening. The block needs replacement
Fortunately, individual hotend components are inexpensive. A full set of replacement parts (nozzle, heatbreak, heater block) typically costs $10-20, and swapping them takes about 15 minutes once you know the procedure.
Final Thoughts
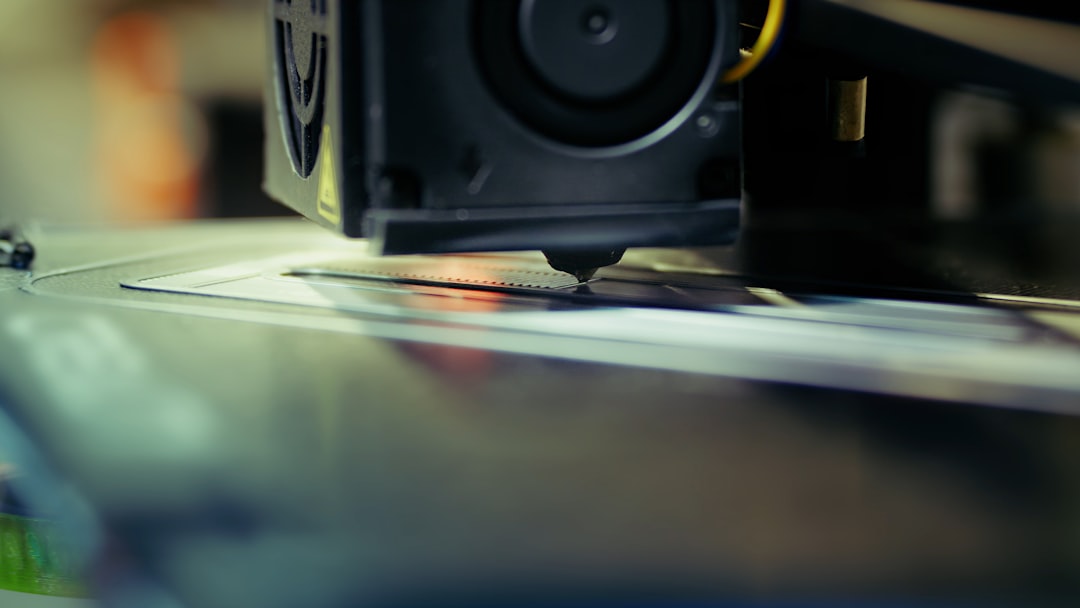
A hotend gap is one of those problems that causes a cascade of symptoms — under-extrusion, clogs, burnt filament, messy prints — that can send you down the wrong troubleshooting path for hours. Once you know what to look for (leaking around the block, dark specks in prints), the fix is straightforward: disassemble, clean, and reassemble with the nozzle pressed firmly against the heatbreak at temperature.
The hot-tightening step is the one thing that prevents 90% of hotend gaps. Make it part of your standard nozzle change procedure, and you’ll rarely encounter this issue again. It takes an extra two minutes during assembly, but it saves you hours of troubleshooting failed prints down the road.