How to Fix a Rough Bottom Surface on 3D Prints: Every Cause and Solution
What Causes a Rough Bottom Surface on 3D Prints?
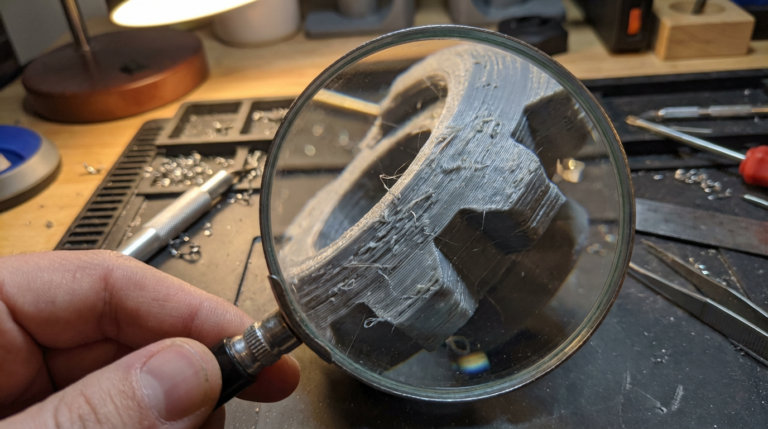
You’ve dialed in your top layers, your walls look clean, and your overhangs are respectable. Then you pop the print off the bed and flip it over — and the bottom looks like it was dragged across sandpaper. Rough, textured, uneven, or covered in little bumps and ridges that definitely weren’t in your CAD model.
A rough bottom layer (also called a rough first layer) is one of the most common cosmetic issues in FDM 3D printing, and it’s almost always caused by one of a handful of problems: the nozzle is too close to the bed, the bed surface is worn or dirty, your first layer settings are wrong, or your bed temperature is too high. The good news is that every one of these has a straightforward fix.
Cause #1: Nozzle Too Close to the Bed (Over-Squish)
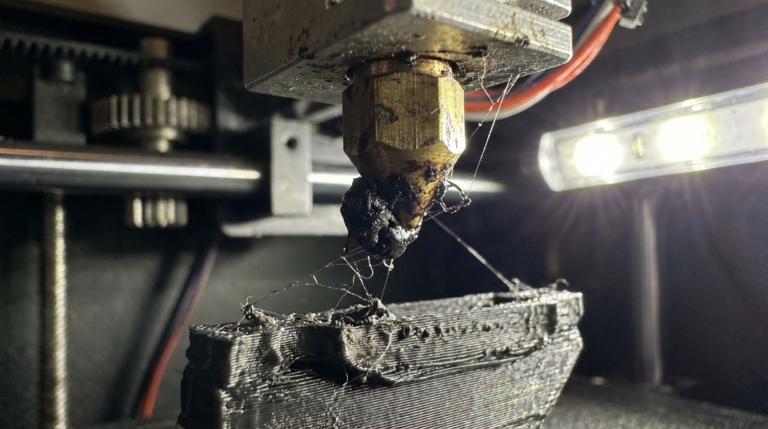
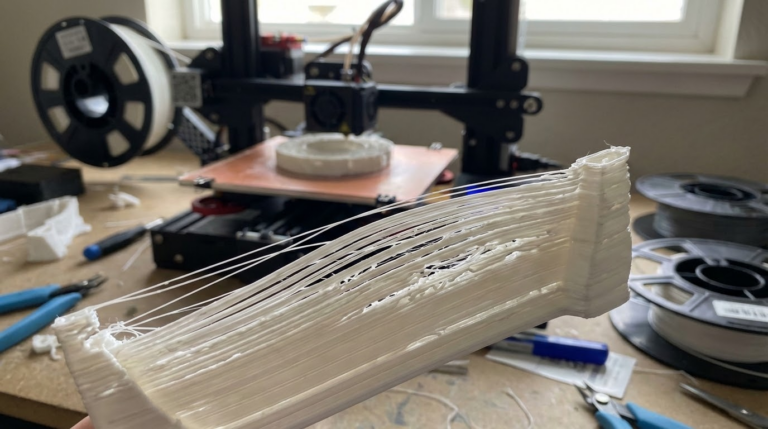
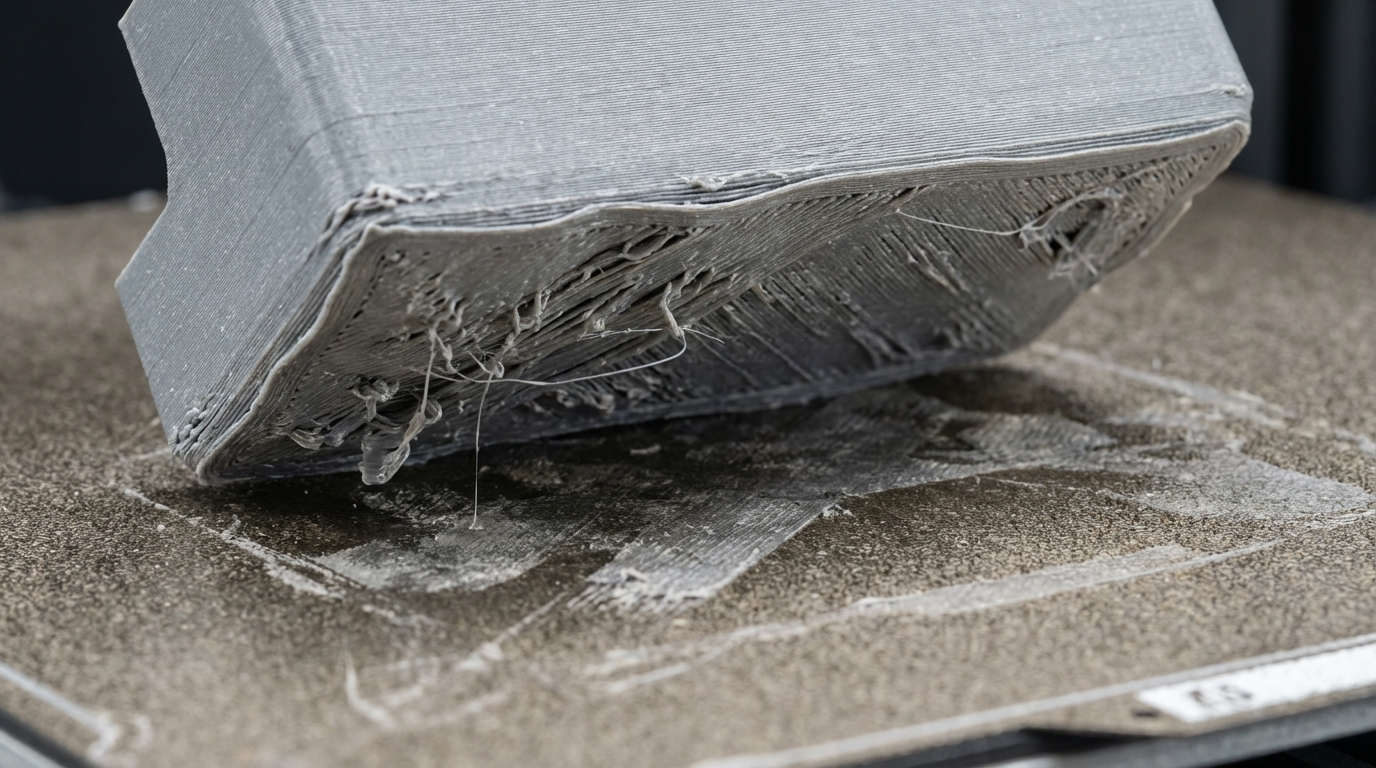
This is the number one reason for rough bottom surfaces, and it’s the first thing to check. When your nozzle is too close to the build plate, the first layer gets squished more than intended. The excess plastic has nowhere to go — it gets pushed sideways, creating ridges between lines, uneven buildup, and a rough, almost ridged texture on the bottom of the print.
How to Identify It
Look at the bottom surface under good lighting. If you see raised ridges running parallel to the print lines, with valleys between them, the nozzle is too close. In extreme cases, you’ll see the filament being plowed aside, creating a rough texture with visible drag marks.
The Fix
Increase your Z-offset by small increments — start with 0.02mm at a time. You want the first layer to be slightly squished (good adhesion requires it), but not so much that plastic is being forced sideways. A good first layer should look smooth and slightly transparent for lighter filaments, with individual lines barely visible but not raised above each other.
If you’re using manual bed leveling, the classic paper test is a starting point, but it’s imprecise. Print a first-layer calibration square (50mm x 50mm, one layer thick) and adjust live during the print until the bottom looks smooth.
Cause #2: Bed Temperature Too High
An excessively hot bed can cause the first layer of plastic to stay semi-molten for too long. Instead of solidifying into a clean, flat layer, it remains soft enough to deform under the weight of subsequent layers or from the nozzle dragging over it. This results in a glossy but rough surface with ripples or waves, particularly noticeable with PLA.
Recommended First Layer Bed Temperatures
- PLA: 55-65°C (many people run too hot at 70°C+)
- PETG: 70-80°C
- ABS: 90-110°C
- TPU: 40-60°C
If you’re running above these ranges, try dropping 5°C at a time. You’ll often find that the bottom surface improves dramatically without sacrificing adhesion.
Cause #3: Dirty or Worn Bed Surface
Your build surface has a texture, and that texture transfers directly to the bottom of your prints. If the surface is contaminated with finger oils, old adhesive residue, or dust, you’ll get patches of rough and smooth texture on the bottom. If the surface is worn (scratched PEI, gouged glass, or a textured sheet with damaged areas), those imperfections stamp into every print.
The Fix
Clean your bed before every print session. For PEI sheets, wipe with 90%+ isopropyl alcohol (IPA). For glass beds, IPA works well, and occasional washing with dish soap and warm water removes stubborn residues. Avoid touching the print surface with bare fingers — the oils from your skin are a major adhesion killer and texture disruptor.
If your PEI sheet is heavily scratched or has lost its texture in high-use areas, it might be time for a replacement. PEI sheets are consumables — they last a long time, but not forever.
Cause #4: First Layer Speed Too High
Your first layer print speed directly affects how cleanly the filament is laid down. Too fast, and the extruder can’t keep up with smooth, even deposition. The result is a first layer with gaps, uneven width, and rough texture where the filament was jerked around corners or couldn’t adhere properly.
The Fix
Set your first layer speed to 20-30 mm/s regardless of your normal print speed. Yes, even if you’re printing at 150 mm/s on a Bambu Lab or Voron. The first layer is the foundation — it’s worth the extra 30 seconds to get it right. Most slicers have a dedicated “first layer speed” or “initial layer speed” setting.
Cause #5: Over-Extrusion on the First Layer
Many slicers default to a first layer flow rate of 100%, but some profiles or user tweaks push this higher (110%, 120%, or more) to improve adhesion. The problem is that excess filament on the first layer creates a rough surface for the same reason as having the nozzle too close — there’s more plastic than there’s space for, and it gets pushed into ridges.
The Fix
Check your first layer flow rate (sometimes called “initial layer flow” or “first layer extrusion width”). If it’s above 105%, try bringing it back to 100%. Adhesion is better achieved through proper bed temperature, clean surface, and correct Z-offset than through brute-force over-extrusion.
Cause #6: Build Surface Type and Texture Transfer
Different build surfaces create different bottom textures by design:
- Smooth PEI: Produces a glossy, mirror-like bottom surface. Any defect is immediately visible.
- Textured PEI: Creates a uniform matte pattern on the bottom. This hides minor imperfections but adds a deliberate texture that some users mistake for roughness.
- Glass: Very smooth bottom, nearly glass-like finish (when clean). Glue stick or hairspray will transfer their own texture.
- Magnetic flexible plates: Quality varies hugely. Cheap plates can have uneven coating that transfers to prints.
If you want the smoothest possible bottom layer, a clean glass bed or smooth PEI sheet is your best bet. If you’re using adhesives (glue stick, hairspray), apply them in thin, even coats — thick blobs create texture.
Post-Processing: Fixing a Rough Bottom After Printing
Sometimes you need a smooth bottom surface on a print that’s already done. Here’s how to fix it after the fact:
Sanding
Start with 200-grit sandpaper and work up to 400 or 600 grit. Wet sanding (with a little water) gives a smoother result and generates less dust. For PLA, this works well. For PETG, go slower — it’s gummier and can tear if you’re aggressive.
Heat Gun or Soldering Iron
A quick pass with a heat gun on low setting can smooth PLA surfaces by slightly remelting the top layer. Be extremely careful — too much heat warps the print. This works best on flat surfaces. Practice on a failed print first.
Filler and Paint
For cosmetic parts, automotive filler primer (spray can) fills in texture and creates a smooth, paintable surface. Apply thin coats, sand between coats, and finish with your paint of choice. This is the go-to method for cosplay props and display pieces.
Prevention Checklist
Before your next print, run through this quick list to prevent a rough bottom surface:
- Clean the bed with IPA
- Check Z-offset with a first layer test print
- Verify bed temperature is within recommended range for your filament
- Set first layer speed to 20-30 mm/s
- Confirm first layer flow rate is at 100% (or no more than 105%)
- Inspect your build surface for damage or wear
A rough bottom layer is almost never a hardware problem. It’s a calibration and settings issue 99% of the time, and once you dial it in, every print will come off the bed with a clean, professional-looking base.