How to Fix Nozzle Dragging and Scratching on 3D Prints: Every Cause and Solution
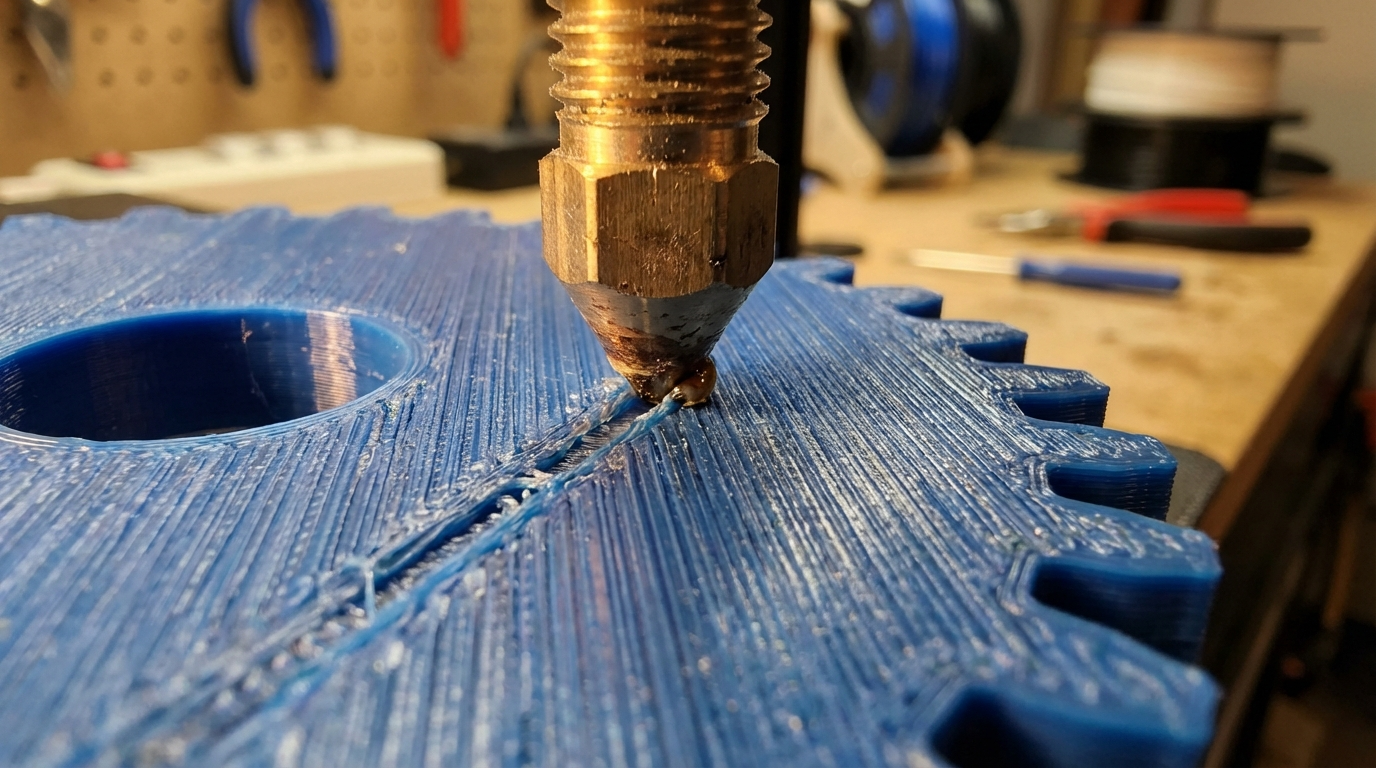
Few things are more frustrating than watching your 3D printer’s nozzle drag across the surface of a print, gouging lines into what should be a smooth top layer. Nozzle dragging — sometimes called nozzle scratching or scarring — leaves ugly marks, can knock small parts off the bed, and in severe cases will ruin a print entirely.
The good news? This is almost always fixable. In this guide, I’ll walk you through every cause of nozzle dragging and the specific settings changes that eliminate it for good.
What Is Nozzle Dragging and Why Does It Happen?
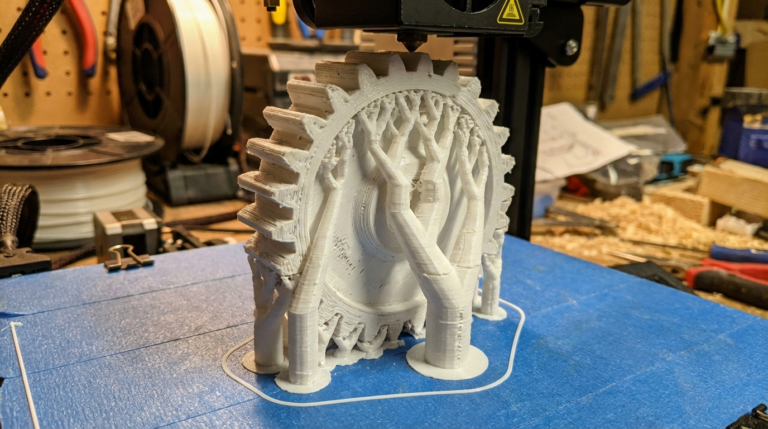
Nozzle dragging occurs when the nozzle physically contacts already-printed layers during non-printing travel moves or while laying down new material. You’ll see it as scratch marks, grooves, or raised lines on the top surfaces of your prints. In extreme cases, the nozzle can push parts off the build plate or cause layer shifts from the mechanical resistance.
The root causes fall into a few categories: too much material being deposited (over-extrusion), the nozzle sitting too close to previous layers (Z-offset or leveling issues), or the nozzle dragging melted plastic across the surface during travel moves (retraction and travel settings).

Cause #1: Over-Extrusion
Over-extrusion is the single most common reason for nozzle dragging. When your printer pushes out more filament than the slicer expects, the excess plastic builds up on the surface. Each successive layer sits slightly higher than it should, and eventually the nozzle starts plowing through the accumulated material.
How to Fix Over-Extrusion
Calibrate your E-steps. This is step one. Heat your hotend to printing temperature, mark 120mm of filament above the extruder entrance, command 100mm of extrusion (M83, then G1 E100 F100), and measure how much was actually pulled in. If it pulled more than 100mm, your E-steps are too high. Calculate the correct value: new_steps = (current_steps × 100) / actual_mm_extruded.
Tune your flow rate. After calibrating E-steps, print a single-wall cube (vase mode, 0.4mm line width with a 0.4mm nozzle) and measure the wall thickness with calipers. If it’s thicker than 0.4mm, reduce your flow multiplier proportionally. A wall measuring 0.44mm means you need roughly 91% flow (0.4 / 0.44 = 0.909).
Check your filament diameter. Measure your filament at multiple points with calipers. If it’s consistently above 1.75mm (say, 1.78mm), enter the actual measured diameter in your slicer. This alone can fix minor over-extrusion.
Cause #2: Z-Offset Too Low
If your nozzle is too close to the bed — even by 0.05mm — the first layer gets squished excessively. This doesn’t always cause problems on the first layer itself, but it cascades upward. Every subsequent layer is slightly too close, and by the time you reach the top layers, the nozzle is physically contacting the surface.
How to Fix Z-Offset Issues
Re-level your bed. Use the paper test as a starting point, but don’t stop there. Print a first-layer test pattern and look for the sweet spot: lines that are flat and slightly overlapping, but not transparent or squished beyond their intended width.
Adjust the Z-offset in small increments. Move it up by 0.02mm at a time. You want a first layer that adheres well without being ground into the bed surface. On printers with a probe (BLTouch, CR-Touch), you can adjust the Z-offset on the fly during the first layer of a test print.
Cause #3: Travel Moves Dragging Across the Print
Even with perfect extrusion and leveling, the nozzle can drag across the print surface during travel moves — the non-printing movements between features. This is especially visible on top layers where the nozzle has to cross large flat areas.
How to Fix Travel-Related Dragging
Enable Z-hop (lift Z). This is the single most effective fix for travel-related nozzle dragging. Z-hop lifts the nozzle by a small amount (typically 0.2–0.6mm) during travel moves, clearing any high spots or ooze. In Cura, it’s called “Z Hop When Retracted.” In PrusaSlicer, it’s “Lift Z.” Set it to 0.4mm as a starting point.
Increase retraction. If the nozzle still oozes during travel moves, increase your retraction distance by 0.5mm increments. For direct drive extruders, 1–3mm is typical. For Bowden setups, 4–7mm. Make sure retraction speed is between 25–45mm/s.
Enable combing or “avoid crossing perimeters.” This setting forces travel moves to stay inside the printed area rather than crossing over outer walls. Cura calls it “Combing Mode” (set to “Within Infill”). PrusaSlicer calls it “Avoid crossing perimeters.” This won’t prevent all dragging, but it hides the marks inside the print where they’re invisible.
Cause #4: Warped or Curved Top Surfaces
If your top surfaces are slightly warped upward — common with thin, flat prints or parts with large unsupported spans — the nozzle will contact the high points even if your settings are otherwise correct.
How to Fix Warped Top Surfaces
Increase top layers. More top layers provide better bridging over infill, reducing the sag-and-bulge cycle that creates uneven surfaces. Use at least 5–6 top layers, or 1.2mm of top thickness.
Increase infill percentage. Low infill (under 15%) means the top layers have to bridge longer gaps, leading to sagging on the underside and bulging on the top. For parts where surface quality matters, use at least 20% infill.
Switch infill patterns. Some patterns support top layers better than others. Gyroid and cubic provide more evenly distributed support points than lines or zigzag.
Cause #5: Incorrect Layer Height Settings
Your layer height should be no more than 75–80% of your nozzle diameter. A 0.4mm nozzle shouldn’t print layers thicker than 0.32mm. If you exceed this, each layer doesn’t bond properly to the one below, and the nozzle ends up pushing material sideways rather than depositing it cleanly.
Conversely, extremely thin layers (under 0.08mm) can also cause dragging because the nozzle is so close to the previous layer that any minor imperfection in extrusion causes contact.
Cause #6: Filament Quality Issues
Wet filament absorbs moisture from the air, and when it’s heated in the hotend, that moisture turns to steam. The result is tiny bubbles and inconsistent extrusion — some spots get too much material, others too little. The bumps from over-extruded spots are exactly the kind of high points that catch the nozzle.
Dry your filament. Use a filament dryer at the recommended temperature for your material (typically 45°C for PLA, 65°C for PETG, 80°C for Nylon) for 4–6 hours. Store filament in sealed bags with desiccant when not in use.
The Ultimate Anti-Dragging Settings Checklist
If you’re dealing with nozzle dragging, work through this list in order:
- Calibrate E-steps — eliminates the most common cause
- Tune flow rate — single-wall test, aim for exact nozzle width
- Check Z-offset — raise by 0.02mm if first layer is over-squished
- Enable Z-hop — 0.4mm during retracted travel moves
- Enable combing — keep travel moves inside the print
- Increase top layers — minimum 5 layers or 1.2mm
- Increase retraction — 0.5mm increments until ooze stops
- Dry your filament — eliminate moisture-related bumps
Material-Specific Tips
PLA: Most forgiving. Z-hop of 0.2–0.4mm is usually sufficient. PLA doesn’t ooze much, so retraction settings are less critical.
PETG: The worst offender for nozzle dragging because it’s naturally stringy and oozy. Use higher Z-hop (0.6mm), enable “wipe” settings, and consider reducing nozzle temperature by 5°C from your usual setting.
ABS: Similar to PLA in terms of dragging behavior, but warping can create high spots that catch the nozzle. Ensure your enclosure maintains consistent temperature.
TPU: Flexible filaments are prone to ooze. Use very slow travel speeds (100–150mm/s) along with Z-hop. Retraction is often limited or disabled with TPU, making Z-hop your primary defense.
When Nothing Else Works
If you’ve tried everything above and still see marks, consider these advanced fixes:
Replace your nozzle. A worn nozzle has a wider flat spot at the tip, increasing the contact area with the print surface. Brass nozzles should be replaced every few months with regular use.
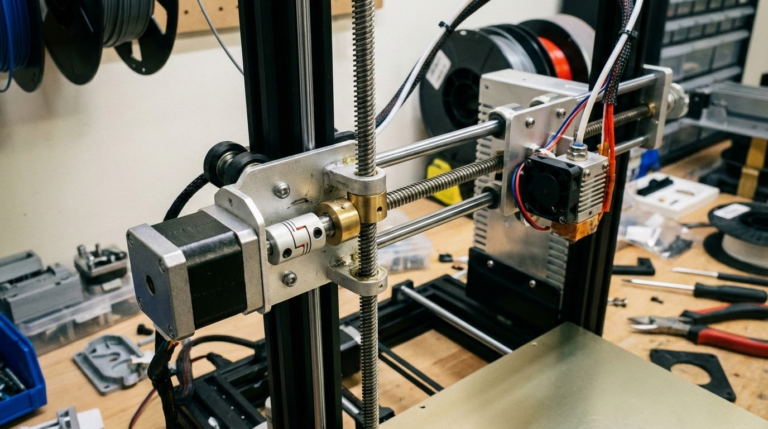
Check for a bent X-axis gantry. If one side of your prints has worse dragging than the other, your gantry may not be perfectly level. Loosen the eccentric nuts on the gantry rollers, push both sides up against the top of the frame, and re-tighten.
Slow down top layer speed. Reducing the speed for top/bottom layers to 20–30mm/s gives the extruder more time to lay down material evenly, reducing the bumps that cause dragging.
Final Thoughts
Nozzle dragging is annoying, but it’s not mysterious. It’s almost always caused by too much material in too little space. Start with E-step calibration and flow tuning — those two fixes resolve about 80% of dragging cases. Add Z-hop for travel-related scratches, and you’ll be printing clean, mark-free surfaces in no time.
If you found this guide helpful, check out our related articles on fixing scars and marks on 3D print surfaces and eliminating blobs on corners for even smoother prints.