How to Fix Stringing on Your 3D Printer
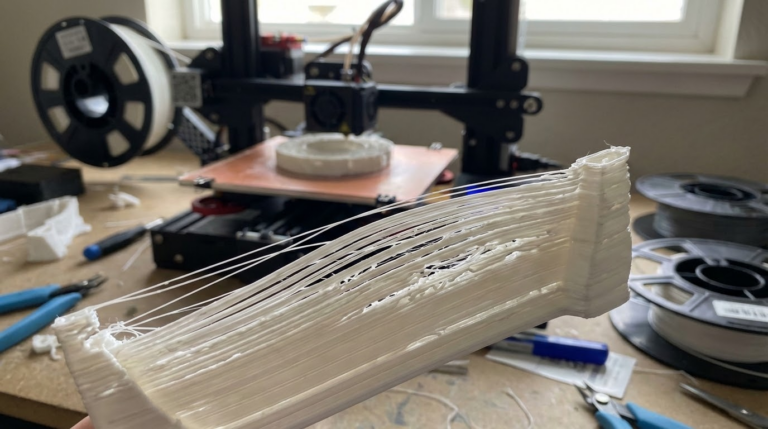
Stringing is one of those problems that makes you want to throw your printer out the window. You slice a model, hit print, come back an hour later — and the thing looks like it’s been attacked by a spider. Thin whiskers of plastic everywhere, connecting towers, bridging gaps, turning an otherwise decent print into a hairy mess.
I’ve been there more times than I’d like to admit. And after years of tuning different machines — from a beat-up Ender 3 to a Prusa MK4 — I can tell you that stringing is almost always fixable. You just need to know which knobs to turn.
What Causes Stringing on a 3D Printer?
Stringing happens when molten filament oozes out of the nozzle during travel moves — those moments when the printhead repositions without extruding. The plastic doesn’t stop flowing instantly when the extruder motor stops pushing. Gravity and residual pressure keep it dripping, and that drip stretches into a thin string as the nozzle moves.
Three main culprits:
- Retraction is off or too weak. The printer isn’t pulling filament back fast enough or far enough.
- Temperature is too high. Hotter plastic flows more freely, meaning more ooze.
- Travel speed is too slow. The longer the nozzle lingers over open space, the more time filament has to drip.
Understanding these three factors is half the battle. The other half is dialing in the right numbers for your specific setup.
Retraction Settings: The Single Biggest Fix
If I could only change one thing to reduce stringing, retraction would be it. Every time. Retraction tells the extruder motor to reverse briefly, pulling filament back up and away from the nozzle tip. This creates a slight vacuum at the nozzle opening and prevents ooze during travel moves.
Retraction Distance
This is how far the filament gets pulled back, measured in millimeters.
Bowden tube setups (Ender 3, Ender 3 V2, CR-10): Start at 5-6mm. Bowden tubes have a long path between the extruder gear and the hotend, so you need more retraction distance to compensate for the slack. I’ve seen some Ender 3 users go up to 7mm, but beyond that you risk grinding the filament.
Direct drive setups (Prusa MK4, Bambu Lab X1C, Ender 3 S1): Start at 0.5-1.5mm. The motor sits right on top of the hotend here, so you need much less travel. Going above 2mm on a direct drive can actually cause jams — you’re pulling filament into the cold zone where it shouldn’t be.
Retraction Speed
How fast the filament gets yanked back. Most slicers default to 25mm/s, which is a decent starting point.
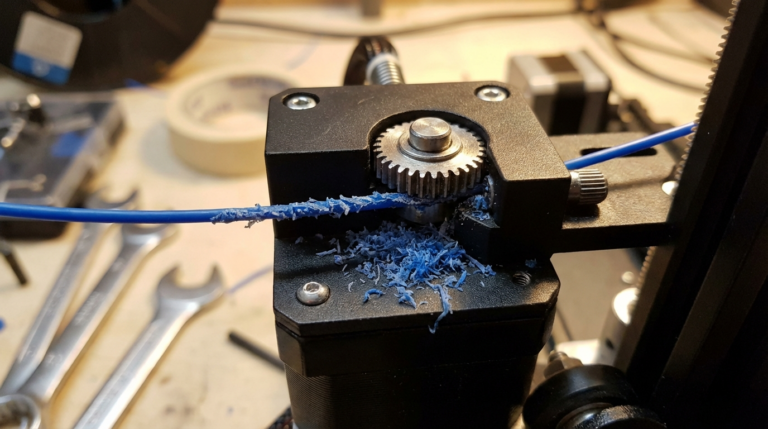
I’ve found that bumping retraction speed to 40-45mm/s makes a noticeable difference on Bowden setups. For direct drive, 25-35mm/s tends to be the sweet spot. Going too fast can strip the filament — the extruder gear chews into it instead of gripping it cleanly.
My Go-To Starting Points
| Setup | Retraction Distance | Retraction Speed |
|---|---|---|
| Bowden (Ender 3) | 6mm | 40mm/s |
| Direct Drive (Prusa) | 0.8mm | 30mm/s |
| Direct Drive (Bambu Lab) | 0.5mm | 30mm/s |
These are starting points, not gospel. Every printer is slightly different — even two Ender 3s off the same production line can behave differently.
Lower Your Print Temperature
This one is underrated. A lot of people jump straight to retraction tuning and ignore temperature, but dropping your nozzle temp by 5-10°C can eliminate stringing on its own.
Here’s my approach: I print a temperature tower. These are test models with multiple sections, each printed at a different temperature. You can find STL files for them on Thingiverse or Printables, and most slicers have scripts to change temps at specific layer heights.
PLA: Try 195°C first. Most PLA works great between 190-210°C, but the sweet spot for stringing is usually on the lower end. I print Hatchbox PLA at 200°C and eSUN PLA+ at 205°C — each brand has its preferences.
PETG: This one is trickier. PETG strings like crazy because it’s naturally goopier. Start at 230°C and work down to 225°C. Going below 220°C usually causes poor layer adhesion, so you’re walking a tightrope.
ABS: Try 235-240°C. ABS is more forgiving with stringing than PETG, but it has its own warping demons.
Crank Up Your Travel Speed
Travel speed is how fast the printhead moves when it’s not extruding. Faster travel means less time for filament to ooze during repositioning.
I run my travel speed at 150-200mm/s on most printers. The Ender 3 can handle 150mm/s without issues. More rigid frames like the Bambu Lab P1S or Voron can easily do 250mm/s or more.
The logic is dead simple: if the nozzle spends 0.2 seconds crossing a gap instead of 0.5 seconds, there’s less time for plastic to drip. It won’t eliminate stringing on its own, but combined with proper retraction, it makes a real difference.
Enable Combing Mode (Cura) or Avoid Crossing Perimeters (PrusaSlicer)
This setting tells the slicer to keep travel moves inside the printed area whenever possible, instead of crossing open gaps. The nozzle still oozes during these internal travels, but you won’t see it because the strings stay hidden inside the infill.
In Cura, it’s called “Combing Mode” — set it to “Within Infill.” In PrusaSlicer, check “Avoid crossing perimeters.” In OrcaSlicer, it’s “Avoid crossing walls.”
Fair warning: enabling this can slightly increase print time because the nozzle takes longer paths. For most prints, the tradeoff is worth it.
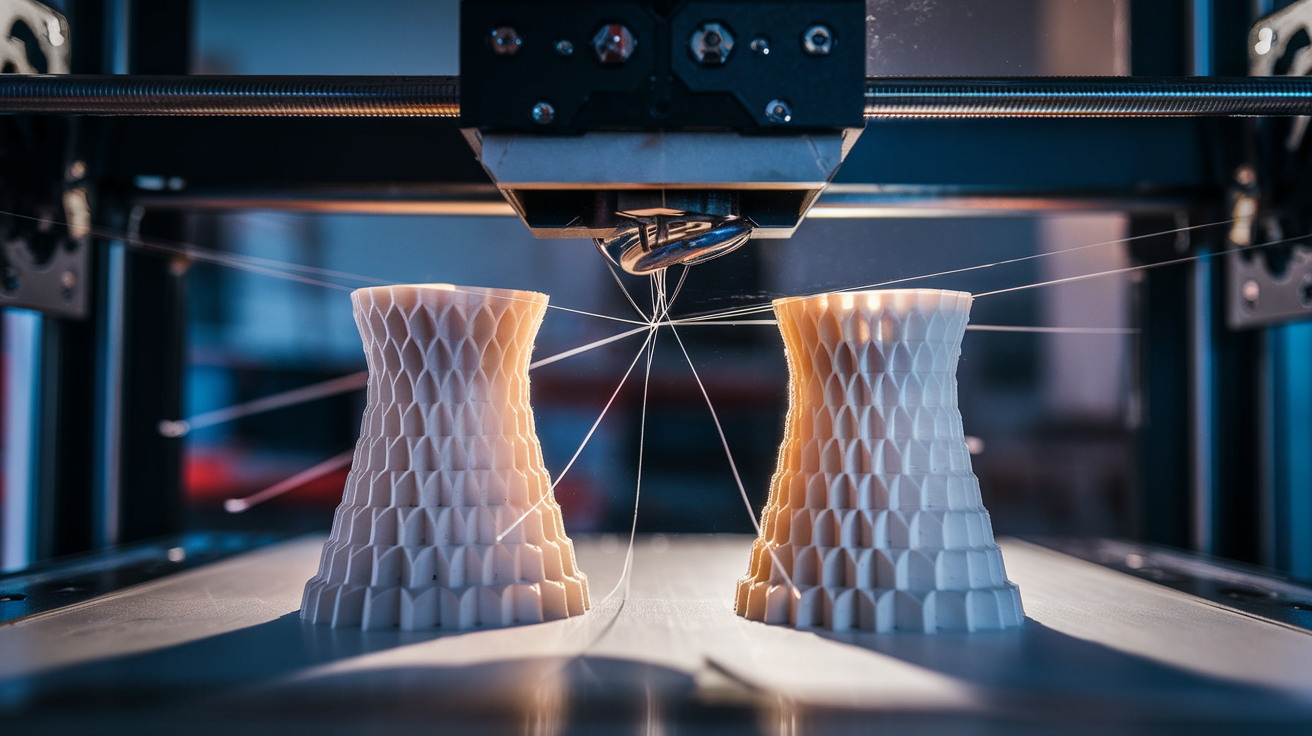
Print a Stringing Test
Don’t guess — test. My favorite stringing test model is a pair of pointed towers spaced about 20mm apart. The nozzle has to travel between them repeatedly, which exposes any oozing problems fast.
Search “retraction test” or “stringing test” on Printables.com. Print one with your current settings, then change one variable at a time and print again. Comparing them side by side tells you exactly what’s working.
I keep a small notebook next to my printer with settings and results. Old school, but it works better than trying to remember what I changed three prints ago.
Dealing with PETG Stringing (The Stubborn One)
PETG deserves its own section because it’s the worst offender. The material is inherently stringy due to its higher viscosity and tendency to stick to everything.
After testing several approaches, here’s what finally tamed PETG stringing on my Prusa MK4:
- Retraction: 1.0mm at 35mm/s
- Temperature: 225°C (lower than most people run it)
- Travel speed: 200mm/s
- Wipe distance: 2mm (this makes the nozzle drag along the perimeter before lifting, wiping off the excess)
- Z-hop: Disabled. Counterintuitive, but Z-hop gives the nozzle more time in the air, which means more ooze. Only enable Z-hop if you’re getting nozzle marks on the surface.
Will you get zero stringing with PETG? Honestly, probably not. But you can get it down to faint wisps that come off with a quick pass of a heat gun or lighter.
When Stringing Isn’t About Settings
Sometimes the problem isn’t your slicer settings at all:
Wet filament. Moisture-laden filament sizzles and pops as it exits the nozzle, creating rough surfaces and — you guessed it — stringing. If you hear crackling sounds during printing, dry your filament before anything else. PLA absorbs less moisture than PETG or Nylon, but it’s not immune.
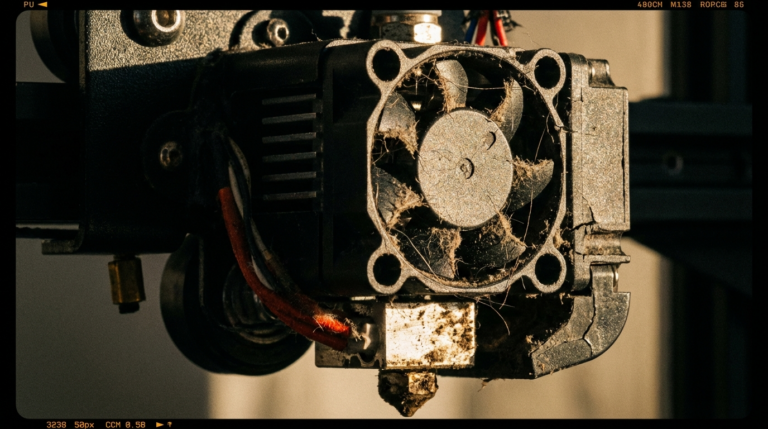
Worn nozzle. A nozzle that’s been through hundreds of hours of printing develops a wider bore, especially if you’ve used abrasive filaments like carbon fiber or glow-in-the-dark PLA. The wider opening lets more filament seep through. Brass nozzles are cheap — just replace them.
PTFE tube gap. On Bowden setups, there’s a PTFE tube that runs from the extruder down to the hotend. If there’s a gap between the tube and the nozzle, filament pools in that gap and creates inconsistent extrusion and stringing. Make sure the tube is seated firmly against the nozzle.
Quick Stringing Fix Checklist
For those who just want the action items:
- Set retraction distance: 5-6mm (Bowden) or 0.5-1.5mm (direct drive)
- Set retraction speed: 35-45mm/s
- Drop nozzle temperature by 5-10°C
- Increase travel speed to 150mm/s+
- Enable combing / avoid crossing perimeters
- Print a stringing test tower
- Check if your filament is dry
- Inspect your nozzle for wear
Tackle these one at a time, test between changes, and you’ll have stringing sorted out in an afternoon. It’s one of those problems that feels overwhelming at first but becomes routine once you understand what’s going on. Happy printing.