How to Fix Wet Filament Without a Dryer: 5 Proven Methods
Why Wet Filament Ruins Your Prints
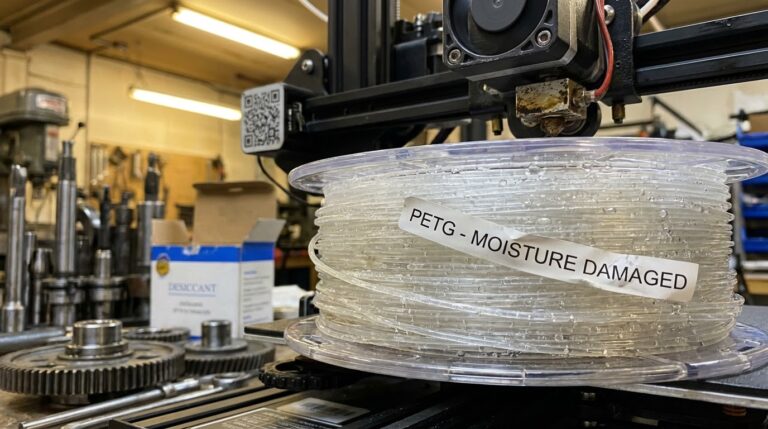
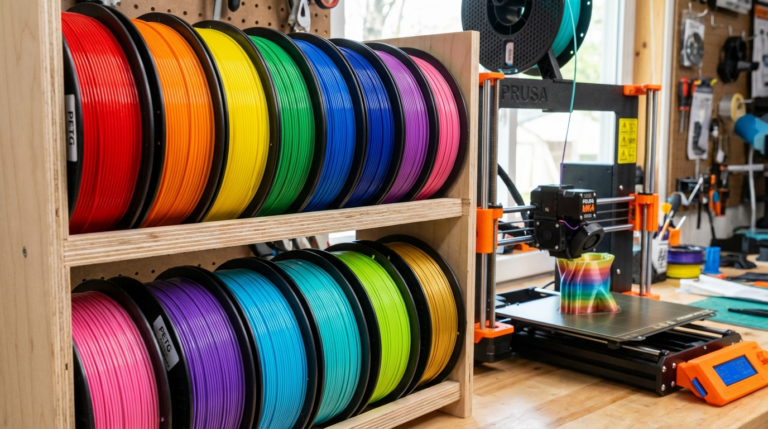
If you’ve ever heard popping or crackling sounds while your 3D printer is extruding, or noticed tiny bubbles and rough surfaces on your prints, there’s a good chance your filament has absorbed moisture from the air. Hygroscopic filaments like Nylon, PETG, TPU, and even PLA can absorb enough water vapor to seriously degrade print quality — and the problem only gets worse the longer the spool sits out.
The usual advice is to buy a dedicated filament dryer. But what if you don’t have one? Maybe you’re just getting started with 3D printing and don’t want to spend another $40-60 on accessories. Or maybe your dryer broke down mid-project and you need a fix right now. Good news: you have options.
In this guide, I’ll walk you through every practical method for drying wet filament without a dedicated dryer — from kitchen ovens to DIY desiccant chambers. I’ve tested most of these myself over the years, and I’ll be honest about what actually works and what’s just internet folklore.
How to Tell If Your Filament Is Wet
Before you start drying anything, make sure moisture is actually your problem. Here are the telltale signs:
- Popping or hissing sounds during extrusion — this is steam escaping from the filament as it hits the hot end
- Stringing and oozing that wasn’t there before — moisture reduces filament viscosity
- Rough, bubbly surface texture — steam creates micro-voids in the extruded plastic
- Poor layer adhesion — steam disrupts the bonding between layers
- Brittle filament that snaps easily when you bend it (especially PLA and PETG)
If you’re seeing two or more of these symptoms, moisture is almost certainly the culprit. Let’s fix it.
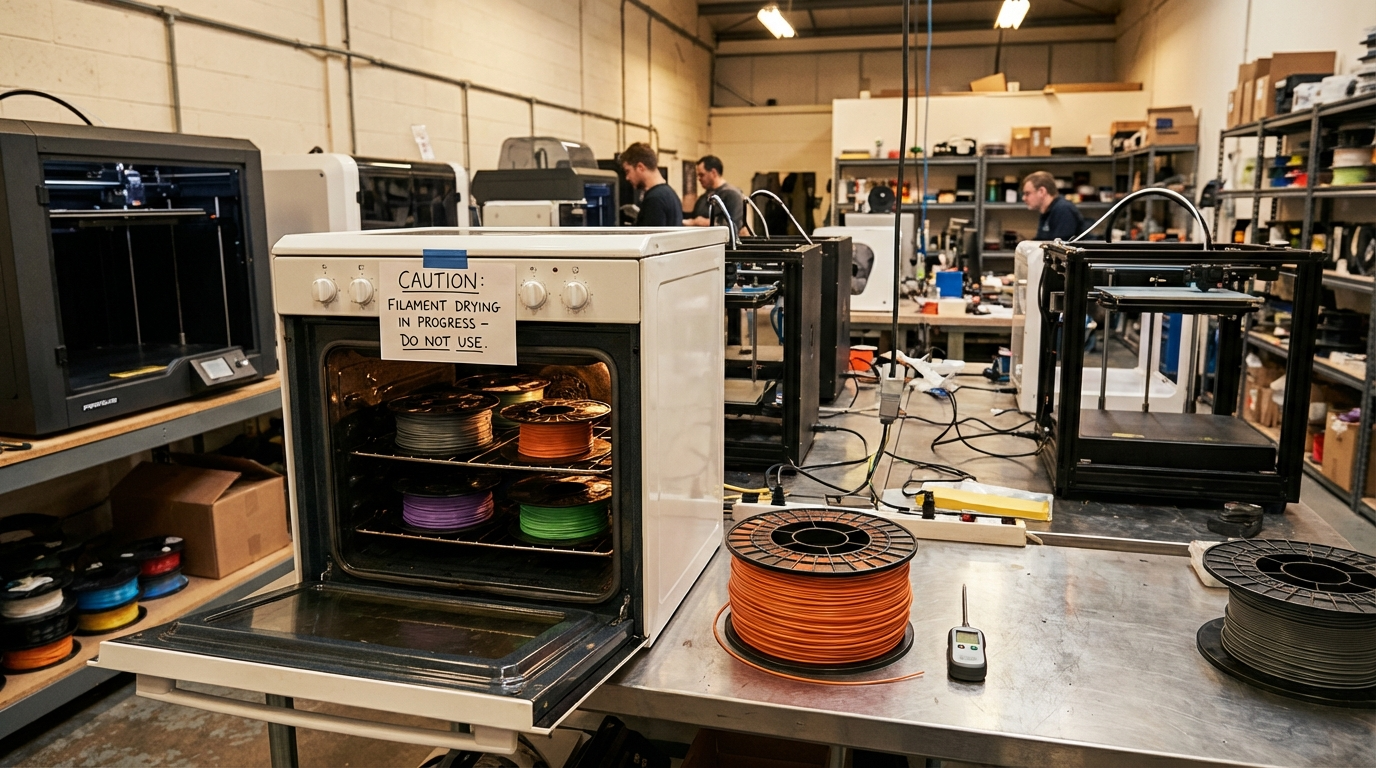
Method 1: The Kitchen Oven (Most Effective)
Your regular kitchen oven is actually the most powerful filament dryer you already own. The key is getting the temperature right and being patient.
Temperature Settings by Filament Type
- PLA: 40-45°C (104-113°F) for 4-6 hours
- PETG: 65°C (149°F) for 4-6 hours
- ABS: 80°C (176°F) for 4-6 hours
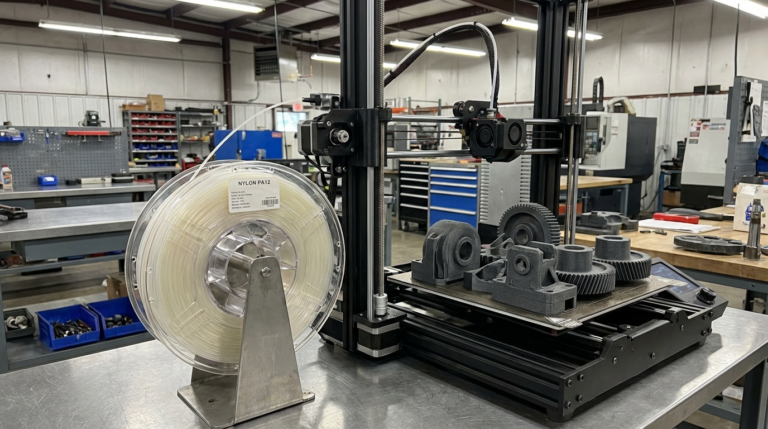
- Nylon: 80°C (176°F) for 12+ hours
- TPU: 50°C (122°F) for 4-6 hours
Critical Warnings
Use an oven thermometer. Most kitchen ovens are wildly inaccurate at low temperatures. The dial might say 50°C but the actual temperature could swing anywhere from 40°C to 80°C. For PLA especially, exceeding 50°C can soften and deform the spool. A cheap oven thermometer (under $10) is essential.
Don’t use convection mode unless your oven holds temperature very steadily. The fan can create hot spots that warp your spool.
Place the spool on a cookie sheet lined with parchment paper. This prevents the spool from melting onto your oven rack if things get too hot.
Crack the oven door slightly for the first 30 minutes. This lets the initial burst of moisture escape rather than condensing inside the oven and re-absorbing into the filament.
Method 2: Food Dehydrator
If you have a food dehydrator with removable shelves, this is arguably better than an oven because most dehydrators maintain more consistent low temperatures. The Nesco FD-75A and similar round-style dehydrators can fit a standard 1kg spool with the inner shelves removed.
Set it to the appropriate temperature for your filament type (same as the oven settings above) and let it run for 4-6 hours. The advantage here is that dehydrators are designed to circulate warm air evenly, and they won’t accidentally spike to dangerous temperatures.
If your dehydrator doesn’t go low enough for PLA (many start at 50°C), try running it with the lid slightly offset to reduce internal temperature.
Method 3: DIY Desiccant Container (Passive Drying)
This method is slower but completely risk-free. No heat means no chance of deforming your spool.
What You Need
- A large airtight container (5-gallon bucket with gamma seal lid, or a big Tupperware)
- 500g-1kg of silica gel desiccant (the rechargeable kind with color indicators)
- A cheap hygrometer ($5-8 on Amazon)
How It Works
Place the desiccant in the bottom of the container, put your spool on top (ideally elevated on a small rack), seal it, and wait. The silica gel will gradually pull moisture from both the air and the filament.
This takes 2-5 days depending on how wet the filament is and how much desiccant you’re using. Monitor the hygrometer — you want the internal humidity below 15% RH. When the desiccant changes color (usually from orange to green or blue to pink), swap it out for fresh packs or regenerate the used ones in your oven at 120°C for 2 hours.
Method 4: Heated Bed (In a Pinch)
Some people use their 3D printer’s heated bed as a makeshift dryer. Lay the spool flat on the heated bed, set it to an appropriate temperature, and tent it loosely with aluminum foil to retain heat.
I’ll be honest: this works in a pinch, but it’s not great. The heat is only coming from one side, so the filament closest to the bed dries while the top stays wet. You’d need to flip the spool every hour or so. It also ties up your printer for hours when you could be, well, printing.
Method 5: Car Dashboard (Summer Only)
On a hot summer day, the inside of a parked car with the windows up can easily reach 60-70°C — perfect for drying PETG, ABS, and even Nylon. Place the spool on your dashboard or rear shelf, cover it loosely with a towel to prevent UV damage, and leave it for 4-6 hours.
This obviously doesn’t work in winter or cooler climates, and you need to be careful with PLA (a dark-colored car interior on a 35°C day can hit 70°C+, which will deform PLA). But for higher-temperature filaments, it’s essentially free drying with no electricity required.
Prevention: Keep Filament Dry in the First Place
The best fix is prevention. Here’s what actually works for long-term storage:
- Vacuum-sealed bags with desiccant — the gold standard. Use a food vacuum sealer
- Airtight bins with rechargeable desiccant — works for spools you’re actively using
- Print from a dry box — feed filament through a sealed container with desiccant while printing
- Don’t leave spools out overnight — even a few hours in humid air (above 50% RH) can affect Nylon and TPU
Which Method Should You Choose?
Here’s my quick decision tree:
- Need dry filament in 4-6 hours? → Kitchen oven (with thermometer) or food dehydrator
- No rush, maximum safety? → Desiccant container (2-5 days)
- Drying Nylon or heavily saturated filament? → Oven at 80°C for 12+ hours, or combine oven + desiccant storage
- Want to print with dry filament continuously? → Build or buy a dry box with a filament feed-through
Whatever method you choose, the results will speak for themselves. The first print after properly drying wet filament is always a satisfying moment — smooth surfaces, clean layers, no more crackling sounds. Your printer isn’t broken; your filament was just thirsty.
Got a favorite DIY drying method I didn’t cover? Drop a comment below — I’m always looking for new tricks to add to the toolkit.