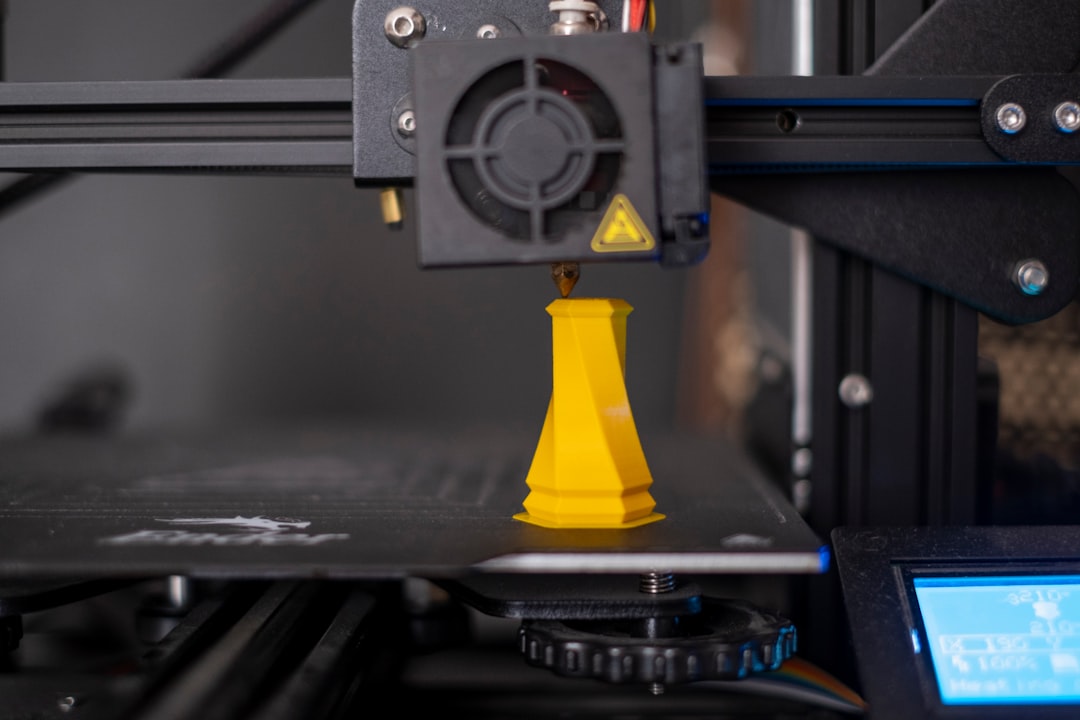
How to Hide the Z Seam on 3D Prints: Settings, Placement, and Fixes
Every 3D printing enthusiast has dealt with it — that annoying vertical line running down the side of an otherwise perfect print. It’s called the Z seam, and while it’s technically unavoidable in FDM printing, there are proven ways to minimize or even hide it completely. In this guide, I’ll walk you through everything you need to know about Z seam placement, slicer settings, and post-processing tricks to get cleaner prints.
What Is the Z Seam and Why Does It Happen?
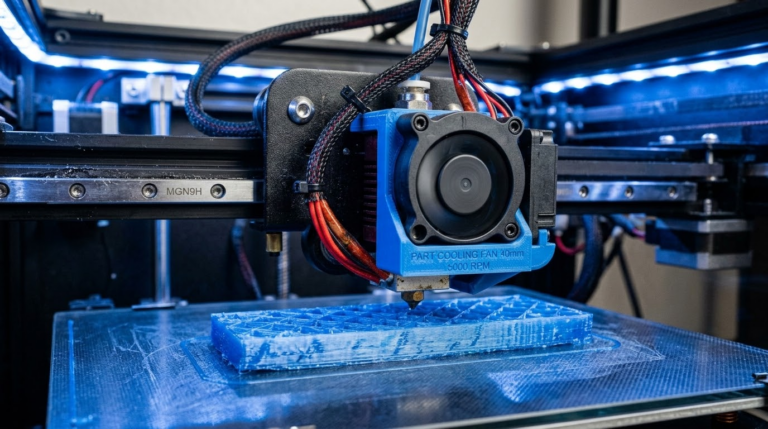
The Z seam (also called the layer seam or start/stop point) is the spot where each layer of your 3D print begins and ends. When the printer finishes one layer and moves up to start the next, there’s always a tiny transition point where the extruder starts pushing new filament. This creates a small blob or line on the surface of your print.
Think of it like wrapping a gift with tape — no matter how careful you are, there’s always a seam where the paper overlaps. The same principle applies to 3D printing. The nozzle has to start and stop somewhere, and that somewhere leaves a mark.
Z Seam Alignment Options in Your Slicer
Most modern slicers give you several options for controlling where the Z seam appears. Understanding these options is the first step toward cleaner prints.
Random Seam Placement
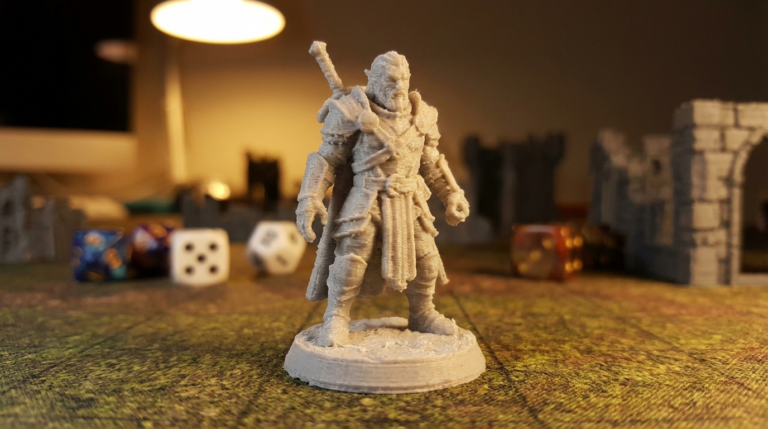
With random placement, the slicer picks a different starting point for each layer. Instead of one visible vertical line, you get scattered dots across the entire surface. This works well for organic shapes like sculptures or figurines where a consistent line would be very noticeable. However, on flat surfaces, the random dots can look worse than a clean line.
Aligned (Nearest) Seam Placement
Aligned placement puts the seam in the same position on every layer, creating a single vertical line. While this sounds bad, it’s actually easier to deal with in post-processing. You can sand one line much more easily than hundreds of random dots. This is the best option when you plan to paint or finish your prints.
Sharpest Corner (Smart Hide)
This is the go-to option for most experienced printers. The slicer analyzes your model’s geometry and places the seam at the sharpest inside corner it can find. Since corners naturally have a crease, the seam blends in and becomes nearly invisible. In Cura, this is called “Sharpest Corner.” In PrusaSlicer and OrcaSlicer, it’s “Nearest” with “Seam Position” set to hide.
User-Specified (Painted Seam)
PrusaSlicer and OrcaSlicer let you paint the seam position directly onto your model. This gives you maximum control — you can force the seam to the back of a model, along a natural edge, or wherever it’s least visible. This takes extra setup time but produces the best results for display pieces.
Slicer Settings That Reduce Z Seam Visibility
Beyond seam placement, several other settings directly affect how visible your seam appears.
Retraction at Layer Change
Enable retraction at layer change if your slicer supports it. This pulls filament back slightly before moving to the next layer, reducing the blob that forms at the seam start point. Most slicers have this enabled by default, but double-check your settings.
Wipe on Retract
The wipe setting makes the nozzle travel a short distance along the previous path before lifting to the next layer. This smears any excess material into the existing perimeter instead of leaving it as a blob at the seam. Set the wipe distance to 2-5mm for best results.
Coasting
Coasting stops extruding slightly before the end of each perimeter, using the residual pressure in the nozzle to complete the path. This prevents the buildup of excess material at the seam. Start with a coasting distance of 0.2-0.4mm and adjust from there.
Extra Restart Distance
After a retraction, the extruder needs to prime filament back into the nozzle. The “Extra Restart Distance” (or “Extra Length on Restart”) setting controls how much extra filament gets pushed. If your seams show gaps, increase this value slightly (try 0.02-0.05mm increments). If you see blobs, decrease it.
Outer Wall Speed
Slowing down the outer wall speed gives the extruder more consistent flow, which helps reduce seam artifacts. Try running outer walls at 25-35mm/s even if your infill runs at 60mm/s or higher. The time difference is minimal, but the quality improvement is significant.
Advanced Techniques for Z Seam Elimination
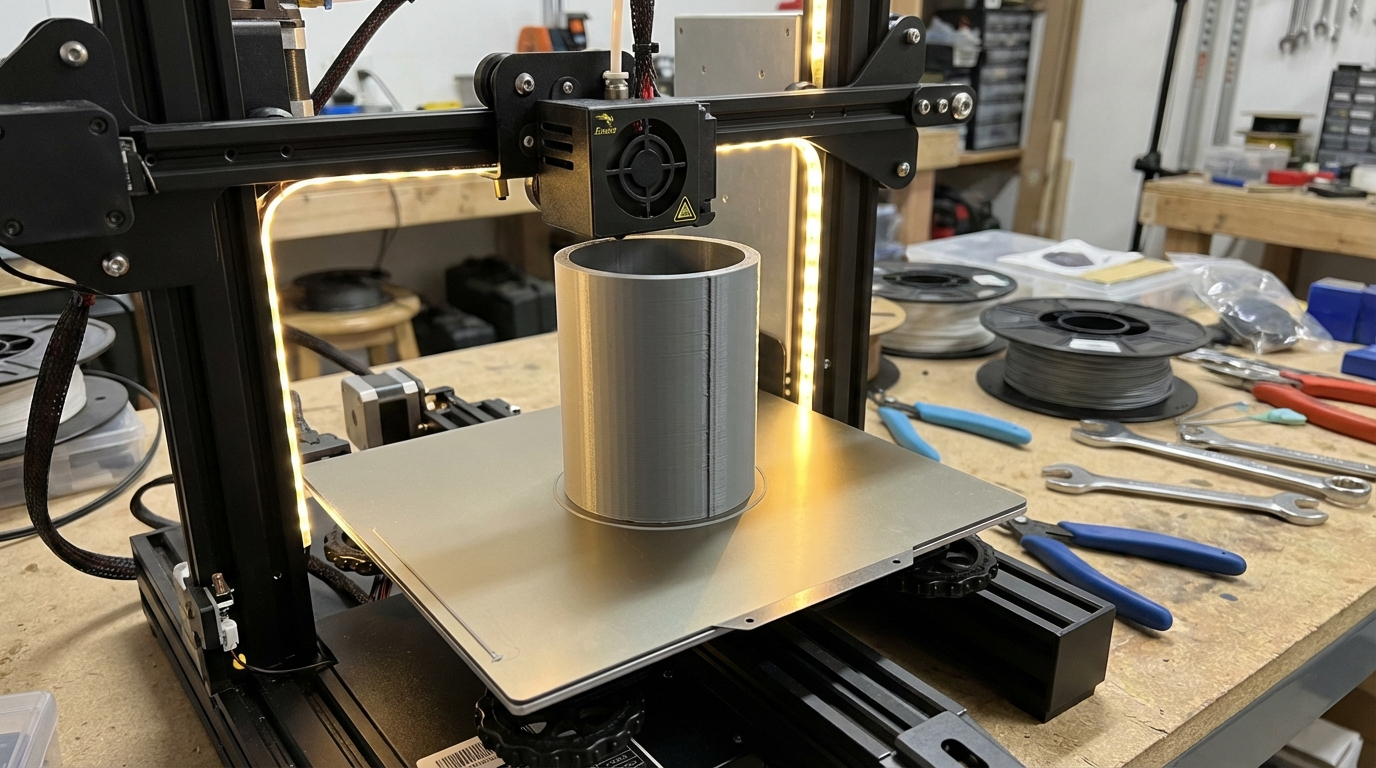
Vase Mode (Spiral Vase)
For single-wall prints, vase mode eliminates the Z seam entirely. Instead of printing discrete layers, the nozzle continuously spirals upward. The result is a completely seamless surface. The limitation is that vase mode only works for single-perimeter prints without infill — think vases, lampshades, and decorative containers.
Linear Advance / Pressure Advance
If you’re running Klipper firmware, Pressure Advance is a game-changer for seam quality. It dynamically adjusts extruder pressure to compensate for the lag between the motor pushing filament and it actually coming out of the nozzle. Marlin users can use Linear Advance (M900) for the same effect. Proper tuning of these features dramatically reduces the blobs and gaps that make seams visible.
Scarf Joint Seam (PrusaSlicer 2.8+)
This is the newest and most exciting development in Z seam technology. PrusaSlicer 2.8 and OrcaSlicer introduced the Scarf Joint Seam, which gradually ramps the extrusion flow up and down at the seam start and end points. Instead of an abrupt start/stop, the layers overlap smoothly. The result is a nearly invisible seam even on cylindrical prints. If your slicer supports it, try it — it’s the closest we’ve come to truly seamless FDM prints.
Post-Processing to Remove Z Seam Lines
Sometimes the best approach is to minimize the seam in your slicer and then clean up whatever’s left by hand.
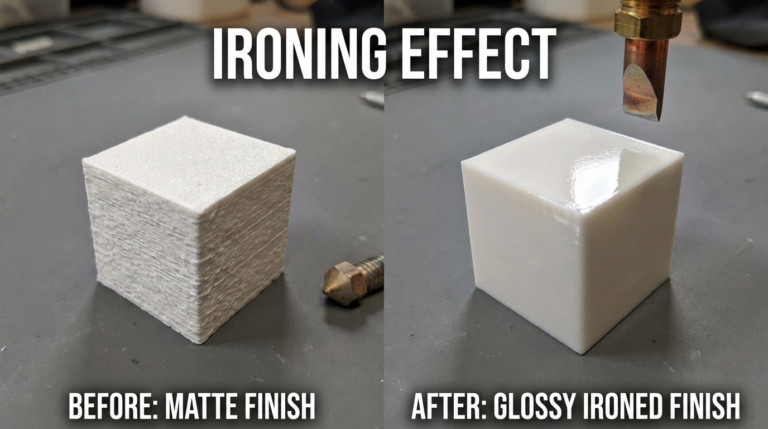
Sanding
For aligned seams, light sanding with 200-400 grit sandpaper quickly removes the seam line. Follow up with 600-800 grit for a smooth finish. This works best on PLA and PETG. ABS users have an even better option — acetone vapor smoothing melts the surface slightly and completely eliminates seam lines.
Filler Primer
Spray filler primer (like Rust-Oleum Filler Primer) fills in small seam lines and other surface imperfections. Apply 2-3 light coats, sand lightly between coats, and your seam will disappear under the primer layer.
Heat Gun Touch-Up
A quick pass with a heat gun on low setting can slightly melt and smooth PLA seam lines. Be extremely careful with this method — too much heat will deform your print. Keep the gun moving and maintain distance. Practice on a test piece first.
Best Settings by Slicer
Cura: Set Z Seam Alignment to “Sharpest Corner,” enable “Retract at Layer Change,” set Coasting Volume to 0.064mm³, Outer Wall Wipe Distance to 0.2mm, and Outer Wall Speed to 30mm/s.
PrusaSlicer / OrcaSlicer: Set Seam Position to “Nearest,” enable Scarf Joint Seam if available, set Wipe while retracting to enabled, and use seam painting for display models. Consider setting External Perimeter speed to 25mm/s.
Bambu Studio: Similar to OrcaSlicer settings. Use “Nearest” seam position, enable Scarf Joint, and set outer wall speed to 30-40mm/s for best results.
Quick Troubleshooting Guide
Seam is a raised bump/blob: Enable coasting, reduce extra restart distance, enable wipe, and check for over-extrusion.
Seam is a gap or depression: Increase extra restart distance slightly, reduce retraction distance, and ensure proper e-step calibration.
Seam is inconsistent (sometimes blob, sometimes gap): Check for wet filament, calibrate Pressure Advance/Linear Advance, and slow outer wall speed.
Seam visible on all sides (random setting): Switch to aligned or sharpest corner placement, and consider using seam painting for critical models.
Final Thoughts
The Z seam is one of the fundamental limitations of FDM printing, but it doesn’t have to ruin your prints. Start with smart seam placement (sharpest corner for most prints), enable retraction and wipe settings, and consider Scarf Joint Seam if your slicer supports it. For display pieces that need to be perfect, plan your seam placement carefully and finish with light sanding and primer.
The truth is, most people won’t notice a well-hidden seam unless they’re looking for it. Focus on getting the placement right, and let post-processing handle the rest. Happy printing!