How to Prevent 3D Print Corners From Lifting and Curling
Why Do 3D Print Corners Lift and Curl?
If you’ve spent any time with a 3D printer, you’ve probably watched in frustration as the corners of your print slowly peel upward from the bed. This phenomenon — commonly called warping or corner lifting — is one of the most common problems in FDM printing, and it can ruin an otherwise perfect print.
I’m Mike Reynolds, and after years of wrestling with this exact issue across dozens of printers and filament types, I’ve put together this comprehensive guide to help you understand why corners lift and, more importantly, how to stop it from happening.
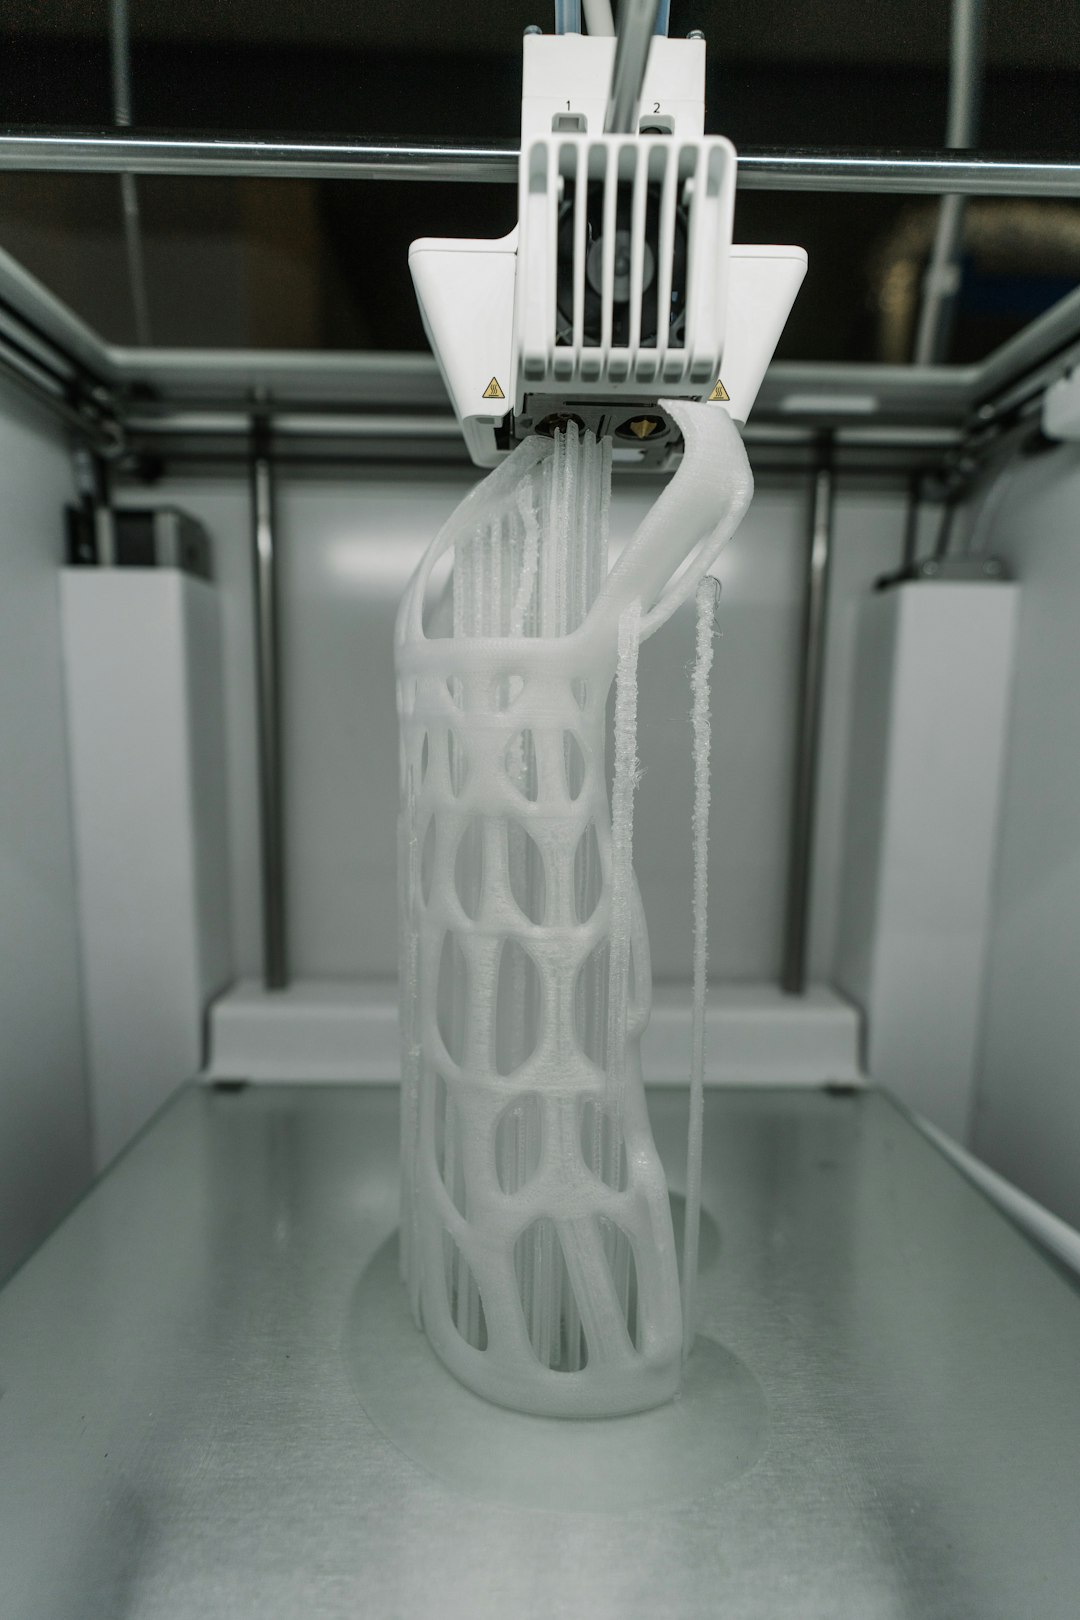
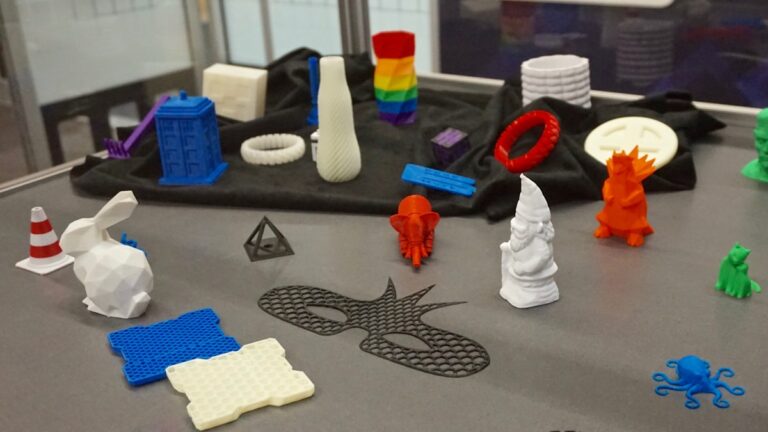
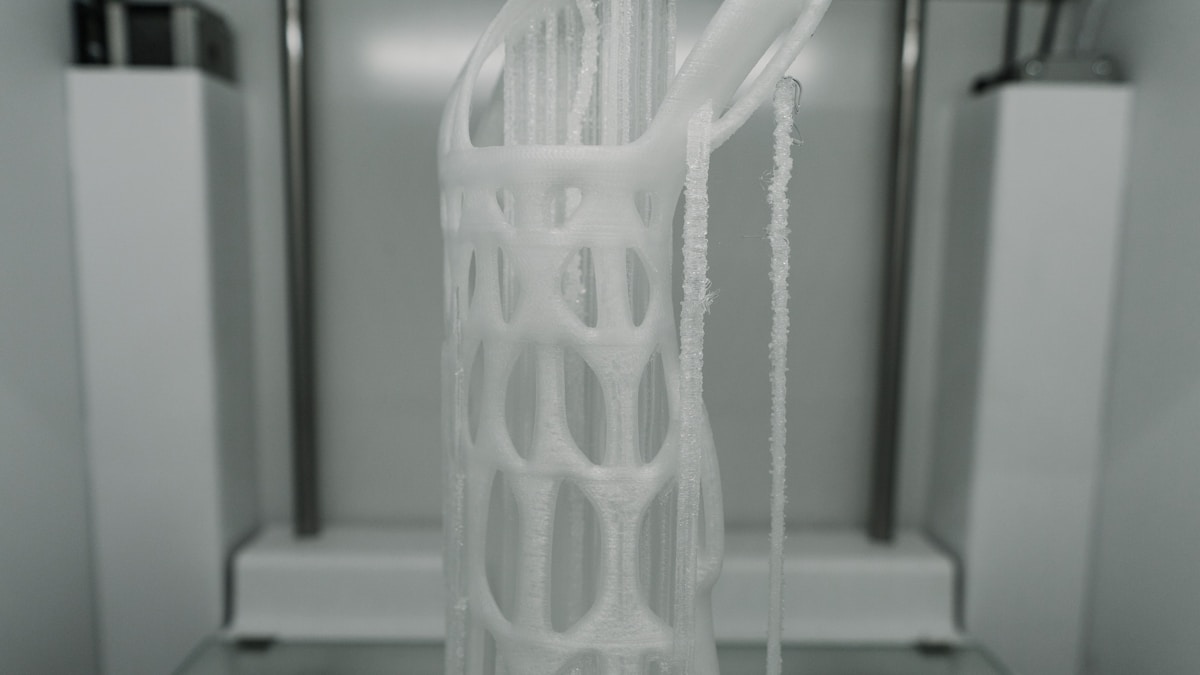
Photo by Tom Claes on Unsplash
The Science Behind Corner Lifting
To fix corner lifting, you first need to understand why it happens. When molten plastic is extruded onto the build plate, it’s typically between 190°C and 260°C depending on the material. As this plastic cools, it contracts — this is basic thermal contraction, and every thermoplastic does it to some degree.
The problem is that cooling doesn’t happen uniformly. The bottom layers, closest to the heated bed, stay warmer than the upper layers exposed to ambient air. This differential cooling creates internal stresses within the print. Those stresses pull the corners upward because corners have the least contact area relative to the forces acting on them.
Materials with higher glass transition temperatures and greater coefficients of thermal expansion — like ABS and Nylon — are particularly prone to this. PLA, being a relatively low-shrinkage material, tends to behave much better, but even PLA can curl at the corners on large prints.
Dialing In Your Bed Temperature
Your heated bed is the first line of defense against corner lifting. The goal is to keep the bottom layers of your print warm enough that they don’t contract significantly while the rest of the print is being built.
Here are the bed temperatures I’ve found work best for preventing corner lift:
- PLA: 55–65°C (go higher for large prints)
- PETG: 70–85°C
- ABS: 95–110°C
- Nylon: 70–90°C (with enclosure)
- TPU: 45–60°C
One trick I use: for the first 3–5 layers, I set the bed temperature 5–10°C higher than my normal setting, then drop it back down. This gives the base of the print extra adhesion during the critical early stages.
Bed Adhesion Methods That Actually Work
A clean, properly prepared build surface makes a massive difference. Here’s what I recommend based on years of testing:
PEI Sheets (Spring Steel)
PEI is my go-to surface for almost everything. When it’s clean, PLA and PETG stick beautifully at temperature and release easily when cooled. Wipe it down with isopropyl alcohol (90% or higher) before every print. Every few weeks, give it a wash with dish soap and warm water to remove any built-up oils.
Glue Stick
The humble Elmer’s glue stick remains one of the most effective adhesion helpers, especially for ABS and PETG. Apply a thin, even layer to the bed before printing. It acts both as an adhesive and as a release agent for PETG, preventing it from bonding too aggressively to the bed surface.
Hairspray
Aqua Net Extra Super Hold is the classic choice. A light mist on a glass bed provides excellent adhesion for PLA and ABS. Reapply every few prints and clean the bed periodically to prevent buildup.
Painter’s Tape
Blue painter’s tape works well for PLA on unheated beds. Apply strips with no gaps or overlaps, and replace when the surface gets worn or shiny. It’s cheap and effective for beginners.

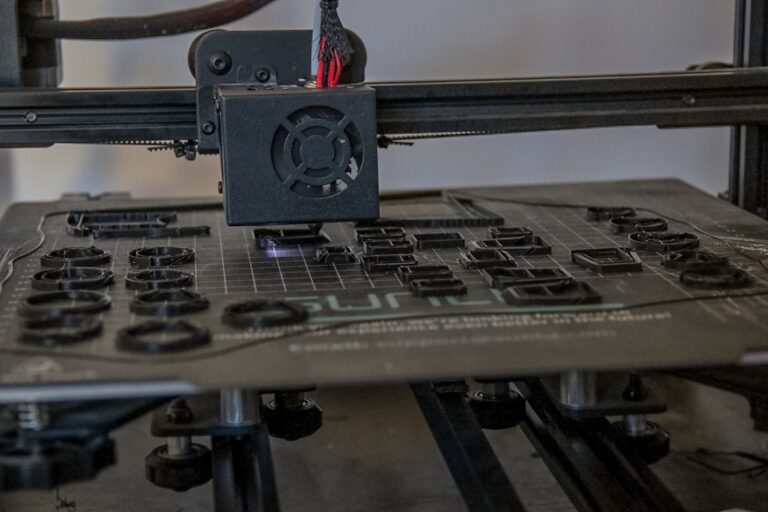
Photo by Haripriya K on Unsplash
Using Brims to Combat Corner Lifting
A brim is a single-layer border that extends outward from the base of your print. It increases the surface area in contact with the bed, which directly counteracts the peeling forces at the corners.
For most prints where I’m worried about lifting, I’ll add a brim of 5–10mm. For really large or problematic prints, I’ll go up to 15mm. The brim is easy to remove after printing — a quick trim with a hobby knife or your fingernail for PLA.
In Cura, you can set this under Build Plate Adhesion Type → Brim, then adjust the Brim Width. In PrusaSlicer, it’s under Print Settings → Skirt and Brim.
First Layer Settings Matter More Than You Think
Your first layer is the foundation of everything. If it’s not right, no amount of adhesion tricks will save you. Here’s what I dial in:
- First layer height: 0.28mm (or 140% of your normal layer height). A thicker first layer squishes the filament more firmly onto the bed.
- First layer speed: 20–25 mm/s. Slow it down so the filament has time to bond properly.
- First layer flow: 100–105%. A slight over-extrusion on the first layer helps with adhesion.
- First layer fan: OFF. Cooling the first layer causes immediate contraction and reduces adhesion.
Your Z-offset is critical here. You want the first layer to be slightly squished — the lines should be flat on top and overlap slightly with each other. If you can see gaps between lines or the surface looks round and raised, you’re too far from the bed.
Control Your Cooling
Aggressive part cooling is one of the biggest contributors to corner lifting, especially with ABS and PETG. Here’s my approach:
For PLA: Full fan speed is fine after the first few layers, but for large prints with wide flat surfaces, consider reducing fan speed to 60–70% to minimize thermal stress.
For PETG: Keep fan speed at 30–50%. PETG doesn’t need as much cooling as PLA, and too much cooling causes adhesion problems and layer splitting.
For ABS: Fan should be OFF or at most 10–15% for bridging. ABS is extremely sensitive to uneven cooling, which is why an enclosure is almost mandatory for ABS.
The Enclosure Solution
If you’re printing ABS, ASA, Nylon, or Polycarbonate regularly, an enclosure isn’t optional — it’s a requirement. An enclosure maintains a stable ambient temperature around the print, which dramatically reduces the temperature differential that causes warping.
You don’t need an expensive commercial enclosure. A simple IKEA LACK table enclosure works great for most printers. I built mine for under $30, and it keeps the chamber temperature around 35–45°C, which is enough to virtually eliminate corner lifting with ABS.
Key considerations for enclosures:
- Keep the electronics outside or well-ventilated — stepper drivers and control boards don’t like heat
- Add a thermometer so you can monitor chamber temperature
- For Bowden tube setups, ensure the PTFE tube doesn’t exceed 240°C (consider upgrading to an all-metal hotend)
- Ventilate after printing ABS — the fumes aren’t great for you
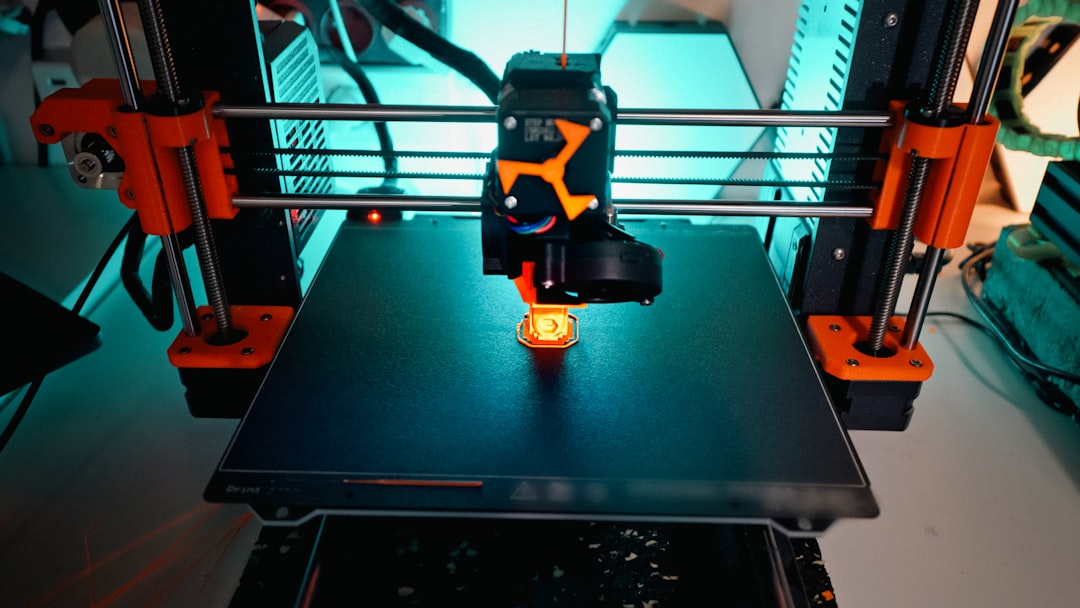
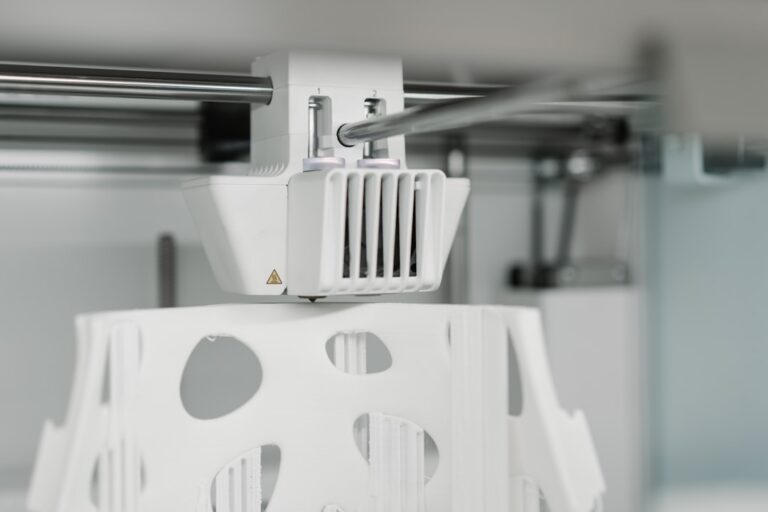
Photo by Jakub Żerdzicki on Unsplash
Design Tweaks to Reduce Warping
Sometimes the best solution is to address warping at the design stage. If you’re designing your own parts, consider these strategies:
- Add fillets to sharp corners: Rounded corners distribute thermal stress more evenly than sharp 90-degree angles.
- Add mouse ears: Small circular pads at the corners of your print (like tiny Mickey Mouse ears) increase adhesion right where you need it most. Many slicers have plugins for this.
- Split large flat prints: If possible, break large flat parts into smaller sections and assemble them after printing.
- Orient your print strategically: Position the part so the largest flat surface isn’t on the bottom if possible, or orient it diagonally to reduce the length of straight edges.
Environmental Factors
Your printing environment matters more than most people realize. Drafts from open windows, air conditioning vents, or even foot traffic near the printer can cause uneven cooling that triggers corner lifting.
Here’s what I’ve observed in my print farm:
- Printers near windows consistently produce more warped parts, especially on sunny days when temperature fluctuates
- Air conditioning vents blowing directly on a printer will cause one side to lift more than the other
- Room temperature below 18°C (65°F) makes warping noticeably worse for most materials
- Even opening and closing a door near the printer can cause enough of a draft to lift corners on long ABS prints
If you can’t control these factors, an enclosure solves most of them automatically.
Material-Specific Tips
PLA Corner Lifting
PLA rarely warps, but when it does, it’s usually on large prints (200mm+ footprint). Clean your bed, use 60°C bed temp, add a 5mm brim, and you should be fine. If it still lifts, your bed probably isn’t level or your Z-offset is too high.
PETG Corner Lifting
PETG sits between PLA and ABS in terms of warping tendency. Use 80°C bed temp, a glue stick for release and adhesion, and keep fan speed at 30–40%. PETG is more forgiving than ABS but less forgiving than PLA.
ABS Corner Lifting
ABS is the warping champion. You really need three things: a 100°C+ heated bed, an enclosure, and ABS slurry or glue stick on the bed. ABS slurry (dissolve ABS scraps in acetone) is particularly effective because it creates a chemical bond between the print and the bed coating.
Troubleshooting Checklist
If your corners are still lifting after trying the above, work through this checklist:
- Is your bed truly level? Re-level with a piece of paper, checking all four corners and the center.
- Is the bed clean? Wipe with IPA, or wash with soap and water if it’s been a while.
- Is your Z-offset correct? The first layer should be slightly squished, not round.
- Is the bed temperature appropriate? Check recommendations for your specific filament.
- Are there drafts? Block any air movement near the printer.
- Is the part cooling fan too aggressive? Reduce fan speed, especially for the first 5–10 layers.
- Is your first layer speed too fast? Slow it down to 20 mm/s and see if it helps.
- Have you tried a brim? 8–10mm brim solves most adhesion issues.
Final Thoughts
Corner lifting is frustrating, but it’s also one of the most solvable problems in 3D printing. In most cases, a combination of proper bed temperature, a clean build surface, reasonable first layer settings, and a brim will fix the issue entirely.
For trickier materials like ABS, invest in an enclosure — it’s the single best upgrade you can make for print quality and reliability. And remember: the first layer sets the tone for the entire print. Get that right, and most adhesion problems disappear.
Got a specific warping situation that none of these tips solved? Drop a comment below — I’ve probably seen it before and can help you figure it out.