How to Print Carbon Fiber Filament Without Destroying Your Nozzle
Why Carbon Fiber Filament Demands Respect
The first time I printed with carbon fiber filament, I ruined a brass nozzle in about 6 hours. The print looked fantastic — stiff, lightweight, with that signature matte texture — but when I tried printing regular PLA afterward, the extrusion was inconsistent and the dimensional accuracy was gone. The abrasive carbon fibers had worn my 0.4mm nozzle to roughly 0.6mm.
That was an expensive lesson, but it taught me everything about what carbon fiber filament needs to work properly. Three years and dozens of CF spools later, I’ve dialed in my process and I want to share what actually matters.
The Nozzle Situation: Non-Negotiable
Let me be blunt: you cannot print carbon fiber filament with a standard brass nozzle. Not even once “just to test.” Well, you can — but you’ll destroy the nozzle and probably not notice until your next print looks terrible.
Hardened Steel Nozzles
This is what most people use for CF filament, and it’s the right call for 90% of users. A hardened steel nozzle costs about $8-15 and will last hundreds of hours with abrasive materials. The trade-off is slightly worse thermal conductivity compared to brass, which means you might need to bump your print temperature up by 5-10°C.
I keep a hardened steel nozzle permanently installed on my “engineering materials” printer. Swapping nozzles between materials is a hassle and introduces the risk of hotend leaks if you don’t tighten properly at temperature.
Ruby-Tipped and Tungsten Carbide Nozzles
If you print CF filament regularly, these premium nozzles ($30-90) offer better thermal conductivity than hardened steel while being just as wear-resistant. The Olsson Ruby and Slice Engineering Vanadium are the two I’ve used personally. Both are excellent, but honestly, hardened steel gets 95% of the job done at a fraction of the cost.
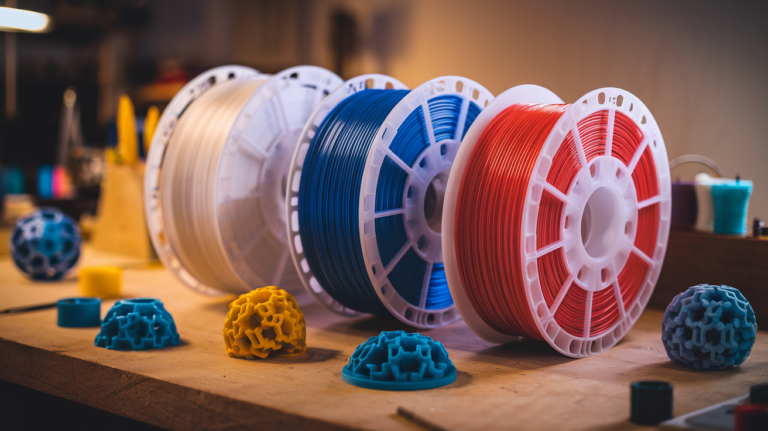
Understanding CF Filament Types
Not all carbon fiber filament is the same. The base material matters enormously:
CF-PLA
The easiest to print. You get the matte look and improved stiffness over regular PLA, but the heat resistance is still PLA-level (around 55-60°C glass transition). Good for prototypes and display pieces that won’t see heat or heavy mechanical loads.
CF-PETG
A solid middle ground. Better heat resistance than CF-PLA (around 75-80°C), decent chemical resistance, and still relatively easy to print. This is what I use for jigs and fixtures in my workshop.
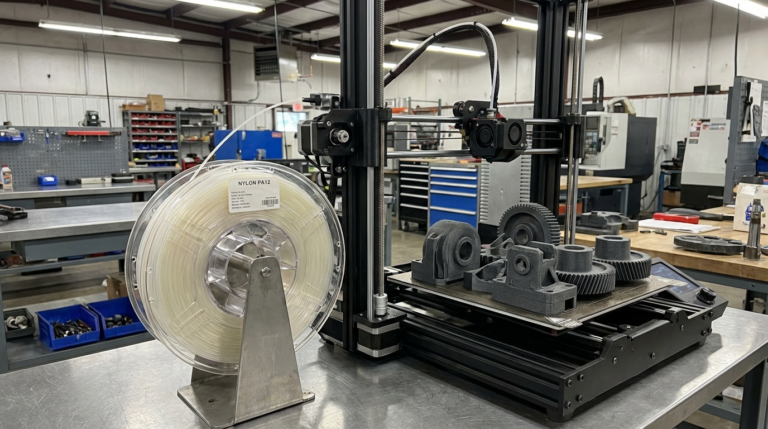
CF-Nylon (CF-PA)
The serious stuff. Carbon fiber nylon combines excellent mechanical properties with good heat resistance (often 150°C+ depending on the nylon base). But it’s hygroscopic — meaning it absorbs moisture aggressively. You must dry it before printing and ideally print from a dry box. This is my go-to for functional parts that need to survive real mechanical stress.
CF-ABS and CF-PC
These exist for specific industrial applications. CF-ABS is easier than CF-Nylon but still needs an enclosure. CF-Polycarbonate is the strongest option but requires an all-metal hotend printing at 280°C+ and a well-sealed enclosure. Not for beginners.
Print Settings That Actually Work
Temperature
Start with the manufacturer’s recommendation and add 5-10°C to compensate for the reduced thermal conductivity of a hardened steel nozzle. For CF-PLA, I typically print at 215-220°C. CF-PETG runs at 245-250°C. CF-Nylon needs 260-275°C depending on the brand.
Print Speed
Slow down. Carbon fibers increase the viscosity of the molten filament, which means it doesn’t flow as freely through the nozzle. I print CF materials at 40-50mm/s for perimeters and 50-60mm/s for infill. Trying to push 100mm/s will give you under-extrusion and weak layer adhesion.
Layer Height and Nozzle Size
Use a 0.5mm or 0.6mm nozzle if possible. The carbon fibers can partially clog a 0.4mm nozzle over long prints — not a full clog, but enough to cause inconsistent flow. Layer height should be at least 50% of your nozzle diameter. I print at 0.25mm layers with a 0.5mm nozzle as my default CF profile.
Retraction
Keep retraction distance moderate. CF filaments are stiffer and more brittle, so aggressive retraction can cause grinding at the extruder. I use 1-2mm on direct drive and 4-5mm on Bowden setups. Retraction speed stays at 25-30mm/s.
Cooling
CF-PLA: full cooling like regular PLA. CF-PETG: 30-50% fan. CF-Nylon: minimal to no cooling, and use an enclosure to maintain ambient temperature. CF-ABS and CF-PC: enclosure mandatory, no active cooling.
Best Carbon Fiber Filament Brands
Budget: Overture CF-PLA, Sunlu CF-PETG
Both are around $25-30 per kg. Overture’s CF-PLA prints reliably and gives a nice matte finish. Sunlu’s CF-PETG is a good entry into stronger CF materials without breaking the bank.
Mid-Range: Polymaker PolyMax CF, Prusament CF
The $35-45 range gets you more consistent fiber distribution and better spool winding. Polymaker’s PolyMax CF line uses a PLA base that’s been engineered for toughness. Prusament PA11 CF is excellent CF-Nylon at a fair price.
Premium: ColorFabb CF20, Bambu CF-PA
ColorFabb’s CF20 has a higher carbon fiber content (20%) than most competitors, which makes it stiffer but also more abrasive. Bambu Lab’s CF-PA is well-tuned for their printers and comes pre-dried in sealed bags.
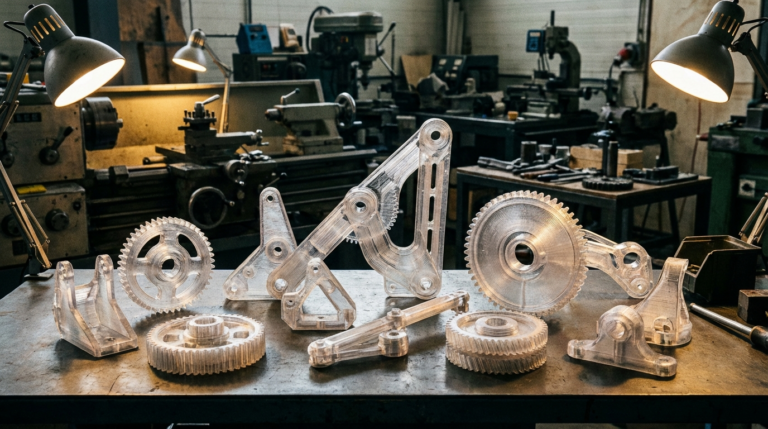
When Carbon Fiber Filament Is Actually Worth It
CF filament costs 2-3x more than standard materials. Here’s when the premium is justified:
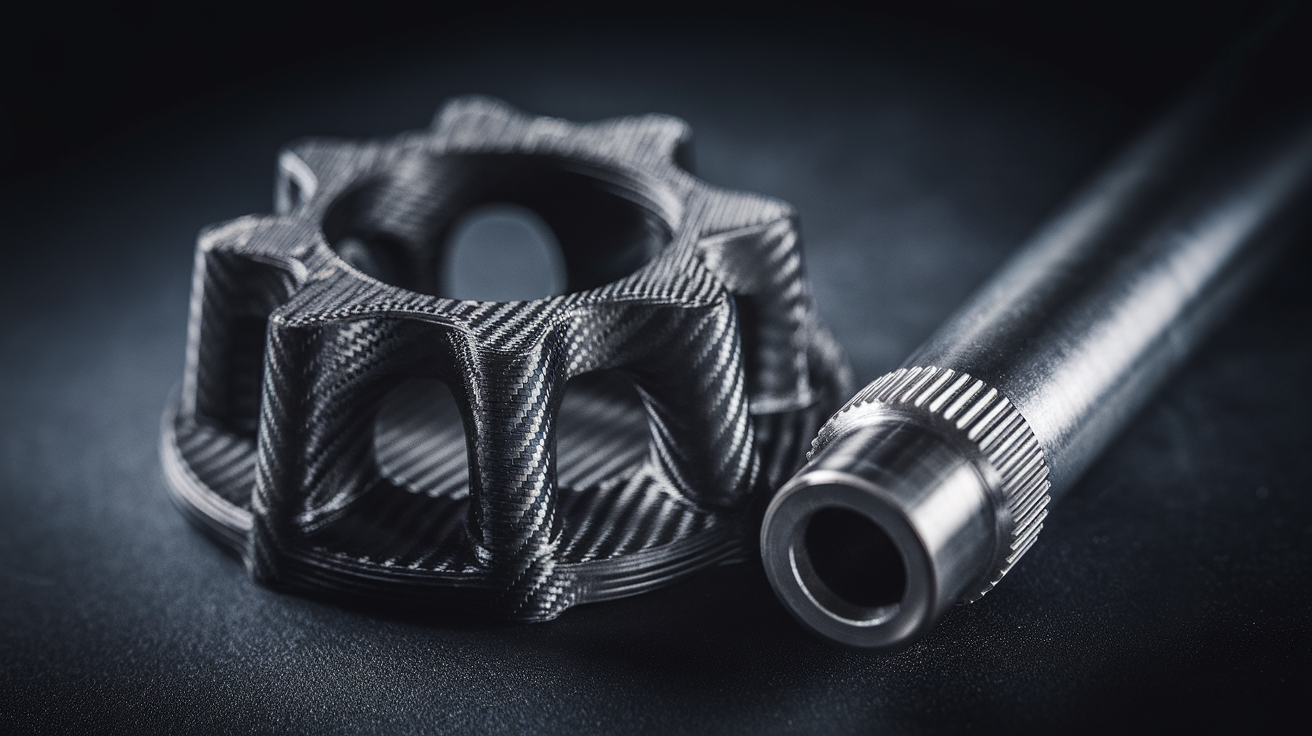
- Stiffness matters more than strength. CF dramatically increases rigidity. If your part flexes and you need it not to, CF is the answer.
- Weight reduction. CF filaments are lighter than their base materials. For drone parts, RC components, or anything that moves, this matters.
- Dimensional stability. CF reduces warping and shrinkage during printing. CF-Nylon warps significantly less than pure Nylon.
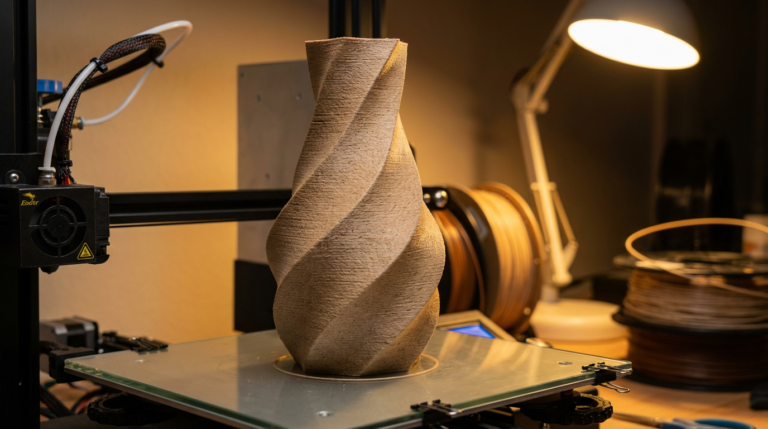
- Aesthetics. The matte carbon fiber look is genuinely appealing for visible parts.
When It’s NOT Worth It
- Impact resistance. CF actually makes materials more brittle. If your part needs to survive drops, regular PETG or Nylon is better.
- Parts under pure tension. The chopped fibers in FDM filament don’t help much with tensile strength along the Z axis.
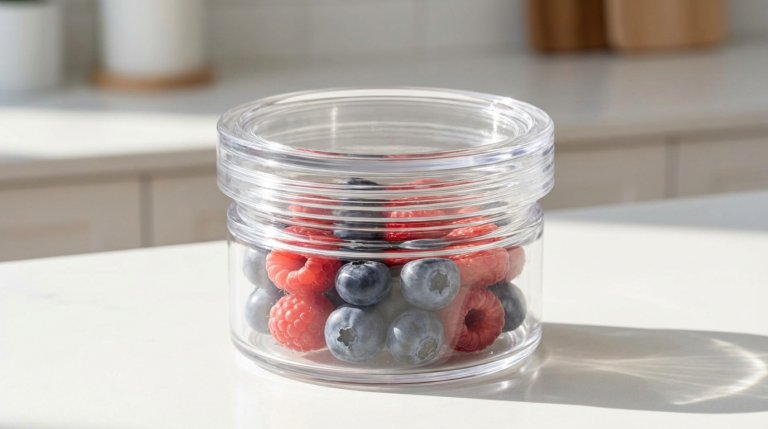
- Anything that touches food. The fiber texture makes food-safe sealing essentially impossible.
Troubleshooting Common CF Printing Issues
Nozzle Clogs
If you’re getting partial clogs, increase nozzle size to 0.5mm or larger. Also check that your hotend can maintain temperature — CF filaments need consistent heat. A cold pull with nylon between CF print jobs helps keep things clear.
Poor Layer Adhesion
Increase temperature by 5°C increments. Reduce cooling fan speed. Make sure your layers are thick enough — going below 0.15mm with CF filament is asking for trouble.
Extruder Grinding
CF filaments are stiffer and more brittle than standard materials. Reduce retraction distance and speed. If you’re using a Bowden setup, consider a direct drive conversion for CF-Nylon in particular.
Rough Surface Finish
This is partially inherent to CF filament — the fibers poke through the surface. Increasing flow rate by 2-3% and using a larger nozzle helps. Post-processing with fine sandpaper (400+ grit) can smooth things out if needed.
My CF Printing Workflow
After years of experimenting, here’s my standard process for any new CF filament:
- Dry the filament for 4-6 hours (even if it’s sealed — better safe than sorry)
- Print a temperature tower to find the sweet spot
- Print a retraction test to dial in retraction distance
- Run a small functional test part before committing to a big print
- Print from a dry box if the ambient humidity is above 40%
Carbon fiber filament rewards patience during setup and punishes shortcuts. Get the nozzle right, get the settings dialed, keep it dry, and you’ll produce some of the stiffest, best-looking parts your printer has ever made.