How to Print in Vase Mode in Cura: Spiralize Settings Explained
What Is Vase Mode and Why Use It?
Vase mode, officially called “Spiralize Outer Contour” in Cura, is a printing technique that creates hollow objects with a single continuous wall and no infill. Instead of printing each layer as a discrete circle with a start and stop point, the nozzle spirals upward in one unbroken motion, gradually increasing the Z height throughout each revolution. The result is a seamless, single-wall object with no visible Z-seam.
Vase mode is popular for several reasons:
- No Z-seam: The continuous spiral eliminates the vertical line visible on normal prints where each layer starts and ends.
- Speed: With only one wall and no infill, prints complete 3-5x faster than solid objects.
- Material savings: A vase-mode print uses 70-80% less filament than a traditionally sliced version.
- Smooth surface: The continuous extrusion produces an exceptionally smooth outer surface.
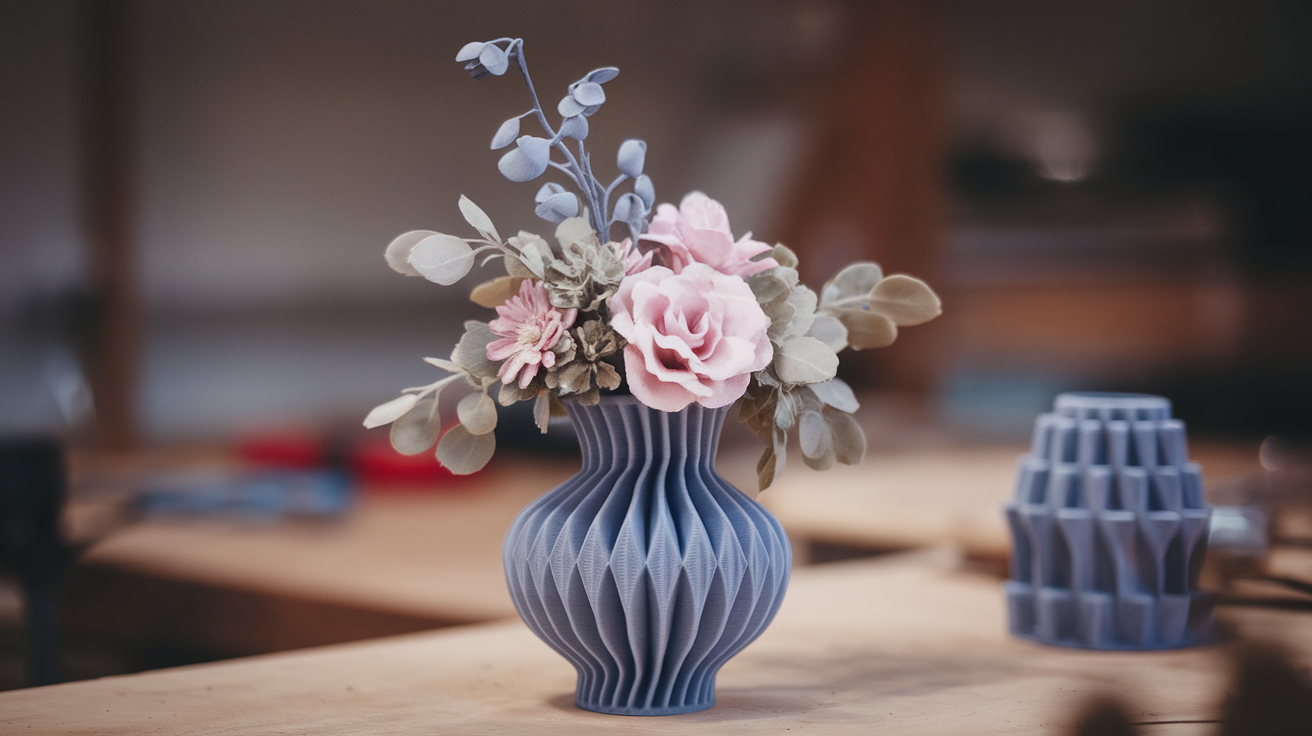
- Beautiful translucency: Single-wall prints in light-colored PLA, PETG, or silk filament become semi-translucent, creating stunning lamp shades and decorative pieces.
How to Enable Vase Mode in Cura
The setting is hidden by default in Cura, so you need to make it visible first:
- Open Cura and load your model
- Click the Settings button (three horizontal lines) in the Print Settings panel on the right
- Search for “Spiralize” in the search bar
- Check the box next to “Spiralize Outer Contour” to make it visible, then close the settings visibility window
- Now find the setting in your print settings panel (under Special Modes) and enable it by checking the checkbox
Alternatively, you can access it through: Print Settings → Special Modes → Spiralize Outer Contour. If the “Special Modes” section isn’t visible, switch to “Custom” print settings mode instead of the preset profiles.
Optimizing Cura Settings for Vase Mode
Enabling Spiralize Outer Contour is just the first step. To get the best results, you need to tune several related settings:
Wall Settings
- Wall Line Count: Cura automatically sets this to 1 in vase mode, but verify it. Some versions require manual override.
- Wall Line Width: This controls the thickness (and strength) of your vase. Default is your nozzle diameter (0.4mm), but you can increase it to 0.5-0.6mm for thicker, more durable walls. Going wider than your nozzle creates a slightly squished extrusion that’s stronger.
- Outer Wall Flow: If your walls are too thin or have gaps, increase this to 105-115%. This pushes more plastic per millimeter, creating a denser wall.
Bottom Layers
- Bottom Layers: Even in vase mode, Cura prints a solid bottom. Set this to 3-5 layers for a solid base. The spiral begins after the bottom layers are complete.
- Bottom Pattern: “Concentric” or “Lines” both work. Concentric creates a cleaner transition into the spiral.
- Bottom Layer Flow: 100-110% for good adhesion
Speed Settings
- Print Speed: 30-50 mm/s for PLA, 25-40 mm/s for PETG. Vase mode is sensitive to speed because there’s only one wall—any extrusion inconsistency shows immediately.
- Acceleration: Reduce to 500-1000 mm/s² if you see ringing or artifacts on curved surfaces.
Temperature and Cooling
- Temperature: Standard for your filament. PLA at 200-215°C, PETG at 230-245°C.
- Cooling: 100% fan for PLA (thin walls need maximum cooling to hold shape). For PETG, 50-70% to prevent delamination.
Layer Height
- Recommended: 0.2mm is the sweet spot for most vase mode prints. It balances resolution with print speed.
- For detail: 0.12-0.16mm for models with fine surface textures or patterns.
- For speed: 0.28-0.32mm for tall, simple vases where speed matters more than detail.

Settings That Conflict With Vase Mode
When you enable Spiralize Outer Contour, several settings become irrelevant or can cause problems. Watch out for these:
- Infill: Automatically disabled. If it’s not, you have a settings conflict—re-enable spiralize.
- Top Layers: Must be 0. The whole point of vase mode is an open top. Cura should set this automatically, but check.
- Z Seam Alignment: Irrelevant since there’s no seam. Ignore this setting.
- Retraction: In pure vase mode, retraction never triggers because extrusion is continuous. However, if your model has a solid bottom with multiple perimeters, retraction settings apply to those base layers.
- Coasting: Disable this. Coasting stops extrusion slightly before the end of a line to prevent blobs, but in vase mode there is no “end of line”—it’s continuous. Having coasting enabled can cause under-extrusion.
- Combing Mode: Set to “Off” or “Within Infill” (infill doesn’t exist in vase mode, so the latter effectively means off).
Designing and Choosing Models for Vase Mode
Not every 3D model works in vase mode. The spiral slicing has specific requirements:
What Works
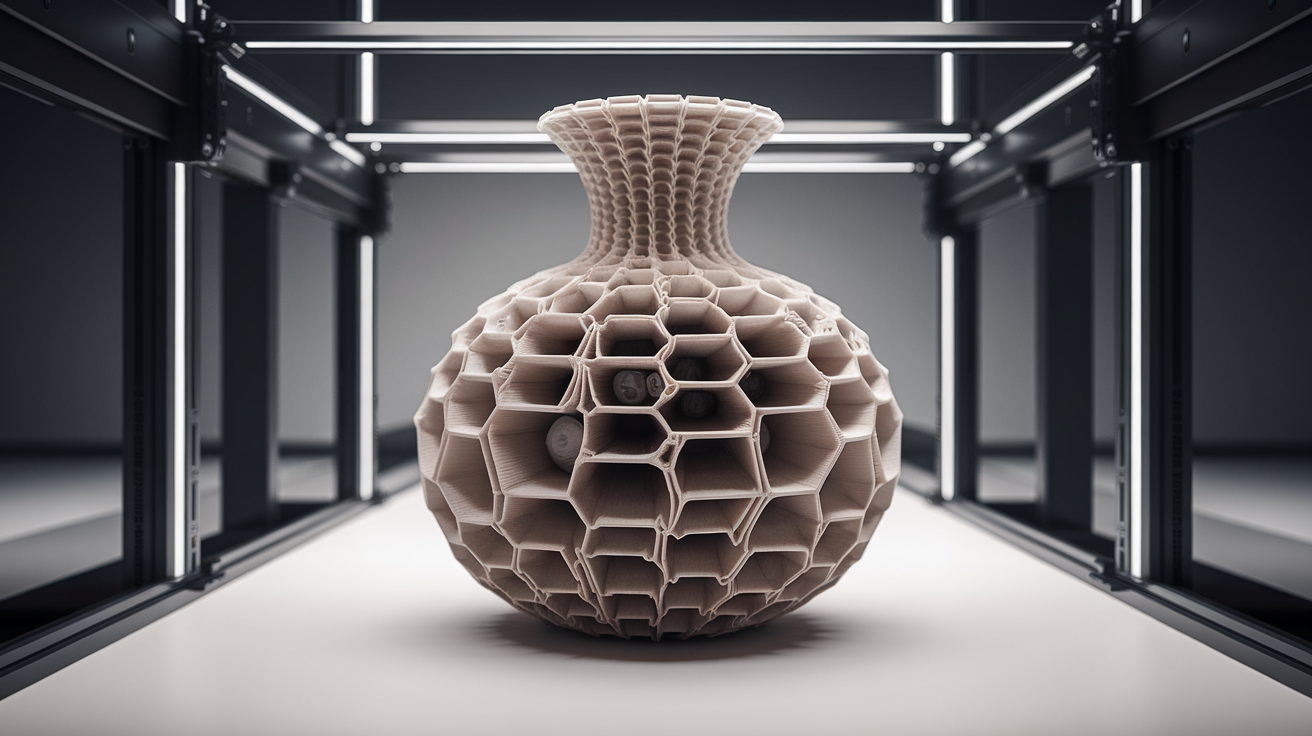
- Single-body, hollow objects (vases, cups, bowls, lamp shades, planters)
- Models without overhangs steeper than ~45° (no supports in vase mode)
- Smooth, gradually curving profiles
- Models designed as a single continuous wall—no separate parts, holes in the side walls, or protruding features
What Doesn’t Work
- Models with handles or appendages (the spiral can only follow one continuous path)
- Objects with holes or windows in the walls (the spiral breaks at gaps)
- Models that require support structures (vase mode cannot generate supports)
- Flat or very wide objects—the single wall won’t be strong enough structurally
Where to Find Vase Mode Models
Search Thingiverse, Printables, or MyMiniFactory for “vase mode” or “spiral vase.” Many designers specifically tag their models as vase-mode compatible. Popular creators like Slimprint, 3DWithUs, and LoboCNC have extensive collections of tested vase-mode designs. Low-poly vases, lithophane cylinders, and geometric planters are particularly popular.
Advanced Vase Mode Techniques
Multi-Color Vase Mode
You can create stunning gradient effects by pausing the print at a specific layer and swapping filament. Since vase mode extrudes continuously, the color transition is seamlessly blended across 1-2 layers. Plan your color changes at natural “break points” in the design—where a curve changes direction or at a design boundary.
Thick-Wall Vase Mode
For watertight or more durable vases, use a larger nozzle (0.6-0.8mm). A 0.8mm nozzle with 0.9mm line width creates a wall thick enough to hold water without sealant. Combine with PETG for a food-safe, watertight container.
Vase Mode With Texture
Some models incorporate surface texture (ridges, waves, faceted polygons) that become tactile when printed in vase mode. Low-poly models create geometric facets, while sine-wave profiles create organic undulating surfaces. These textures catch light beautifully, especially in silk or metallic filaments.
LED/Light Effects
Print a vase-mode shell in white or translucent PLA, then place an LED strip or color-changing bulb inside. The single thin wall glows evenly, creating a stunning lamp or night light. The layer lines become a feature, creating horizontal light diffraction patterns.
Troubleshooting Vase Mode Problems
Problem: The bottom is solid but the walls have gaps or holes.
This usually means under-extrusion. Increase flow rate by 5-10%. Also verify your filament diameter—even 1.68mm vs 1.75mm causes visible under-extrusion in single-wall prints.
Problem: The vase collapses or deforms during printing.
The single wall isn’t cooling fast enough. Increase fan speed to 100% and reduce print speed by 10 mm/s. If it’s still collapsing, the overhangs are too steep for vase mode—choose a model with more gradual curves.
Problem: There’s a visible line where the spiral starts.
This is the transition from the solid bottom layers to the spiral. In Cura, ensure “Smooth Spiralized Contour” is enabled (it should be on by default). This setting gradually ramps the Z height over the first spiral layer to avoid a sudden bump.
Problem: The top edge is uneven or wavy.
At the top of a vase-mode print, the last layer has nowhere to bond to above it, so it can curl or wave. Reduce speed for the last 10-20 layers and ensure maximum cooling. Some users apply a tiny bead of CA glue to the top edge to lock it in place.
Problem: I want a closed top but vase mode forces an open top.
True vase mode can’t close a top because the spiral needs somewhere to go. Some workarounds: design a snap-fit lid as a separate non-vase-mode print, or model the top as a very tight dome that spirals inward to nearly close.
Problem: My model has multiple bodies and Cura only spiralizes one.
Cura spiralizes each body independently, which can cause travel moves and breaks. Merge all bodies into a single mesh in your modeling software (Mesh → Combine/Union in Blender) before importing.