How to Print PETG on Ender 3: Complete Settings Guide
Why PETG on the Ender 3 Can Be Tricky
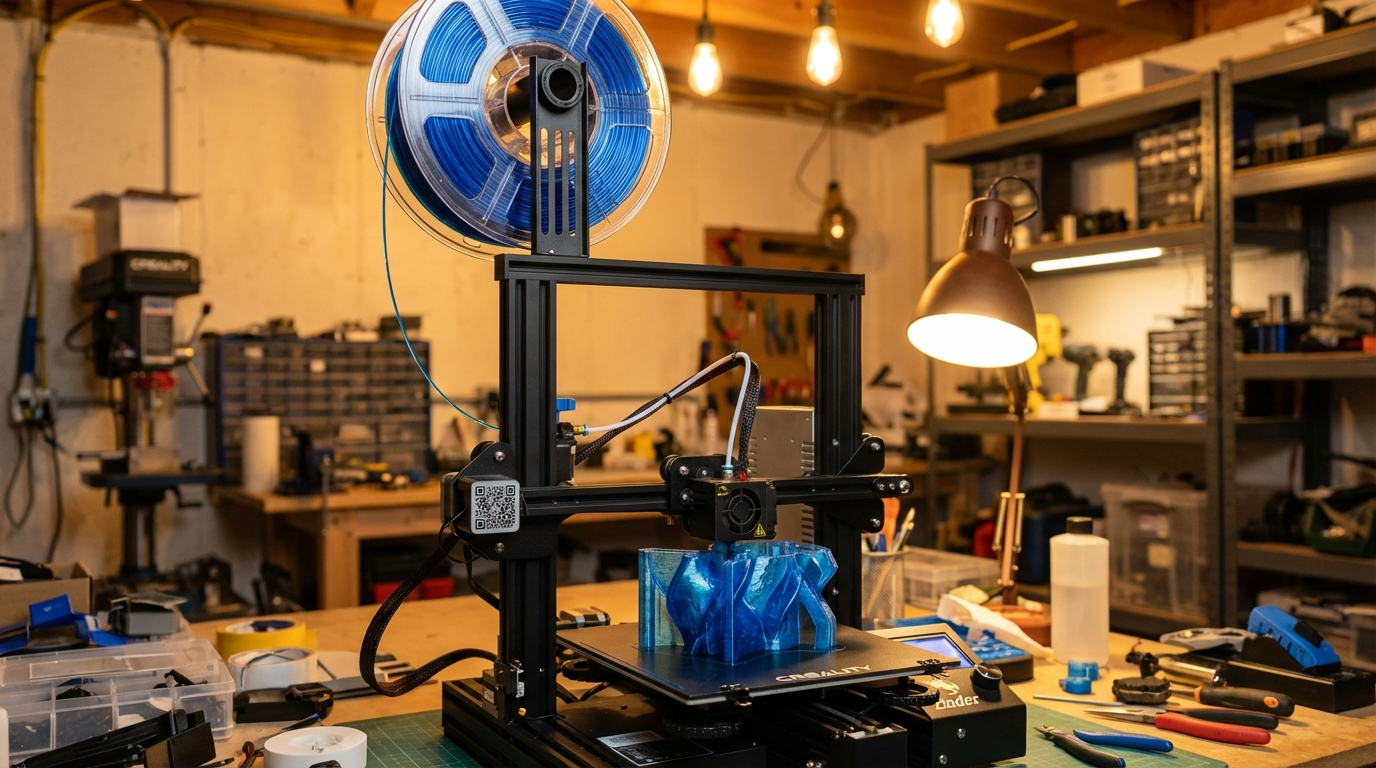
The Creality Ender 3 is one of the most popular 3D printers ever made, and for good reason — it’s affordable, well-supported by the community, and surprisingly capable for its price. But when you step beyond PLA and try printing PETG for the first time, things can go sideways fast. Stringing that looks like a spider web, first layers that won’t stick or stick too hard, and mysterious blobs that appear out of nowhere.
The good news? Every one of these issues is solvable with the right settings. PETG is actually a fantastic filament once dialed in — it’s stronger than PLA, more heat-resistant, and has better chemical resistance. It’s the natural next step for anyone who’s outgrown PLA’s limitations. This guide covers the exact settings and techniques that work on all Ender 3 variants: the original Ender 3, Ender 3 V2, Ender 3 V2 Neo, Ender 3 S1, and Ender 3 V3.
Recommended PETG Settings for Ender 3
Let’s start with the settings that work as a reliable baseline. You can fine-tune from here based on your specific filament brand and environment:
Temperature Settings
- Nozzle temperature: 230-240°C (start at 235°C)
- Bed temperature: 70-80°C (start at 75°C)
- First layer nozzle temp: 240°C (slightly hotter for better adhesion)
- First layer bed temp: 80°C (then drop to 70-75°C for remaining layers)
PETG needs more heat than PLA to flow properly. If you’re coming from PLA at 200°C, the jump to 235°C might feel extreme, but PETG’s glass transition temperature is around 80°C and it melts at roughly 230-260°C. Too low and you’ll get poor layer adhesion and under-extrusion; too high and you’ll see excessive stringing and oozing.
Speed Settings
- Print speed: 40-50mm/s (slower than typical PLA)
- First layer speed: 20-25mm/s
- Travel speed: 150-200mm/s
- Outer wall speed: 30-40mm/s
- Inner wall speed: 40-50mm/s
PETG doesn’t like being rushed. It’s a stickier, more viscous material than PLA, and pushing it too fast leads to poor surface quality and increased stringing. On an Ender 3, 45mm/s is a good all-around speed. If you have an Ender 3 V3 with Klipper firmware, you can push slightly faster with pressure advance enabled.
Retraction Settings
- Retraction distance (Bowden): 5-6mm
- Retraction distance (Direct Drive — S1/V3): 1-2mm
- Retraction speed: 25-35mm/s
- Retraction prime speed: 25mm/s
- Z-hop: 0.2mm (helps prevent nozzle from dragging through blobs)
Retraction is where most PETG stringing battles are won or lost. The key insight: with PETG, retraction speed matters more than distance. A moderate retraction at moderate speed works better than aggressive retraction at high speed. Too much retraction creates voids in the melt zone that lead to gaps and blobs when the filament re-primes.
Cooling Settings
- Part cooling fan: 30-50% (NOT 100% like PLA)
- First layer fan: 0%
- Fan ramp-up: Start at layer 3-4, reach target by layer 6
This is one of the most common mistakes when switching from PLA to PETG. PLA loves fan at 100% — it cools quickly and holds its shape. PETG hates excessive cooling. Too much fan causes the layers to cool before they can bond properly, leading to delamination and weak parts. But some fan is needed for overhangs and bridging. The 30-50% range is the sweet spot on an Ender 3.
First Layer Settings
- First layer height: 0.28-0.3mm (thicker than normal)
- First layer width: 120-150% of nozzle diameter
- First layer flow: 95-100%
- Z-offset: Slightly higher than PLA (PETG shouldn’t be squished as hard)
Here’s a critical difference from PLA: PETG does NOT like being squished into the bed. With PLA, you want the first layer pressed firmly for maximum adhesion. With PETG, a slightly higher Z-offset gives better results. If the nozzle is too close, the excess material has nowhere to go and causes rough, uneven first layers with curled edges. Raise your Z-offset by about 0.02-0.05mm compared to your PLA setting.
Bed Adhesion: What Actually Works
PETG adhesion on the Ender 3 depends heavily on your build surface:
On the Stock Magnetic Flex Plate
The stock Ender 3 magnetic bed works okay for PETG, but adhesion is inconsistent. Apply a thin layer of glue stick (PVA) for reliable results. The glue actually serves a dual purpose: it provides adhesion and acts as a release agent that prevents PETG from bonding permanently to the surface.
On Glass (Creality Glass Bed)
Glass with glue stick is a solid combination for PETG. Apply a thin, even layer of purple glue stick and let it dry. The bed at 75-80°C gives strong adhesion during printing, and prints release when the bed cools to room temperature. Clean and reapply glue every 3-5 prints.
On PEI Sheet
Use textured PEI, not smooth. Smooth PEI bonds to PETG so aggressively that removing prints can tear the PEI surface — it’s one of the most common ways people destroy expensive PEI sheets. Textured PEI provides great adhesion without the destructive over-bonding. If you only have smooth PEI, apply a light layer of glue stick as a barrier.

Solving PETG Stringing on the Ender 3
Stringing is PETG’s signature problem. The material is naturally stringy because of its high viscosity and tendency to ooze. Here’s the systematic approach to reducing it:
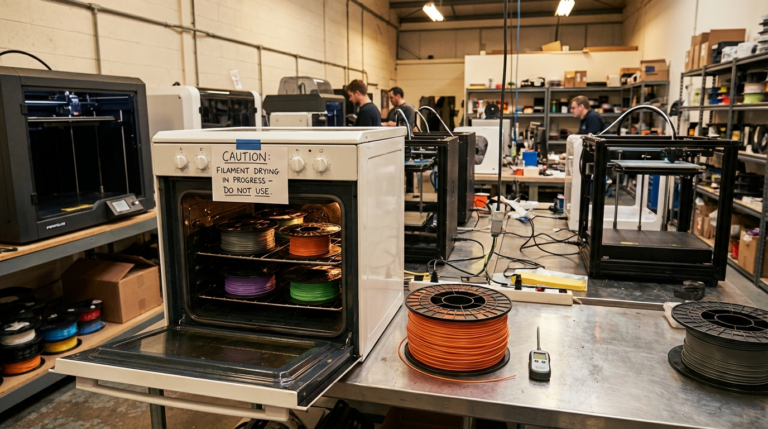
Step 1: Dry Your Filament
Before touching any slicer settings, make sure your PETG is dry. PETG is significantly more hygroscopic than PLA — it absorbs moisture from the air faster and the effects are worse. Wet PETG produces dramatic stringing, popping sounds during extrusion, and rough surfaces. Dry your PETG at 65°C for 4-6 hours in a filament dryer or oven before printing.
Step 2: Lower the Temperature
Start at the lower end of the temperature range (230°C) and only increase if you see layer adhesion problems. Every 5°C reduction in temperature noticeably reduces stringing. A temperature tower is the best way to find your specific filament’s sweet spot.
Step 3: Tune Retraction
Print a retraction tower varying distance from 4mm to 7mm (Bowden) or 0.5mm to 2.5mm (direct drive) in 0.5mm increments. Find the point where stringing minimizes without introducing blobs or gaps. Then fine-tune retraction speed around that distance.
Step 4: Enable Combing Mode
In Cura, set Combing Mode to “Within Infill.” This forces the nozzle to travel over infill areas rather than crossing perimeters during non-print moves, which means any stringing that does occur is hidden inside the model rather than on exterior surfaces.
Step 5: Reduce Travel Speed — Or Increase It
This sounds contradictory, but some printers do better with faster travel moves because the filament has less time to ooze during the move. Try increasing travel speed to 200mm/s while keeping retraction moderate. If that doesn’t help, try the opposite — slower travels with longer retraction. The optimal combination varies by printer.
Common PETG Problems and Quick Fixes
Blobs and Zits on Surface
Usually caused by oozing during travel moves. Enable Z-hop, reduce nozzle temperature by 5°C, and enable coasting (0.1-0.2mm³ in Cura). Coasting stops extrusion slightly before the end of each line, which reduces the pressure that causes ooze.
Poor Layer Adhesion
If layers separate easily, the temperature is too low or the fan is too high. Increase nozzle temp by 5-10°C, reduce fan to 20-30%, and slow down the print speed. PETG needs time and heat to bond between layers.
First Layer Too Rough
The nozzle is too close to the bed. PETG first layers should look like smooth, parallel lines — not a rough, smeared mess. Increase Z-offset by 0.02mm increments until the first layer is smooth. It should look slightly less squished than a good PLA first layer.
Filament Curling Around Nozzle
This happens when PETG sticks to the nozzle tip instead of the bed. Two fixes: first, ensure the nozzle is clean before each print (heat to 250°C and wipe with a brass brush). Second, use a silicone sock on the heat block — this prevents filament from adhering to the block and building up into a blob that eventually gets dragged across your print.
Print Warping at Corners
PETG warps less than ABS but more than PLA, especially on large prints. Use a brim (5-8mm width), increase bed temp to 80°C, and reduce part cooling fan for the first 10 layers. If printing in a cold room, consider an enclosure or at least blocking drafts from the print area.
PETG Brand Recommendations for Ender 3
Not all PETG is created equal. Here are brands that consistently perform well on Ender 3 printers based on community feedback and my own testing:
- Overture PETG — Excellent consistency, easy to print, minimal stringing compared to other brands. My go-to recommendation for beginners.
- eSUN PETG — Wide color selection, reliable quality, prints well at 235°C. Occasionally more stringy than Overture.
- Hatchbox PETG — Good quality but sometimes inconsistent between batches. When it’s good, it’s great.
- Polymaker PolyLite PETG — Premium option with excellent surface quality and minimal stringing. The spooling is also noticeably better than budget brands.
- Prusament PETG — The gold standard for consistency, but costs more and shipping outside Europe can be slow.
PETG vs PLA: When to Use What
Now that you can print both, here’s a quick decision guide:
- Decorative items, figurines, prototypes → PLA (easier, better details, more colors)
- Functional parts that see stress → PETG (stronger layer adhesion, more flexibility before breaking)
- Outdoor use → PETG (heat resistance up to 80°C vs PLA’s 55-60°C)
- Food-adjacent items → PETG (more chemically stable, though no FDM print is truly food-safe due to layer lines harboring bacteria)
- Parts near heat sources → PETG (car mounts, electronics enclosures, lamp holders)
PETG on the Ender 3 isn’t hard once you understand the differences from PLA. Lower your fan, raise your temperature, back off the Z-offset slightly, and dry your filament. Follow the settings in this guide as your starting point, print a temperature tower, and you’ll be producing strong, clean PETG parts that put PLA to shame where it counts. The Ender 3 might be a budget printer, but with PETG in the mix, it’s capable of serious functional printing.