How to Use Adaptive Layer Height in 3D Printing: Faster Prints Without Losing Quality
What Is Adaptive Layer Height?
Standard 3D printing uses a single layer height for the entire model. You pick 0.2mm, and every layer from the first to the last is exactly 0.2mm tall. It’s simple, predictable, and works fine for most prints. But it’s also wasteful — you’re using the same fine resolution on flat vertical walls (where it doesn’t matter) as you are on curved, angled, and detailed surfaces (where it does).
Adaptive layer height changes this by automatically varying the layer thickness throughout the print based on the model’s geometry. Flat vertical sections get thick layers (fast printing, minimal visual difference). Curved and angled sections get thin layers (smooth surfaces, fine detail). The result: prints that look like they were printed at fine layer heights but finish in the time of coarse layer heights.
In real-world testing, adaptive layers typically reduce print time by 20-40% compared to uniform fine layers, while maintaining nearly identical surface quality on visible curved surfaces. That’s a significant saving on long prints — a 12-hour print drops to 8 hours without compromising the finish.
How Adaptive Layers Work Under the Hood
The slicer analyzes each horizontal slice of the model and calculates the surface angle relative to the build plate. Here’s the logic:
- Vertical surfaces (90°): Layer height doesn’t affect the surface quality of a purely vertical wall. The slicer uses the maximum layer height here — typically 0.28-0.32mm for a 0.4mm nozzle
- Horizontal surfaces (0°): These are top and bottom surfaces made entirely of solid fill. Again, layer height doesn’t matter much since the top surface is flat. Maximum layer height used
- Angled and curved surfaces (10-80°): This is where layer height matters. The shallower the angle, the more visible the “staircase” effect becomes. The slicer reduces layer height in these areas — down to 0.08-0.12mm for nearly horizontal slopes
The transition between thick and thin layers is gradual, not abrupt. The slicer smooths the layer height curve to avoid sudden changes that could cause visible artifacts.
Setting Up Adaptive Layers in PrusaSlicer and OrcaSlicer
PrusaSlicer and OrcaSlicer (which is based on PrusaSlicer) have the most mature adaptive layer implementation. Here’s how to enable and configure it:
Basic Setup
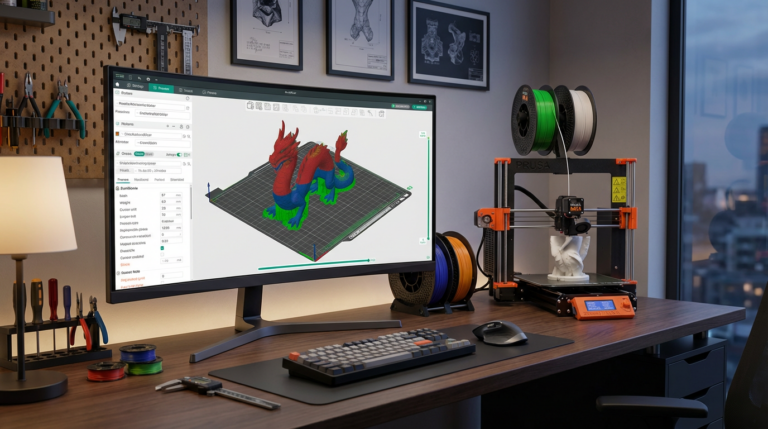
- Open your model in PrusaSlicer/OrcaSlicer
- In the right panel, click the “Variable layer height” button (looks like a layer icon) or press the L key
- Click “Adaptive” to auto-generate the layer profile
- A graph appears showing layer height across the Z-axis of the model
Key Settings
- Quality / Speed slider: Controls the aggressiveness of layer height variation. Moving toward Quality uses thinner minimum layers; moving toward Speed allows thicker maximum layers
- Minimum layer height: The thinnest layer allowed. Don’t go below 0.08mm for a 0.4mm nozzle — thinner layers increase the chance of first-layer issues and bed-level sensitivity
- Maximum layer height: The thickest layer allowed. Generally, this should be no more than 75% of your nozzle diameter. For a 0.4mm nozzle, 0.28-0.30mm is a good maximum
Manual Adjustment
After the adaptive algorithm generates its profile, you can manually adjust specific zones. Click and drag on the layer height graph to:
- Force thinner layers in areas where you want extra detail
- Force thicker layers in areas where speed matters more than appearance
- Smooth out transitions if the automatic profile seems too aggressive
This manual override is incredibly powerful. You can have 0.12mm layers on a face/figurine’s facial features while printing the back of the head at 0.28mm. Same print, two very different resolutions, applied exactly where they’re needed.
Setting Up Adaptive Layers in Cura
Cura’s implementation is different — it uses a plugin-based approach:
Method 1: Adaptive Layers Plugin (Built-in)
- Go to Extensions → Post Processing → Modify G-Code
- Click “Add a Script”
- Select “Adaptive Layers”
- Configure the parameters
Cura Adaptive Layer Settings
- Adaptive Layers Maximum Variation: How far the layer height can deviate from the base layer height, in mm. Example: base height 0.2mm with variation 0.1mm means layers range from 0.1mm to 0.3mm
- Adaptive Layers Variation Step Size: How much the layer height can change between consecutive layers. Smaller values = smoother transitions. 0.04mm is a good starting point
- Adaptive Layers Threshold: The steepness threshold (in degrees) at which the slicer starts reducing layer height. Lower values = more aggressive adaptation
Method 2: Per-Model Settings with Support Blockers
You can also use Cura’s per-model settings feature with support blockers to set different layer heights for different regions of the model. This is more manual but gives precise control:
- Right-click your model → “Per Model Settings”
- Add a support blocker that covers the area where you want different layer heights
- Click the blocker → change its type to “Modify settings for overlap with other models”
- Add the “Layer Height” setting and set your desired height for that region
When to Use Adaptive Layer Height
Adaptive layers aren’t always the best choice. Here’s when they shine and when to stick with uniform layers:
Ideal Use Cases
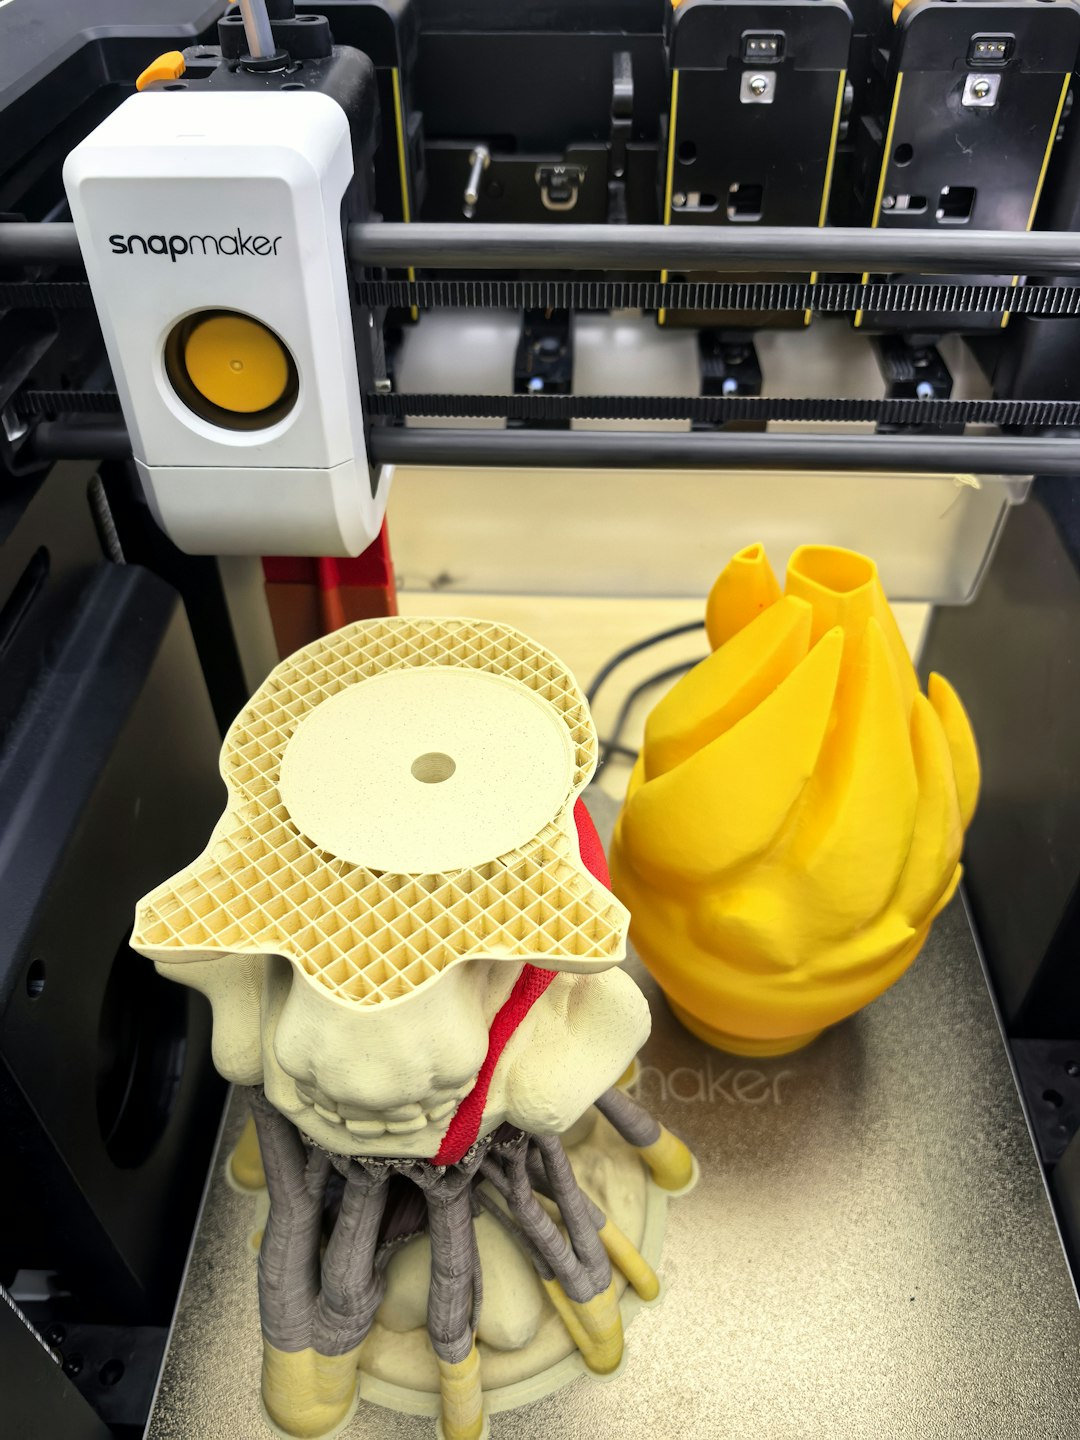
- Models with mixed geometry: Parts that have both flat vertical walls and curved surfaces — figurines, vases, organic shapes, housings with rounded edges
- Miniatures and figurines: Faces, fingers, and delicate features benefit enormously from fine layers, while bases and flat sections can go fast
- Large prints where time matters: A 30-hour print at 0.12mm might finish in 18 hours with adaptive layers, with no visible quality difference on flat areas
- Cosplay props and helmets: Complex curvature with lots of gradual slopes. Perfect for adaptive layers
When to Avoid
- Purely mechanical/functional parts: If surface finish doesn’t matter, just use thick layers throughout for speed
- Parts requiring precise dimensions: Layer height variations can slightly affect dimensional accuracy. For parts that need tight tolerances, uniform layers are more predictable
- Simple geometric shapes: A box or cylinder doesn’t benefit from adaptive layers because there aren’t meaningfully different surface angles
- When using specialty processes: If you’re planning to vapor-smooth (ABS/ASA) or sand the entire surface, the layer height optimization is wasted effort
Tips for Best Results
1. Calibrate Your Z-axis First
Adaptive layers require your Z-axis to be mechanically sound. If your lead screws have backlash, your Z-steps are off, or your bed springs are uneven, the frequent layer height changes will amplify these issues. Make sure your Z-axis moves smoothly and accurately before enabling adaptive layers.
2. Watch Your Minimum Layer Height
Very thin layers (below 0.08mm on a 0.4mm nozzle) can cause issues: the nozzle drags across previous layers, heat builds up because the layer time is very short, and slight Z inaccuracies become proportionally larger. For most printers, 0.10mm is a safe minimum.
3. Adjust Flow for Thick Layers
Very thick layers (0.28mm+) push more filament per second, requiring higher extrusion force. Make sure your hotend can melt filament fast enough. If you see under-extrusion artifacts only in thick-layer sections, your maximum layer height is too aggressive for your hotend’s melt capacity. Reduce the max or slow down the print speed for thick layers.
4. Consider Minimum Layer Time
Your slicer’s “minimum layer time” setting still applies. Very thin adaptive layers on small cross-sections can trigger the minimum time limit, causing the printer to slow down dramatically or insert cooling pauses. This can affect surface finish on those areas. Adjust the minimum layer time or increase your cooling to compensate.
5. Preview Before Printing
Always preview the sliced result with the layer height visualization enabled. Look for:
- Unexpected thick layers on curved surfaces (adjust the threshold)
- Very thin layer sections that might cause overheating issues
- Abrupt transitions that might create visible artifacts
Adaptive Layers vs Variable Layer Height: What’s the Difference?
These terms are sometimes used interchangeably, but they’re different:
- Adaptive layer height: Automatic. The slicer analyzes the geometry and sets layer heights algorithmically. Hands-off and fast to set up
- Variable layer height: Manual. You paint or specify layer heights for different zones of the model. More control but more effort
The best approach is often to start with adaptive (automatic) and then manually tweak specific zones that the algorithm didn’t handle optimally. PrusaSlicer/OrcaSlicer makes this workflow particularly smooth with their combined adaptive + manual override system.
Real-World Time Savings: What to Expect
Here are typical time savings from enabling adaptive layers on different model types:
- Chess piece (lots of curves): 0.12mm uniform = 4h 20min → Adaptive = 2h 50min (35% faster)
- Phone case (mostly flat walls, rounded edges): 0.12mm uniform = 2h 10min → Adaptive = 1h 30min (31% faster)
- Miniature figurine: 0.08mm uniform = 6h → Adaptive = 3h 50min (36% faster)
- Simple box (all flat surfaces): Minimal difference since all surfaces get the max height anyway
The savings scale with model complexity. The more curved and varied the geometry, the bigger the time reduction.
Final Thoughts
Adaptive layer height is one of those features that, once you try it, you’ll wonder why you ever printed any organic model at a uniform layer height. It’s essentially free optimization — better quality where it matters, faster speed where it doesn’t, with minimal setup effort.
Start with PrusaSlicer or OrcaSlicer if you haven’t tried it yet — their implementation is the most polished and gives you the best combination of automatic calculation and manual control. Set your minimum to 0.10mm, maximum to 0.28mm, hit “Adaptive,” preview the result, and print. That’s it. You’ll get a better print in less time, and you won’t want to go back to uniform layers for anything with curves.