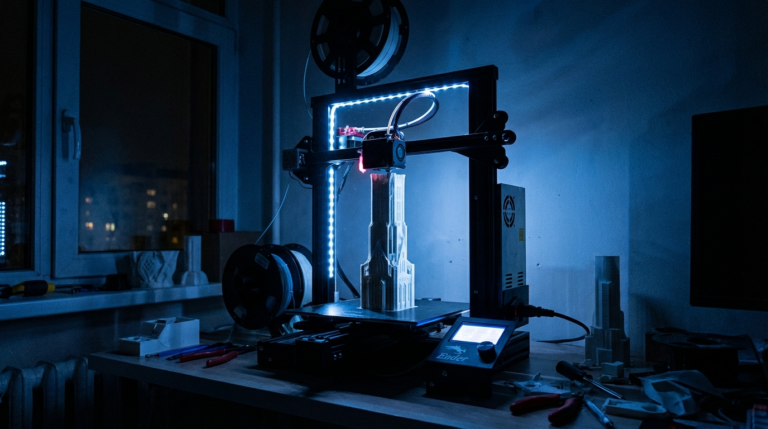
How to Use Vase Mode (Spiral Outer Contour) in 3D Printing
Vase mode — sometimes called “spiral outer contour” in PrusaSlicer, “spiralize outer contour” in Cura, or “spiral vase” in OrcaSlicer — is one of the most underappreciated features in any slicer software. It produces single-wall prints with no visible layer seam, no infill, and no top layers. The nozzle traces a continuous spiral from bottom to top, resulting in prints that are faster, smoother, and more visually impressive than standard slicing can achieve.
If you’ve never tried vase mode, you’re missing out on some of the fastest, cleanest prints your machine is capable of producing. This guide covers how it works, when to use it, how to set it up in the major slicers, and tips for getting perfect results.
How Vase Mode Actually Works
In normal 3D printing, each layer is a closed loop. The nozzle prints a complete perimeter, lifts to the next layer height, and prints another perimeter. That layer transition creates a visible Z-seam — a vertical line where each layer starts and ends.
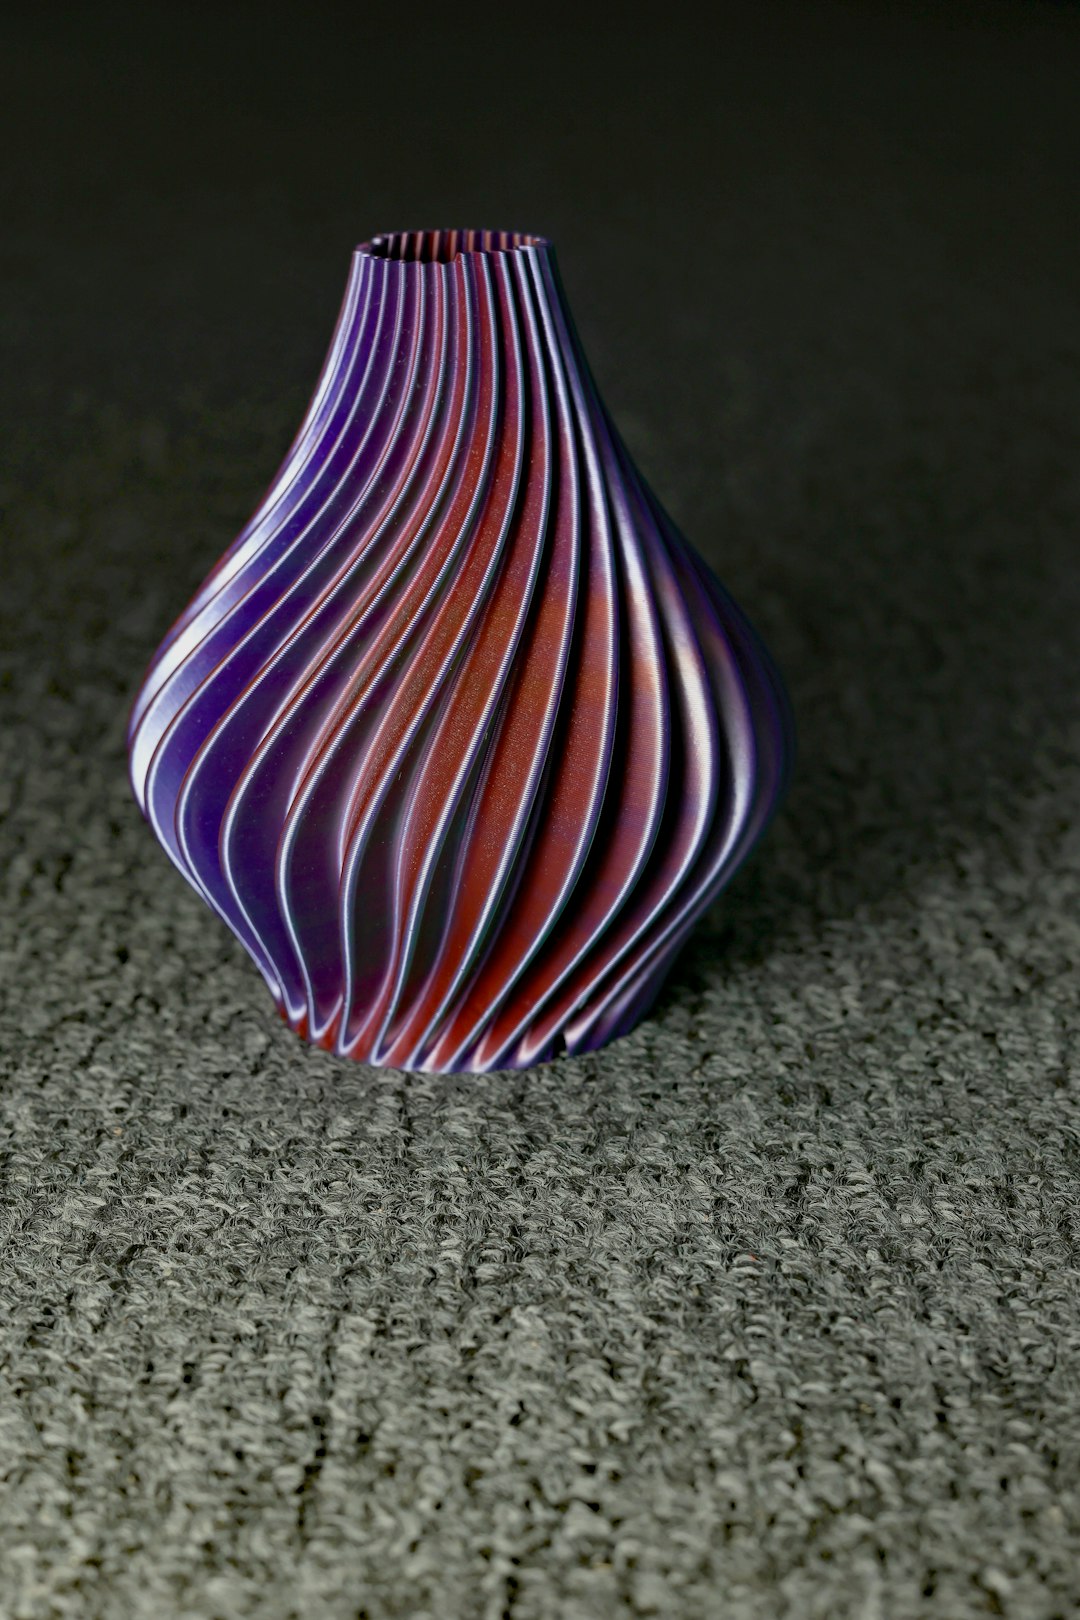
Vase mode eliminates this by converting the layer transitions into a continuous ramp. Instead of completing a full circle and then stepping up, the nozzle gradually increases its Z height as it moves around the perimeter. By the time it completes one revolution, it’s already at the height of the next layer. The result is a truly seamless, smooth outer surface with zero Z-seam artifacts.
The trade-offs are significant but intentional:
- Single wall only: The print has exactly one perimeter — usually 0.4–0.6mm thick depending on your nozzle size
- No infill: The interior is completely hollow
- No top layers: The print is open at the top (for vases, this is a feature, not a bug)
- Solid bottom: The bottom layers are printed normally to create a base
When to Use Vase Mode
Vase mode isn’t just for printing vases. It works brilliantly for any model that can function as a single-walled hollow shell:
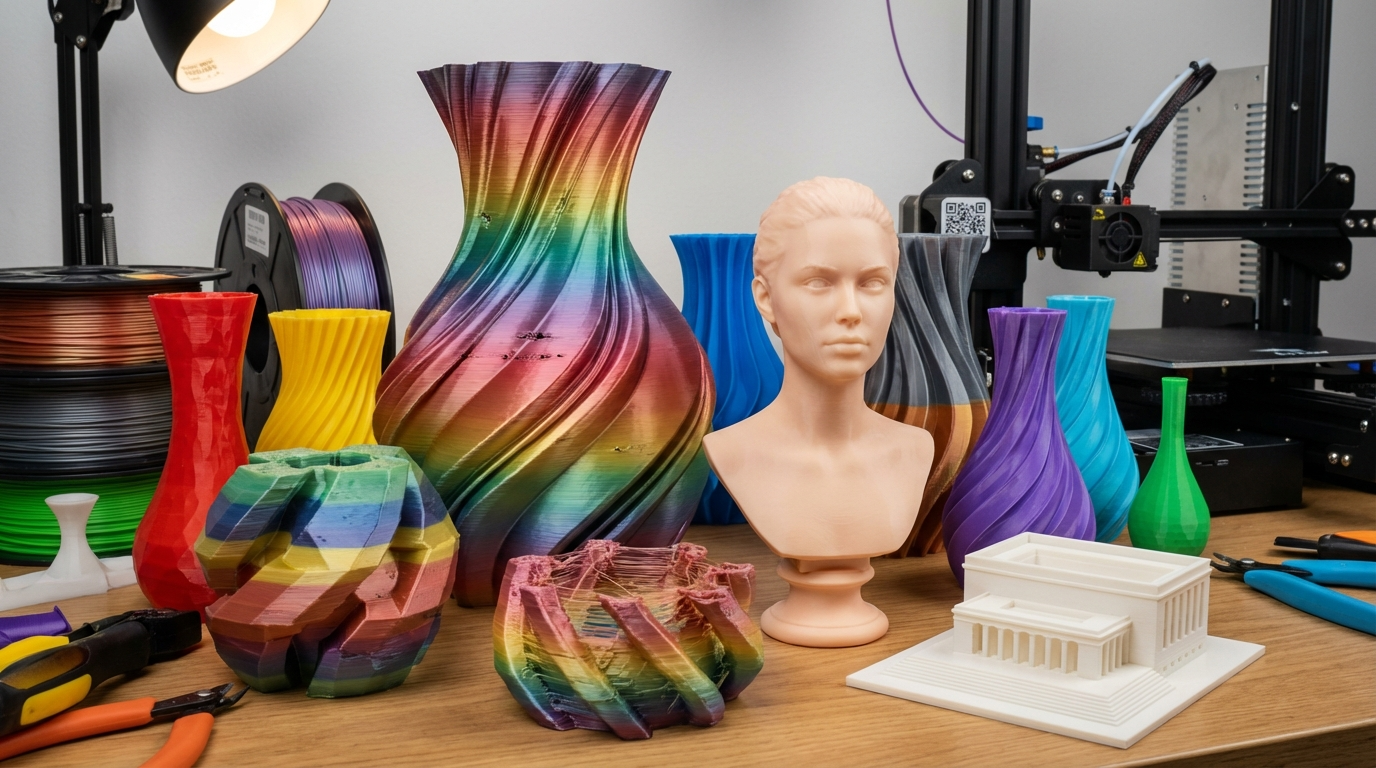
- Decorative vases and planters — the obvious use case. Smooth walls, no seam lines
- Lampshades and light diffusers — the thin single wall lets light through beautifully, especially with translucent filament
- Pen cups and desktop organizers — fast to print and surprisingly sturdy
- Holiday ornaments — Christmas ornaments, Easter eggs, decorative shells
- Test prints and size checks — a vase-mode print takes 10–20% of the time of a solid print, making it great for checking proportions
- Lithophanes (cylindrical) — wrap a lithophane into a cylinder and print in vase mode for a stunning lamp
- Terrain and landscape models — thin-shell terrain prints look great and print in a fraction of the time
Setting Up Vase Mode in Your Slicer
Cura (UltiMaker Cura)
- Load your model
- Go to Special Modes in the print settings
- Enable “Spiralize Outer Contour”
- Set “Smooth Spiralized Contours” to On (this interpolates the Z ramp for an even smoother surface)
- Bottom layers: leave at 3–4 for a solid base
- Wall line width: match your nozzle diameter or go slightly wider (0.45mm for a 0.4mm nozzle works well)
PrusaSlicer / OrcaSlicer / Bambu Studio
- Load your model
- Go to Print Settings → Layers and perimeters
- Find “Spiral vase” and check the box
- The slicer will automatically set perimeters to 1 and disable top layers
- Adjust bottom layers as needed (3–5 recommended)
IdeaMaker
- Load your model and open print settings
- Navigate to Layer → General
- Enable “Vase Mode”
- Adjust base layers and wall thickness as desired
Best Settings for Vase Mode Prints
These settings work as excellent starting points for most printers and materials:
Layer Height
Use a layer height between 0.15mm and 0.24mm. Thinner layers give smoother surfaces but take longer. For decorative pieces, 0.16mm looks stunning. For functional vessels, 0.20–0.24mm prints faster with minimal visual difference.
Line Width
The single-wall thickness determines structural strength. Options:
- 0.4mm (nozzle width): Standard wall, slightly translucent with some filaments
- 0.5–0.6mm (over-extrusion): Thicker, stronger walls. Your nozzle can extrude wider than its diameter — a 0.4mm nozzle can reliably print 0.5–0.6mm lines. This makes vase-mode prints significantly more durable
- 0.8mm nozzle: If you want truly thick walls, a 0.8mm nozzle gives you beefy single-wall prints that can hold water easily
Speed
Vase mode prints can run faster than standard prints because there’s no travel moves, no retractions, and no acceleration/deceleration from direction changes. Typical good values:
- PLA: 40–80 mm/s (up to 100+ mm/s on high-speed printers)
- PETG: 30–60 mm/s
- Silk PLA: 30–50 mm/s (slower gives a better shimmer)
Temperature
Standard temperatures work fine. If anything, you can run slightly hotter in vase mode because the continuous extrusion maintains consistent flow (no start/stop thermal cycling).
Tips for Perfect Vase Mode Prints
1. Model Selection Matters
Not every model works in vase mode. The model should be a single, continuous shell with no overhangs steeper than about 60 degrees from vertical. If the model has internal features, holes, or very sharp overhangs, vase mode will struggle or fail outright.
Good: smooth vases, organic shapes, tapered cylinders, gently curved surfaces.
Bad: models with handles, holes in walls, sharp horizontal overhangs, internal structures.
2. Prevent Wobble on Tall Prints
Tall, thin vase-mode prints can wobble during printing, causing layer misalignment. Solutions:
- Print slower for tall models (reduce speed by 30% above 150mm height)
- Make sure your printer frame is rigid and belts are tensioned
- Use a wider base to improve stability during printing
3. Making Watertight Vases
Single-wall vase-mode prints are not inherently watertight — water seeps through microscopic gaps between layers. To make them hold water:
- Increase line width to 0.5–0.6mm for better layer overlap
- Print at slightly higher temperature (+5°C) for better layer fusion
- Coat the interior with clear epoxy resin, polyurethane spray, or food-safe sealant
- Use PETG instead of PLA — it fuses more completely at layer boundaries
4. Choosing the Right Filament
Some filaments look spectacular in vase mode:
- Silk PLA: Incredible sheen and color shifting on curved surfaces
- Transparent/translucent PETG: Beautiful light transmission for lamp shades
- Marble PLA: Random stone-like patterns on the smooth spiral surface
- Color-changing (temperature or UV): Eye-catching conversation pieces
5. The Speed Advantage Is Huge
A typical vase that takes 4–6 hours in standard mode might print in 30–45 minutes in vase mode. That’s not a typo. The combination of no infill, single wall, no retraction, and continuous motion makes vase mode exceptionally fast.
Troubleshooting Vase Mode Issues
Gaps or Holes in the Wall
Usually caused by under-extrusion. Increase flow rate by 3–5%, increase line width slightly, or reduce speed. Make sure your filament diameter is consistent (cheap filament with varying diameter causes gaps in single-wall prints).
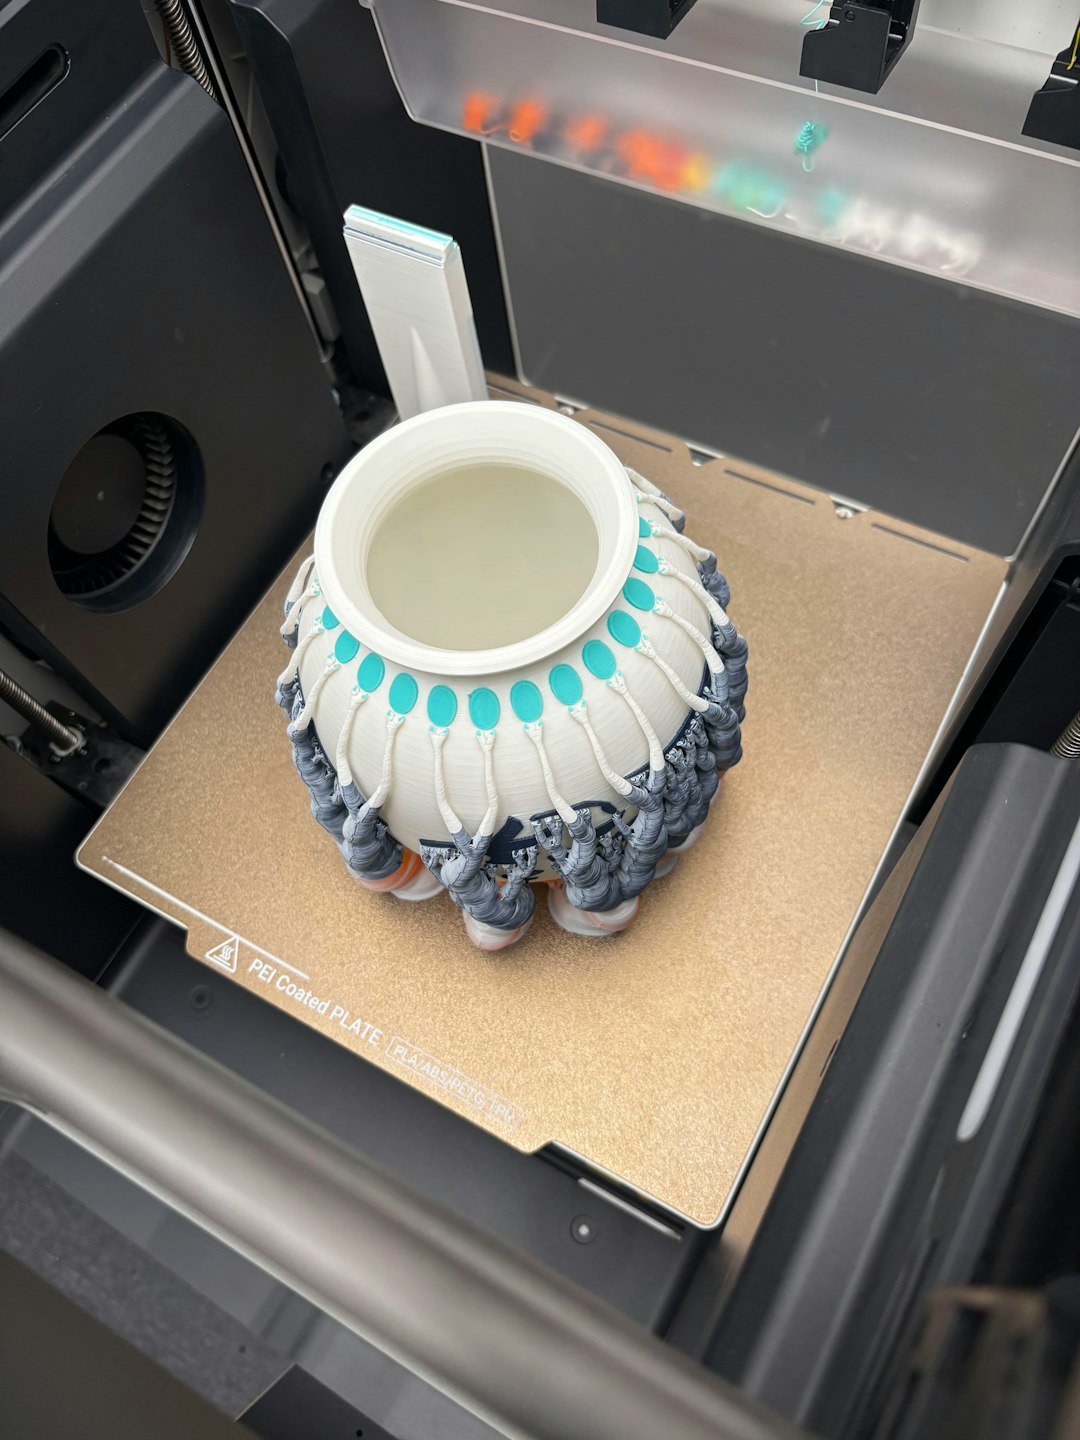
Base Separates from Spiral
The transition from solid base layers to spiral mode can leave a weak point. Increase bottom layers from 3 to 5, and make sure the base layer line width matches the spiral line width.
Print Tips Over on Tall Models
Add a brim (5–10mm) for stability. On very tall models, consider printing two at once (side by side) — the travel time between models gives each layer slightly more cooling time.
Final Thoughts
Vase mode is the cheat code of 3D printing. It produces gorgeous, seamless prints in a fraction of the time of standard slicing. Next time you need a quick gift, a decorative piece, or just want to show off what your printer can do, load up a vase model, flip on spiral mode, and let it rip. The results will speak for themselves.