Marble PLA Filament: Best Print Settings for Stunning Stone Effects
What Is Marble PLA Filament?
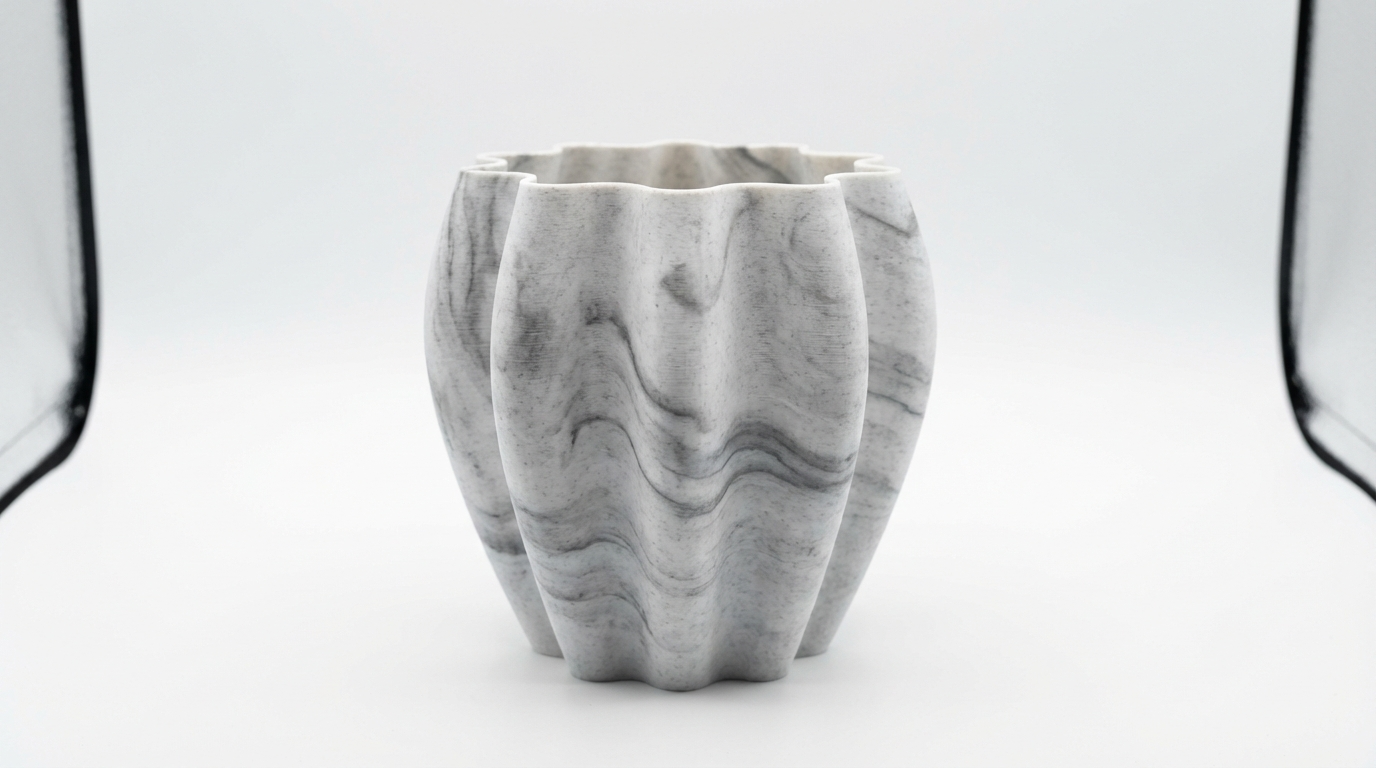
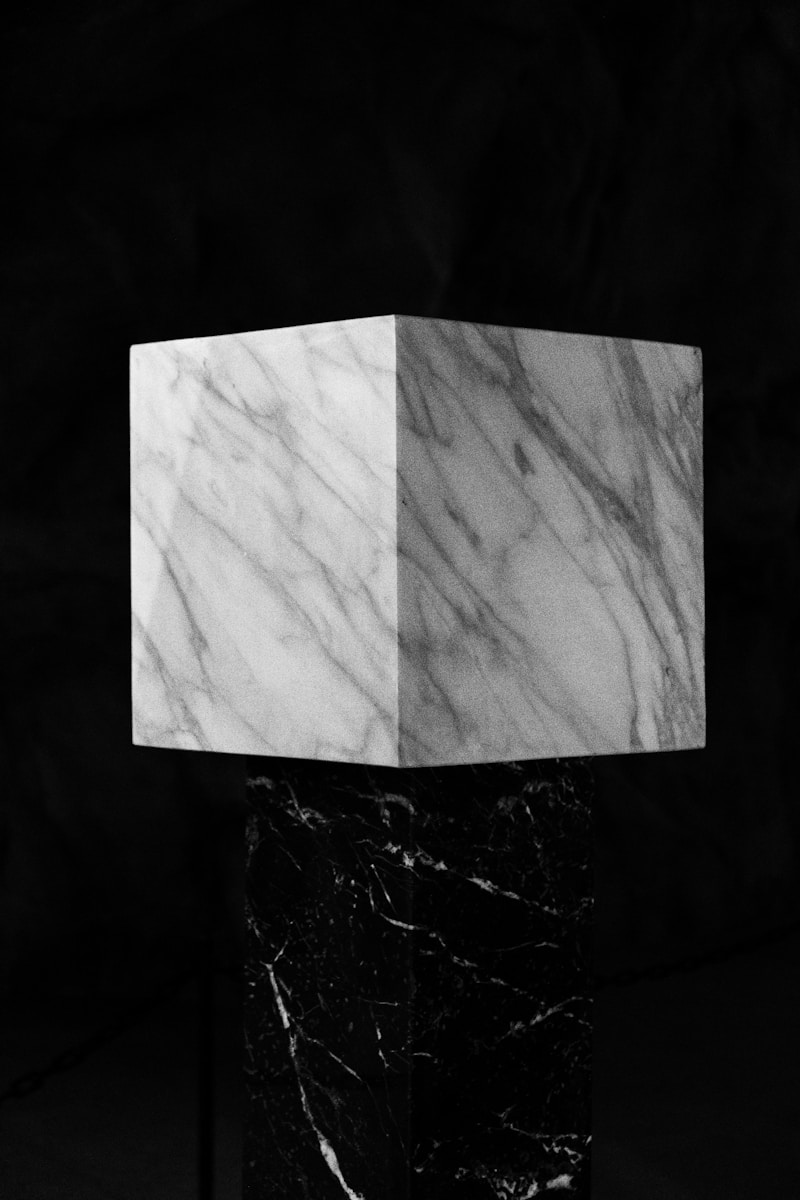
Marble PLA is a specialty filament that produces prints with a natural stone-like appearance — swirling veins of color running through a white or cream base, mimicking real marble. The effect comes from mixing two or more pigments into the PLA in a way that creates random, non-repeating patterns during extrusion. Each print is unique, which is part of the charm.
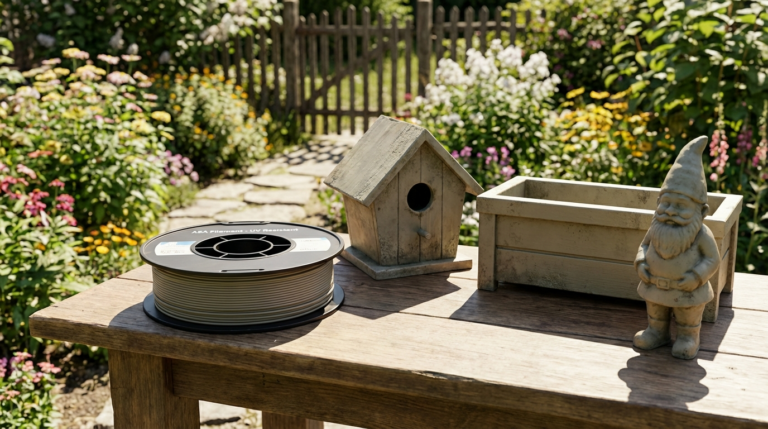
It’s become wildly popular for vases, busts, planters, bookends, and decorative objects because it delivers a premium look straight off the build plate with zero post-processing. But achieving that beautiful marble effect consistently requires specific slicer settings that differ from standard PLA. Get them wrong, and you end up with a muddy, blotchy mess instead of elegant stone.
Why Standard PLA Settings Don’t Work
The marble effect depends on the pigment distribution changing as the filament melts and extrudes. Temperature, speed, and retraction all affect how the colors blend. Too hot, and the pigments over-mix into a uniform gray. Too fast, and the color transitions become abrupt and artificial-looking. The sweet spot creates those flowing, organic vein patterns that look like they were carved from actual stone.
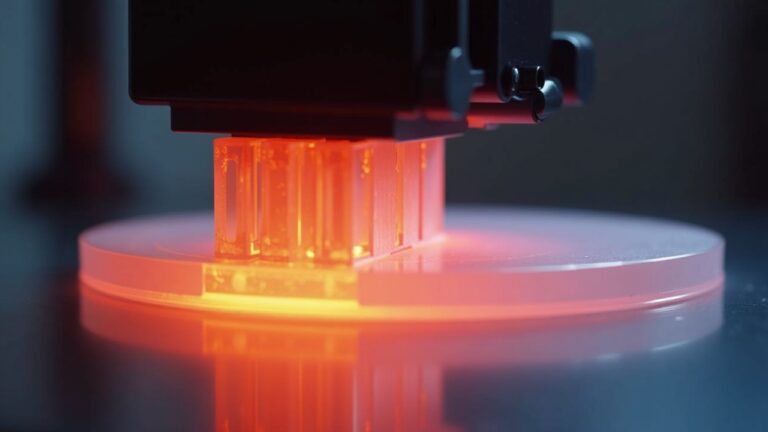
Optimal Temperature Settings
Nozzle Temperature: Lower Is Better
This is counter-intuitive if you’re used to standard PLA, but marble filament benefits from slightly lower temperatures. Here’s why: lower temperatures mean the pigments don’t fully blend, preserving the distinct color veins.
- Recommended nozzle temperature: 190-200°C
- Start at 195°C and adjust based on results
- If veins are too subtle: Drop temperature by 5°C
- If you’re getting jams or under-extrusion: Increase by 5°C
Every marble filament brand has slightly different pigment formulations, so you’ll need to dial this in for your specific spool. Print a temperature tower (185-215°C) to find your filament’s sweet spot.
Bed Temperature
- PEI sheet: 55-60°C
- Glass bed: 60-65°C with glue stick
- Textured PEI: 55°C (adhesion is usually excellent)
Speed Settings for the Best Marble Effect
Print speed directly affects the marble pattern. Moderate speeds produce the most natural-looking results.
- Outer wall speed: 35-45 mm/s
- Inner wall speed: 50-60 mm/s
- Infill speed: 60-80 mm/s (doesn’t affect visible surfaces)
- Top/bottom speed: 30-40 mm/s
- First layer speed: 20 mm/s
Avoid running faster than 60 mm/s on visible surfaces. The rapid extrusion rate blurs the color transitions and reduces the marble effect to a generic speckled look.
Retraction Settings
Retraction matters more with marble filament than standard PLA because color transitions near retraction points can create visible artifacts — small spots where the color abruptly changes or concentrates.
- Bowden setup: 5-6mm retraction distance, 40 mm/s speed
- Direct drive: 1-2mm retraction distance, 30 mm/s speed
- Z-hop: Enable at 0.2mm — helps prevent the nozzle from dragging through the marble pattern on travel moves
- Wipe distance: 2mm — reduces blobs at retraction points
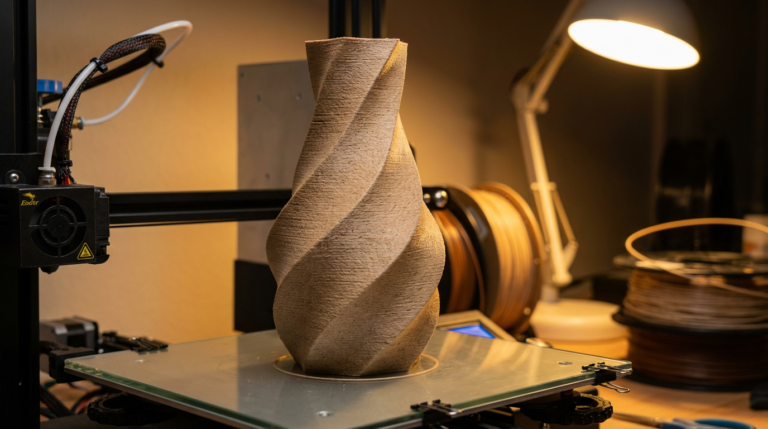
Vase Mode: Where Marble Filament Shines
If you’re printing vases, planters, or decorative containers, vase mode (spiral vase / spiralize outer contour) is the absolute best setting for marble filament. Here’s why:
- Continuous extrusion means no retraction artifacts or seam lines
- Smooth, uninterrupted color flow creates the most natural marble veins
- Fast print times — a vase that would take 4 hours in standard mode prints in 45 minutes
- Single wall construction lets light pass through slightly, creating a translucent stone effect
For vase mode marble prints, increase your nozzle temperature by 5°C (to 200-205°C) and slow your speed to 30-35 mm/s. The single wall needs excellent layer adhesion to avoid weak spots.
Layer Height and Its Effect on the Pattern
Layer height changes the character of the marble pattern more than you’d expect:
- 0.12mm: Very fine, subtle veins. Elegant but the marble effect is less dramatic. Best for small, detailed prints.
- 0.2mm: The sweet spot for most prints. Clear veins with good detail. Recommended for most projects.
- 0.28-0.32mm: Bold, dramatic veins with a chunkier stone look. Great for large vases and decorative pieces.
For vase mode prints specifically, 0.2-0.24mm is ideal. It balances strength (important for single-wall prints) with a visible marble effect.
Infill and Wall Settings
For non-vase-mode prints where you want the marble effect on all surfaces:
- Wall count: 3-4 walls
- Top layers: 5-6 (more layers = smoother marble effect on top surfaces)
- Bottom layers: 4
- Infill: 15-20% for decorative items, 40%+ for functional parts
- Infill pattern: Gyroid or cubic — these don’t show through walls as easily
Seam Placement
The Z-seam (the vertical line where each layer starts and ends) is more visible with marble filament because color concentration at the seam creates a noticeable stripe. Minimize this by:
- Setting seam position to “Random” — distributes the seam artifacts across the surface instead of concentrating them
- Using “Sharpest Corner” for geometric objects — hides the seam in edges where it’s less visible
- Coasting: Enable with 0.05-0.1mm³ volume — reduces the blob at seam start/end points
Best Marble PLA Filaments (2026)
- TTYT3D Marble PLA: The original and still one of the best. Distinct white-and-gray veining, consistent quality. Affordable at ~$20/kg.
- SUNLU Marble PLA: Great value option with good color distribution. Slightly warmer tone (cream base vs. white).
- Eryone Marble PLA: Excellent spool winding, tight tolerances. Available in multiple marble color combinations (white/gray, white/gold, black/gold).
- Polymaker PolyTerra Marble: Premium quality with biodegradable packaging. Beautiful, subtle veining that looks the most like real stone.
- Ziro Marble PLA: Budget pick with surprisingly good marble effect. Slightly softer colors.
Post-Processing Marble Prints
One of marble filament’s biggest advantages is that prints look great with minimal post-processing. But if you want to take it further:
- Light sanding (400-800 grit): Smooths layer lines and brings out the marble pattern by creating a matte stone finish
- Clear matte spray coat: Enhances the stone look without adding shine. Protect with 2-3 light coats.
- Avoid glossy clear coat: Makes the print look like plastic, killing the stone illusion
- XTC-3D or epoxy coating: Fills layer lines completely for an ultra-smooth finish, but changes the texture from stone-like to ceramic-like
Troubleshooting Common Marble Filament Issues
Problem: No Visible Marble Pattern
Cause: Temperature too high, colors over-blending. Fix: Drop nozzle temp by 10°C.
Problem: Blotchy, Uneven Color Distribution
Cause: Speed too fast or inconsistent extrusion. Fix: Slow down outer walls to 35 mm/s, calibrate e-steps.
Problem: Dark Spots at Retraction Points
Cause: Pigment concentrating during retraction. Fix: Reduce retraction distance by 1mm, enable wipe distance.
Problem: Stringing Between Features
Cause: Marble filament can be slightly more prone to stringing. Fix: Increase retraction speed to 45 mm/s, enable z-hop.
Final Thoughts
Marble PLA is the rare specialty filament that delivers stunning results without requiring advanced skills or special hardware. The key is running cooler and slower than standard PLA, maximizing wall thickness for visible surfaces, and using vase mode whenever possible. A $20 spool of marble PLA can produce prints that look like they cost ten times that — no painting, no finishing, just beautiful stone-like objects straight off the printer.