Multi-Color 3D Printing in 2026: How AMS Systems Work
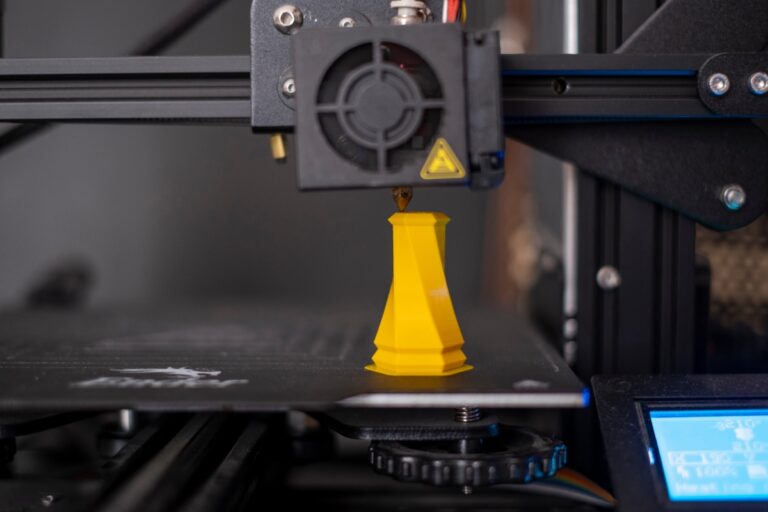
Single-color prints are fine. They get the job done. But the moment you see a multi-color Benchy rolling off a Bambu Lab X1C — four colors, zero painting, straight off the build plate — something clicks. You realize your monochrome prints have been leaving potential on the table.
Multi-color 3D printing used to be a nightmare. Manual filament swaps mid-print, failed color changes, hours of wasted plastic in purge towers taller than the actual model. In 2026, the technology has matured to the point where it actually works reliably — if you understand the systems and their tradeoffs.
Let me walk you through how these systems work, what each one does well, and where they’ll drive you crazy.
How Multi-Color Printing Works (The Basics)
Every FDM printer has one nozzle (usually). To print multiple colors, you need a way to swap between different filaments during the print. The printer pauses extrusion, retracts the current filament, loads the next color, purges the leftover material from the previous color, and resumes printing.
The “purging” part is critical. When you switch from red to white filament, there’s still red plastic in the hotend. If you don’t purge it out, your white section starts off pink and gradually lightens. That purge material has to go somewhere — usually a purge tower or purge-to-infill routine.
Three main approaches dominate the market in 2026:
- AMS (Automatic Material System) — Bambu Lab’s solution
- MMU (Multi Material Upgrade) — Prusa’s approach
- Palette — Mosaic’s standalone splicing system
Each takes a fundamentally different approach to the same problem.
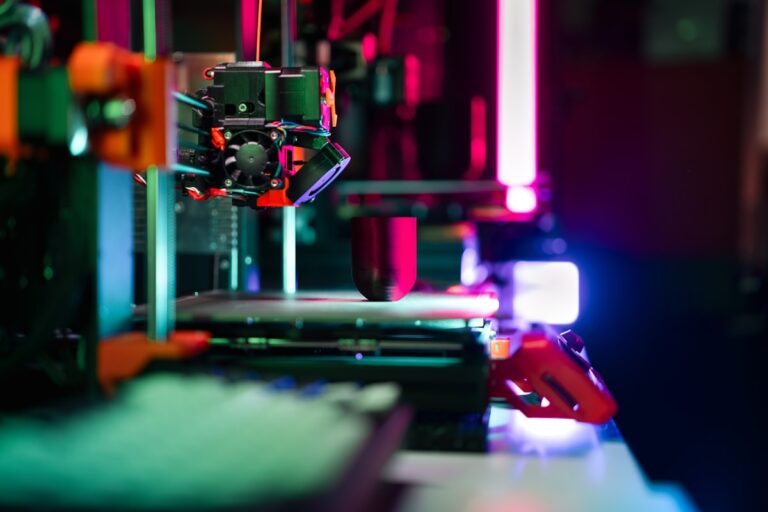
Bambu Lab AMS: The One That Actually Works Out of the Box
The Bambu Lab AMS is the system that brought multi-color printing to the mainstream. It ships with the X1 Carbon and P1S (sold separately for the A1 series), and it works with surprisingly little fuss.
How It Works
The AMS is an external enclosure that holds four spools of filament. When the printer needs a color change, the AMS retracts the current filament all the way back into its slot, feeds the next color through a long PTFE tube into the extruder, and the printer purges the transition material into a purge tower.
The whole swap takes about 20-30 seconds per change. For a print with frequent color swaps — like a lithophane or a multi-color logo — those seconds add up. A four-color print can easily take 2-3 times longer than the same model in a single color.
What It Does Well
- Reliability. Bambu’s filament detection and auto-retry system handles most jams automatically. In my experience, about 95% of color swaps complete without intervention.
- Four colors per AMS, up to four AMS units. That’s 16 materials if you’re feeling ambitious. Most people stick with one AMS and four colors.
- Integrated slicer support. Bambu Studio and OrcaSlicer handle AMS color assignments natively. Paint-on color tools make it easy to designate regions.
- Humidity control. The AMS enclosure has built-in desiccant slots to keep filament dry during long prints.
The Downsides
- Purge waste is real. A complex multi-color print can waste 50-100g of filament in the purge tower alone. That’s not trivial when you’re running through premium filament.
- Flexible filaments don’t work. TPU and other flexibles can’t reliably feed through the long PTFE path. Stick to PLA, PETG, PVA, and other rigid filaments.
- The AMS buffer tube is long. That PTFE path introduces some retraction challenges. It’s tuned well from the factory, but custom profiles can break things.
Tips for Better AMS Prints
- Use purge-to-infill when possible. OrcaSlicer supports flushing transition material into the infill of your part instead of a separate tower. This reduces waste significantly.
- Minimize color changes per layer. Rearrange your color assignments to reduce the number of swaps. Every swap costs time and filament.
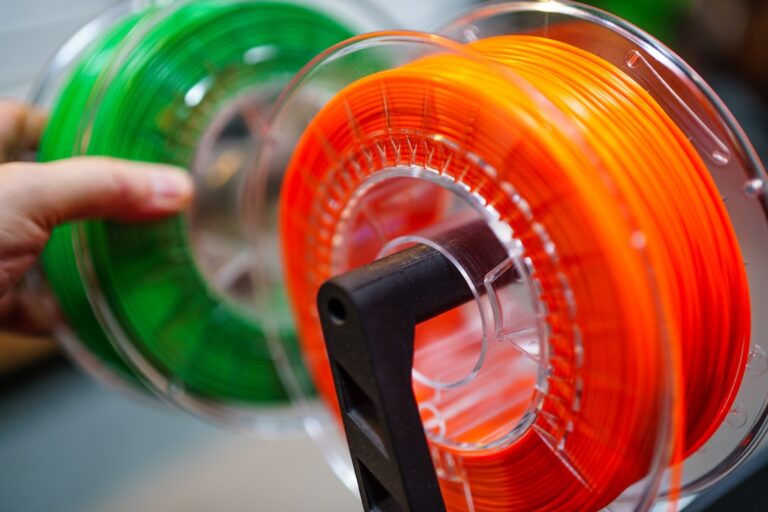
- Match filament brands within a print. Different brands have slightly different diameters and flow characteristics. Mixing eSUN with Hatchbox in the same print can cause inconsistencies.
- Keep the PTFE tube clean. Dust and debris in the tube cause feed failures. A quick blast of compressed air every few weeks helps.
Prusa MMU3: The Reliable Sequel
Prusa’s Multi Material Upgrade has a rocky history. The MMU2S was notoriously unreliable — a constant source of failed filament loads, jams, and frustration. The MMU3, released alongside the MK4, is a completely different story.
How It Works
The MMU3 sits on top of the extruder and manages five filament inputs. It uses a selector mechanism to choose which filament to feed into the extruder. When a color change is needed, the current filament is retracted to a parking position, the selector moves to the next slot, and the new filament is fed into the hotend.
What Changed from MMU2S
- Filament sensor on every slot. The MMU3 can detect if a filament isn’t loaded properly and retry automatically. This alone fixed most of the reliability issues.
- Nextruder compatibility. The MMU3 was designed for the MK4’s Nextruder, which has better filament grip and detection than the old extruder design.
- Simpler mechanics. Fewer moving parts means fewer failure points.
MMU3 vs AMS: Honest Comparison
The MMU3 holds five filaments to the AMS’s four. But the AMS is faster at color changes and has better integrated software support. If you’re already in the Prusa ecosystem with a MK4, the MMU3 is the natural choice. If you’re starting fresh, the Bambu AMS system is more polished.
Reliability-wise, both are in the 90-95% success range for color changes now. The gap has closed significantly.
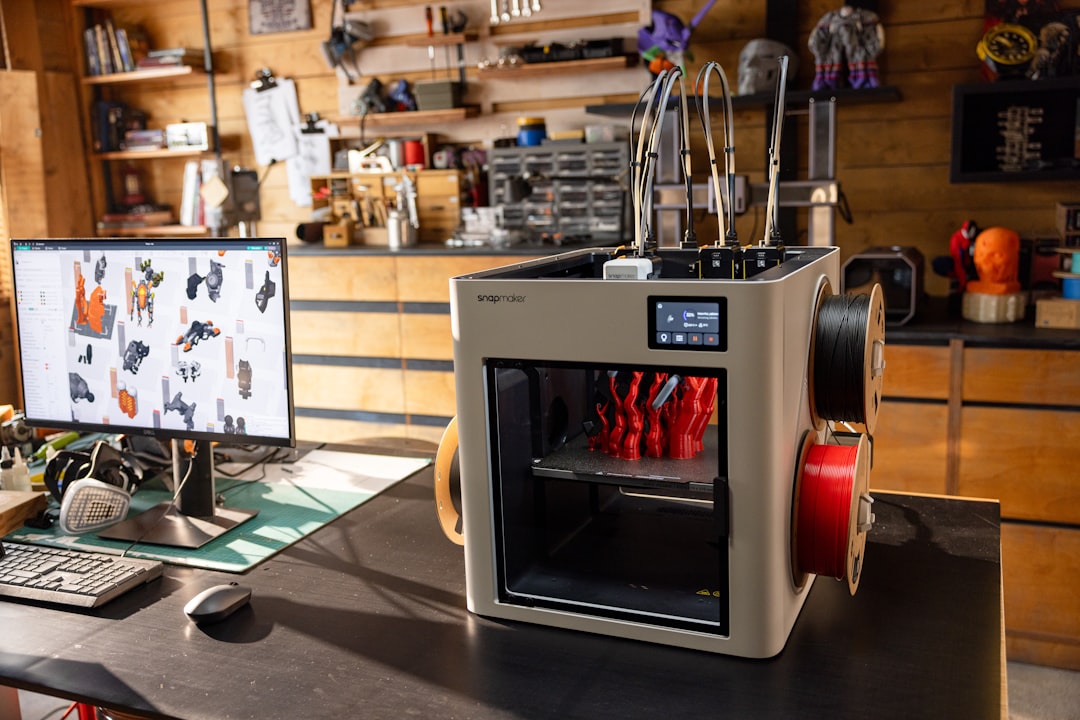
Mosaic Palette 3: The Universal Solution
The Palette takes a completely different approach. Instead of swapping filaments at the printer, it splices different colors together into a single continuous strand that the printer feeds normally. The printer doesn’t even know it’s printing multi-color — it just sees one filament input.
How It Works
You load up to eight filaments into the Palette. The device cuts and heat-welds them together in the correct sequence, creating a single filament strand with color transitions pre-calculated. A buffer system manages the spliced filament, feeding it to the printer at the right pace.
The Advantage
The Palette works with almost any FDM printer. No modifications needed. If your printer can print single-color, the Palette adds multi-color capability. This is huge if you have a printer that has no multi-color upgrade path — like a Voron, RatRig, or older machine.
The Disadvantage
Splice reliability isn’t perfect. The heat-welded joints between colors can sometimes fail under the tension of the extruder pulling filament. When a splice fails, the print fails. There’s also a learning curve to get the calibration right — the Palette needs to know your printer’s exact filament consumption to time the color transitions correctly.
At around $500-600 for the Palette 3 Pro, it’s also the most expensive option.
Purge Towers: The Necessary Evil
Every multi-color system needs to purge transition material. When you switch from blue to yellow, that nozzle is full of blue plastic that needs to be pushed out before clean yellow appears. The purge material has to go somewhere.
Standard Purge Tower
This is a small tower printed alongside your model on the build plate. Each color change adds a layer to the tower with purge material. It works, but it wastes plastic and takes up build plate space.
A typical four-color print might generate a purge tower using 30-80g of filament. For dark-to-light transitions (black to white is the worst), you need more purge volume to get clean colors.
Purge-to-Infill
OrcaSlicer and PrusaSlicer both support flushing purge material into the infill of the printed part. Instead of building a separate tower, the transition material becomes part of the internal structure. This reduces waste by 50-70% in many cases.
The catch: your infill might have mixed-color artifacts, and it only works when the current layer has infill to fill. Layers that are all perimeters still need a purge tower.
Purge-to-Object
Some slicers can purge transition material into a secondary object — like a purge block you intentionally add to the plate. This gives you more control over where the waste goes and can be useful for batch printing.
Transition Settings by Color Pair
Not all color transitions need the same purge volume. Here are practical numbers:
| Transition | Purge Volume |
|---|---|
| Light → Dark | 100-150mm³ (minimal) |
| Dark → Light | 300-500mm³ (heavy) |
| Similar colors | 80-120mm³ |
| Black → White | 500-700mm³ (maximum) |
Setting per-color purge volumes in your slicer saves significant material on complex prints.
Tool Changer Printers: The Pro Approach
I should mention tool changers because they solve the purge problem entirely. Printers like the Bambu Lab X1E, Prusa XL, and E3D ToolChanger have multiple independent hotends. Each one stays loaded with its own filament. Color changes involve parking one tool and picking up another — no purging needed.
The tradeoff is cost. These are $1,500-4,000+ machines. But if you do a lot of multi-color or multi-material printing, the filament savings and time savings add up. No purge towers, no wasted filament, and each material can run at its optimal temperature.
Slicer Setup for Multi-Color Printing
Bambu Studio / OrcaSlicer
- Import your model and assign colors using the paint tool or by importing a pre-colored 3MF file.
- Set your AMS filament mapping in the sidebar.
- Adjust purge volumes under “Flush Settings” — reduce where possible to save material.
- Enable “Flush into objects’ infill” to minimize the purge tower.
- Preview the tool paths carefully. Look for excessive color changes that could be eliminated.
PrusaSlicer
- Use the Multi Material Painting tool to assign colors to faces.
- Configure your MMU settings under Printer Settings → Multi Material.
- Set wipe tower (purge tower) parameters — minimum volume per color change.
- Enable “Wipe into this object’s infill” in the per-object settings.
Tips for All Slicers
- Minimize color changes. Every swap costs 20-30 seconds and wastes material. Design your models with this in mind.
- Group colors by layer. If possible, arrange your design so most layers only use 1-2 colors instead of all four.
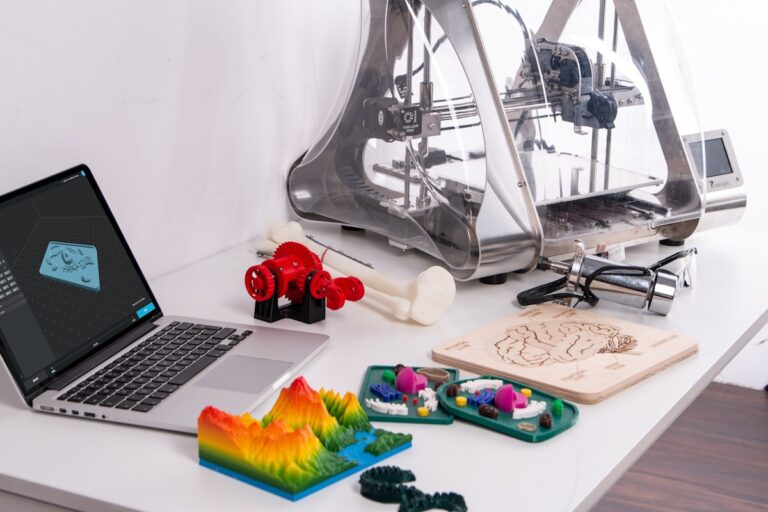
- Test with a simple model first. Don’t start with a 16-hour, four-color masterpiece. Print a color cube or small logo to verify your calibration.
My Recommendation for 2026
If you’re new to multi-color printing and want the smoothest experience: Bambu Lab P1S or X1C with AMS. The software integration, reliability, and community support are unmatched. The AMS Lite for the A1 series is a solid budget option too.
If you already own a Prusa MK4: MMU3. It’s finally reliable enough to recommend without caveats.
If you have a different printer and want multi-color without buying a new machine: Palette 3, but go in with realistic expectations about the learning curve.
And if you’re printing multi-color professionally or in volume: look at tool changer printers. The upfront cost pays for itself in saved filament and time.
Multi-color 3D printing in 2026 is genuinely good. Not perfect — purge waste is still annoying, and color changes still add significant print time. But the days of babysitting every filament swap are behind us. Load your colors, slice your model, and let the machine do its thing.