Multi-Color 3D Printing: Every Method Explained (2026 Guide)
There’s something deeply satisfying about a 3D print that uses multiple colors. Whether it’s a topographic map with elevation-coded hues, a lithophane with perfect contrast, or just a Pikachu that’s actually yellow instead of gray — multi-color printing transforms your output from “cool prototype” to “actual finished product.”
The good news: you don’t need a $5,000 printer to get there. From simple filament swap tricks to dedicated multi-material systems, there’s a method for every budget and skill level. Let me walk you through all of them.
Method 1: Manual Filament Swap (Free)
The simplest way to print in multiple colors is to pause the print at a specific layer height, swap the filament, and resume. No extra hardware required.
How It Works
- Slice your model normally.
- In your slicer, add a “Pause at Layer” or “Filament Change” command at the layers where you want a color change.
- When the printer hits that layer, it pauses and moves the nozzle aside.
- Unload the current filament and load the new color.
- Purge a bit of filament to clear the old color, then resume.
Best For
Signs, nameplates, logos, and any design where colors change by layer rather than within a single layer. Think of it like a stack of colored paper — each sheet is one color.
Limitations
You have to be physically present for each color change. This doesn’t work for prints where multiple colors appear on the same layer. And there’s always a slight transition zone where the old and new colors mix.
Method 2: Multi-Color Filament (Easy, Cheap)
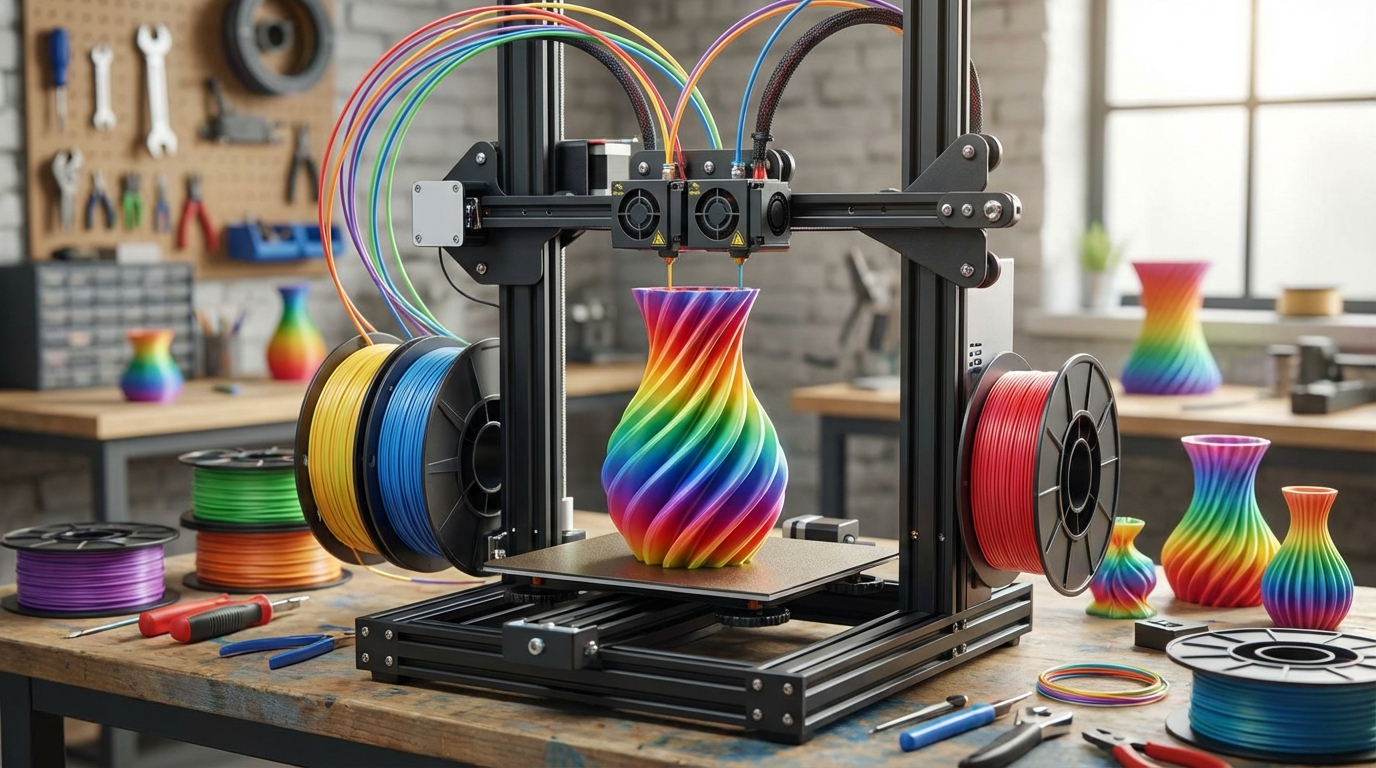
Several manufacturers now sell filament that transitions between colors along its length. Brands like Eryone, TTYT3D, and Geeetech offer rainbow, silk, and dual-color filaments that produce color shifts automatically as you print.
Pros
- Zero extra hardware or configuration
- Works with any printer
- Produces beautiful gradient effects
Cons
- You can’t control where colors appear on your model
- Color transitions are random relative to the geometry
- Limited to whatever color combinations the manufacturer offers
This is more of an aesthetic trick than true multi-color printing, but the results can be stunning on vases, decorative pieces, and organic shapes.
Method 3: Dual Extruder / IDEX Printers ($300-1500)
Dual extruder printers have two separate hotends, each loaded with a different filament. IDEX (Independent Dual Extrusion) takes this further with two completely independent tool heads that move separately.
Popular Dual Extruder Printers
- Sovol SV04: Budget IDEX around $400. Good entry point for dual-color printing.
- FlashForge Creator Pro 2: Reliable IDEX with a heated chamber. Great for ABS dual-color prints.
- BCN3D Sigma D25: Professional IDEX with large build volume. Premium option for serious users.
- Raise3D E2: Semi-professional IDEX with auto-leveling and excellent software support.
Advantages
True multi-color within a single layer. You can print in two different materials simultaneously — like PLA for the model and PVA for water-soluble supports. No filament swapping needed.
Challenges
Dual extruder printers need careful calibration to align the two nozzles. Ooze from the inactive nozzle can contaminate your print. Many printers include a “purge tower” or “ooze shield” to catch drips, but this wastes material. IDEX printers handle this better by parking the unused head entirely out of the way.
Method 4: Multi-Material Units — AMS, MMU, Palette ($200-400)
This is where things get really interesting. Multi-material units feed multiple filaments through a single hotend, switching between them as needed. The big players:
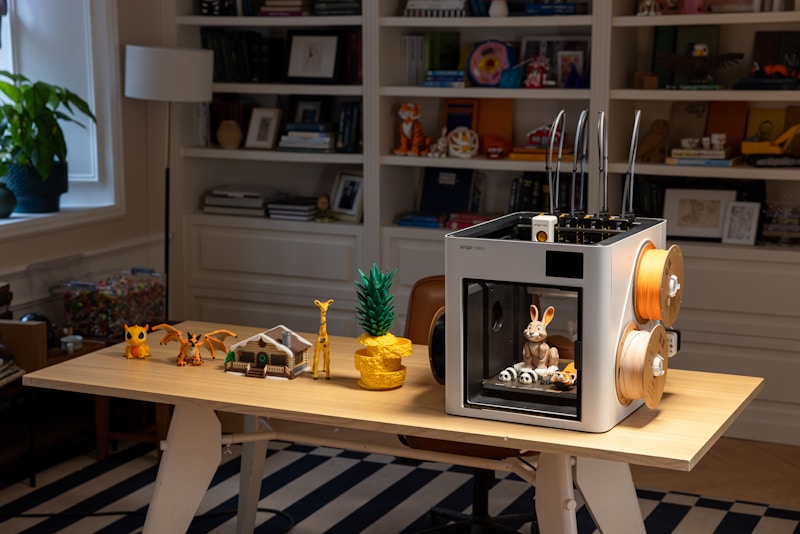
Bambu Lab AMS (Automatic Material System)
The AMS was a game-changer when Bambu released it alongside the X1 Carbon. It holds four spools and automatically loads/unloads filament for color changes. The system is fast (color changes take about 10-15 seconds), reliable, and integrated into Bambu Studio slicer.
You can even daisy-chain multiple AMS units for up to 16 colors, though each additional unit adds complexity and potential failure points. The AMS Lite for the A1 series is even cheaper and simpler.
Prusa MMU3 (Multi-Material Upgrade 3)
Prusa’s latest iteration of their multi-material system supports 5 filaments through a single hotend. The MMU3 is significantly more reliable than the earlier MMU2S, with better filament detection and a simpler load/unload mechanism. It works with the MK4 and MK3.9.
Mosaic Palette 3
The Palette takes a different approach: it splices filament segments together before feeding them into your printer. This means it works with almost any single-extruder printer. The Palette 3 handles up to 8 inputs and creates a continuous multi-color filament strand.
Method 5: Painting and Dyeing (Post-Processing)
Sometimes the easiest path to a multi-color print is to print it in one color and add the rest afterward. This gives you unlimited colors and complete control over placement.
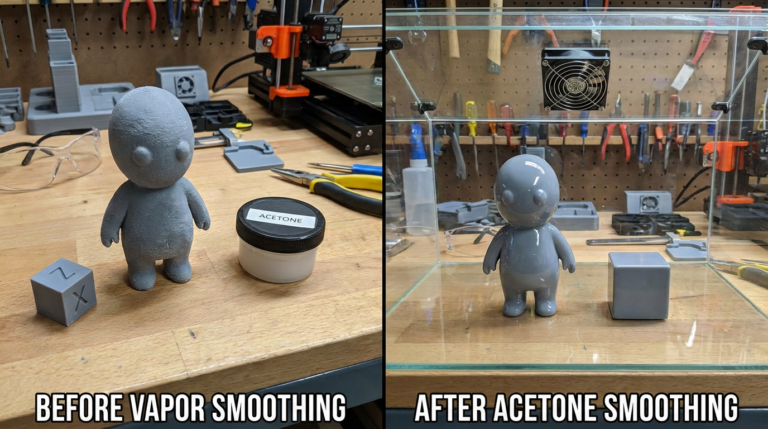
Spray Painting
Sand your print (220-400 grit), apply a filler primer, sand again, then paint. Acrylic spray paints work great on PLA and PETG. Use painter’s tape for clean color transitions.
Acrylic Paint by Hand
For detailed work like miniatures and figurines, hand painting with acrylic craft paints gives you precision that no multi-material system can match. Prime first, use thin coats, and seal with clear coat.
Dyeing
White or natural-colored nylon parts can be dyed with fabric dye (Rit DyeMore for synthetics). This produces vibrant, permanent colors that penetrate the material rather than sitting on the surface.
Choosing the Right Method
Here’s a quick decision framework:
- Occasional color changes, simple designs: Manual filament swap. It’s free and surprisingly effective for signs and nameplates.
- Gradient and artistic effects: Multi-color filament. No setup, just print.
- Regular multi-color printing, two colors: Dual extruder / IDEX printer. The Sovol SV04 is a solid budget option.
- Frequent multi-color, 3+ colors: AMS, MMU, or Palette. Bambu AMS is currently the most user-friendly option.
- Maximum color accuracy and detail: Post-processing (painting). Nothing beats a skilled hand with a brush.
Tips for Better Multi-Color Prints
Minimize Color Changes
Every color change takes time (10-30 seconds) and wastes filament through purging. Design your models to minimize transitions. Put different colors on different layers where possible, group same-colored regions together, and avoid tiny color details that require constant swapping.
Purge Towers Are Wasteful — Minimize Them
A typical 4-color print can waste 20-40% of its filament on purge towers alone. Some slicers now support “purging into infill,” which uses the transition filament inside your model instead of a separate tower. Enable this when possible.
Transition Colors Matter
Going from dark to light colors requires more purging than light to dark. If possible, arrange your color sequence to transition from light to dark. White to yellow is easy; black to white takes forever to purge cleanly.
Use a Wipe Tower, Not an Ooze Shield
If your slicer offers both options, a wipe tower gives cleaner results than an ooze shield. The tower provides a consistent surface for purging, while ooze shields can detach and interfere with the print.
The Cost of Multi-Color
Let’s talk real numbers. A typical multi-color print uses 15-40% more filament than the same print in a single color, due to purging. Time increases by roughly 5-15% for the color change movements. So a 4-hour single-color print might take 4.5-5 hours in multi-color with 30-40% more filament usage.
For most hobbyists, this is a perfectly acceptable trade-off. The visual impact of a properly multi-colored print far exceeds the extra few dollars of filament.
Looking Ahead: Full-Color 3D Printing
The holy grail is true full-color printing — thousands of colors blended seamlessly across a model. Right now, this is largely limited to commercial systems like the Stratasys J-series (which uses inkjet heads to deposit colored photopolymer) and Bambu Lab’s upcoming multi-color developments.
For FDM, the practical limit is about 4-8 colors per print with current consumer hardware. But the technology is moving fast — what required a $2,000 printer two years ago now costs $400, and what costs $400 today will likely be standard on $200 printers within a couple of years.
Wrapping Up
Multi-color 3D printing has never been more accessible. Whether you’re doing simple filament swaps or running a full Bambu AMS setup, the ability to add color to your prints opens up a world of creative possibilities. Start with the simplest method that fits your needs and budget, master it, and then consider upgrading as your projects demand more colors.
The best multi-color method is the one that actually works reliably in your setup. Fancy hardware that jams every other print is worse than a simple filament swap done right.