PETG Print Temperature Settings: Complete Guide for Perfect Results
PETG: The Versatile Middle Child of 3D Printing
PETG sits in that sweet spot between PLA and ABS that makes it enormously popular — and enormously frustrating if your temperature settings are wrong. It’s stronger than PLA, more forgiving than ABS, and food-safe in its raw form. But dial your hotend 10°C too cold and you get delaminating layers that snap apart. Run it 10°C too hot and you’re fighting a stringy, blobby mess that looks like your printer sneezed.
Temperature control is everything with PETG. This guide covers exactly what temperatures to use, why they matter, and how to dial them in for your specific printer and filament brand.
Recommended PETG Print Temperatures
Let’s start with the numbers most people are looking for:
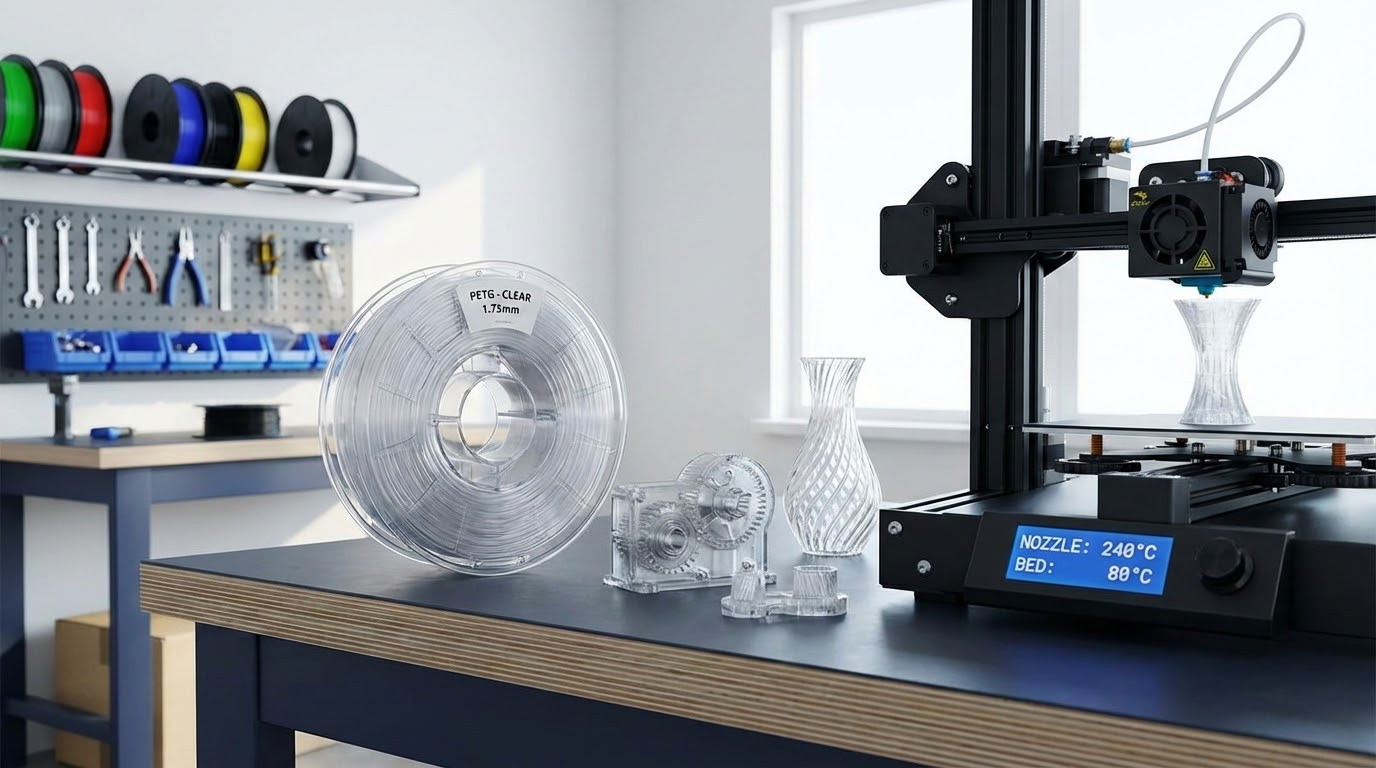
- Hotend temperature: 230-250°C (start at 240°C)
- Bed temperature: 70-85°C (start at 80°C)
- Enclosure: Not required, but helpful for large prints
Those ranges might look wide, and they are. PETG formulation varies significantly between manufacturers. Overture PETG prints beautifully at 235°C. Hatchbox PETG might need 245°C for the same results. eSUN PETG+ can go up to 250°C. The brand-specific variation is larger with PETG than with PLA, which is why a single “correct” temperature doesn’t exist.
How to Find Your Optimal Hotend Temperature
The Temperature Tower Method
A temperature tower is a calibration print that changes temperature at specific layer heights, letting you compare results across a range in a single print. You can find temperature tower STL files on Thingiverse or Printables, or generate one directly in some slicers.
For PETG, set your tower to cover 225-255°C in 5°C increments. Each section prints at a different temperature, and you evaluate:
- Layer adhesion: Try snapping each section. Higher temperatures give stronger bonds.
- Stringing: Look at the bridges and gaps between sections. Lower temperatures produce less stringing.
- Surface quality: Check for glossiness, smoothness, and consistency. The ideal temperature balances all three.
- Overhangs: Check overhang test sections for drooping. Too hot causes sagging.
Your optimal temperature is usually where layer adhesion becomes reliably strong without excessive stringing. For most PETG brands, this lands between 235-245°C.
The Two-Cube Method (Faster)
If you don’t want to fuss with a temperature tower, print two identical 20mm cubes — one at 235°C and one at 245°C. Compare surface quality and try to break them. This quick test narrows your range, and you can fine-tune from there with one more cube at the midpoint if needed.
Understanding Hotend Temperature Effects
Too Cold (Below 225°C)
PETG that’s under-heated doesn’t flow well through the nozzle. You’ll see:
- Poor layer adhesion — parts delaminate and snap between layers
- Under-extrusion — visible gaps in walls and top surfaces
- Rough, matte surface finish instead of PETG’s characteristic slight gloss
- Extruder clicking or skipping as it pushes against increased flow resistance
- Clogging — partially melted filament can jam the nozzle
Just Right (230-250°C)
Properly heated PETG flows smoothly, bonds layers firmly, and produces a surface with a subtle sheen. Parts flex slightly before breaking (rather than snapping clean), and you can pull solid infill lines without them separating from walls.
Too Hot (Above 255°C)
Overheated PETG becomes runny and difficult to control:
- Excessive stringing between travel moves — thin hair-like filaments everywhere
- Blobbing at corners and start points
- Droopy overhangs and bridges
- Discoloration or browning of the filament
- Potential off-gassing (PETG is generally safe but extreme temperatures can release mild fumes)
Bed Temperature: Getting PETG to Stick (and Unstick)
PETG has a reputation for sticking to build plates. Not just sticking — bonding so aggressively that removing prints damages the surface. This is primarily a bed temperature issue.
Temperature by Surface Type
- Smooth PEI: 80-85°C. PETG bonds extremely well to smooth PEI — sometimes too well. Apply a thin layer of glue stick as a release agent. Yes, glue stick helps things come OFF. The PVA in the glue creates a release layer that prevents PETG from permanently bonding to PEI.
- Textured PEI: 75-80°C. The texture reduces contact area, making adhesion strong but releases easier. This is the ideal surface for PETG. No glue stick needed.
- Glass: 80-85°C. Clean glass with IPA before each print. Adhesion is moderate — parts pop off easily once the bed cools below 40°C.
- BuildTak / similar: 70-75°C. These surfaces grip PETG well at lower temperatures.
First Layer Temperature Trick
A technique that works brilliantly with PETG: set the first layer bed temperature 5°C higher than the rest of the print. Start at 85°C for the first layer (excellent adhesion), then drop to 80°C for the remaining layers (less chance of elephant foot or excessive bottom squish). Most slicers support per-layer temperature settings in the filament profile.
The Cool-Down Release
Never force a PETG print off a hot bed. Let it cool to room temperature naturally. PETG contracts slightly as it cools, and most prints pop off with zero effort once the bed reaches 30-35°C. On flex plates, a slight flex of the plate releases the print instantly. Trying to remove prints from a hot bed risks damaging both the print and the build surface.
Speed and Temperature Relationship
Print speed and temperature are directly linked. Faster printing means less time for heat to transfer from the hotend to the filament, which effectively makes the filament colder at the nozzle exit. If you increase speed, you may need to increase temperature to compensate.
General guidelines:
- At 40-60mm/s: 235-240°C is usually fine
- At 80-100mm/s: bump to 240-245°C
- At 150mm/s+: you may need 245-250°C and a high-flow hotend
If you switch from a slow profile to a fast one without adjusting temperature, you’ll likely see under-extrusion and poor layer adhesion. Always recalibrate temperature when making significant speed changes.
Fan Speed Settings for PETG
Part cooling fans are PETG’s frenemy. Too much cooling reduces layer adhesion (PETG needs heat to bond properly). Too little cooling causes stringing and poor overhang performance.
- First layer: Fan OFF (0%). Let the first layer bond to the bed without cooling interference.
- Subsequent layers: 30-50% fan speed. This is dramatically less than PLA (which typically runs at 100%). The reduced fan speed keeps each layer warm enough to bond with the next.
- Bridges and overhangs: You can increase to 60-70% for bridge sections if your slicer supports per-feature fan control. Bridges need cooling to solidify before they sag.
- Small parts: Reduce to 20-30% or enable minimum layer time. Small layers don’t have time to cool naturally and can overheat, causing poor surface quality.
Retraction Settings to Tame Stringing
PETG is inherently stringier than PLA because it has higher viscosity and maintains its flow longer after the extruder stops pushing. Temperature helps, but retraction settings are equally important:
- Direct drive: 1-3mm retraction distance, 25-35mm/s retraction speed
- Bowden tube: 4-6mm retraction distance, 40-50mm/s retraction speed
- Retraction prime (extra restart distance): -0.05 to -0.1mm (slightly less than retracted). This small negative prime prevents the blob that forms when restarting extrusion.
If you’re getting stringing despite good retraction settings, the temperature is probably too high. Drop 5°C and test again. The sweet spot for minimal stringing is usually 5-10°C below the temperature that gives the best layer adhesion, which is why PETG is always a compromise.
Brand-Specific Temperature Recommendations
Based on extensive testing across popular brands:
- Overture PETG: 230-240°C hotend, 80°C bed. Prints on the cooler side. Minimal stringing at 235°C.
- Hatchbox PETG: 240-250°C hotend, 80°C bed. Needs more heat than most. Under-extrudes below 240°C.
- eSUN PETG: 235-245°C hotend, 75°C bed. Relatively forgiving, works across a wide range.
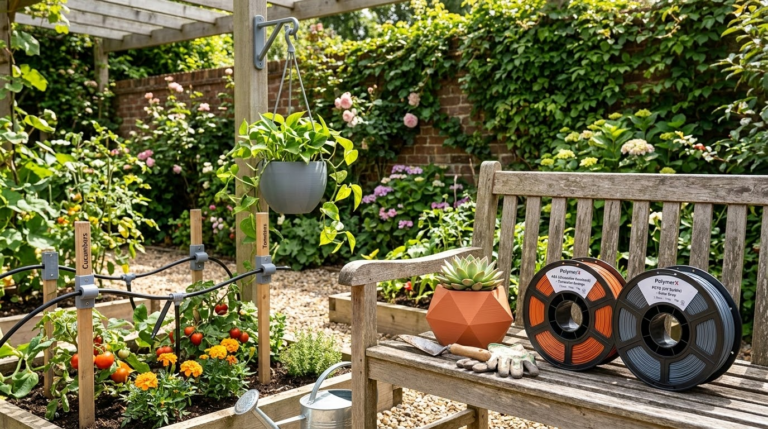
- Polymaker PolyLite PETG: 235-245°C hotend, 70°C bed. Lower bed temp works well with this formulation.
- Prusament PETG: 240-250°C hotend, 85°C bed. Premium quality, very consistent batch-to-batch.
- Amazon Basics PETG: 235-240°C hotend, 80°C bed. Surprisingly decent quality for the price.
These are starting points based on my experience. Your specific printer’s thermistor calibration, hotend design, and ambient conditions will affect the final number. Always validate with your own test prints.
Troubleshooting Temperature-Related PETG Issues
Problem: Parts are weak and snap between layers
Fix: Increase hotend temperature by 5-10°C. Reduce part cooling fan to 30%. This is the most common PETG complaint and it’s almost always insufficient temperature.
Problem: Massive stringing everywhere
Fix: Decrease temperature by 5°C. Increase retraction distance by 0.5mm. Reduce travel speed to 150mm/s (fast travel whips strings out of the nozzle). Enable “wipe” in your slicer if available.
Problem: First layer doesn’t stick
Fix: Increase bed temperature to 85°C. Slow first layer speed to 20mm/s. Reduce Z offset (nozzle slightly closer). Apply glue stick on smooth PEI. Clean bed with IPA — fingerprints kill PETG adhesion.
Problem: Print stuck permanently to bed
Fix: Wait for complete cool-down. If still stuck, put the plate in a freezer for 10 minutes — thermal contraction usually breaks the bond. For future prints: use textured PEI, apply glue stick on smooth PEI, or reduce bed temp by 5°C.
Problem: Cloudy or rough surface finish
Fix: Temperature too low or fan too high. Increase hotend by 5°C and reduce fan to 30%. PETG should have a slight glossy sheen when temperatures are correct.
Quick Reference Card
Keep this handy when setting up PETG profiles:
- Hotend: 240°C (adjust ±10°C per brand)
- Bed: 80°C (textured PEI) / 85°C (smooth PEI with glue stick) / 80°C (glass)
- Fan: 0% first layer, 30-50% rest
- Speed: 40-60mm/s outer walls, up to 100mm/s infill
- Retraction: 2mm/30mm/s (direct drive) or 5mm/45mm/s (Bowden)
- First layer: 0.25mm height, 20-30mm/s speed, 105-110% flow
PETG rewards patience in calibration. Spend 30 minutes running a temperature tower and dialing in your settings, and you’ll have a filament that handles almost everything you throw at it — from functional brackets to decorative vases, and everything in between.