PETG Stringing and Oozing: Complete Fix Guide
PETG Stringing: Why It’s Worse Than PLA
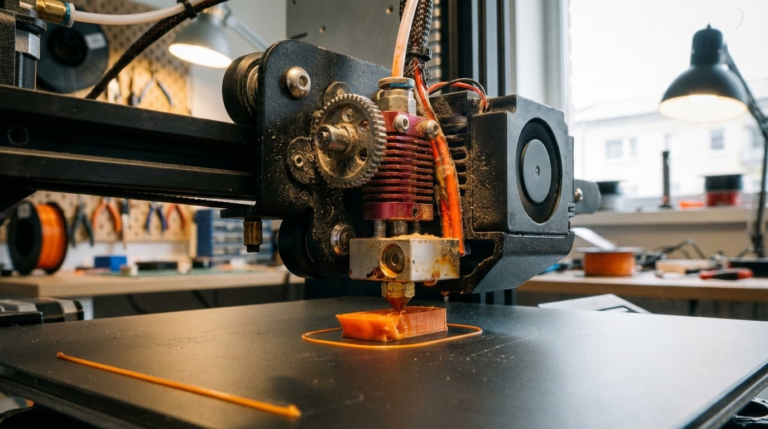
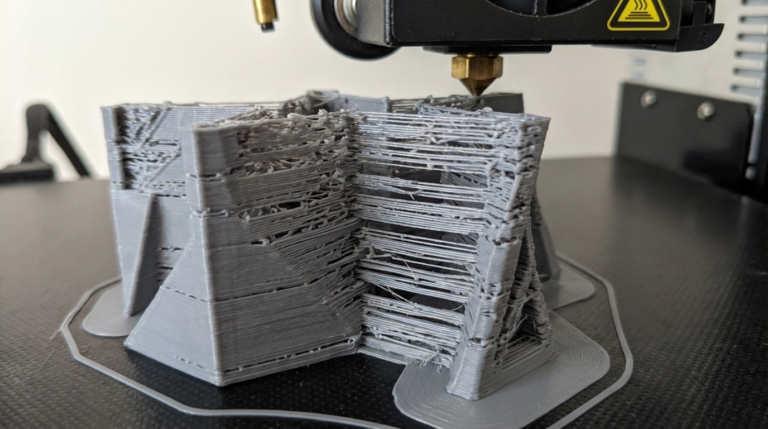
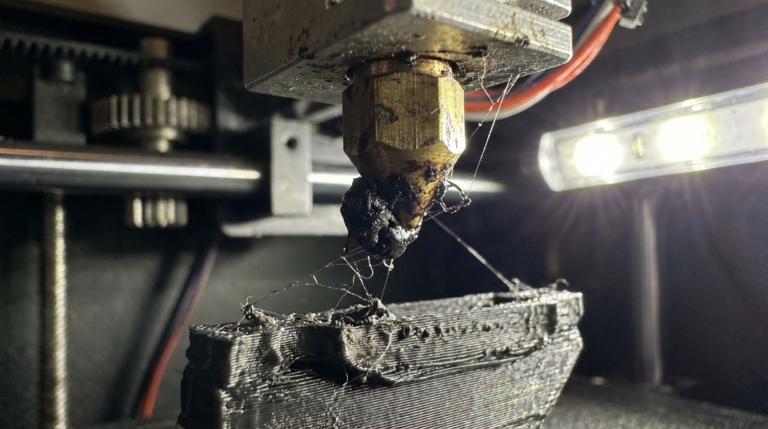
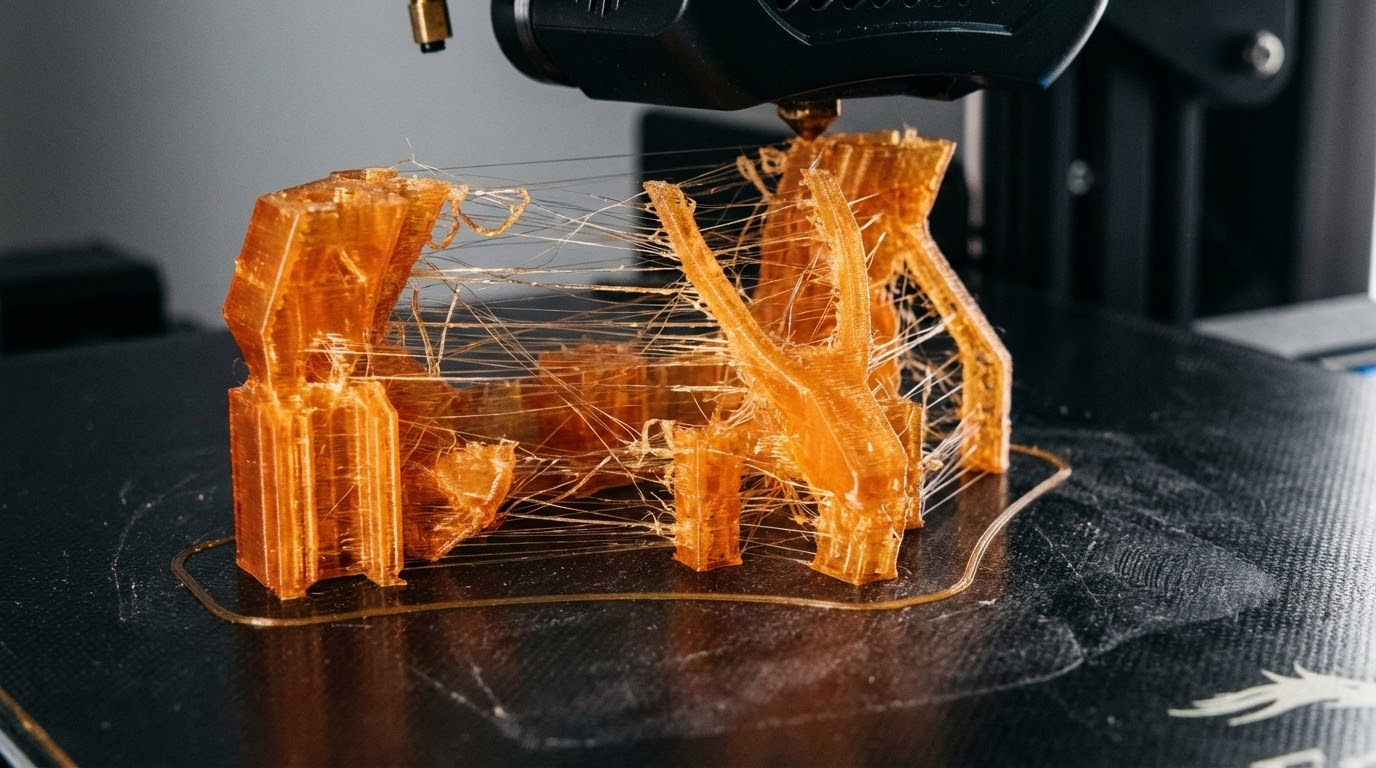
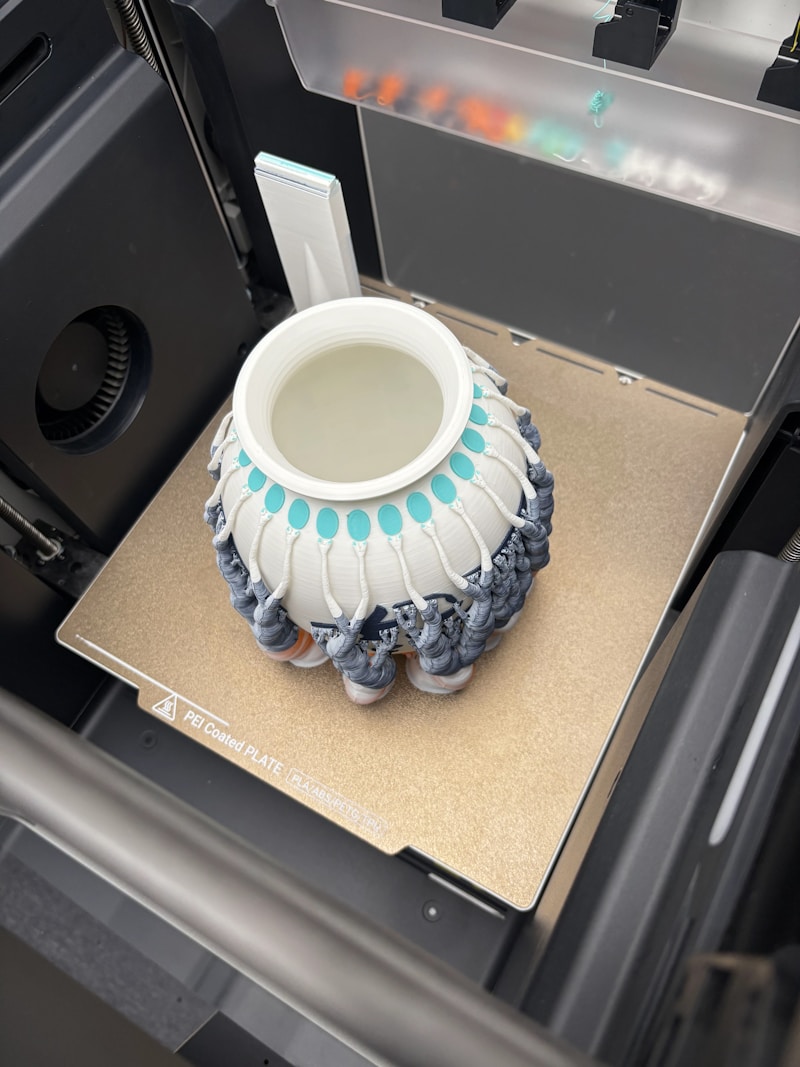
If you’ve switched from PLA to PETG and suddenly your prints look like they’ve been attacked by a spider, you’re not alone. PETG is notorious for stringing — those thin whiskers of plastic that stretch between different parts of your print during travel moves. It’s the number one complaint from people trying PETG for the first time.
The reason PETG strings more than PLA comes down to its physical properties. PETG has a wider melting range and stays viscous at lower temperatures compared to PLA. It’s also “stickier” — it has higher surface tension when molten, which means it clings to the nozzle tip and pulls into strings during travel moves rather than breaking cleanly.
The good news: PETG stringing is entirely controllable. You won’t eliminate it 100% (some post-processing is normal with PETG), but you can reduce it from “unusable mess” to “light cleanup with a heat gun.”
The Big Three Settings: Temperature, Retraction, Speed
These three settings account for 90% of PETG stringing issues. Dial them in, and you’re most of the way there.
Temperature: Lower Than You Think
Most PETG filaments list a recommended range of 220-250°C. Many people set it to 240°C and wonder why they’re swimming in strings. For stringing reduction, you want to be at the low end of the range — typically 225-235°C.
Start at 230°C and print a stringing test (the classic two-tower test). If you still see heavy stringing, drop 5°C and try again. Keep going until either the stringing is acceptable or you start seeing poor layer adhesion. That’s your sweet spot — the lowest temperature where layers still bond well.
Every brand of PETG behaves differently. Hatchbox PETG might be perfect at 230°C while eSun needs 240°C. Always calibrate per-brand.
Retraction: More Aggressive for PETG
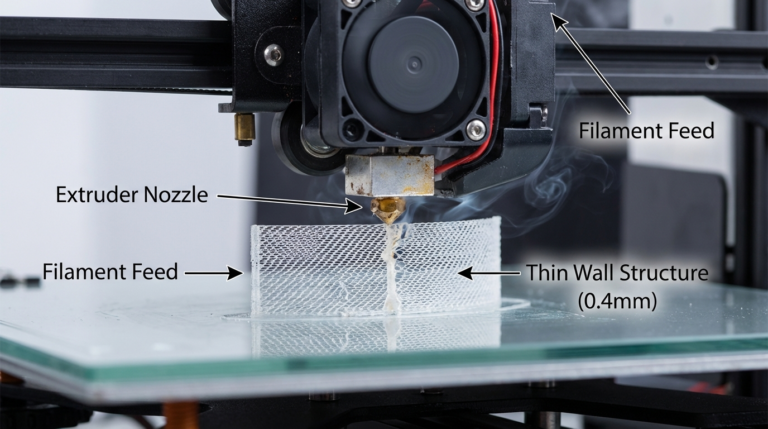
Retraction is your primary weapon against stringing. When the printer retracts, it pulls filament back into the nozzle to create a slight vacuum that prevents oozing during travel moves.
For PETG on a Bowden setup:
- Retraction distance: 5-7mm
- Retraction speed: 40-50mm/s
For PETG on a direct drive setup:
- Retraction distance: 2-4mm
- Retraction speed: 30-45mm/s
A common mistake is cranking retraction distance way up (8mm+). With PETG, excessive retraction can actually make things worse — it pulls molten plastic too far up the heat break, where it cools and creates a partial clog. Then when it tries to resume printing, you get blobs followed by under-extrusion. Keep retraction within the ranges above.
Travel Speed: Go Fast
During travel moves (when the nozzle moves without extruding), faster is better. A fast travel move means the nozzle spends less time over open air, giving the plastic less opportunity to stretch into a string. Crank your travel speed to 150-200mm/s if your printer can handle it mechanically.
Beyond the Big Three: Additional Fixes
Enable Combing (Cura) or Avoid Crossing Perimeters (PrusaSlicer)
This setting makes the nozzle travel within the boundaries of the printed area rather than crossing over open space. If the nozzle never travels over empty space, there’s nothing to string between. The downside is slightly longer travel paths and potential zits on the surface where the nozzle crosses, but for stringing-prone materials like PETG, the tradeoff is usually worth it.
Z-Hop: Use Sparingly
Z-hop lifts the nozzle slightly during travel moves. Many guides recommend it for all prints, but for PETG it’s a mixed bag. The lift can actually make stringing worse because the nozzle pulls away from the surface more slowly, drawing out a string.
If you need Z-hop (to avoid knocking over tall thin parts), keep it minimal — 0.2-0.4mm. If you don’t strictly need it, try disabling it and see if stringing improves.
Wipe Distance
This setting makes the nozzle wipe along the perimeter at the end of a line before retracting. It’s like wiping a paintbrush on the rim of the can before moving it. A wipe distance of 2-5mm can help clean the nozzle tip before travel, reducing strings. In Cura, look for “Wipe Distance.” In PrusaSlicer, it’s “Wipe while retracting.”
Pressure Advance / Linear Advance
If your printer firmware supports it (Klipper’s Pressure Advance, Marlin’s Linear Advance), this feature compensates for pressure buildup in the nozzle. When the extruder stops pushing filament, there’s still residual pressure that pushes out extra plastic — leading to oozing and stringing. Pressure advance anticipates this and reduces extruder pressure before the end of a line.
Calibrating pressure advance is a separate process (print a pressure advance calibration pattern and find the optimal K-factor), but once dialed in, it significantly reduces stringing across all materials.
PETG-Specific Tips
Dry Your Filament
PETG is hygroscopic — it absorbs moisture from the air. Wet PETG strings dramatically worse than dry PETG, and also produces bubbles, popping sounds, and rough surfaces. If your PETG has been sitting out unsealed for more than a few days, dry it before printing.
PETG drying specs: 65°C for 4-6 hours in a filament dryer or food dehydrator. Don’t use an oven — most household ovens can’t maintain accurate temperatures at this range and may overshoot, deforming the filament on the spool.
Clean Your Nozzle
PETG loves sticking to brass nozzles. Over time, a thin coating of carbonized PETG builds up on the nozzle tip, and this acts as an anchor point for strings. Every few prints, do a quick nozzle wipe: heat to printing temperature, then carefully wipe the nozzle tip with a folded paper towel or brass brush. Be careful — 230°C brass will burn you instantly.
Try a Coated Nozzle
If stringing is a persistent issue, consider switching to a nickel-plated or NozzleX-style nozzle. These have a non-stick coating that PETG can’t adhere to as easily. It doesn’t eliminate stringing entirely, but it reduces the amount of plastic that clings to the nozzle tip, which translates to thinner, fewer strings.
Post-Processing: Cleaning Up Remaining Strings
Even with perfect settings, PETG might still produce some light stringing. Here’s how to clean it up:
- Heat gun on low: A quick pass with a heat gun (150-200°C, held 10-15cm away) will melt thin strings without affecting the print. Smooth, fast sweeps — don’t linger or you’ll deform the surface.
- Lighter: A quick flick of a lighter flame near the strings will vaporize them. This sounds aggressive but works surprisingly well on thin strings. Practice on a scrap print first.
- Craft knife: For thicker strings, just slice them off with a sharp craft knife or deburring tool.
My Recommended PETG Stringing Profile
Here’s what I use as a starting point for any new brand of PETG:
- Temperature: 230°C (adjust per brand)
- Bed temperature: 80°C
- Retraction distance: 5mm (Bowden) / 3mm (Direct Drive)
- Retraction speed: 45mm/s
- Travel speed: 180mm/s
- Combing/avoid crossing: Enabled
- Z-hop: Disabled (enable at 0.3mm only if needed)
- Wipe distance: 3mm
- Fan speed: 50-70% (higher fan = less stringing but weaker layer adhesion)
Start here, run a stringing test, and adjust temperature and retraction in small increments until you find the sweet spot for your specific filament and machine. PETG takes more tuning than PLA, but once you’ve nailed the settings, it’s an incredibly versatile material that gives you strength, heat resistance, and a beautiful glossy finish — without the string party.