Resin 3D Printing Troubleshooting: Every Common Failure and How to Fix It
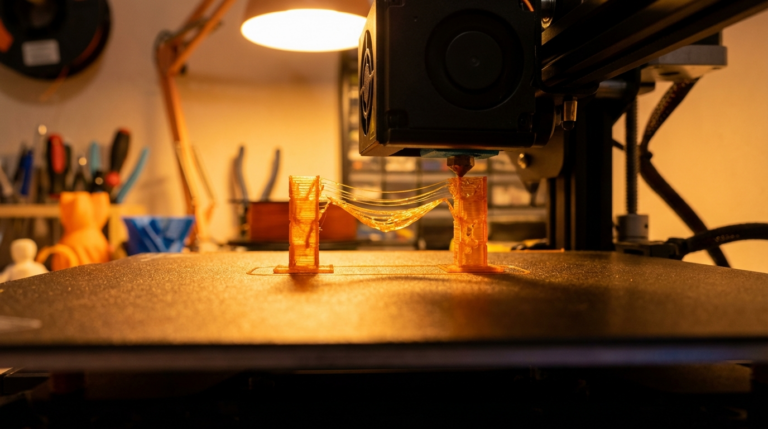
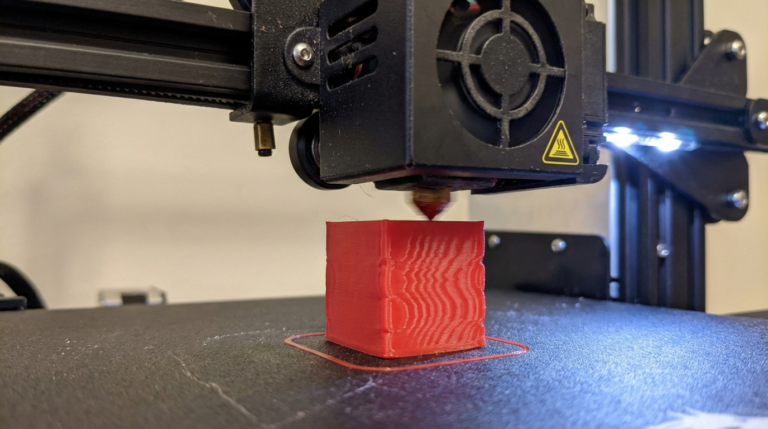
Resin 3D printing delivers stunning detail and silky-smooth surfaces that FDM can only dream of. But when a resin print fails, it fails spectacularly — puddles of uncured resin, delaminated layers, supports stuck to your FEP film, and mysterious partial prints that make no sense. Unlike FDM where failures are usually obvious (spaghetti, anyone?), resin printing failures can be subtle and deeply frustrating to diagnose.
This comprehensive guide covers every common resin 3D printing failure, explains why it happens, and walks you through proven fixes. Whether you’re using a budget Elegoo Mars or a premium Prusa SL1S, these troubleshooting steps apply universally to MSLA/LCD resin printers.
Print Not Sticking to Build Plate
This is the single most common resin printing failure. You come back to check your print and find nothing on the build plate — just a blob of cured resin stuck to the FEP film at the bottom of the vat.

Causes and Fixes
- Insufficient bottom layer exposure. Bottom layers need significantly more UV exposure than regular layers to bond firmly to the build plate. If your bottom exposure is too short, the print won’t adhere. Start with your resin manufacturer’s recommended settings and increase bottom exposure by 10-15 seconds if adhesion fails.
- Build plate not level. Even a slight tilt means one side of your first layer cures closer to the FEP than the other, creating uneven adhesion. Re-level your build plate using the paper method — place a sheet of standard paper on the LCD screen, lower the plate until it just grips the paper with slight resistance.
- Z-offset too high. If there’s too much gap between the build plate and FEP, the first layers cure as a thin film on the FEP instead of bonding to the plate. Lower your z-offset in small increments (0.1mm at a time).
- Smooth build plate surface. Over time, build plates can become polished and lose their grip. Lightly sand the surface with 200-400 grit sandpaper in a crosshatch pattern, clean with IPA, and retry.
- Cold resin. Resin viscosity increases dramatically below 20°C (68°F). Cold resin doesn’t cure as efficiently and creates weak adhesion. Warm your workspace or pre-heat the resin to 25-30°C before printing.
Layer Delamination and Separation
Your print starts fine but at some point, layers stop bonding to each other. You end up with a split print — the bottom portion stuck to the plate and the top portion either floating in the vat or stuck to the FEP.
Causes and Fixes
- Normal layer exposure too low. Each layer needs enough UV light to fully cure and bond to the previous layer. Increase normal exposure time by 0.2-0.5 seconds and test again.
- FEP tension issues. If the FEP film is too loose or too tight, it creates inconsistent peel forces that can rip layers apart. FEP should produce a drum-like resonance when tapped — most manufacturers recommend a frequency around 330-370 Hz (measurable with phone apps).
- Suction cup effect on large flat areas. Large cross-sections create enormous suction forces during the peel step. Angle your model 15-45 degrees to reduce the cross-sectional area per layer, or add drainage holes to hollow sections.
- Lift speed too fast. If the build plate lifts too quickly between layers, the suction can tear layers apart. Reduce lift speed to 1-2mm/s for the initial lift, especially for prints with large cross-sections.
Supports Failing or Breaking
Supports are the scaffolding that holds your print to the build plate and protects overhanging features during printing. When they fail, entire sections of your print collapse or deform.
- Supports too thin. Light supports save resin and are easier to remove, but they may not withstand peel forces. Increase support tip diameter from the default 0.3mm to 0.4-0.5mm for heavy prints.
- Not enough supports. Auto-generated supports miss critical spots regularly. Always manually inspect the support layout and add supports to any overhanging area, island, or thin feature that looks vulnerable.
- Support contact points on curved surfaces. Supports connecting to highly curved or angled surfaces have weak attachment. Place support contact points on flatter areas whenever possible.
- Bottom supports not heavy enough. The supports closest to the build plate bear the most weight as the print grows. Use heavier supports (medium or heavy) for the base raft, then lighter supports for the upper portions.
Islands and Floating Sections
\”Islands\” are areas of a layer that aren’t connected to the rest of the print. They cure independently and can end up stuck to the FEP, creating artifacts or causing the entire print to fail when subsequent layers try to bridge the gap.

Most modern slicers (Lychee, ChiTuBox, UVtools) have island detection features. Always run island detection before printing and add supports to any unsupported islands. This single step prevents a huge percentage of resin print failures.
Cloudy or Milky Prints
Your print completed but looks hazy, cloudy, or has a white film on the surface instead of being clear or showing the resin’s true color.
- Water contamination during wash. If you’re using water-washable resin, excess water left on the surface before UV curing causes a milky appearance. Rinse quickly (no more than 2-3 minutes), then thoroughly dry before post-curing.
- Over-washing in IPA. Standard resins washed too long in IPA become cloudy as the solvent attacks partially cured surface layers. Keep IPA wash time under 3 minutes total.
- UV exposure during washing. If your washing station is near a window with direct sunlight, UV light can prematurely cure the wash residue on the surface. Wash in a shaded area.
- IPA too dirty. Contaminated IPA leaves a residue film on prints. Replace your IPA when it becomes visibly colored or cloudy.
Warping and Curling
Resin prints can warp — though the mechanism is different from FDM warping. In resin printing, warping typically occurs during or after post-curing when UV light causes the resin to shrink unevenly.
- Over-curing. Too much UV exposure during post-curing causes excessive shrinkage and brittleness. Follow the resin manufacturer’s recommended cure times for your specific UV wavelength and light source power.
- Uneven curing. If one side of the print faces the UV light source while the other is in shadow, differential shrinkage causes warping. Rotate prints during post-curing or use a turntable curing station.
- Thin flat parts. Thin panels and plates are highly prone to warping. Add ribs or thicken flat sections in your design, or support the part on a flat surface during post-curing.
- Removing supports before curing. Supports help maintain the print’s shape during the post-cure process. Remove supports after post-curing, not before, especially for thin or delicate parts.
FEP Film Problems
The FEP film at the bottom of your resin vat is a critical consumable that directly affects print quality. Problems with the FEP cause a cascade of seemingly unrelated failures.
- Cloudy or scratched FEP: Reduces UV light transmission, causing under-cured layers. Replace the film when it becomes noticeably cloudy or has deep scratches.
- Loose FEP: Causes layer shifting and inconsistent layer thickness. Re-tension or replace.
- Cured resin stuck to FEP: Failed prints often leave partially cured resin on the film. Carefully remove with a plastic scraper — never metal. If residue won’t come off, exposure a full-screen UV pattern for 10 seconds to cure it solid, then peel it off cleanly.
- FEP puncture: Causes resin leaks onto your LCD screen, potentially destroying it. Inspect FEP before every print session. If you see any tears, holes, or deep scratches, replace immediately.
LCD Screen Degradation
The LCD screen in MSLA printers is also a consumable, though it lasts much longer than FEP film. Over time (typically 500-2000 hours of printing), the LCD develops dead pixels and loses UV blocking capability.
Symptoms include: random spots of cured resin on the FEP after an empty exposure test, prints with unexpected solid areas, and gradually increasing print failures as the screen ages. When these appear, it’s time for a replacement screen.
Resin Settings: A Starting Point
Getting your exposure settings right is crucial. Here are baseline settings for common resin types on a mono-LCD printer (adjust based on your specific printer and resin):
- Standard resin: 2-3s normal exposure, 25-40s bottom exposure, 5-8 bottom layers
- Water-washable resin: 2.5-3.5s normal, 30-45s bottom, 5-8 bottom layers
- ABS-like/tough resin: 2.5-4s normal, 30-50s bottom, 6-8 bottom layers
- Flexible resin: 3-5s normal, 35-50s bottom, 8-10 bottom layers
Always run an exposure calibration test (like the Resin XP2 Validation Matrix or AMERALABS Town) when trying a new resin. These test prints help you dial in the optimal exposure time with minimal resin waste.
Safety Reminders
Resin printing troubleshooting often means hands-on contact with uncured resin. Always:
- Wear nitrile gloves — resin is a skin sensitizer that can cause permanent allergic reactions
- Work in a ventilated area — resin fumes irritate respiratory systems
- Keep resin away from direct sunlight — it will cure in the bottle and become unusable
- Dispose of resin waste properly — cure any liquid resin with UV before disposing as solid waste
Final Thoughts
Resin 3D printing has a steeper troubleshooting learning curve than FDM, but the results are worth the effort. Most failures trace back to just a few root causes: exposure settings, build plate adhesion, support generation, and FEP condition. Master these four areas, and you’ll find that resin printing becomes remarkably reliable. When in doubt, run a calibration test — it takes 20 minutes and a few milliliters of resin, but it saves hours of failed prints and wasted material.