Segmenting Large Cosplay Props for 3D Printing — Magnet and Pin Joinery That Survives a Convention
Why every serious cosplay prop is actually several prints stitched together
The first time someone tries to print a cosplay sword, halberd, or full-arm gauntlet, they usually do it the wrong way. They open the STL, scale it up to character-accurate size, hit slice, and watch the slicer turn red because the part is forty centimeters longer than the print bed. Then comes the frustration spiral — buy a bigger printer, give up, or scale the prop down until it slices but no longer fits the costume. The right answer is the one experienced prop builders learn early: every large prop is a multi-piece print, designed from the start to be segmented into bed-sized chunks and joined invisibly. The skill is not in printing larger; it is in segmenting smarter.
Almost every prop you see at a major convention has been printed in pieces. Master Chief armor is at least twenty pieces per body. A two-handed Witcher sword is two or three pieces glued or pinned along the length. A full Iron Man helmet is the faceplate plus the helmet shell plus the back plate, joined at hinge lines that double as decorative breaks. The trick the photographs never show is that the seams are placed where the eye would not look anyway, and where the joinery hardware lives invisibly underneath.
The “where to cut” question is more important than how to cut
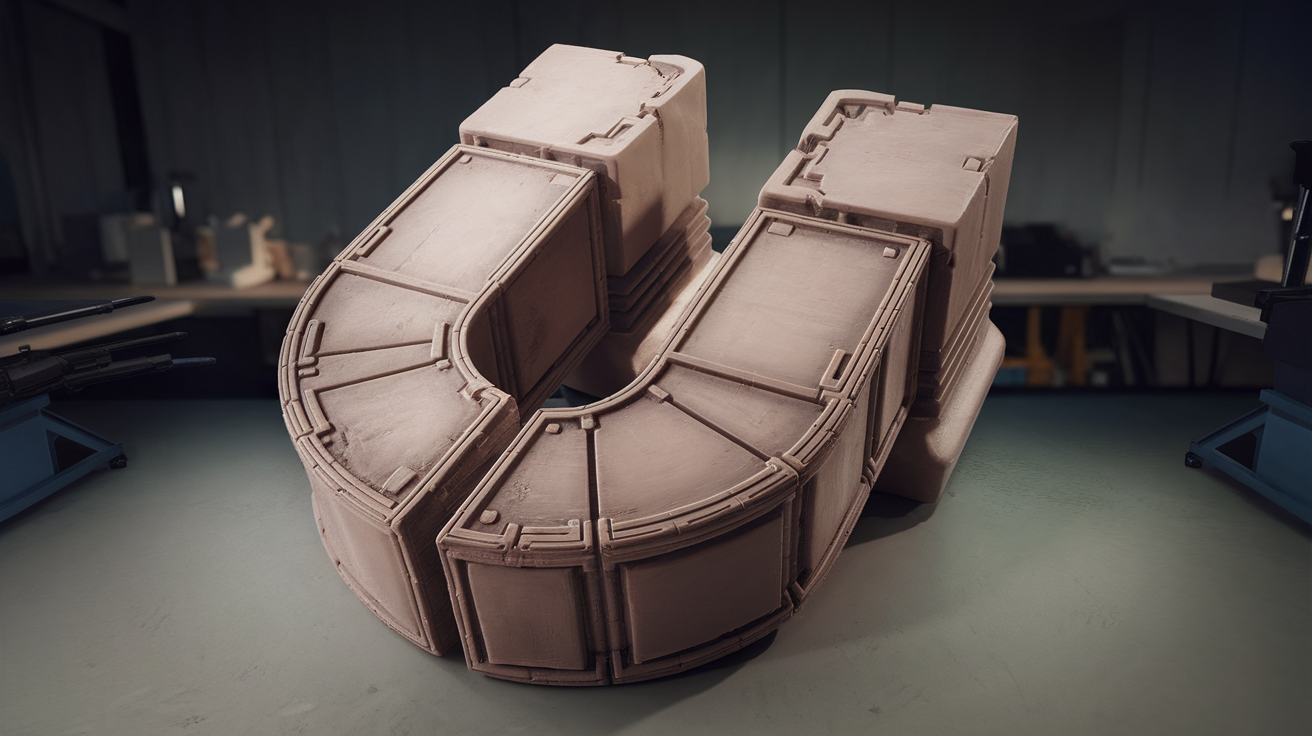
Segmenting a model is a design decision before it is a print decision. The person who makes that decision well saves hours of post-processing later. The rule of thumb that holds across every prop type is: cut along feature lines, never across them. A sword splits at the cross-guard, not in the middle of the blade. A helmet splits at the helmet rim where a panel line would live anyway, not across the cheekbone. A pauldron splits at the pauldron edge or under a strap, not across a sculpted detail. When the cut runs along an existing visual feature, the seam disappears into the design even before paint.
The free tool most prop builders use for segmentation is Blender or Meshmixer, both of which let you cut a model along an arbitrary plane and add registration features to the cut surfaces. The paid tools — Fusion 360, ZBrush — do the same job with more polish. The key feature in any tool is the ability to add registration pegs and sockets so the two halves rejoin in the only correct orientation. Without registration, the two halves can be joined slightly off and the entire prop ends up subtly bent.
For a sword that is fifty centimeters longer than the bed, the cut typically goes through the middle of the blade in two places, producing three blade segments plus a hilt. For a halberd, the haft cuts every twenty centimeters, with the head as a separate piece. For a helmet, cuts happen along the silhouette break lines — front of helmet, back of helmet, side panels — rather than across the dome. Each cut should be planned to land where a real-world piece of armor would have a panel line.
Magnets versus pins versus glue: pick once, commit
Three joinery methods cover almost every cosplay prop. Permanent glue is the simplest, costs nothing extra, and is what most beginners use first. Pins (steel or brass rods through aligned holes) make the joint stronger and resist shear loads from convention bumping. Magnets allow disassembly for transport, which becomes essential the moment a prop is too large to fit in a suitcase.
Permanent glue with cyanoacrylate plus baking soda is the workhorse for joints that will never need to come apart. CA glue alone fills no gap; with baking soda dusted into the joint and CA wicked over the top, the joint cures into a hard fillet that is stronger than the surrounding plastic. The drawback: once it is glued, it is glued, and a damaged piece of a CA-joined prop has to be cut apart and rebuilt.
Pinning uses a pair of holes drilled through aligned faces of two segments, with a steel rod pressed through both. Pins resist the shear forces that crack glued joints — exactly the forces that show up when a prop gets bumped, dropped, or sat on. The downside is that pinning requires precise hole alignment, which is why most pin joints also include a registration peg printed into the model itself, with the pin acting as the structural backbone.
Magnets are the option that turns a fragile prop into a tour-friendly prop. Neodymium magnets in 8mm to 15mm diameters embedded in printed sockets snap two halves together with hand pressure, and pull apart with deliberate effort. A magnet joint adds about ten minutes of work per joint at the design stage but saves hours at the convention when a sword has to come apart to fit through a doorway. The trick is to place the magnets in pairs, oriented identically, so the two halves only fit together one way and the magnetic field reinforces the registration.

Designing the joint geometry from the start
The single biggest amateur mistake is to print two halves of a prop with flat-cut faces and try to glue them together. A flat-on-flat joint is the weakest possible orientation, the easiest to misalign, and the most likely to crack when the prop is handled. The professional approach is to add interlocking geometry to the joint surfaces: a peg-and-socket, a tongue-and-groove, or a set of registration nubs that force the two halves into the only correct position.
The simplest joint is the peg-and-socket: a 5mm diameter cylinder protruding 8mm from one face, and a matching socket recessed 9mm into the other. The socket is 0.2mm wider than the peg to allow for print tolerance and glue gap. Two pegs at opposite ends of a joint surface prevent rotation. A peg-and-socket joint is stronger than a flat joint because the cylindrical contact area is much larger than the area of the flat cut, and the peg resists the shear forces that crack flat joints.
For magnet joints, the geometry is the same idea inverted: instead of a peg, the protrusion is a recessed cylinder sized to press-fit a neodymium magnet. The opposing face has the same recess, with a matching magnet whose polarity is oriented to attract. The two halves snap together, and the registration is enforced by the geometry around the magnet pocket rather than by the magnetic alignment alone.
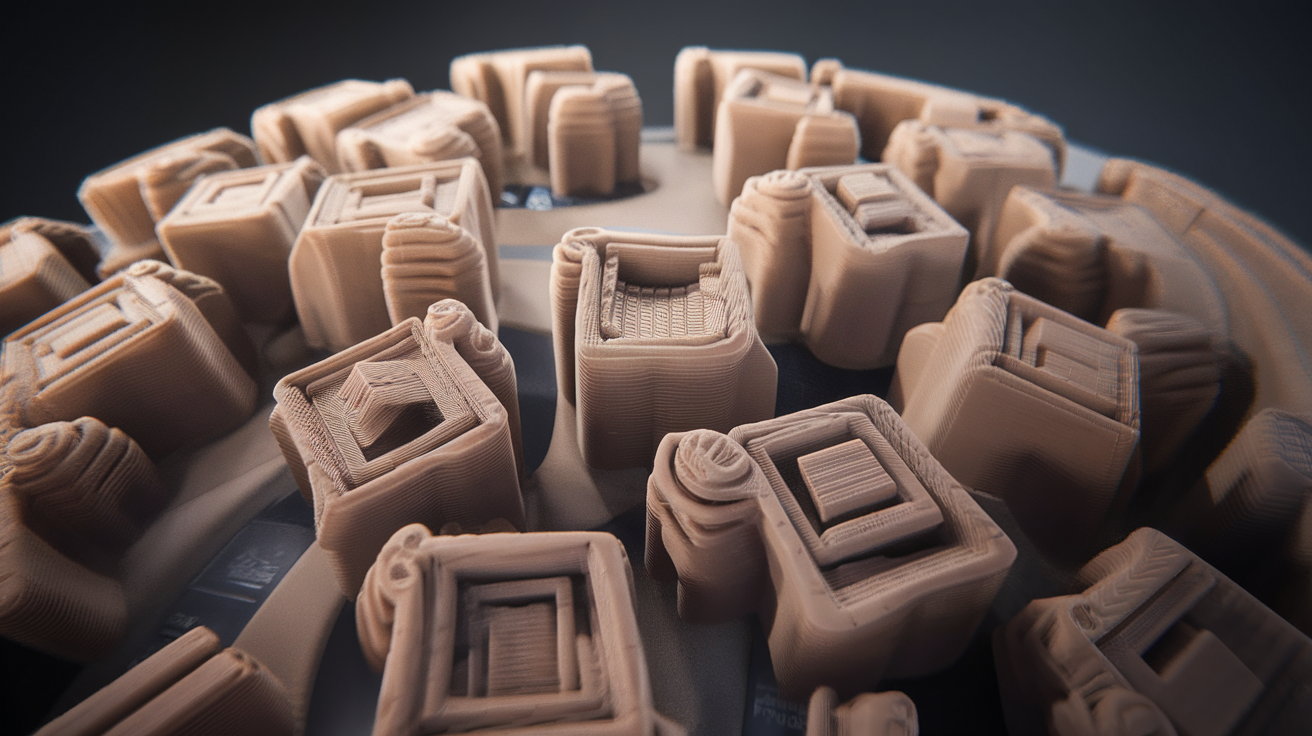
Printing for joinery: orientation matters more than infill
A prop segment that will be glued or pinned should be printed with the joint face down on the print bed when possible. The bed-side surface is the flattest surface a printer can produce, which makes it the surface that mates most cleanly to its neighbor. Joints printed with the cut face up — the side that comes off the supports — are rougher, less flat, and require more sanding before they fit cleanly.
Infill at the joint matters less than people think. A 25 percent gyroid infill across the whole part is plenty for almost any handheld prop; a 50 percent infill is overkill except for the joint zone of large props where the joint will see real load. The trick is to use modifier meshes in the slicer to bump infill specifically in the joint region — the region where pegs are anchored, magnets are embedded, or pins pass through — while leaving the rest of the part light. A modifier mesh adds maybe ten percent to the print time and roughly doubles joint strength.
Wall thickness around magnet pockets and pin holes deserves more attention. A magnet pocket in a 1.6mm wall (four perimeters at 0.4mm) is fragile and the magnet can pop through under impact. The same pocket in a 2.4mm wall (six perimeters) holds the magnet against any reasonable bump. Setting six to eight perimeters in the joint regions is a reliable rule of thumb.

The sanding-and-priming pass that hides every seam
Even a perfectly designed joint shows a hairline seam where the two halves meet. The prop is finished when that seam disappears under paint, and the only way to make it disappear is the same body filler workflow car painters use. Mix a small batch of two-part automotive body filler (Bondo) and apply a thin smear along the seam, working it into any gaps with a flexible spreader. The filler cures in fifteen minutes and sands easily.
The first sanding pass uses 220 grit to knock down the bulk of the filler, the second pass uses 400 grit to feather the edges, and the third pass uses 600 grit wet to produce a glass-smooth surface. After sanding, an aerosol spray primer (filler primer, specifically — not just regular primer) reveals any remaining defects as bright matte stripes. A second filler pass on the bright stripes, sand again, prime again, and the seam is invisible. The first time someone does this on a prop they spent forty hours printing, the result is more satisfying than any glue trick.
Transport, repair, and the convention reality check
Designing a prop with magnet joints and pinned segments is not just a printer-bed-size workaround; it is the difference between a prop that survives a weekend convention and a prop that arrives broken at the hotel. The forces that matter at a real event are not load-bearing forces but vibration during transport, lateral knocks from crowd pressure, and the inevitable drop when someone sets the prop down too hard. Magnet joints absorb those forces by giving way and snapping back together. Glue joints take the forces and crack.
The repair kit a serious cosplayer carries to a convention is small: a tube of CA glue, a small bottle of baking soda, a couple of spare neodymium magnets, a roll of black gaffer tape, and a small bottle of touch-up paint. Almost any prop damage that happens during a weekend can be repaired in a hotel room with that kit, in about fifteen minutes, if the prop was designed in segments. A monolithic prop that cracked through the middle is a much harder repair, sometimes impossible without a printer.
The cosplayers who win competitions are not the ones who print bigger; they are the ones who design smarter, plan their seams, and treat segmentation as the first design decision rather than the last. Once a prop builder makes that mental switch, the size of the print bed stops being a constraint and becomes irrelevant. A 220mm bed prints a six-foot halberd just as easily as a 350mm bed does, because the design assumes both halves of the haft will be joined either way.