
SLA Resin 3D Printer Ventilation, Enclosure, and Safety — A Beginner Setup Guide
Why SLA Resin Ventilation and Safety Setup Cannot Be an Afterthought
An sla resin 3d printer ventilation enclosure safety beginner setup conversation has to begin with a fact most beginner-resin tutorials soften: photopolymer resin is a sensitizer. Repeat dermal exposure to uncured resin causes some users to develop hypersensitivity reactions that persist for life, even after they stop printing. Inhaled resin vapor and ultrafine particulates from cure aerosols are documented respiratory irritants. None of this means resin printing is dangerous in the catastrophic sense — it is not. It does mean that ventilation, enclosure, and personal protective equipment are mandatory rather than optional for any beginner who plans to print regularly.
This guide walks through the physical layout of a safe resin printing setup for beginners, the ventilation choices that actually work in a home or apartment, the enclosure design and why it matters separately from the printer’s stock cover, the personal protective equipment that should be on every resin printer’s workbench before the first bottle is opened, and the operational habits that keep a beginner safe across hundreds of prints rather than just the first one.
The Physical Setup — Where to Place a Resin Printer in the Home
The single most consequential decision for sla resin 3d printer ventilation enclosure safety beginner setup is where to put the printer. Garage, dedicated shop, or basement with external ventilation: ideal. Spare bedroom with a window: acceptable with the right ventilation rig. Living room or bedroom: not acceptable for any beginner planning to print regularly. The resin off-gas concentration buildup in unventilated indoor spaces can exceed indoor air quality guidelines within hours of starting a print.
Beyond the room choice, the surface matters. Use a non-porous work surface — sealed laminate, glass-topped table, or stainless steel. Bare wood absorbs resin spills and becomes impossible to fully decontaminate. Cover the surrounding floor area in disposable plastic sheeting for the first month of printing while you develop drip-free workflow habits; spilled resin on carpet is a permanent stain and a permanent low-level off-gas source.
Lighting matters too. Install or use indirect, non-UV lighting in the resin work area. Direct sunlight from windows and high-UV LED fixtures will slowly pre-cure the resin in the printer’s vat, ruining batches and leaving difficult-to-clean residue on the build plate. Most resin printer rooms benefit from blackout curtains on south-facing windows.
Ventilation — What Works and What Does Not
The single biggest mistake in sla resin 3d printer ventilation enclosure safety beginner setup is assuming that “the room has a window” equals “the room has ventilation.” A passive open window provides almost no air exchange. Effective resin ventilation requires forced exhaust to outdoors, ideally with the exhaust port near the printer and the make-up air entry point far from it.
The minimum acceptable rig is a 4-inch inline duct fan rated for at least 100 CFM, ducted from the resin printer’s enclosure to a window with a portable-air-conditioner-style window kit. Set the fan to run continuously while printing and for at least an hour after print completion. Total cost for this setup is around $80 in parts: $40 for the fan, $30 for the window kit, $10 for ducting and clamps. This setup eliminates roughly 95 percent of resin off-gas in the printer room.
For users who cannot duct outdoors (apartment dwellers, basement printers without exterior windows), the alternative is a HEPA-plus-activated-carbon filter that runs in a sealed enclosure around the printer. The Rabbit Air MinusA2 with carbon canisters works as a room-level filter; the LEVOIT Core 600S with the chemical/odor canister works for smaller spaces. These do not match ducted exhaust performance, but they reduce indoor air contamination meaningfully and are the right answer when ducting is not possible. Do not skip this step in an apartment context — the alternative is several months of accumulating off-gas in an enclosed living space.
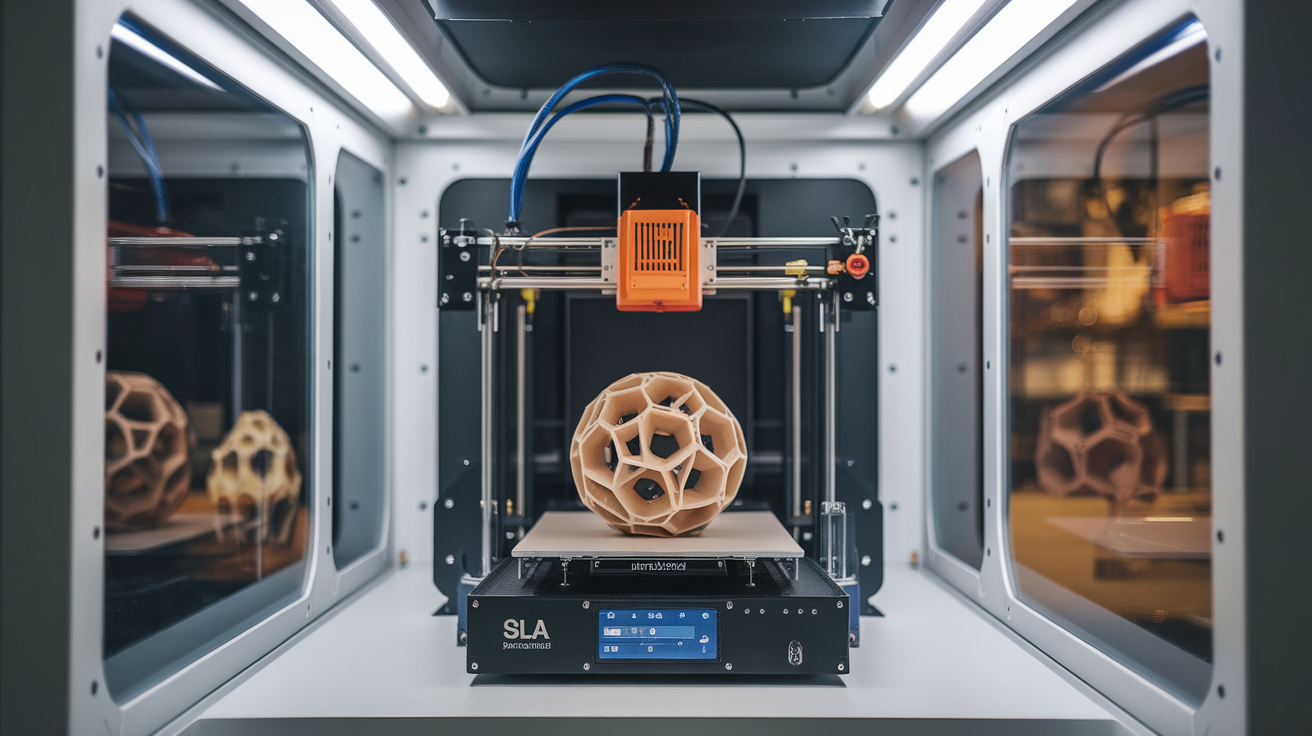
Enclosure — Why the Stock Cover Is Not Enough
Modern resin printers ship with a translucent UV-blocking cover. That cover is sufficient for blocking ambient UV from pre-curing the vat resin, but it is not sufficient for containing off-gas. The cover seals roughly to the printer’s frame but not airtight; vapor escapes around the gasket continuously during printing and especially during cure aerosolization between layers.
The sla resin 3d printer ventilation enclosure safety beginner setup answer is to place the printer inside a secondary enclosure — a small acrylic or polycarbonate box with the duct exhaust connected directly to that secondary enclosure. The secondary enclosure traps the off-gas escaping the printer’s stock cover and routes it to the duct. Common DIY designs use Ikea’s PLATSA or Lack table inverted, with acrylic panels and a 4-inch duct port cut into one side. Cost for a DIY secondary enclosure is roughly $80 in materials.
The secondary enclosure also protects the work area from accidental UV exposure during print monitoring — open the printer cover to check on a print and the secondary enclosure’s UV-blocking material continues to protect the room. This matters because LCD-based MSLA printers emit a small amount of UV during the cure cycle that can cause minor eye irritation in users who lean over an open printer to inspect prints in progress.
Personal Protective Equipment
The PPE list for sla resin 3d printer ventilation enclosure safety beginner setup is short but every item is mandatory. Nitrile gloves (not latex — latex bonds with some resins) for any contact with uncured resin or wash fluid. A bottle of nitrile gloves at $15 lasts a beginner roughly six months.
Safety glasses or full-face shield for any handling of uncured resin or for any post-cure operation involving sanding or trimming printed parts. Sanded resin dust is more of a respiratory issue than uncured resin vapor, and the eye protection step of removing prints from the build plate should not be skipped just because the print “looks done.”
A respirator with VOC-rated cartridges (3M 6200 or 7500 with 60923 cartridges, or equivalent) for vat draining, vat cleaning, and any operation that aerosolizes resin. The cheap dust masks sold at hardware stores are useless for VOC exposure; respirator selection matters. Cartridge replacement should follow manufacturer schedules — typically every 30 days of active use even with mild exposure.
An apron or dedicated work shirt for resin work. Resin spills on regular clothing are essentially permanent and the clothing becomes a continuous off-gas source until disposed of. A dedicated nitrile or rubber apron at $20 keeps regular clothing out of the splash zone.
The Wash and Cure Workflow Without Cross-Contamination
Beyond the printing setup, the sla resin 3d printer ventilation enclosure safety beginner setup includes the wash-and-cure workflow. Wash and cure stations should sit in the same ventilated area as the printer, on the same non-porous surface, with their own dedicated sets of tools (scrapers, tweezers, drying mats) that never leave that area. Cross-contamination between the resin work area and the rest of the home is the single most common way uncured resin ends up on couches, kitchen counters, or in pets’ fur.
Use isopropyl alcohol (preferred over Mean Green or water-washable alternatives for most beginner setups) for the wash cycle. Change the IPA in the wash station every fifteen prints or when it visibly clouds. Used IPA contains dissolved uncured resin and must be disposed of as hazardous waste — pour into a wide flat tray, place in direct sunlight for several hours to fully cure the dissolved resin, then dispose of the solid resin disk and the (now-clean) IPA can be reused or disposed of normally.
The cure cycle should be timed per the resin manufacturer’s specifications. Over-cured resin parts become brittle; under-cured parts continue off-gassing for days afterward. A timed cure station with a UV lamp matched to the resin’s wavelength (typically 405 nm) produces consistent results; sunlight curing is acceptable for emergency use but is too variable for routine work.
Operational Habits That Prevent Problems
The habits that separate safe long-term resin printing from accumulating problems are routine. Wipe down the work surface after every print session, regardless of whether spills are visible — fine resin droplets aerosolize during cure and settle on nearby surfaces. Replace nitrile gloves between handling tasks, not just between print sessions; gloves contaminated with uncured resin can transfer it to door handles, light switches, and tools throughout the home.
Run the ventilation fan for at least one hour after each print session ends. Resin off-gas continues for an hour or more after the print completes; turning the fan off immediately after the print finishes leaves residual concentration in the work area. Set a timer if needed.
Keep a log of resin lot numbers and expiration dates. Resin past its expiration date can polymerize unpredictably and produce more off-gas than fresh resin; a small label on each bottle showing the open-date prevents accidental use of resin past its useful life.
Inspect ventilation, enclosure, and PPE monthly. Ducting works loose, enclosure seals degrade, and respirator cartridges need scheduled replacement. The sla resin 3d printer ventilation enclosure safety beginner setup is not a one-time setup project — it is an ongoing system that needs monthly verification to keep working.
What to Have Before the First Print
Pull together a checklist before opening the first resin bottle. Ducted or HEPA-plus-carbon ventilation: installed and tested. Secondary enclosure with duct port: built and connected. Nitrile gloves, safety glasses, VOC respirator, apron: on the workbench. Wash and cure station: set up on the same non-porous surface as the printer. Resin disposal plan: tray ready for IPA cure-off. Lighting: indirect, non-UV. Dedicated tools that stay in the resin area: in their place.
The first print should be a small test piece — a calibration ring or a Cones of Calibration print — chosen specifically to verify the entire workflow rather than to produce a usable part. Run the full process from print to wash to cure to disposal, observing where the workflow has friction or risk. The friction points are what you adjust before the first real production print. For more on the broader picture of resin printing setup, see our resin troubleshooting guide and our piece on post-cure settings for parts that come off the printer ready for finishing.