3D Printed Drone Parts: Best Materials, Settings, and Design Guide
Why 3D Print Drone Parts?
Custom drone frames cost $50–$200 for carbon fiber plates cut to someone else’s design. A 3D-printed drone frame costs $2–$5 in filament and can be redesigned in an afternoon. For racing quads, freestyle builds, and experimental configurations, 3D printing lets you iterate on frame designs faster than any other manufacturing method.
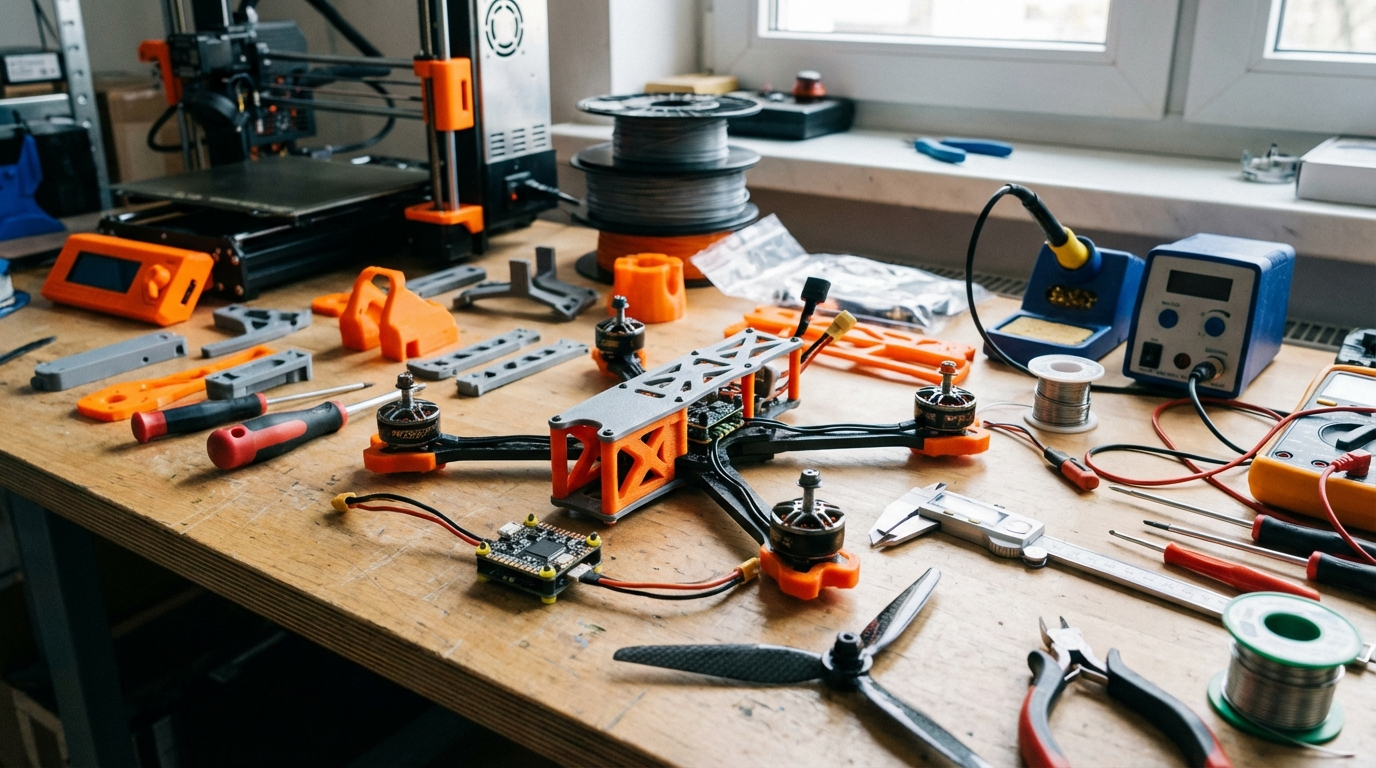
But it’s not just frames. 3D printing handles camera mounts, antenna holders, GPS brackets, battery pads, prop guards, landing gear, canopies, and dozens of other drone components that would otherwise require buying off-the-shelf parts that don’t quite fit your build. The FPV community has embraced 3D printing harder than almost any other hobby — and for good reason.
This guide covers what to print, which materials actually survive crashes, the right slicer settings for strong drone parts, and real-world design tips from builders who’ve gone through dozens of iterations.
What Drone Parts Can You 3D Print?
Not everything on a drone should be 3D printed. Here’s what works and what doesn’t:
Great Candidates for 3D Printing
- Full frames (micro/nano quads): For drones under 250g, 3D-printed frames in TPU or reinforced PLA are plenty strong.
- Camera mounts and tilts: GoPro mounts, action cam angle brackets, and FPV camera housings are the most commonly printed drone parts.
- Antenna mounts: SMA and MMCX antenna holders, GPS masts, and receiver antenna tubes.
- Prop guards: Essential for indoor flying. TPU guards absorb impacts without breaking.
- Battery pads and straps: TPU battery pads prevent shifting and absorb landing impacts.
- Canopies and covers: Protect electronics from dirt, rain, and crash debris.
- Landing gear: Especially for camera drones that need stable ground positioning.
- Duct housings: For ducted propeller designs (CineWhoop style).
Better Bought Than Printed
- Full frames for 5-inch freestyle/racing quads: These take enormous crash forces. Carbon fiber is still king for heavy-duty frames. A 3D-printed 5-inch frame will snap on the first hard impact.
- Propellers: The balance and aerodynamic precision required is beyond FDM capability. Always buy injection-molded props.
- Motor mounts (for high-power builds): Vibration and heat from motors weaken PLA and PETG over time. Carbon or aluminum mounts last longer.
Best Filament Materials for Drone Parts
Material choice makes or breaks drone 3D prints. Here’s the breakdown:
TPU (Thermoplastic Polyurethane) — Best Overall for Drone Parts
TPU is the FPV community’s favorite material. Its flexibility absorbs crash impacts instead of shattering. A TPU camera mount bends and bounces back; a PLA one snaps and you’re walking to retrieve your GoPro.
Best for: Camera mounts, prop guards, battery pads, antenna mounts, canopies, bumpers, landing gear.
TPU hardness matters:
- 95A shore hardness: Standard TPU. Flexible, great impact absorption. Best for camera mounts and prop guards.
- 85A shore hardness: Softer, more rubbery. Better for battery pads and vibration dampeners.
- 98A shore hardness: Stiffer, almost semi-rigid. Good for canopies and antenna mounts that need some rigidity.
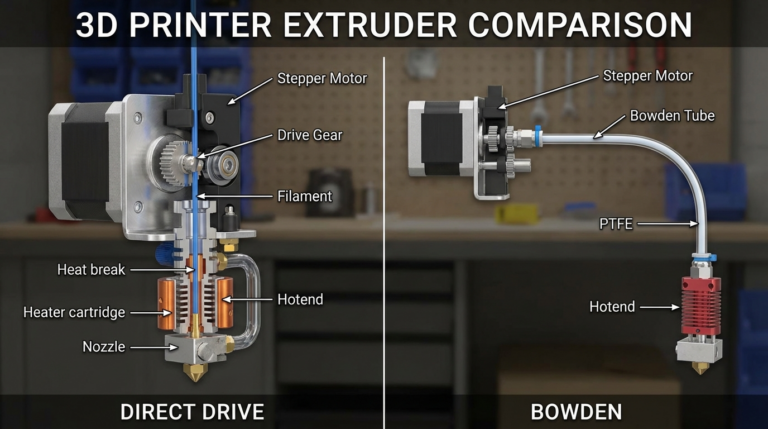
Printing tips: Slow down to 20–30 mm/s, disable retraction (or use minimal retraction under 1mm), direct drive extruders strongly recommended. Bowden setups can print TPU but require significant tuning.
Carbon Fiber Reinforced PLA (CF-PLA)
Short carbon fibers mixed into PLA create a rigid, lightweight material that’s stiffer than regular PLA. It’s good for structural parts that don’t take direct impacts — frame plates, motor mounts for micro quads, and stiffening brackets.
Best for: Micro/nano drone frames, rigid brackets, and spacers.
Warning: CF-PLA eats brass nozzles. Switch to a hardened steel or ruby nozzle before printing.
PETG
Stronger and more temperature-resistant than PLA, but heavier and less rigid than CF-PLA. PETG is a decent middle ground if you don’t want to deal with TPU’s printing challenges or CF-PLA’s nozzle requirements.
Best for: Non-critical structural parts, cable management clips, receiver housings.
PA-CF (Carbon Fiber Nylon) — Premium Choice
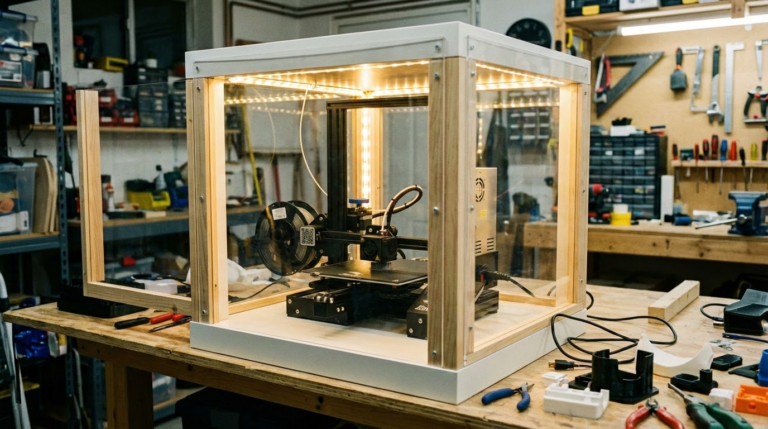
For builders who want the absolute strongest 3D-printed parts, carbon fiber nylon combines nylon’s toughness with carbon fiber’s rigidity. It’s more expensive and harder to print (needs an enclosure and dry filament), but the strength-to-weight ratio is exceptional.
Best for: Full drone frames, arm mounts, and any part taking repeated high stress.
Slicer Settings for Strong Drone Parts
Drone parts need to be strong and light. These settings maximize structural integrity without excessive weight:
Wall Count: 4–5 Walls
More walls = more strength, especially for thin drone parts. The outer walls carry most of the load in a crash. Four walls at 0.4 mm each gives you 1.6 mm of solid perimeter — strong enough for most components.
Infill: 40–60% Gyroid or Cubic
Gyroid infill distributes stress in all directions equally, making it ideal for parts that get hit from unpredictable angles (which is every drone crash). Cubic is a close second. Avoid grid infill — it has weak spots along the grid lines.
For camera mounts and prop guards, you can go up to 80% infill since these parts are small and weight doesn’t increase much.
Layer Height: 0.2 mm
Standard layer height provides good inter-layer adhesion for strength. Going thinner doesn’t significantly improve strength but doubles print time. Going thicker (0.28 mm) slightly weakens inter-layer bonds.
Print Orientation Matters
3D prints are weakest between layers (Z direction). Orient parts so the primary stress direction runs along the X/Y plane, not the Z axis. For example:
- Print camera mounts so the GoPro clip faces up, not sideways.
- Print frame arms flat on the bed so crash forces push along the layers, not between them.
- Print prop guards flat, not on edge.
Design Tips for 3D-Printed Drone Parts
Whether you’re modifying existing STLs or designing your own in CAD, these principles make drone parts that actually survive:
Fillet Everything
Sharp internal corners are stress concentrators — they’re where cracks start. Add a minimum 2 mm radius fillet to every internal corner. This distributes impact forces over a larger area and dramatically increases part life.
Design for the Layer Direction
If a part will be loaded in one primary direction (like a camera mount that only flexes forward/backward), orient the design so layers are perpendicular to that flex direction. Layers resist compression far better than they resist peeling apart.
Add Mounting Features
Design screw holes 0.2–0.3 mm smaller than the actual screw size. M3 screws should go in M2.7–M2.8 holes, which they’ll self-tap into when screwed in. This is stronger than printing at exact size (which gives a loose fit) and doesn’t require heat-set inserts for small parts.
For parts that get removed frequently, add heat-set insert pockets. A $10 kit of M3 brass inserts and a soldering iron to install them gives you metal threads in plastic parts.
Weight Optimization
Every gram matters on a drone. Strategies to save weight:
- Use the minimum wall thickness that provides adequate strength. 1.2 mm walls (3 perimeters) is often enough for non-structural parts.
- Add lightening holes in flat sections that don’t carry load.
- Use TPU only where flexibility is needed. For rigid parts, CF-PLA is lighter for the same strength.
- Hollow out solid sections that don’t contribute to strength.
Real-World Drone Parts to Print First
Start with these high-value, low-risk parts to get familiar with drone 3D printing:
1. GoPro Mount (TPU 95A)
The most universally useful drone 3D print. Search for your frame model + “GoPro mount” on Printables or Thingiverse. Print in TPU 95A at 30 mm/s, 5 walls, 80% infill. Takes about 45 minutes and saves $10–$15 vs. buying one.
2. Prop Guards (TPU 95A)
Essential for indoor CineWhoop builds. Print in TPU for maximum impact absorption. Design should snap or screw onto motor mounts. One set takes 2–3 hours to print.
3. Antenna Mount (PETG or TPU 98A)
Keeps your VTX or GPS antenna at the correct angle and protected from crashes. Simple cylinder with a friction-fit base. Ten minutes to design, twenty minutes to print.
4. CineWhoop Ducts (CF-PLA or PETG)
Full ducted propeller housings for smooth indoor footage. These need rigidity (no TPU here) and precision — the duct clearance to the prop tips should be 0.5–1.0 mm for maximum efficiency. Print with high infill (60%+) and slow speeds for accuracy.
5. Battery Pad (TPU 85A)
A textured TPU pad that sits between the battery and the frame. Prevents the battery from sliding during aggressive maneuvers and cushions the frame from battery impacts on hard landings. Five minutes to design, fifteen minutes to print, and it makes a noticeable difference in how secure your battery feels.
Post-Processing Tips
Drone parts benefit from a few finishing touches:
- Remove all support material cleanly. Any nubs or rough spots add weight and can catch on wires during flight.
- Test-fit before flying. Check screw hole alignment, camera fit, and antenna clearance on the ground. Discovering a fitment issue at the field wastes a trip.
- Carry spares. One of 3D printing’s biggest advantages is that replacement parts cost pennies. Print 2–3 of anything that breaks on crashes (camera mounts, prop guards) and keep them in your drone bag.
- Acetone smoothing for ABS/ASA parts: If you print canopies in ABS, a quick acetone vapor smooth seals the surface against moisture and looks cleaner.
Final Thoughts
3D printing has become essential for serious drone builders. The ability to design, print, test, break, and reprint a custom part in the same afternoon is unmatched by any other manufacturing method at the hobbyist level. Start with TPU camera mounts and prop guards — they’re the most impactful, most forgiving, and most frequently replaced parts on any drone build.
Once you’ve printed your first set of custom parts and taken flight, you’ll never go back to searching Amazon for that one mount that almost fits your build.