3D Printer Noise Reduction: Vibration Dampening Tips That Actually Work
Why 3D Printers Are So Loud (And What You Can Do About It)
Let’s be honest: most 3D printers sound like a robot having an argument with a blender. Between stepper motors whining, fans screaming, and the frame vibrating against your desk, a multi-hour print can test anyone’s patience — especially if your printer lives in the same room where you work or sleep.
The good news is that most 3D printer noise comes from a handful of sources, and each one can be addressed with relatively simple modifications. I’ve taken printers from “I can hear it two rooms away” to “wait, is it even running?” with upgrades that cost less than a spool of filament. Here’s how.
Understanding Where the Noise Comes From
Before throwing money at solutions, it helps to identify your specific noise sources. Run a print and listen carefully. Most 3D printer noise falls into these categories:
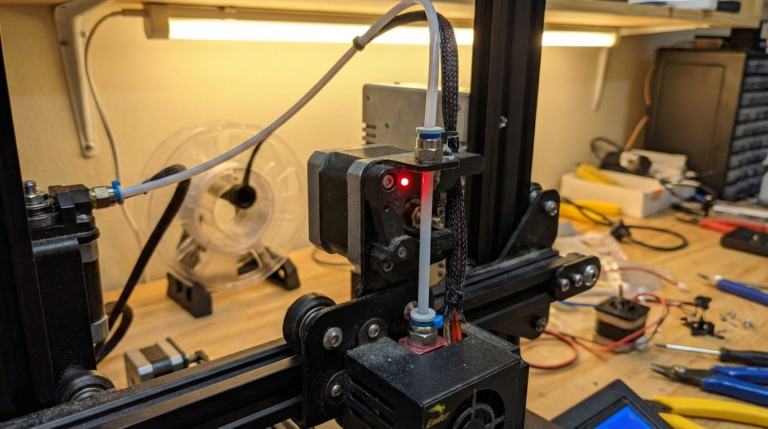
Stepper Motor Whine
That characteristic high-pitched whine or singing sound during movements comes from your stepper motors. The pitch changes with speed because the motors are driven by pulsed electrical signals, and the frequency of those pulses creates audible noise. This is typically the loudest single source of noise on a stock printer.
Fan Noise
Most printers have 2-4 fans: hotend cooling, part cooling, mainboard cooling, and sometimes a power supply fan. Stock fans are often small, cheap, and loud. They run at high RPM to move enough air, and that RPM translates directly to noise.
Vibration and Resonance
Stepper motors create vibrations that travel through the frame and into whatever surface the printer sits on. A printer on a bare desk can turn the entire desktop into a speaker, amplifying vibrations into audible noise. This is especially noticeable during fast moves and direction changes.
Mechanical Noise
Bearings, belts, and lead screws all produce their own sounds. Dry bearings squeak, loose belts flap, and bent lead screws create periodic clicking or grinding. This type of noise usually indicates a maintenance issue rather than a fundamental design problem.
Vibration Dampening: The Biggest Bang for Your Buck
If you make just one noise-reduction modification, make it vibration isolation. It’s cheap, easy, and often cuts perceived noise in half.
Rubber Dampening Feet
Replace your printer’s stock feet with rubber dampening feet (also called vibration isolation pads). These are available on Amazon for $8-15 for a set of four. Look for ones made from sorbothane or dense rubber — the squishier, the better for vibration absorption.
The concept is simple: rubber feet absorb vibrations before they reach your desk. Without them, your printer’s frame acts as a tuning fork, transmitting motor vibrations into the desk surface and amplifying them. With dampening feet, those vibrations die in the rubber instead.
Installation tip: Make sure your printer is still level after installing new feet. Rubber feet can compress unevenly, so re-level your bed after the swap.
Concrete Paver Method
This is the budget king of vibration dampening. Buy a concrete paver (the flat landscaping kind, about $2-3 from any home improvement store) and place it under your printer with a sheet of foam or rubber mat between the paver and the desk. The mass of the concrete absorbs vibrations that the printer frame generates.
For even better results, add a second layer: foam mat → concrete paver → rubber feet → printer. The combination of mass (paver) and damping (foam + rubber) is remarkably effective. I’ve measured 10-15 dB noise reduction with this setup — that’s roughly cutting the perceived loudness in half.
Anti-Vibration Mat
A thick rubber or foam mat under your entire printer serves a similar purpose to dampening feet but distributes the load more evenly. Washing machine anti-vibration mats work great and cost about $15-20. Cut to size if needed.
Stepper Motor Noise Reduction
Upgrade to Silent Stepper Drivers
This is the single most effective upgrade for motor whine, but it requires replacing your mainboard or stepper drivers. Modern TMC2209 stepper drivers use a technology called StealthChop that virtually eliminates the audible whine from stepper motors.
If your printer still has older A4988 or DRV8825 drivers, upgrading to a board with TMC2208 or TMC2209 drivers is transformative. Many modern printers (Ender 3 V2, Prusa MK3S+, anything from Bambu Lab) already come with silent drivers. If yours doesn’t, a replacement board like the SKR Mini E3 V3 costs about $30-40 and is a straightforward swap.
If your printer already has TMC drivers but still whines, check if StealthChop mode is enabled in your firmware. Some configurations default to SpreadCycle mode, which is more precise but louder.
Motor Dampeners
Stepper motor dampeners are small rubber or cork spacers that mount between the motor and the frame. They cost $5-10 for a set and reduce vibration transfer from the motor housing to the printer’s metal frame.
Note: motor dampeners add a small amount of backlash, which can slightly affect print quality at high speeds. For most hobby printing, the trade-off is worth it. If you’re pushing maximum speed and quality, consider silent drivers instead.
Fan Upgrades
Replace Stock Fans with Quieter Alternatives
Stock fans on budget printers are typically cheap sleeve-bearing units that are loud from day one and get louder as they wear. Replacing them with quality ball-bearing fans can dramatically reduce noise.
Popular quiet fan upgrades:
- Noctua NF-A4x10: The gold standard for quiet 40mm fans. Whisper-quiet but moves less air than stock — you may need to print a fan duct to compensate.
- Sunon MagLev fans: Good balance of airflow and noise. More airflow than Noctua at a modest noise increase.
- GDStime dual ball-bearing fans: Budget option that’s still quieter than most stock fans.
Important: Check your fan voltages before buying. Many 3D printer fans are 24V, but some are 12V. Using the wrong voltage will either burn out the fan (too much voltage) or give inadequate cooling (too little). When in doubt, use a buck converter to step voltage down.
Hotend Fan vs. Part Cooling Fan
Your hotend fan runs constantly to prevent heat creep. This is the steady drone you hear from the moment you turn on the printer. Replacing this with a quiet Noctua fan makes the biggest difference in constant background noise.
The part cooling fan only runs during printing and often at varying speeds. Replacing it is less impactful for overall noise but still worthwhile if you’re doing a full quiet build.
PSU Fan
The power supply fan is often overlooked but can be one of the loudest components. On many budget printers, it runs at full speed constantly. Some PSU fans can be replaced, but be careful — inadequate PSU cooling is a fire risk. If you replace the PSU fan, monitor temperatures for the first several prints.
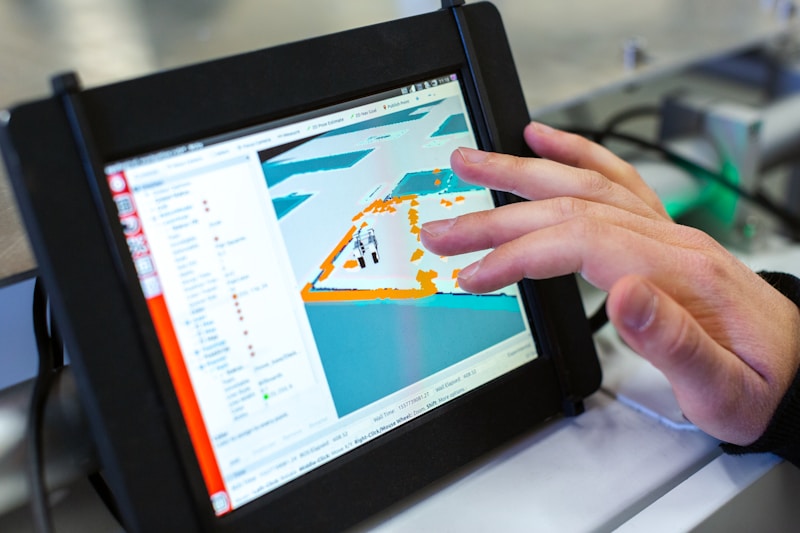
Firmware and Software Tweaks
Enable StealthChop in Marlin/Klipper
If your board has TMC drivers but still makes motor noise, check your firmware configuration. In Marlin, look for HYBRID_THRESHOLD settings — these determine the speed at which the driver switches from quiet StealthChop to louder SpreadCycle mode. You may be able to raise the threshold to keep StealthChop active at higher speeds.
In Klipper, the [tmc2209] configuration section lets you set stealthchop_threshold per axis. Setting it to 999999 keeps StealthChop always on (at the cost of some maximum speed capability).
Reduce Acceleration and Jerk
Sharp direction changes produce the loudest mechanical noise. Reducing acceleration and jerk values in your slicer or firmware smooths out movements and reduces noise. The trade-off is slightly longer print times, but for noise-sensitive environments, it’s worth it.
Try reducing acceleration to 500-1000 mm/s² (from typical defaults of 1500-3000) and jerk to 5-8 mm/s (from typical 8-12). You’ll notice a significant difference in the “angry robot” sounds during direction changes.
Reduce Print Speed
Slower prints are quieter prints. If noise is your primary concern, dropping print speed by 20-30% reduces motor noise, vibration, and fan requirements. This is the simplest software-only noise reduction — no mods required.
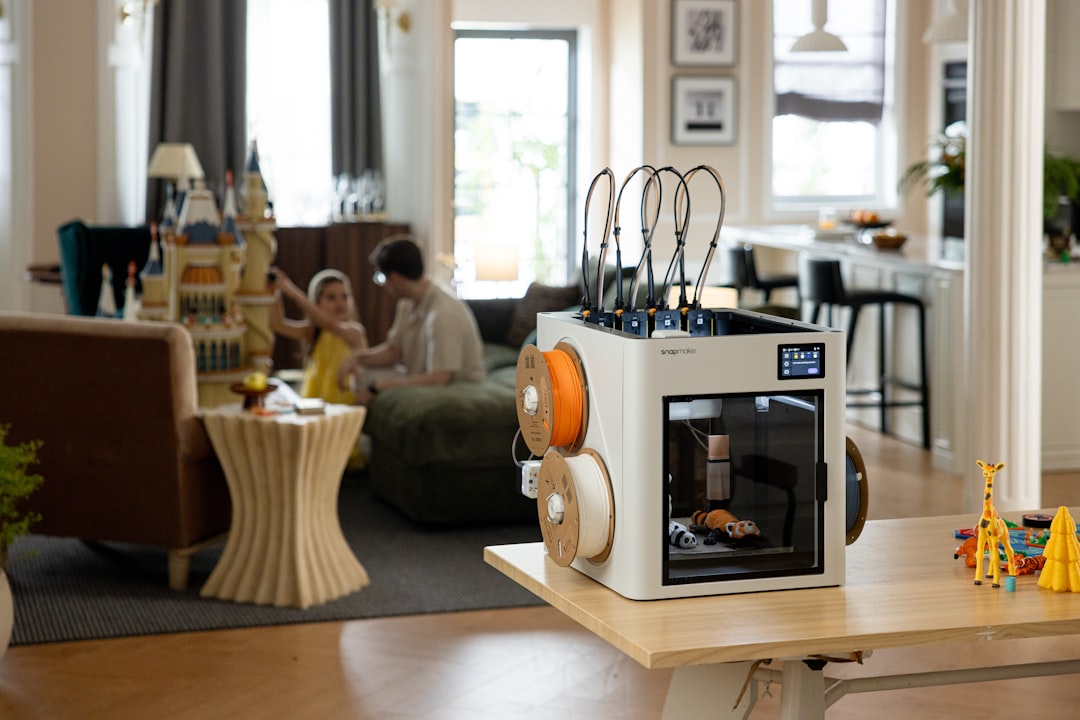
Enclosures: Sound and Thermal Benefits
An enclosure doesn’t just help with temperature-sensitive filaments — it also acts as a sound barrier. Even a basic enclosure made from IKEA LACK tables (a popular project in the 3D printing community) can reduce noise by 5-10 dB.
For maximum sound dampening, line the inside of your enclosure with acoustic foam or mass-loaded vinyl. A well-insulated enclosure can make your printer nearly silent from outside the room.
Warning: Enclosures trap heat. This is great for ABS and ASA, but PLA can actually print worse in an enclosure (too much heat causes jams). If you primarily print PLA, leave the enclosure door open or add ventilation.
Maintenance for Noise Prevention
Before buying upgrades, make sure your printer is properly maintained. Many noise complaints are actually maintenance issues in disguise:
- Lubricate linear rails and rods: Dry bearings are noisy bearings. Use white lithium grease or PTFE-based lubricant on your linear guides.
- Tighten loose screws: A single loose screw can turn your frame into a rattle generator. Check every bolt and nut periodically.
- Tension belts properly: Loose belts flap. Over-tight belts stress motors. Both are noisy. Belts should twang like a guitar string when plucked — firm but not piano-wire tight.
- Check for bent lead screws: A bent Z-axis lead screw creates periodic clicking or grinding that gets worse over time. If you hear a rhythmic noise that corresponds to Z movement, inspect your lead screw.
- Clean fans: Dust buildup on fan blades causes imbalance and noise. Clean fans with compressed air every few months.
Noise Reduction Priority List
If you want to methodically reduce printer noise, tackle these upgrades in order of impact and cost-effectiveness:
- Vibration dampening feet or concrete paver — $3-15, massive impact
- Silent stepper drivers (if not already present) — $30-40, eliminates motor whine
- Hotend fan replacement — $10-15, reduces constant drone
- Firmware tweaks (StealthChop, reduced acceleration) — Free, moderate impact
- Enclosure — $20-100+, good overall reduction
- Part cooling and PSU fan replacement — $15-25, moderate impact
- Speed reduction in slicer — Free, noticeable but costs print time
Final Thoughts
A completely silent 3D printer doesn’t exist — there will always be some mechanical noise from moving parts. But with the right combination of dampening, driver upgrades, and fan replacements, you can get remarkably close to silent operation. Most users find that vibration dampening plus silent stepper drivers gets them 80% of the way there for under $50.
Start with the cheap stuff (dampening feet, firmware tweaks) and work your way up. You might be surprised how much difference a $3 concrete paver makes before you spend money on anything else.