3D Printer Filament Not Feeding? Every Cause and Fix Explained
Few things are more frustrating than loading a fresh spool of filament, hitting “Print,” and watching your 3D printer push nothing but air. Filament feeding problems are among the most common issues in FDM printing — and while they can stem from a dozen different root causes, most of them are straightforward to diagnose and fix once you know where to look.
In this guide, I’ll walk you through every major reason your 3D printer filament might refuse to feed properly, from simple mechanical snags to subtler thermal issues. Whether you’re running a trusty Ender 3 or a high-end CoreXY machine, these troubleshooting steps apply across the board.
Understanding How Filament Feeding Works
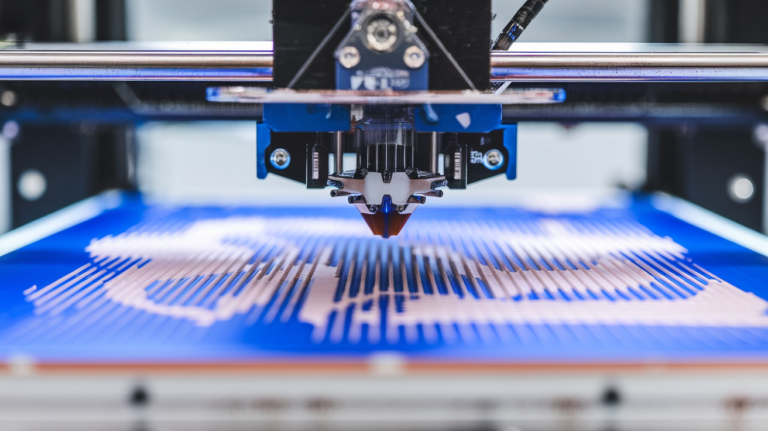
Before diving into fixes, it helps to understand the basic feeding path. Filament travels from the spool, through a guide tube or channel, into the extruder gear assembly, down through a PTFE-lined or all-metal path, and finally into the hotend where it melts and exits through the nozzle.
Any point along this path can introduce friction, blockages, or mechanical failure. The extruder motor (stepper) is what drives filament forward, and it relies on a spring-loaded gear mechanism to grip the filament tightly enough to push it through the system.
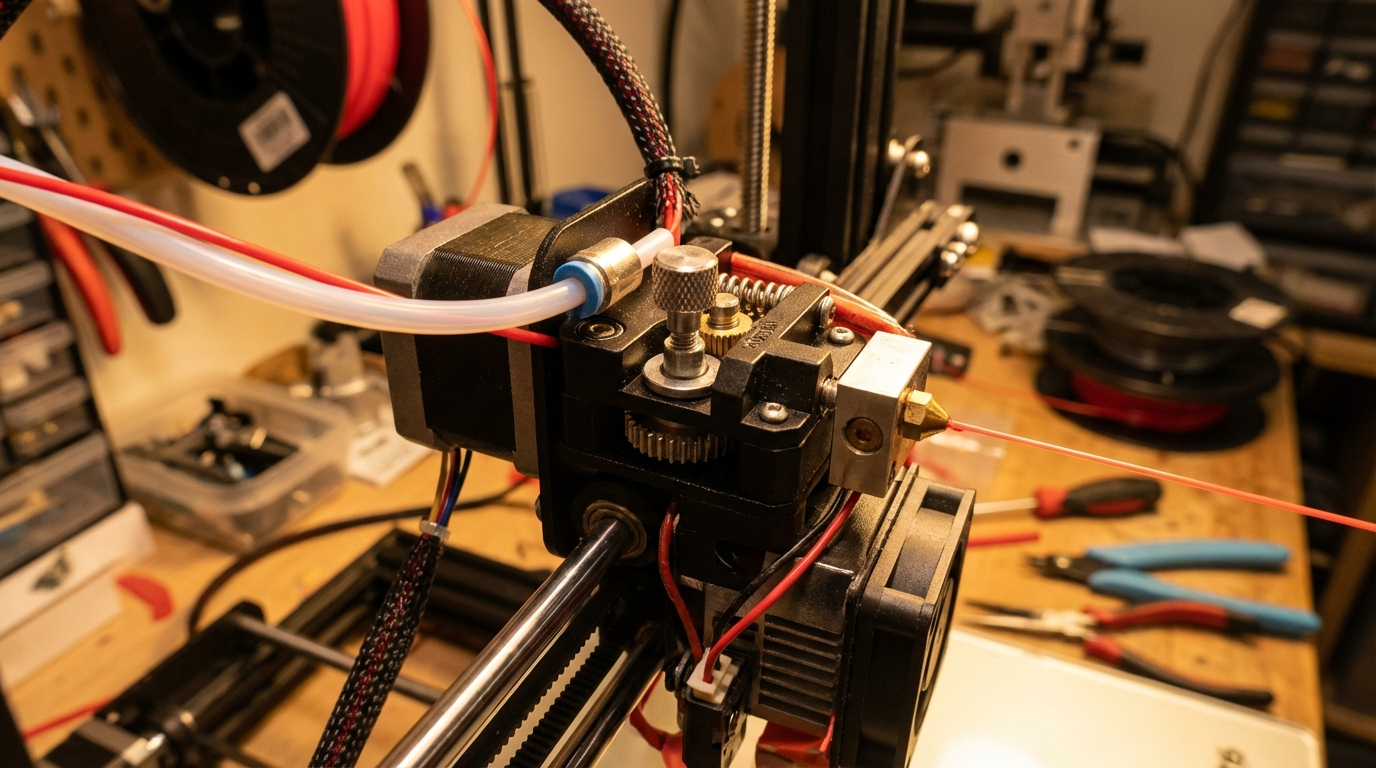
1. Check the Extruder Gear Tension
This is the number one cause of feeding problems, especially on budget printers. The extruder uses a hobbed gear (also called a drive gear) pressed against an idler bearing to grip the filament. If the spring tension is too loose, the gear can’t bite into the filament hard enough to push it through.
Symptoms: Clicking sounds from the extruder, filament slipping or not moving, flat spots ground into the filament surface.
Fix: Tighten the tensioning screw or spring on your extruder. On Creality-style printers, there’s a small screw on the extruder arm. Give it a quarter-turn clockwise and test again. Too tight and you’ll grind the filament; too loose and it won’t grip. Finding the sweet spot takes a bit of experimentation.
2. Inspect the Drive Gear for Debris
Over time, the hobbed gear accumulates tiny shavings of filament — especially if you’ve had grinding issues in the past. These shavings pack into the gear teeth and reduce their ability to grip fresh filament.
Fix: Remove the filament, open the extruder assembly, and use a small brass brush or compressed air to clean the gear teeth. This takes about two minutes and can completely restore feeding performance.
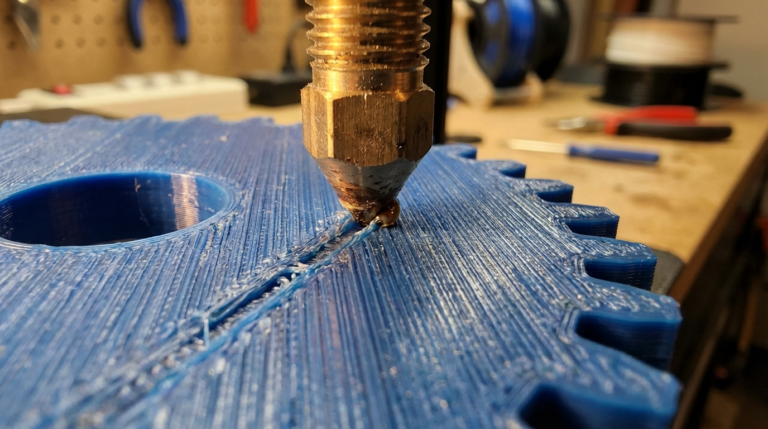
3. Look for a Partial or Full Nozzle Clog
If the nozzle is even partially blocked, the extruder has to work much harder to push filament through. Eventually, it can’t keep up and starts skipping steps or grinding filament.
Symptoms: Under-extrusion that gets worse over time, clicking from the extruder, thin or inconsistent extrusion lines.
Fix: Try a cold pull first. Heat the nozzle to printing temperature, push filament through manually, then let it cool to about 90°C (for PLA) and pull it out sharply. The plug shape will tell you if there’s debris in the nozzle. Repeat until the pull comes out clean. If that doesn’t work, use an acupuncture needle or replace the nozzle entirely.
4. Check the PTFE Tube and Fittings
On Bowden-style printers, the PTFE tube is a critical part of the filament path. Over time, the tube can develop internal wear, kinks, or gaps at the hotend connection. The pneumatic fittings (PC4-M6 and PC4-M10) that hold the tube in place are notorious for loosening over time.
Symptoms: Intermittent feeding issues, filament jams during retractions, increasing under-extrusion over several prints.
Fix: Remove the PTFE tube and inspect it. Cut the end square with a sharp blade if it’s worn or deformed. Replace worn pneumatic fittings — they’re cheap and make a huge difference. If you’re still using the stock white PTFE tube, consider upgrading to a Capricorn tube with tighter inner tolerances.
5. Verify Your Print Temperature
If the hotend temperature is too low for your filament, the material won’t melt fast enough to keep up with the feed rate. This is especially common when switching between filament types (say, going from PLA at 200°C to PETG at 230°C) and forgetting to update the temperature in your slicer.
Fix: Check the recommended temperature range on your filament spool and make sure your slicer settings match. When in doubt, print a temperature tower to find the optimal point for each specific brand and color.
6. Slow Down Your Print Speed
Aggressive print speeds demand faster filament feeding. If your extruder can’t keep up — whether due to mechanical limitations, filament viscosity, or hotend melt capacity — you’ll see under-extrusion and feeding failures.
Fix: Drop your print speed by 20-30% and see if the problem goes away. If it does, you’ve found your bottleneck. To print faster reliably, you may need a higher-flow hotend (like a Revo or a CHC) or a more powerful extruder.
7. Examine the Filament Spool
Sometimes the problem isn’t with the printer at all — it’s with the spool. Tangled filament is a silent killer. If the filament crosses over itself on the spool, it can create a snag that suddenly stops the feed mid-print.
Symptoms: Print fails randomly after hours of good printing, filament path looks stressed or kinked near the spool.
Fix: Before starting any print, unwind a meter or two of filament and let it wind back. Check that the filament feeds freely without catching. Store spools properly — always secure the free end in the spool holes when not in use, and never let the filament unspool loosely.
8. Check for Heat Creep
Heat creep occurs when excess heat travels up the hotend into the cold zone, softening filament before it reaches the melt zone. The softened filament swells, jams, and blocks the path.
Symptoms: Prints start fine but feeding fails 30-60 minutes in. Filament is soft and deformed when you pull it out of the hotend.
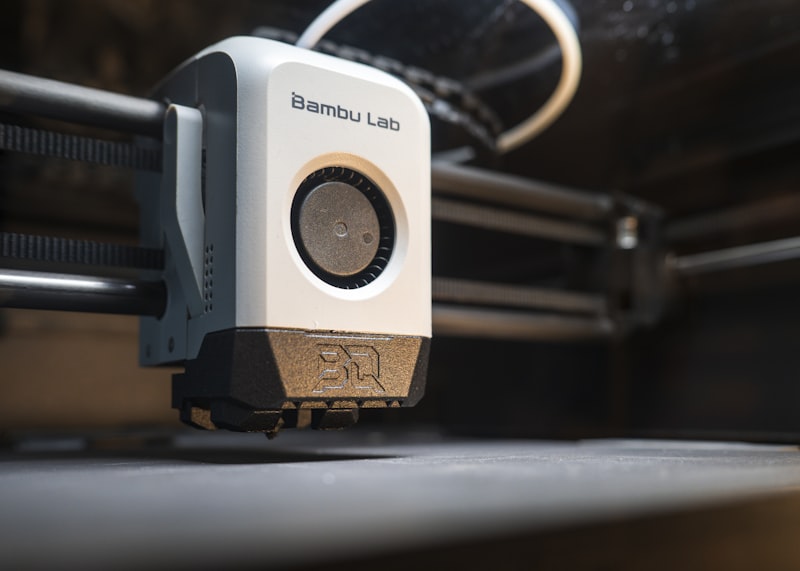
Fix: Make sure your hotend cooling fan is running at full speed. Clean or replace the fan if it’s weak. An all-metal hotend with a proper heatbreak design (like the Bambu or E3D V6) handles heat much better than stock setups. Also, consider adding a thermal paste between the heatbreak and heatsink if applicable.
9. Moisture in the Filament
Wet filament feeds poorly. Absorbed moisture creates steam bubbles as the filament melts, which disrupts flow and can cause intermittent jams — particularly with hygroscopic materials like PETG, Nylon, and TPU.
Symptoms: Popping or crackling sounds during printing, bubbly or stringy extrusion, inconsistent feeding.
Fix: Dry your filament. A dedicated filament dryer (Sunlu, eSun, PrintDry) works best, but an oven set to 50-60°C with the door slightly open can do the job. Dry PLA for 4-6 hours, PETG for 6-8 hours, and Nylon for 12+ hours. Going forward, store filament in sealed bags with desiccant.
10. Worn or Cracked Extruder Arm
This one catches a lot of people off guard. The stock plastic extruder arm on many budget printers (Ender 3, Ender 5, CR-10, etc.) is prone to developing cracks near the pivot point. The crack may be nearly invisible but allows the arm to flex, reducing clamping pressure on the filament.
Fix: Remove the extruder arm and inspect it carefully — especially around the brass insert and spring contact points. If you see any crack, no matter how small, replace the entire extruder with a metal version. Aluminum extruder upgrades cost about $10-15 and are one of the best investments you can make for feeding reliability.
11. Filament Diameter Inconsistencies
Cheap or poorly manufactured filament can have diameter variations that exceed the acceptable tolerance (typically ±0.03mm for quality filament). Spots where the filament is too thick will jam; spots where it’s too thin won’t grip properly.
Fix: Measure your filament with calipers at several points along a 5-meter stretch. If you find variations greater than ±0.05mm, that spool is likely the culprit. Switch to a reputable brand with tight tolerances — Hatchbox, Overture, Prusament, and Polymaker all maintain consistent quality.
When to Seek Further Help
If you’ve checked all of the above and your filament still won’t feed reliably, the issue may be more fundamental: a failing stepper motor, a damaged stepper driver on the mainboard, or a wiring fault. These are less common but worth investigating if nothing else works.
Test the extruder motor by swapping its cable with another axis motor (X or Y). If it works fine on the other driver, your extruder driver may be fried. If the motor itself is sluggish on any driver, it may need replacement.
Wrapping Up
Filament feeding problems are annoying, but they’re almost always fixable with basic tools and a systematic approach. Start with the simplest causes — gear tension, debris, spool tangles — and work your way toward the more complex ones. In my experience, about 80% of feeding issues come down to just three things: extruder tension, a partial clog, or a worn PTFE tube.
Fix those first, and there’s a good chance you’ll be printing smoothly again within the hour.