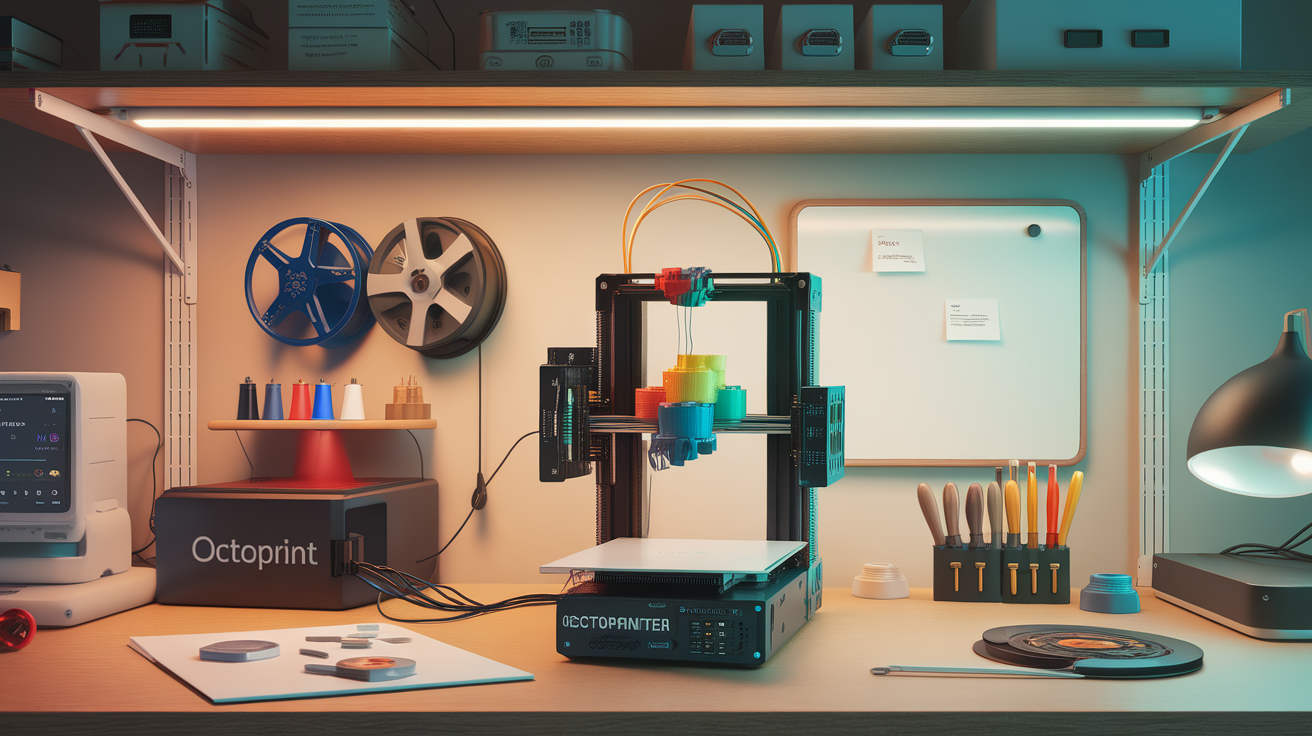
How to Set Up OctoPrint in 2026: Step-by-Step Guide
What OctoPrint Is and Why It’s Still the Default in 2026
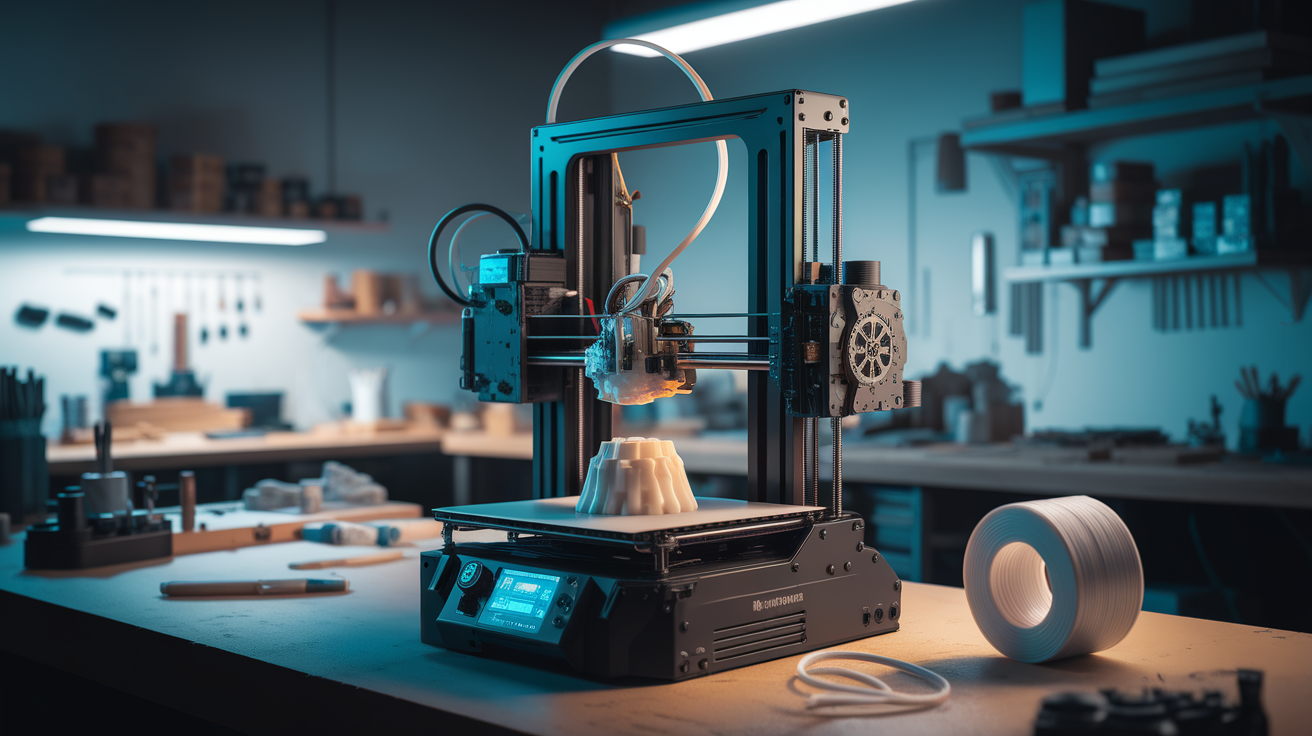
OctoPrint is an open-source web interface that runs on a small computer (typically a Raspberry Pi) connected to your 3D printer’s USB port. Once installed, it gives you a browser-based control panel for starting prints, monitoring temperatures, watching a webcam feed, and uploading G-code without ever touching the printer’s onboard SD card or LCD again.
Despite the rise of Klipper-with-Mainsail and Bambu’s closed cloud system, OctoPrint remains the most widely deployed printer-management software in the world — partly because it works with virtually every Marlin-based printer manufactured in the last decade, and partly because its plugin ecosystem (OctoPrint-Anywhere, Spaghetti Detective, OctoPrint-PrusaSlicerThumbnails, OctoLapse) extends it in ways no commercial alternative has matched.
This guide walks you through a clean install in 2026 using OctoPi, the official Raspberry Pi image. The process takes about 45 minutes from unboxing the Pi to printing your first remote job.
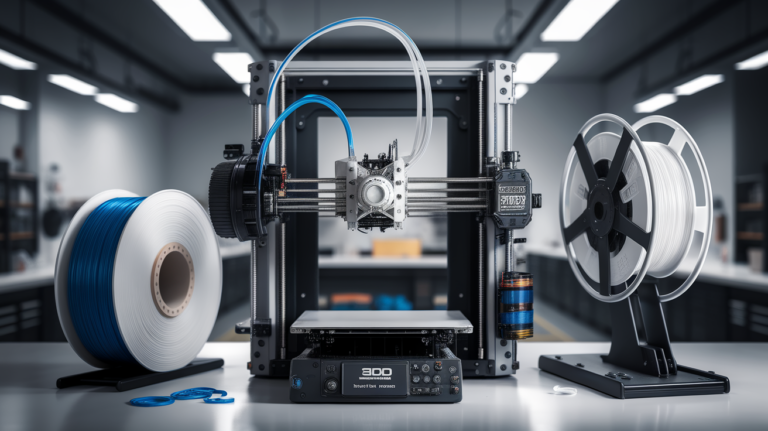
Hardware You Need Before Starting
The minimum hardware for a working OctoPrint setup in 2026:
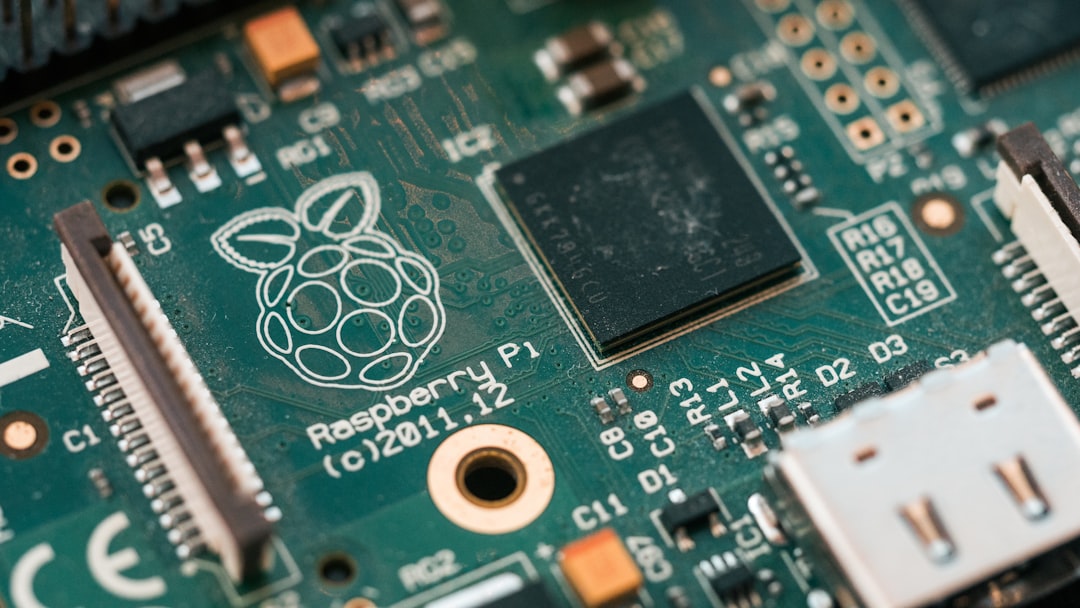
- Raspberry Pi 4B (4GB) or Pi 5 (4GB): Pi 5 is overkill for a single printer; Pi 4B 4GB is the sweet spot. Avoid Pi 3B+ unless you’re not running a webcam — the older USB controller drops frames under load.
- Official Raspberry Pi power supply (USB-C, 5V/3A for Pi 4 or 5V/5A for Pi 5): Don’t use a phone charger. Underpowered Pis cause mid-print crashes that are nearly impossible to diagnose.
- MicroSD card (32GB+, A2-rated): SanDisk Extreme Pro or Samsung Pro Endurance. Cheap cards die after 6–12 months of constant writes.
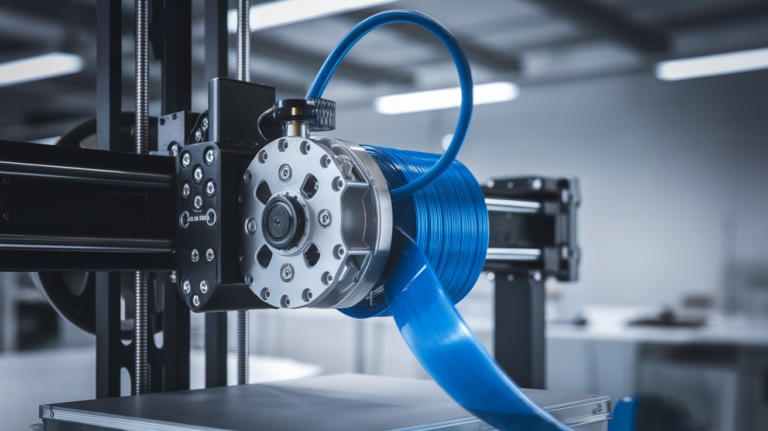
- USB cable (printer-to-Pi): The cable that came with your printer is fine. If you see USB disconnections under load, swap to a shorter, ferrite-core cable.
- Optional but recommended: USB webcam or Pi Camera Module 3. Logitech C270 (~$25) is the cheapest reliable option. Pi Camera Module 3 (~$25) integrates more cleanly but needs a ribbon cable mount.
Skip Pi Zero W and Pi Zero 2W setups in 2026. They work for basic OctoPrint but choke on webcam streams and TimeLapse plugins. The $20 you save isn’t worth the troubleshooting hours.
Step 1: Flash OctoPi to the SD Card
Download Raspberry Pi Imager from raspberrypi.com/software (free, runs on Windows, macOS, Linux). Open it, click “Choose Device” → Raspberry Pi 4 (or 5). Click “Choose OS” → “Other Specific-Purpose OS” → “3D Printing” → “OctoPi (stable)”.
Click “Choose Storage” and select your SD card (the imager refuses to write to your system drive — a welcome safety check). Before clicking “Write”, click the gear icon to open Advanced Options. Set:
- Hostname:
octopi(or whatever you’ll remember — this becomes octopi.local on your network) - Enable SSH with password authentication (default username:
pi, set a strong password — not “raspberry”) - Configure WiFi: enter your network SSID and password, set country to your region
- Set locale and timezone
Click Save, then Write. The flash takes 5–10 minutes. When done, eject the SD card properly to avoid corruption.
Step 2: First Boot and Network Discovery
Insert the SD card into the Pi, plug in the USB cable to your printer (printer can be off for now), connect any webcam, then plug in power. The Pi boots in 60–90 seconds. The first boot expands the filesystem and applies your network settings — wait two full minutes before trying to connect.
From any computer on the same network, open a browser and navigate to http://octopi.local (or whatever hostname you set). On Windows, you may need to install Bonjour Print Services first if .local resolution doesn’t work. Alternatively, find the Pi’s IP address from your router’s admin panel and use that directly.
If the page doesn’t load, SSH in (ssh pi@octopi.local with the password you set) and run sudo systemctl status octoprint to confirm the service is running. The most common first-boot issue is WiFi credentials — the imager doesn’t validate them, so a typo means the Pi never joins your network. Connect a monitor and keyboard temporarily, run sudo raspi-config, and fix the credentials.
Step 3: OctoPrint Setup Wizard
The first time you load the OctoPrint web UI, the setup wizard walks you through:
- Access control: Create your admin account. Use a strong password — this is the gate to your printer.
- Online connectivity check: OctoPrint pings octoprint.org to confirm internet access. Allow it; many plugins require this.
- Anonymous usage tracking: Optional. Helps the project; refuse if you prefer.
- Plugin blacklist: Always enable. Auto-removes plugins known to cause data loss.
- Printer profile: Enter your printer model, build volume, axis directions, and nozzle diameter. For Ender 3 V3 KE: 220×220×250mm volume, origin at front-left, 0.4mm nozzle. For Bambu A1 Mini (with custom firmware only): consult your specific build’s documentation.
- Server settings: Enable HTTPS if you’ll expose OctoPrint to the internet (we’ll cover that later).
Once the wizard finishes, OctoPrint reloads. You should see the main UI with tabs for Temperature, Control, GCode Viewer, Terminal, Timelapse, and Settings.
Step 4: Connect to Your Printer
In the upper-left “Connection” panel, set Serial Port to AUTO and Baudrate to AUTO. Click Connect. OctoPrint scans common ports (/dev/ttyUSB0, /dev/ttyACM0) at common baudrates (115200, 250000) and identifies your printer.
If AUTO fails, manually pick the port. SSH into the Pi and run ls /dev/tty* with the printer disconnected, then again with it plugged in — the new entry is your printer. Most Marlin printers use 115200 baud; some Creality firmwares default to 250000.
Connection failures usually mean one of three things: the printer firmware is too old (Marlin pre-1.1.9 has known USB issues), the USB cable is bad, or the Pi’s USB power budget is being exceeded by other devices. Try a different cable first; it solves about 60% of cases.
Once connected, the Temperature tab should show live readings from your hotend and bed sensors. If they read -1 or some absurd number, the firmware is reporting in a format OctoPrint doesn’t recognize — usually fixable by selecting a different “firmware reporting” mode in OctoPrint Settings → Serial Connection → Firmware & Protocol.
Step 5: Add a Webcam (Optional but Recommended)
USB webcams (Logitech C270, C920) work plug-and-play with OctoPi. Plug in the camera, then go to OctoPrint Settings → Webcam & Timelapse. Set the Stream URL to /webcam/?action=stream and Snapshot URL to http://127.0.0.1:8080/?action=snapshot. Save and reload — you should see a live feed in the Control tab.
For Pi Camera Module 3, run sudo raspi-config, enable the camera interface, then restart. The OctoPi 1.0+ image auto-configures the Pi Camera as the default video source. Adjust resolution in /boot/octopi.txt; 640×480 at 15fps is a good starting point that doesn’t tax the Pi’s CPU.
Install OctoLapse plugin from the OctoPrint plugin manager for stabilized timelapses (camera triggers only at layer changes, with the print head parked off-screen). The first OctoLapse-rendered timelapse usually convinces skeptics that the webcam was worth installing.
Step 6: Hardening for Daily Use
Before relying on OctoPrint daily, do these five things. First, set up automatic OS updates: sudo apt install unattended-upgrades -y and enable security updates. Second, change the default pi SSH password if you didn’t already (and disable password auth in favor of SSH keys if you’re comfortable with that). Third, install OctoPrint-Backup plugin and schedule weekly automatic backups to a USB drive or network share — OctoPrint settings, plugins, and uploaded G-code can take hours to recreate from scratch.
Fourth, never expose OctoPrint directly to the internet by port-forwarding 80 or 443. Use Tailscale (free for personal use, takes 10 minutes to set up) or OctoPrint-Anywhere (paid, official solution) for remote access. Direct internet exposure has resulted in real printers being remotely commanded into thermal runaway — this is not theoretical.
Fifth, install the Print Time Genius plugin for accurate time estimates and the OctoPrint-PrusaSlicerThumbnails plugin so your sliced files show preview thumbnails in the upload list. Both make daily use noticeably less annoying.
Step 7: Slice and Print Your First Remote Job
Slice a model in your slicer of choice. In Cura: File → Save Project. In PrusaSlicer/OrcaSlicer: Plater → Slice → Export G-code. The output is a .gcode file. Drag it into OctoPrint’s “Files” panel on the left side of the UI. Click the print icon (paper airplane) next to the file.
OctoPrint preheats the printer if your G-code starts with M104/M140 commands (almost all slicers do this), runs your start G-code, then prints. Watch the first layer in the webcam feed; if it’s warping or not adhering, abort with the Cancel button and re-slice with adjusted bed temperature or first-layer speed.
From the moment your first remote print finishes, you’ll never want to walk SD cards back and forth from the printer again. That’s the OctoPrint payoff: turning a standalone appliance into a networked tool.
Common First-Week Problems and Quick Fixes
Almost everyone hits at least one of these issues in the first week of running OctoPrint. The fixes below cover roughly 80% of new-install support requests on the OctoPrint forum.
OctoPrint disconnects mid-print: Almost always a USB cable or power supply problem. First, confirm you’re using the official Pi power supply (not a phone charger). Second, try a shorter USB cable with a ferrite core. Third, install OctoPrint-Resurrect plugin so the printer recovers from disconnections without aborting the print.
Webcam works but timelapse comes out garbled: Set timelapse mode to “Z-change” or “Layer change” rather than “Timed”. The default Timed mode captures during print head motion, producing motion blur. OctoLapse plugin solves this entirely by parking the head off-screen at each capture.
“Connection lost” errors when using OctoPrint over WiFi: The Pi’s WiFi is shared between OctoPrint commands and webcam streams. If both are active, packet loss can cause perceived disconnections. Connect the Pi via Ethernet for any installation more than 5 meters from the router, or upgrade to a Pi 5 with its faster WiFi chipset.
Slicer thumbnails don’t appear in the file list: Install OctoPrint-PrusaSlicerThumbnails plugin and enable thumbnail embedding in your slicer’s print settings. PrusaSlicer and OrcaSlicer support this natively; Cura needs a separate plugin to embed thumbnails in G-code output.
Auto-bed-leveling fails through OctoPrint but works from the SD card: Some firmwares emit progress messages during ABL that confuse OctoPrint’s serial parser. Open Settings → Serial Connection → Firmware & Protocol → “Wait for OK after printer reset” and enable it. This adds a small delay that lets the printer fully boot before OctoPrint sends the print job.