High Speed TPU Printing 2026: Settings, Hardware, Limits
Why TPU Was Slow — And What Changed
For the first decade of consumer 3D printing, TPU was a slow-printing curiosity. Bowden setups physically couldn’t push soft filament fast — it would buckle inside the PTFE tube and underextrude into a stringy mess. Even direct drive setups struggled because hotends with low flow rates couldn’t melt the filament fast enough at high feed speeds, and underextrusion produced weak, gappy parts.
Three changes between 2022 and 2026 broke open high-speed TPU printing. First: lightweight direct drive extruders (Sherpa Mini, BIQU H2, Orbiter v2) with high gear ratios and dual-drive grip on the filament — these can push TPU 95A at 30+ mm³/s without slipping. Second: high-flow hotends (CHT, Volcano with Revo HF, Bambu hotend) that melt 25–35 mm³/s of filament continuously instead of the 8–12 mm³/s ceiling of stock hotends. Third: input shaping algorithms (built into Klipper, RRF, and Marlin 2.1+) that cancel out the ringing introduced by faster motion.
The combined result: a 2026 CoreXY printer with a lightweight direct drive can run TPU 95A at 80–120 mm/s on real parts (not just benchies), and TPU 90A at 100–150 mm/s. That’s 4–6x the speed of a stock 2020-era setup.
Hardware Requirements for High-Speed TPU
You cannot get TPU above 60 mm/s on a Bowden printer. The physics simply don’t allow it — a 600mm path with soft filament has too much compression lag. If you’re starting from a Bowden machine, the upgrade path is direct drive first, then high-flow hotend, then input shaping. Skipping any of these caps your achievable speed.
The minimum hardware stack for 80+ mm/s TPU printing in 2026:
- Direct drive extruder with dual-drive grip: Bambu hotend extruder, Prusa Nextruder, Sprite Pro, BIQU H2 v2S, Orbiter v2, or Sherpa Mini. Single-drive extruders (most stock Creality) slip on TPU above 40 mm/s.
- High-flow hotend (≥25 mm³/s): CHT 0.4mm, Bambu hotend, Revo HF, Volcano with high-flow nozzle. Stock V6 hotends with 0.4mm brass nozzles cap around 12 mm³/s and will underextrude TPU at speed.
- CoreXY or H-bot mechanics: Bed slingers can technically run TPU fast, but the moving bed mass limits accelerations. CoreXY allows 8000+ mm/s² accelerations that high-speed TPU needs.
- Input shaping enabled: Klipper input shaping (calibrated with an ADXL345 accelerometer) or Marlin 2.1+ Linear Advance. Without input shaping, ringing on flat walls becomes severe at 100+ mm/s.
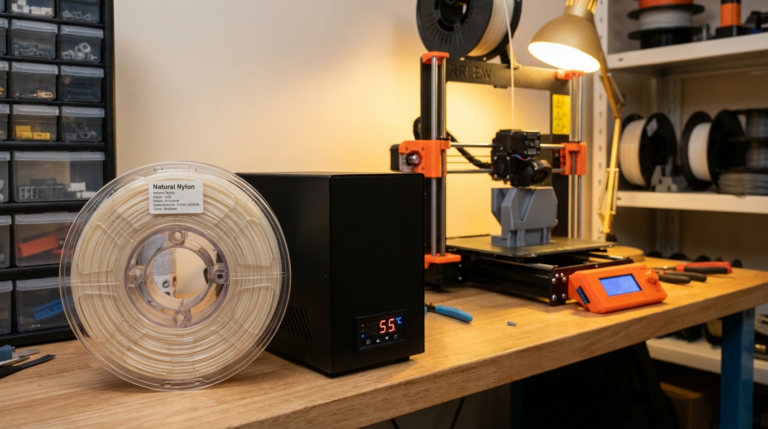
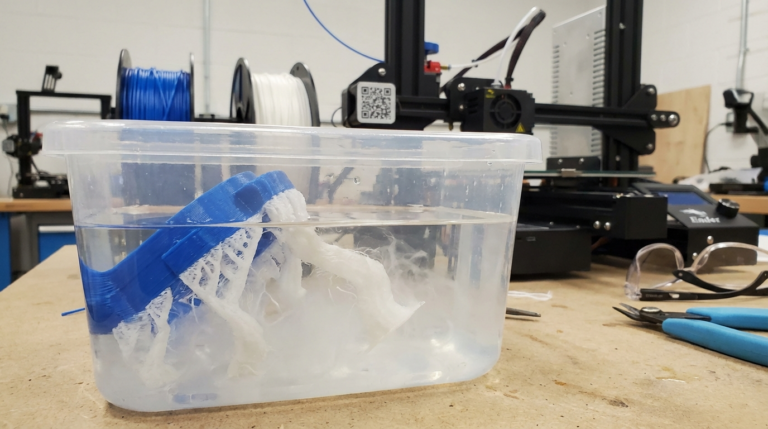
- Filament dryer: Wet TPU prints stringy and weak at any speed. At high speeds, wet TPU also pops and crackles audibly as moisture flashes to steam in the melt zone. Dry your filament at 50°C for 4 hours before high-speed runs.
If your printer is a Bambu X1C, P1S, or A1 with the high-temp hotend, you have everything needed. If it’s a Sovol SV08, Voron 2.4, or any Klipper-converted CoreXY, you also have everything needed. If it’s a stock Ender or Prusa MK3S+, you’ll need upgrades before pushing past 30 mm/s.
Hotend Temperature: Why You Need to Run Higher
Stock TPU profiles in most slicers default to 220–225°C, calibrated for slow printing. At high speed, this temperature is too low — the hotend can’t transfer heat into the filament fast enough at high flow rates, and the result is underextrusion plus elephant-foot at the start of perimeters.
For high-speed TPU printing, increase hotend temperature with flow rate:
- 5–15 mm³/s flow: 225–235°C
- 15–25 mm³/s flow: 235–245°C
- 25–35 mm³/s flow: 245–255°C
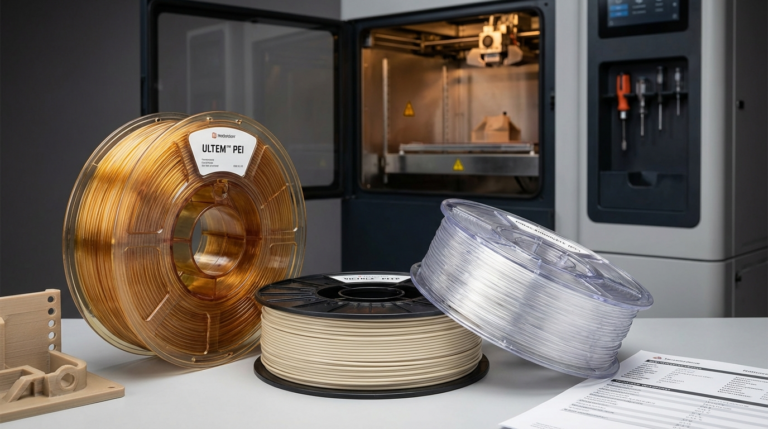
The upper limit is set by the specific TPU brand. Polymaker PolyFlex TPU 95 tops out around 245°C before the polymer starts degrading. NinjaFlex Edge 90A handles up to 250°C. Most TPUs above 255°C will char inside the melt zone and clog within minutes — verify your specific filament’s max temp on the spec sheet before pushing the upper end.
Bed temperature is usually less critical: 50–60°C with a PEI sheet or smooth glass works for almost all TPU. First-layer adhesion problems are usually about Z-offset, not bed temperature.

Retraction Settings: Less Is More
TPU is the one filament where you should retract less than your slicer’s default suggests. Soft filament springs back after retraction more slowly than rigid filament; if you retract too far or too fast, the next extrusion start lags and you get a visible blob at the seam.
Recommended retraction values for direct drive TPU at high speed:
- Retraction distance: 0.5–1.0 mm (vs. 4–8 mm for PLA on the same machine)
- Retraction speed: 20–35 mm/s (vs. 40–60 mm/s for PLA)
- Z-hop: Disabled or 0.1mm only — Z-hop on TPU often causes more stringing, not less
- Wipe on retract: Enabled, 1–2mm wipe distance
If you see stringing at high TPU speeds, the fix is rarely “retract more.” It’s usually “lower hotend temperature by 5°C” or “enable Coasting at 0.05mm in your slicer” or “increase retraction speed slightly while keeping distance the same.” Excessive retraction on TPU also wears out the extruder gears faster — soft filament tends to leave residue on the gear teeth that compounds with each retraction.
Acceleration and Jerk: The Real Speed Levers
Once you’re past the hotend’s flow rate ceiling, acceleration becomes the limiting factor on print time. TPU’s flexibility means it tolerates faster direction changes without ringing — but only if the printer’s frame and rails can handle the inertial forces.
Recommended acceleration for high-speed TPU on a CoreXY direct drive:
- Print acceleration: 5000–10000 mm/s² (vs. 2000–3000 typical)
- Travel acceleration: 8000–15000 mm/s²
- Jerk (Marlin) or square corner velocity (Klipper): 8–15 mm/s
- Max print speed: 80–120 mm/s for 95A TPU; 100–150 mm/s for 90A TPU
Push these too high and you’ll see two failure modes: layer shifts (skipped steps on the X or Y motors) or visible ringing on flat walls. Layer shifts mean you’ve exceeded the motor torque — back off acceleration or increase motor current. Ringing means input shaping is undertuned — recalibrate with an accelerometer at the new speed.
The single best diagnostic for “am I pushing TPU too fast” is the seam quality on a tall thin tower. Print a 60mm cylinder with 0.5mm walls; if the seam is clean and the walls are smooth, you’re within the printer’s envelope. If the seam blobs or the walls show ringing, dial back acceleration first, then top speed.
Slicer-Specific Tips for OrcaSlicer, PrusaSlicer, Cura
OrcaSlicer: Use the “Generic TPU 95A” preset as a base, then override max volumetric flow to match your hotend. Enable Pressure Advance auto-calibration and run it before each new TPU brand. OrcaSlicer’s “Arachne” perimeter generator handles variable line widths better than Slic3r-style perimeter generation, which matters at high TPU speeds.
PrusaSlicer: The TPU profiles are conservative. Manually increase max print speed to 100 mm/s on perimeters and 120 mm/s on infill. Set “Slow down if layer print time is below” to 8 seconds (default 15) — TPU at high speed produces layers fast enough that the slowdown rarely needs to engage.
Cura: Cura’s TPU support is the weakest of the three in 2026. The default “Generic TPU” profile is set up for Bowden printers at 25 mm/s. For high-speed TPU, manually adjust nearly every speed setting — and consider switching to OrcaSlicer or PrusaSlicer for TPU work even if Cura is your default for PLA.
What Doesn’t Work: Speed Boundaries to Respect
Some things still don’t work at high TPU speeds in 2026. Bridges over 30mm fail consistently above 60 mm/s — TPU doesn’t cool fast enough mid-air to hold its shape. Fine details below 0.4mm linewidth degrade above 80 mm/s; the hotend’s pressure response can’t keep up with rapid extrusion changes. TPU 75A and softer (NinjaFlex Cheetah, Filaflex 60A) max out around 40 mm/s on direct drive — the filament is too soft to grip cleanly at higher speeds.
Multi-color TPU prints with AMS-style systems (Bambu AMS, Prusa MMU3) cap at 50 mm/s because the swap cycles can’t keep up with high-speed extrusion. If you’re printing single-color TPU, you can ignore that ceiling.
The honest framing: high-speed TPU is great for production runs of simple geometry — gaskets, bumpers, phone cases, watch bands, tool grips. For complex models with overhangs, fine detail, and thin features, you’ll still want to drop to 40–60 mm/s for clean results. Speed isn’t a flat number; it’s a per-feature decision the slicer should be making for you.
Cooling: The Quiet Speed Limit
One factor often missed in high-speed TPU discussions: cooling fan placement. TPU at 100 mm/s generates a lot of heat per second of print time. Without aggressive part cooling, layers stay molten too long and sag on overhangs even on otherwise well-tuned printers. Stock 5015 blower fans are often inadequate at high speeds — the airflow pattern hits the layer beneath the nozzle but not the layer-being-extruded itself.
Upgrading to a CPAP-style cooling system (used on many Voron 2.4 builds) or dual 5015 setups with tuned ducting (Bambu’s Stealthburner-style) drops surface temperature on the freshly extruded line by 15–25°C. That difference shows up directly in overhang quality: a 60° overhang that sags at 100 mm/s with stock cooling holds shape with upgraded cooling.
The cooling upgrade is usually the second-biggest single improvement (after switching from Bowden to direct drive) for high-speed TPU. It also tends to be cheaper — a CPAP fan and printable duct combination runs around $40–60 and installs in an afternoon.
The Bottom Line
TPU at high speed is a 2026 reality on the right hardware. A modern CoreXY direct drive printer with a high-flow hotend and tuned input shaping can run TPU 95A at 80–120 mm/s on production parts, with surface quality matching what stock printers produced at 30 mm/s a few years ago. The hardware investment is meaningful — you need direct drive, high flow, and CoreXY mechanics — but the workflow gain is enormous: a part that took two hours at 30 mm/s now takes 30–40 minutes. Tune temperature up with flow rate, retraction down from your PLA defaults, and acceleration up to the limits of your frame, and you’ll find your TPU bottleneck shifts from “the filament” to “the slicer profile.”