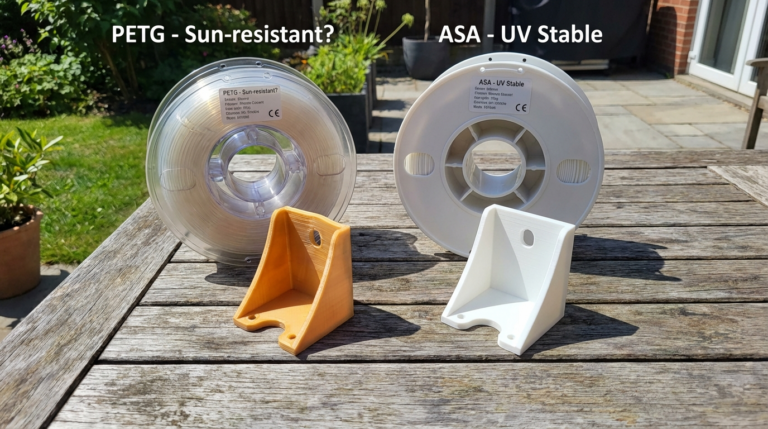
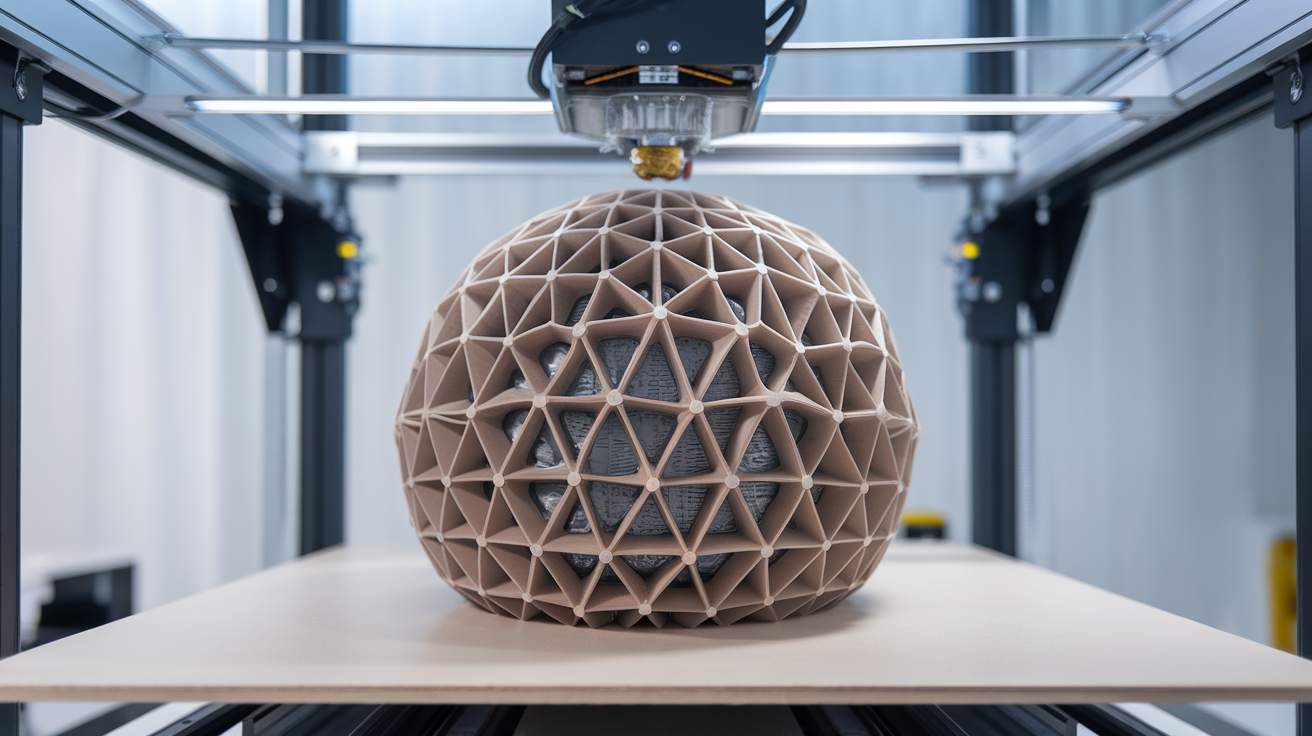
TPU Volumetric Flow Rate: The Real Ceiling, How to Measure It, and Why Your TPU Prints Slowly
Why TPU has a different volumetric flow rate ceiling than PLA
Volumetric flow rate is the cubic millimetres of melted plastic the hot end can push per second through the nozzle. For PLA this number sits comfortably between 12 and 25 mm³/s on most modern hot ends. For TPU the same hot end will hit a ceiling at 4-8 mm³/s, often less on the softer Shore 85A and 90A formulations that hobbyists usually buy. The gap is not because TPU is harder to melt — it is because TPU is rubbery in the melt, has higher viscosity than PLA at any given temperature, and resists being squeezed through a small nozzle orifice in the way molten PLA does not.
This matters because the volumetric flow ceiling is the actual print-speed ceiling. A slicer set to 200mm/s with a 0.4mm nozzle and 0.2mm layer height demands 16 mm³/s of melt. PLA delivers it; TPU 95A on the same hardware delivers maybe 6-7 mm³/s before the extruder skips, the gear chews into the soft filament, or the print starts under-extruding visibly. Telling your slicer to print TPU at 200mm/s does not make the printer print TPU at 200mm/s. It makes the printer skip steps, grind the filament, or quietly drop flow until the print quality collapses.
The fix is to calibrate your specific TPU spool’s real flow ceiling, set the slicer’s volumetric flow limit to that number, and then let the slicer figure out which print speed it can actually achieve. The print will run slower than you wanted. The print will succeed.
The volumetric flow ceiling for TPU explained
For a 0.4mm nozzle, the typical TPU flow ceilings in 2026 are: 4-6 mm³/s for soft TPU (Shore 85A and below), 5-8 mm³/s for medium TPU (Shore 90A-95A), and 8-12 mm³/s for hard TPU (Shore 95A+ and the more rigid TPE blends). High-flow nozzles (CHT, ObXidian, and the Bambu high-flow line) raise these ceilings by 30-60% because the redesigned internal melt path reduces back-pressure. A direct-drive printer with a CHT-style high-flow nozzle running medium TPU might reach 12-15 mm³/s where a stock Ender 3 with a standard 0.4mm brass nozzle tops out at 6.
Translate flow rate into print speed by dividing flow by line cross-section. A 0.4mm nozzle laying down 0.2mm layers at 0.4mm line width produces 0.08 mm² cross-section. At 6 mm³/s flow ceiling, that means 75mm/s maximum print speed. At 10 mm³/s, 125mm/s. The slicer can show you a print speed of 200mm/s in the preview, but if your hot end caps at 6 mm³/s, the actual movement during extrusion will be capped at 75mm/s regardless of the slicer setting. Most modern slicers (PrusaSlicer, OrcaSlicer, BambuStudio) honour a max-volumetric-speed setting that automatically slows the printer to whatever speed the flow rate allows.
That last point is the actionable one: set your slicer’s maximum volumetric flow setting to your tested TPU ceiling and the slicer takes care of the rest. Forget about chasing print speeds — chase the flow rate calibration.
Hardware factors that move the TPU flow ceiling
Direct drive vs bowden is the single biggest hardware factor. Bowden setups push TPU through 30-50cm of PTFE tube before reaching the hot end. The soft filament compresses inside the tube under push-pressure, the extruder gear has to overcome that compression, and the maximum flow rate drops by 30-50% compared to a direct-drive setup with the same hot end. If you print TPU regularly and your printer is bowden, the upgrade to direct drive is the largest possible flow improvement and the upgrade most worth the money. A Sprite extruder on an Ender 3 lifts TPU flow from 4-5 mm³/s to 7-9 mm³/s on the same filament.
Hot end design is the next factor. Stock V6-clone hot ends with the standard heatbreak top out lower than the modern Spider, Phaetus Dragon, or Bambu high-flow hot ends. The Phaetus Dragon HF in particular adds 40% flow over a stock V6 across all materials, and the gain is most visible on viscous polymers like TPU and PETG. Investing in a good hot end is more cost-effective than upgrading a whole printer if your only goal is faster TPU prints.
Nozzle internal geometry matters more for TPU than for any other material. CHT-style nozzles with their three-channel internal melt path keep TPU at melt temperature longer before extrusion, reducing back-pressure. ObXidian and similar high-flow ruby/diamond nozzles do the same with different internal designs. A stock brass 0.4mm nozzle has a single straight bore; on TPU this is the limiting factor on most setups. Swapping to a CHT-style high-flow nozzle is a $20-$40 upgrade that often delivers more practical TPU flow improvement than a $100 hot end swap.
Extruder gear teeth and tension are TPU-specific factors. The dual-gear MK8 clones squeeze the soft filament too hard if tension is set wrong, gouging the surface and preventing consistent grip. Bondtech-style hardened steel dual gears with adjustable tension handle TPU more reliably. If you see filament shavings inside the extruder housing after a TPU print, the tension is too high; back it off until the filament passes without surface scarring.
The TPU flow rate calibration test
The simplest reliable test is the “step flow” calibration available in OrcaSlicer’s calibration suite, or printable as a standalone STL from the Ellis 3D Printing Tuning Guide. The test prints a single-walled cylinder where the print speed (and therefore flow rate) increases stepwise from a low baseline up to a high target. Wherever the wall starts showing under-extrusion gaps or surface artifacts is your real flow ceiling for that filament on that hardware.
Concretely: start the test at 4 mm³/s and step up by 1 mm³/s every 10mm of vertical height to a max of 15 mm³/s. Print the cylinder vertically. Examine each band by eye and by light test (shine a flashlight through the wall — under-extruded bands let more light through). The last band that prints solid and clean is your ceiling. Subtract 15-20% for safety margin and use that number as your slicer’s max volumetric flow setting.
Run this test fresh each time you switch TPU brands or change hot end hardware. The same Shore 95A TPU from Polymaker and from SUNLU can have a 30% flow ceiling difference because the polymer formulations are not identical. Brand-switching without re-testing is one of the most common reasons for sudden TPU print failures on a previously-tuned setup.
Slicer settings that respect the flow ceiling
In OrcaSlicer and BambuStudio, set Maximum volumetric speed in the filament profile to your tested ceiling. The slicer will automatically cap movement speed during extrusion so the actual flow stays under that number. Print speed in the slicer becomes a target: the slicer prints as fast as it can while respecting the volumetric cap.
In PrusaSlicer the same setting lives under “Filament Settings → Cooling → Max volumetric speed”. Same behaviour. In Cura the setting is “Maximum Volumetric Speed” under the Speed category and behaves identically.
For TPU specifically, also drop infill and inner-wall print speeds below the volumetric ceiling — the slicer’s per-feature speed settings can otherwise push individual moves above the cap on small line segments where acceleration limits the movement. Setting infill speed manually to 30-40 mm/s for TPU prevents the cap from being hit on every infill line.
Direct-drive vs bowden volumetric flow comparison
Numbers from controlled tests on Shore 95A TPU: stock Ender 3 (bowden, V6-clone, brass 0.4mm) caps at 4-5 mm³/s reliably. Same Ender 3 with Sprite Extruder Pro (direct drive, same hot end) caps at 7-8 mm³/s. Same machine with Sprite Pro plus CHT nozzle caps at 9-11 mm³/s. Bambu A1 Mini (direct drive, stock hot end and nozzle) caps at 8-10 mm³/s. Bambu X1C (direct drive, stock hot end, CHT-style high-flow nozzle stock) caps at 12-15 mm³/s. Voron 2.4 with stealthburner and CHT nozzle caps around 15-18 mm³/s on softer TPU when properly tuned.
The Bambu and Voron numbers are the practical ceiling on consumer hardware in 2026. Beyond that, the limiting factor becomes the heater cartridge wattage (a 40W heater cannot keep up with 20+ mm³/s flow regardless of how fast the extruder pushes) and the chamber thermal balance for prolonged TPU prints. For everyone running a non-Bambu, non-Voron printer, the realistic flow ceiling for TPU sits between 4 and 10 mm³/s depending on hardware upgrades.
What to do when your TPU print is too slow at the flow ceiling
If a TPU print at 6 mm³/s flow ceiling is going to take 18 hours and you do not want to wait, the wrong answer is to crank the flow setting and hope the print survives. The right answers, in order of cost and effectiveness, are: drop to 0.6mm or 0.8mm nozzle (doubles the cross-sectional area at the same flow, halves the print time), upgrade to a high-flow nozzle (CHT-style, $20-40), upgrade to direct drive if currently bowden (the biggest single jump), or buy a printer that natively handles higher TPU flow (Bambu, Prusa MK4 with NextGen extruder, Voron build).
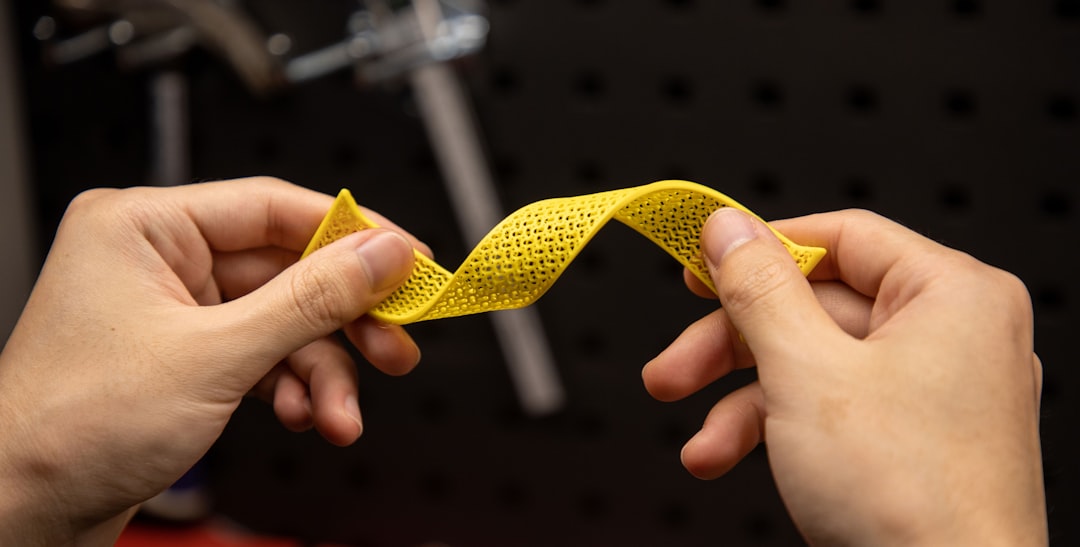
A 0.6mm nozzle is the fastest practical fix. It does not require new hardware beyond the nozzle itself, the slicer profile change is trivial (set nozzle diameter, regenerate path), and on most TPU prints the surface finish loss from the larger nozzle is invisible because TPU’s natural slight surface texture hides the wider line width. For functional TPU parts where surface finish does not matter, the 0.6mm nozzle is the universal speed upgrade.