High Temperature Filament Enclosure: Heater Wattage and Chamber Design for ABS, ASA, and PEI
Why Engineering Filaments Need a Heated Chamber
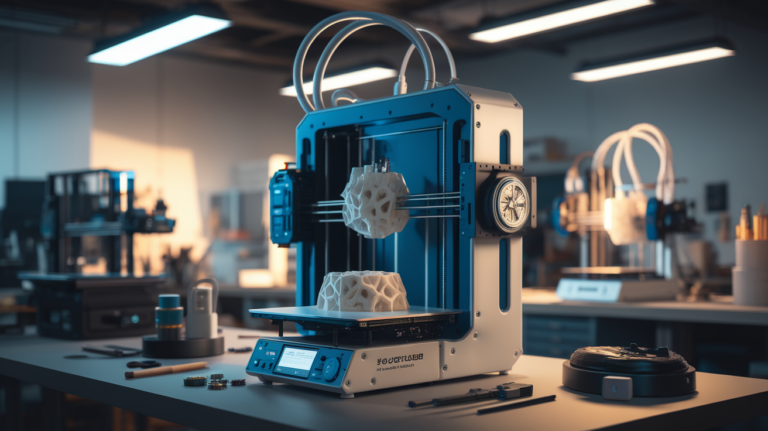
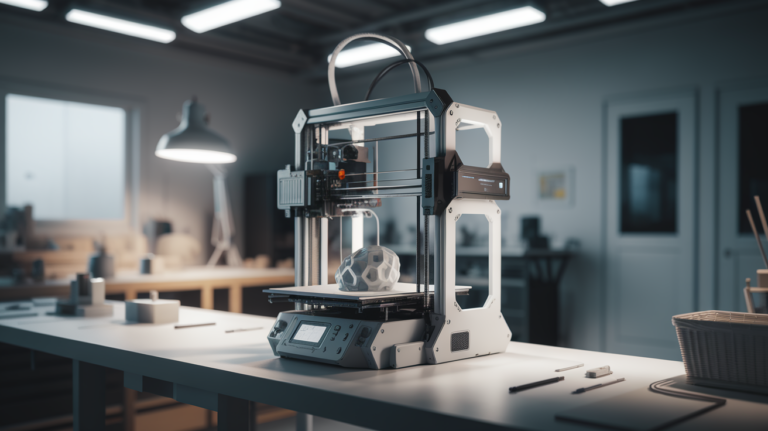
The filaments that hobbyists buy for engineering applications — ABS, ASA, PEI/Ultem, PEEK, and the carbon-fiber-reinforced versions of all of these — share a common requirement that PLA and PETG do not impose: they need a controlled chamber temperature during printing. Without it, the printed part cools too quickly, layer adhesion suffers, and the part warps off the bed in the first 30 layers. The hobbyist who ordered ABS expecting it to print like PETG and then watched their first three attempts curl off the build plate has discovered the chamber-temperature requirement the hard way.
This guide covers the practical chamber design decisions that determine whether high-temperature filaments succeed on a hobbyist printer in 2026: how much heater wattage you actually need, what insulation matters, when a glass swap helps, how to manage fume ventilation without losing chamber temperature, and how to budget the total cost of the upgrade. The goal is to give a hobbyist enough information to decide whether the upgrade fits their printer and their use case, rather than to specify a single one-size-fits-all build.
Target Chamber Temperatures by Filament
ABS and ASA print acceptably at a chamber temperature of 45-55°C and well at 60-70°C. The marketing claim that “ABS just needs an enclosure” is misleading; an unheated enclosure traps heat from the bed and reaches around 35-45°C in steady state, which is enough for small parts but not enough for parts taller than 80 mm or with thin features.
PEI/Ultem and the engineering-grade PA/PA-CF families print well at 80-90°C chamber temperature, with PEKK requiring 100-110°C. PEEK is the upper end at 120-130°C — chamber temperatures that approach the limits of consumer plastic enclosures and require deliberate component selection to survive. Most hobbyists do not need PEEK chambers; the cost-benefit favors PEI as the highest-temperature filament a hobbyist realistically prints, and a chamber design that targets 90°C handles every filament short of PEEK comfortably.
Heater Wattage and Sizing
The single most common chamber-design mistake is undersizing the heater. A common assumption is that a 200 W heater is “enough” for a small chamber, but the actual requirement depends on chamber volume, insulation R-value, and target temperature differential rather than on a single power number. For a typical hobbyist chamber (say a Bambu P1S volume of approximately 250 liters internal) targeting 80°C with ambient at 20°C, the heater needs to deliver around 400-600 W of effective heat to reach target in a reasonable time and to maintain it during printing.
Rough sizing rule for hobbyist 2026 builds: 2 W per liter of internal chamber volume per °C of differential, divided by an insulation efficiency factor of 0.4-0.6 for typical sheet-metal-and-glass chambers. A 250 L chamber targeting 80°C above ambient (60°C delta) at 0.5 efficiency factor needs around 500 W. This sizing produces a heater that reaches target temperature in 15-20 minutes from cold and maintains target during printing without saturating at 100% duty cycle.
The most popular hobbyist heater is a 600 W silicone bed heater pad mounted to the chamber wall (not the build plate), thermostat-controlled by a Klipper-driven SSR with a chamber temperature sensor. Sub-400 W heaters struggle to maintain target during long prints; 1000 W+ heaters are overkill for typical chambers and risk overheating chamber components.

Insulation — The Cheap Upgrade That Pays Back Hardest
Insulating the chamber walls reduces the steady-state heater load, decreases the warm-up time, and lets a smaller heater maintain higher temperatures. The insulation upgrade typically costs $20-50 and produces dramatically more efficient chamber heating than just adding more heater wattage.
The materials that work for hobbyist chambers: foil-faced rigid foam panels (Reflectix, polyiso boards) cut to fit the chamber walls and adhered with high-temperature adhesive, ceramic fiber blanket (Kaowool) for chamber tops where temperatures can exceed 120°C above the heated bed, and silicone foam strips for sealing door gaps and panel joints. Insulating just the top and side panels of a typical chamber typically reduces the heater duty cycle from 100% to 30-50% at the same target temperature.
The components that should NOT be insulated: the printer’s electronics bay (which needs ambient cooling), the stepper motor housings (which generate their own heat and need ambient airflow), and any plastic components that would soften at chamber temperature. The Voron and RatRig design guides include detailed insulation maps showing which surfaces to insulate and which to leave bare.
Glass Swap — When and Why
The acrylic panels that ship on most hobbyist enclosures soften at temperatures above 80°C, which means a chamber targeting 90°C for PEI printing will deform the chamber walls if they are not replaced. Tempered glass (3-6 mm thickness) is the standard upgrade and tolerates chamber temperatures well above 150°C. Polycarbonate is an alternative — lighter, less fragile, but with lower temperature ceiling (around 110°C) and a tendency to yellow under UV from chamber lighting over time.
For chambers targeting 60-70°C (ABS-only printing), acrylic panels are acceptable and the glass swap is unnecessary. For chambers targeting 80°C and above, glass or polycarbonate is required. Glass adds weight (a 6 mm panel for a typical chamber side weighs 4-7 kg) and the chamber frame needs to support that weight, which sometimes requires additional bracing on lighter stock chambers.
Fume Management Without Losing Temperature
ABS, ASA, and the carbon-fiber-reinforced engineering filaments all release styrene, particulates, and other volatile organic compounds (VOCs) during printing that should not be inhaled. The naive solution — venting the chamber to the outside through an exhaust fan — works for fume management but defeats the chamber-heating effort. A 100 CFM exhaust fan removes chamber heat faster than a 600 W heater can replace it.
The pattern that works for hobbyist setups in 2026 is a HEPA + carbon filter recirculation system rather than exhaust ventilation. The Bento Box filter (a community-designed Voron accessory), the BIQU H2 filter, and the Bambu HEPA + carbon filter unit all run 30-80 CFM through HEPA media plus activated carbon, returning the cleaned air to the chamber rather than exhausting it. This maintains chamber temperature while removing particulates and adsorbing VOCs.
For workshop ventilation (rather than chamber filtration), a separate room-level air handling solution (open window with cross-ventilation, or a workshop exhaust fan) handles the residual fumes that escape during print start, finish, and door openings. The chamber filtration handles in-print particulates; the room ventilation handles bulk air exchange between prints.
Sensor Placement and Control Loop
The chamber temperature sensor should be positioned in the air space above the build plate, away from the heater and away from the print itself. A common mistake is mounting the sensor near the heater, which produces a control loop that reaches setpoint at the sensor while the chamber average is much lower. Placement should be 50-100 mm above the build plate at chamber center, with the sensor’s exposed bead away from any radiant heat source.
Klipper’s chamber heater integration handles the closed-loop control through a heater_generic block that references the sensor; the PID tuning is done with the standard PID_CALIBRATE command. The control loop should be tuned for the actual chamber rather than using default values, since insulation level and chamber size strongly affect the optimal PID parameters. Most hobbyists’ chambers tune to PID values around P=120, I=0.6, D=600 — but your chamber will produce its own values, and using defaults will result in 5-10°C swings during long prints.
Cost Breakdown for a Hobbyist 80°C Chamber Build
A typical hobbyist upgrading a stock open-bed printer (Prusa MK4S, Bambu A1, Voron Trident) to a controlled 80°C chamber budget breakdown: enclosure shell (third-party tent or DIY frame): $80-150. 600 W silicone heater pad: $30-50. SSR + chamber temperature sensor (PT1000 or thermistor): $25-40. Insulation materials (foam panels, foil tape, silicone seals): $30-60. Glass panels for upper walls: $40-100 depending on size. Chamber filtration (Bento Box or commercial unit): $80-150. Total: $285-550.
This is meaningfully more than the cost of the printer itself for budget machines and is a reasonable fraction of the cost for premium machines. The investment pays back if you actually print engineering filaments regularly — if your engineering-filament use is occasional (a few prints per year), commercial print services may be more economical than the chamber upgrade.
Stock Enclosed Printer Considerations
Several 2026 printers ship with chamber heating included, eliminating the build complexity entirely. The Bambu X1E (around $2,400) targets a 65°C chamber and handles ABS/ASA/PA without modification. The QIDI X-Plus 4 (around $1,200) heats to 65°C and is the budget option for hobbyists wanting chamber heating without DIY. The Raise3D Pro3 series targets industrial use with 70°C chambers at higher cost. For PEI/PEEK chamber temperatures (90°C+), no consumer printer ships with the required capability — the upgrade path is required regardless of starting hardware.
For hobbyists buying a new printer specifically for engineering filaments, the X1E or X-Plus 4 typically delivers better value than buying a cheaper machine and upgrading. The cost gap between a budget printer plus full chamber upgrade and a stock chamber-equipped machine is often less than $200, and the stock unit comes with thermal-tested electronics, validated control loops, and warranty coverage that DIY upgrades do not include. The DIY path is appropriate for hobbyists who already own a capable open-bed printer and want to extend its capabilities; the stock-purchase path is appropriate for hobbyists buying primarily for engineering filament use.