OrcaSlicer Best Settings Guide for Beginners (2025)
What Is OrcaSlicer and Why Should You Use It?
If you’ve been in the 3D printing world for a while, you’ve probably heard the buzz around OrcaSlicer. Originally forked from Bambu Studio (which itself grew out of PrusaSlicer), OrcaSlicer has quickly become a favorite among makers who want granular control over their prints without paying a dime. It’s open-source, feature-rich, and works with virtually every FDM printer on the market.
What makes OrcaSlicer stand out? For starters, it packs in calibration tools that used to require separate software. Flow rate calibration, pressure advance tuning, and temperature towers are all built right in. You don’t need to download extra G-code files or fiddle with separate utilities. It’s all there in one clean interface.
In this guide, I’ll walk you through the best OrcaSlicer settings for beginners and share the tweaks that made the biggest difference in my own print quality. Whether you’re coming from Cura, PrusaSlicer, or starting fresh, this should get you up and running fast.
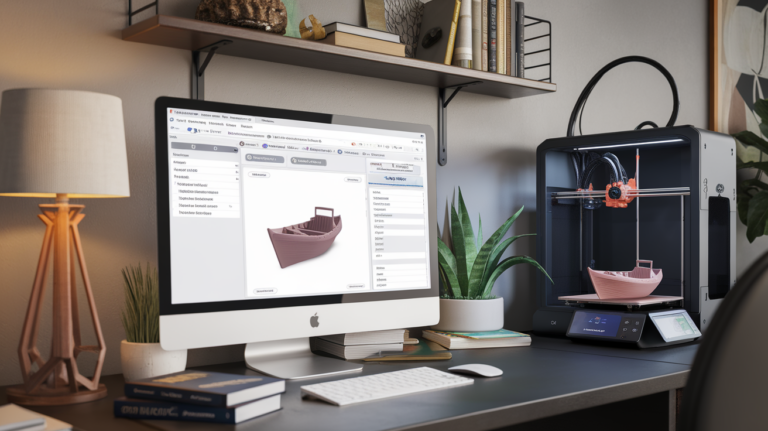
Installing OrcaSlicer and First-Time Setup
Head over to the official OrcaSlicer GitHub page and download the latest release for your operating system. Installation is straightforward on Windows, macOS, and Linux. Once launched, the setup wizard will ask you to select your printer model.
OrcaSlicer ships with profiles for hundreds of printers: Bambu Lab, Creality, Prusa, Voron, Anycubic, and many more. Pick yours from the list and the slicer will load sensible default settings. If your exact model isn’t listed, choose something close — an Ender 3 profile works fine for most Creality i3-style machines, for example.
Next, select your filament. The built-in filament profiles cover PLA, PETG, ABS, TPU, and more from major manufacturers. For your first prints, stick with Generic PLA. You can always create custom filament profiles later once you know your specific brand’s sweet spots.
Essential Print Settings for Beginners
Layer Height
Your layer height is the single biggest factor in the balance between quality and speed. For general-purpose printing, 0.2mm is the sweet spot — it gives you good surface finish without painfully long print times. Drop to 0.12mm for detailed models, or bump up to 0.28mm for quick functional parts where looks don’t matter.
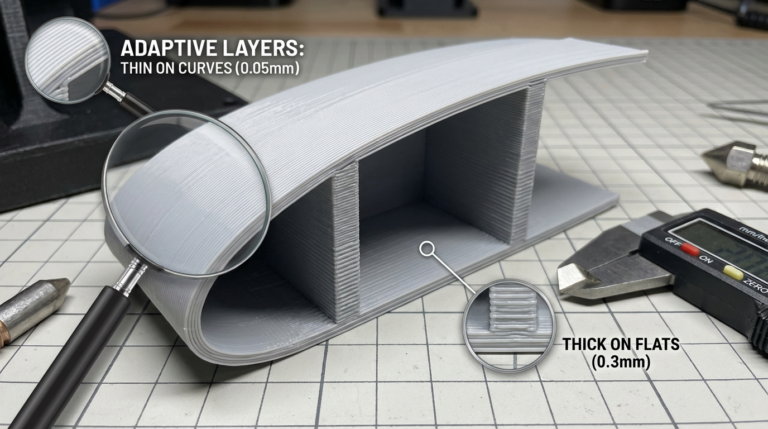
OrcaSlicer also supports variable layer heights, which lets you use fine layers for curved surfaces and coarse layers for straight walls. It’s a fantastic feature that can cut print times by 30-40% without sacrificing visible quality.
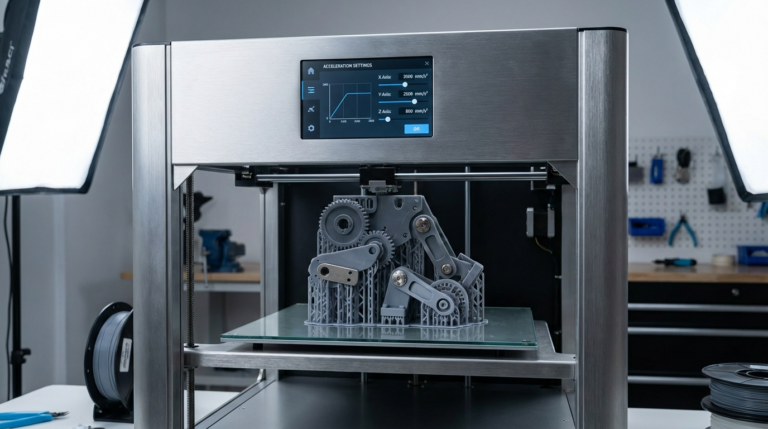
Print Speed
OrcaSlicer’s default speeds are usually conservative, and that’s a good thing for beginners. A safe starting point for PLA on most printers:
- Outer wall: 40-60 mm/s
- Inner wall: 80-100 mm/s
- Infill: 100-150 mm/s
- Top/bottom surface: 40-60 mm/s
If you have a newer high-speed printer like the Bambu Lab P1S or Creality K1, you can push these much higher. But for an Ender 3 or similar bed-slinger, keeping outer walls under 60 mm/s avoids ringing artifacts and gives you cleaner surfaces.
Infill Pattern and Density
For most prints, 15-20% infill with a grid or gyroid pattern works great. Gyroid infill distributes strength evenly in all directions, which makes it ideal for functional parts. Cubic infill is another strong option — it’s fast to print and provides good all-around strength.
Don’t fall into the trap of using 100% infill for “strong” parts. Anything above 40% gives diminishing returns on strength while dramatically increasing print time and filament usage. For truly strong prints, focus on wall count instead — 4-5 walls beat high infill every time.
Wall Count and Top/Bottom Layers
The default 2-3 walls work for decorative items, but bump it to 4 walls for anything functional. Walls contribute far more to a part’s strength than infill does. Similarly, use 4-5 top layers and 3-4 bottom layers to ensure smooth, gap-free surfaces.
Calibration Tools Built Into OrcaSlicer
This is where OrcaSlicer truly shines. Under the Calibration menu, you’ll find tools that used to require hours of manual setup:
Temperature Tower
The temperature tower prints a small structure at decreasing temperatures. After it’s done, inspect each section to find the temperature that gives you the best combination of strength, surface quality, and minimal stringing. For most PLA, this lands somewhere between 195-215°C.
Flow Rate Calibration
OrcaSlicer’s flow calibration prints a series of test patches at different flow rates. You visually inspect them and select the one that looks best. Getting flow rate dialed in eliminates over-extrusion artifacts like blobby surfaces and elephant foot, while preventing under-extrusion gaps.
Pressure Advance (PA) Calibration
Pressure advance compensates for the delay between the extruder pushing filament and it actually coming out of the nozzle. Without proper PA tuning, you get bulging corners and blobs at speed changes. OrcaSlicer’s PA calibration test prints a pattern that makes it easy to find the optimal value — typically between 0.02 and 0.06 for direct drive extruders, or 0.3-0.9 for Bowden setups.
Advanced Settings Worth Exploring
Arachne Wall Generator
OrcaSlicer uses the Arachne perimeter generator by default, which varies the extrusion width to perfectly fill thin walls. This eliminates gaps in thin sections that older constant-width algorithms would leave behind. It’s especially useful for models with varying wall thicknesses.
Precise Z-Hop
Instead of lifting the nozzle at every travel move (which can cause blobs), OrcaSlicer lets you configure Z-hop to activate only when crossing outer perimeters. This reduces stringing from unnecessary Z-hops while still preventing the nozzle from dragging across your print’s visible surfaces.
Scarf Joint Seam
One of OrcaSlicer’s standout features is the scarf joint seam, which gradually increases and decreases flow at layer transitions. The result? Nearly invisible Z-seams on cylindrical prints. If you’ve been fighting visible seam lines on vases, figurines, or cylindrical parts, enable this immediately.
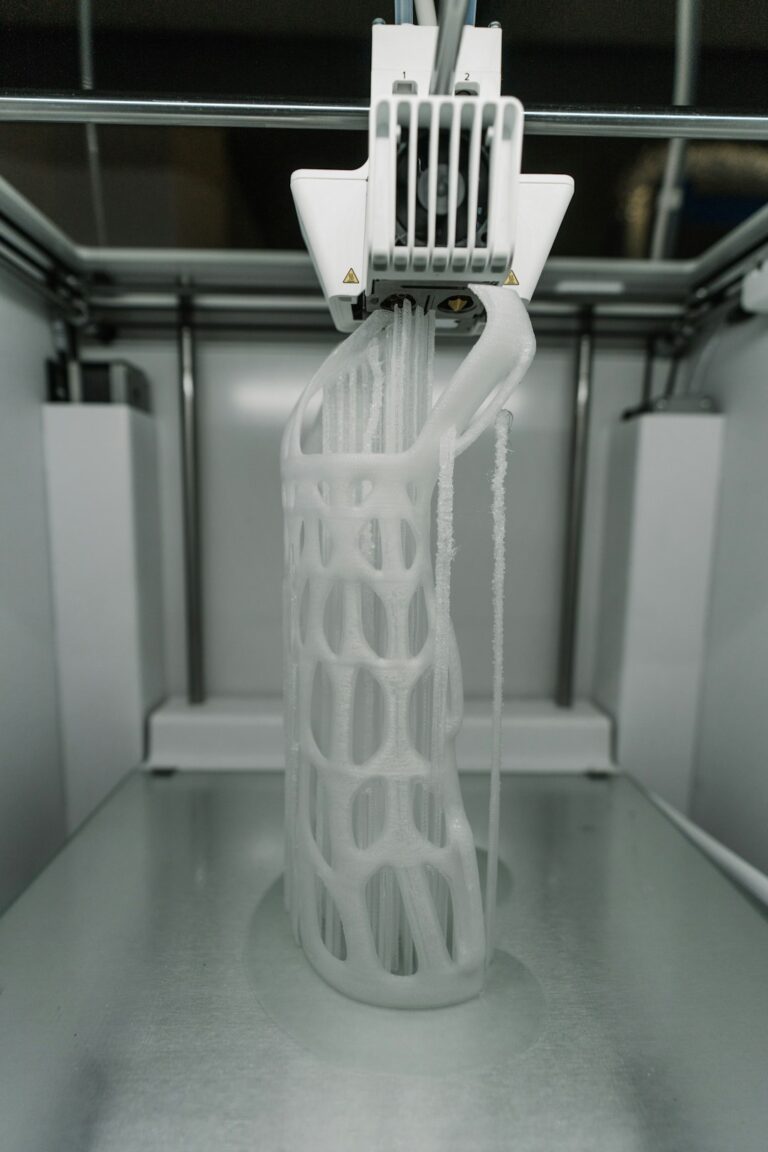
Support Improvements
OrcaSlicer includes tree supports with fine-tuning options that Cura users will envy. You can control branch diameter, tip width, and interface layers independently. For complex overhangs, tree supports use significantly less material than traditional supports and are often easier to remove.
My Recommended Starter Profile
After months of testing, here’s the OrcaSlicer profile I recommend for beginners printing PLA on a standard FDM printer:
- Layer height: 0.2mm
- First layer height: 0.25mm
- Wall count: 4
- Top layers: 5
- Bottom layers: 4
- Infill: 20% gyroid
- Print speed (outer wall): 50 mm/s
- Print speed (inner wall): 80 mm/s
- Infill speed: 120 mm/s
- Nozzle temp: 210°C (adjust after temp tower)
- Bed temp: 60°C
- Retraction: 0.8mm at 30mm/s (direct drive) or 4mm at 40mm/s (Bowden)
- Z-hop: 0.2mm, only on crossing perimeters
- Cooling fan: 100% after layer 3
Start with these values, run the built-in calibration tools, and adjust from there. You’ll be surprised how good your prints look with just these basics dialed in.
Common OrcaSlicer Mistakes to Avoid
Even with a good starting profile, there are pitfalls that trip up newcomers:
Ignoring the calibration tools. I get it — you just want to print. But spending 30 minutes on temperature, flow, and PA calibration upfront will save you hours of troubleshooting later. The tools are right there in the menu. Use them.
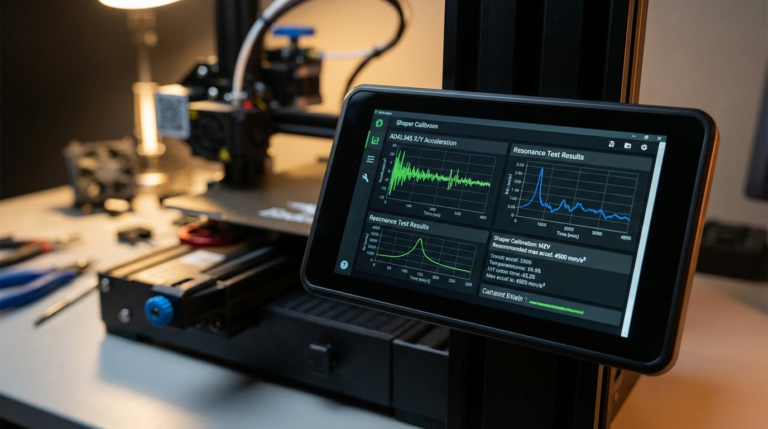
Copying speed settings from YouTube without context. That creator printing at 300mm/s has a Voron with Klipper input shaper tuning. Your stock Ender 3 will not produce the same results at those speeds. Start slow, increase gradually, and let your printer tell you its limits.
Overcomplicating first layer settings. If your first layer is too squished, increase Z offset. If it’s not sticking, slow down and raise the bed temperature by 5°C. Don’t touch flow compensation, elephant foot compensation, or first layer expansion until you’ve nailed the basics.
Using too many supports. OrcaSlicer’s automatic support detection is good, but it’s also aggressive. Before adding supports, rotate your model. Often a simple 45-degree rotation eliminates most overhangs. When you do need supports, try tree supports first — they’re almost always superior to traditional grid supports.
Final Thoughts
OrcaSlicer has earned its reputation as one of the best free slicers available in 2025. The combination of built-in calibration tools, advanced features like scarf joint seams and the Arachne generator, and an active open-source community makes it hard to beat. Whether you’re just getting started or migrating from another slicer, the learning curve is gentle and the payoff in print quality is real.
Download it, run the calibration suite, start with conservative settings, and gradually push the boundaries. Your printer is capable of more than you think — it just needs the right instructions.