3D Printer Partial Clog: Symptoms, Causes, and How to Fix It
What Is a Partial Clog?
A partial clog is one of the sneakiest problems in 3D printing. Unlike a full clog where nothing comes out at all, a partial clog lets some filament through — just not enough, and not consistently. Your prints look rough, under-extruded in random spots, and the surface quality bounces between acceptable and terrible from one layer to the next.
The frustrating part is that partial clogs can come and go. One print looks fine, the next looks like garbage. That inconsistency is actually the biggest clue that you’re dealing with a partial blockage rather than a settings issue.
In this guide, I’ll walk you through exactly how to identify a partial clog, what causes it, and the step-by-step methods to fix it permanently.
Symptoms of a Partial Clog
Partial clogs don’t always announce themselves with dramatic failure. Here are the telltale signs to watch for:
Inconsistent Extrusion Width
This is the number one symptom. Look at your print walls closely — if some sections appear thicker and glossier while others look thin and rough, that’s classic partial clog behavior. The debris inside the nozzle shifts around as filament pressure changes, randomly restricting flow.
Filament Curling From the Nozzle
Heat your nozzle to printing temperature and manually extrude some filament. Watch how it comes out. Clean filament should extrude in a relatively straight line downward. If it consistently curls to one side, something is partially blocking one side of the nozzle opening.
Under-Extrusion That Gets Worse Over Time
A partial clog tends to accumulate. What starts as barely noticeable thinning gets progressively worse over multiple prints as more carbonized material builds up. If your prints have been gradually declining in quality over the past week, a growing partial clog is likely the cause.
Extruder Clicking or Skipping
When the clog creates enough backpressure, your extruder motor can’t push filament through at the expected rate. You’ll hear clicking sounds as the drive gear slips on the filament, or the motor skips steps. This is more common with severe partial clogs.
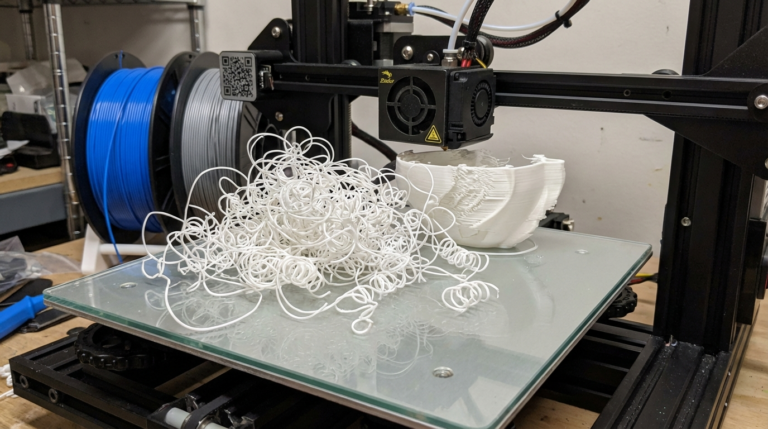
Random Gaps in Solid Layers
Top surfaces and solid infill layers are where partial clogs show most clearly. You’ll see random thin spots, gaps, or areas where lines don’t quite touch each other. These gaps appear in different places each print because the blockage shifts position.
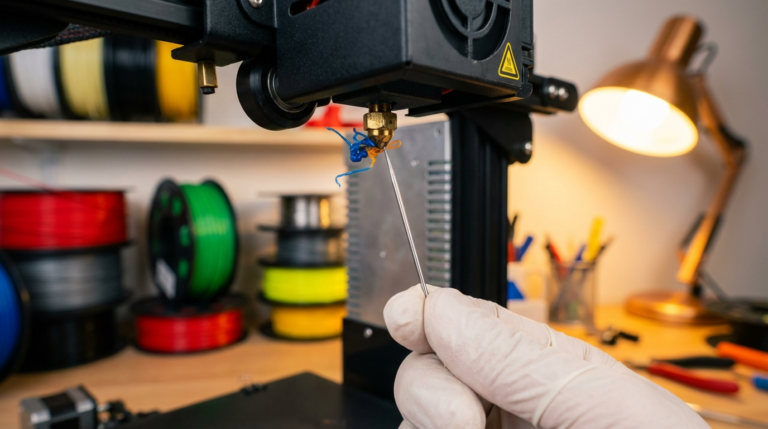
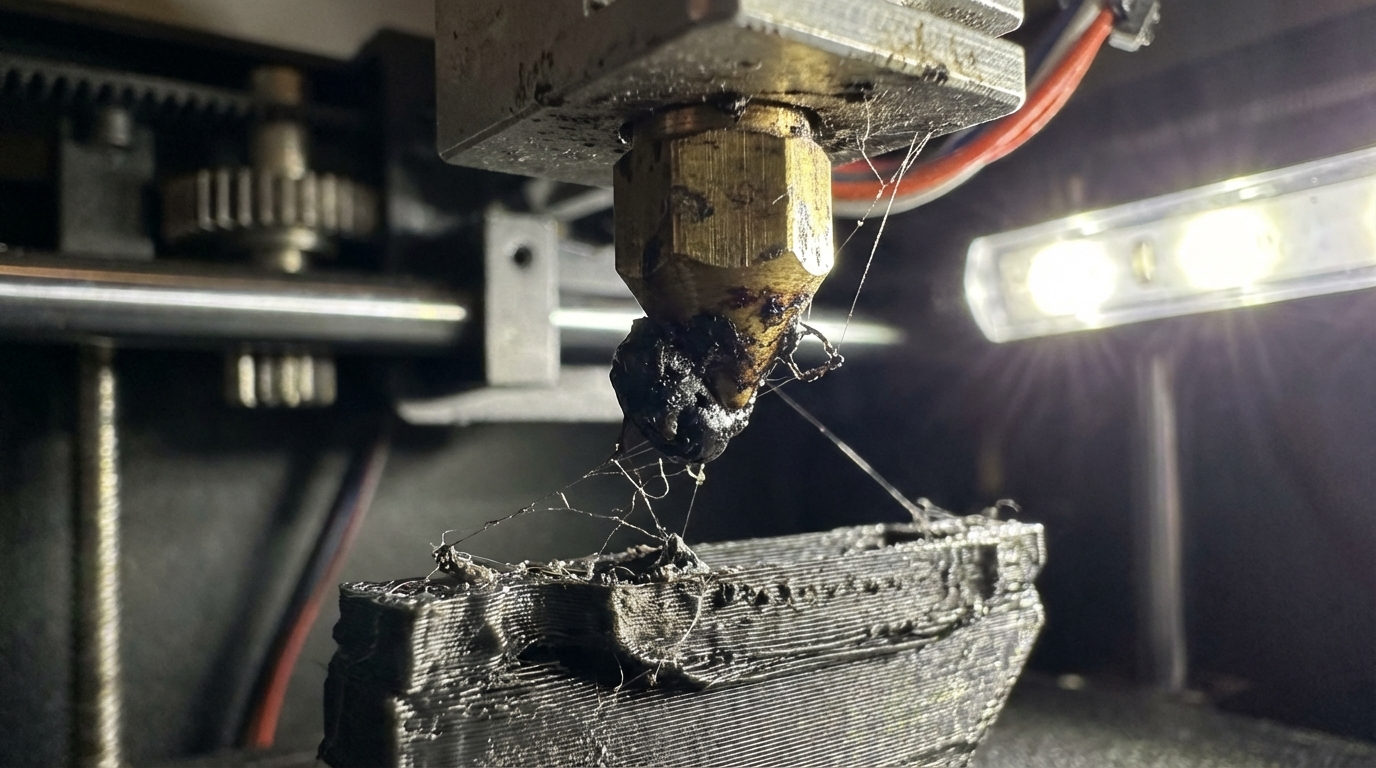
Stringing That Wasn’t There Before
Counterintuitively, partial clogs can increase stringing. When the nozzle is partially blocked, pressure builds up behind the clog. During travel moves, that built-up pressure pushes filament out as thin strings. If your retraction settings worked fine last week but suddenly don’t, suspect a clog.
What Causes Partial Clogs
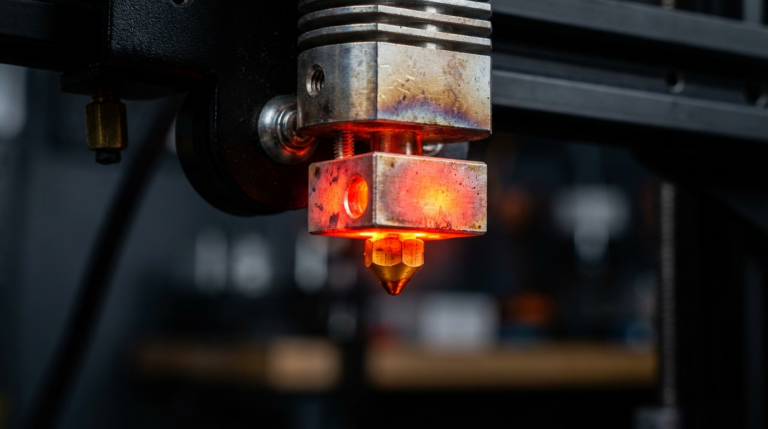
Carbonized Filament
This is the most common cause. When filament sits in a hot nozzle for too long — like during long travel moves, paused prints, or just leaving your printer at temperature — it carbonizes. These tiny burnt particles don’t melt anymore and stick to the inside of the nozzle, gradually narrowing the opening.
PLA is particularly prone to this because it degrades at relatively low temperatures over time. If you regularly leave your printer heated while not printing, you’re building up carbon deposits.
Contamination From Filament
Dust, debris, and particles on your filament get dragged into the hotend. Over time, non-plastic particles accumulate at the nozzle tip. This is worse if you store filament out in the open or if your filament path runs near dusty areas.
Mixed Material Residue
Switching between filament types without proper purging leaves residue. The classic example: printing PETG after PLA. PETG prints at higher temperatures than PLA, and any PLA residue in the nozzle chars at PETG temperatures, creating blockages. Switching from a higher-temp material to a lower-temp one is equally problematic — the old material may not fully melt at the lower temperature.
Cheap or Old Filament
Budget filament with poor quality control may contain impurities, inconsistent additives, or filler particles that don’t melt properly. Old filament that’s absorbed moisture can also cause micro-blockages as steam creates voids and pressure fluctuations in the melt zone.
Heat Break Gap
If there’s a small gap between the nozzle and the heat break (or PTFE tube and nozzle in lined hotends), filament can pool in that gap, creating inconsistent backpressure. This isn’t technically a nozzle clog, but it mimics one perfectly. The fix involves disassembling and properly reassembling the hotend.
How to Fix a Partial Clog
Work through these methods in order, from least to most invasive:
Method 1: Cold Pull (Atomic Method)
This is the gold standard for clearing partial clogs. It works by pulling solidified filament through the nozzle, dragging debris with it.
- Heat your nozzle to printing temperature for your current filament
- Manually push filament through until it flows smoothly
- Remove the filament from the extruder (but leave it in the hotend)
- Set the nozzle temperature to 90°C for PLA, 160°C for PETG, or 120°C for nylon
- Wait for the temperature to stabilize
- Firmly pull the filament straight up with steady force. It should come out with a clean, tapered tip
- Inspect the tip — you should see discoloration or debris on it
- Repeat 3-5 times until the tip comes out clean
Pro tip: Nylon filament works best for cold pulls because it’s tough, has great adhesion to debris when warm, and pulls cleanly when cool. Keep a short piece of nylon around even if you never print with it.
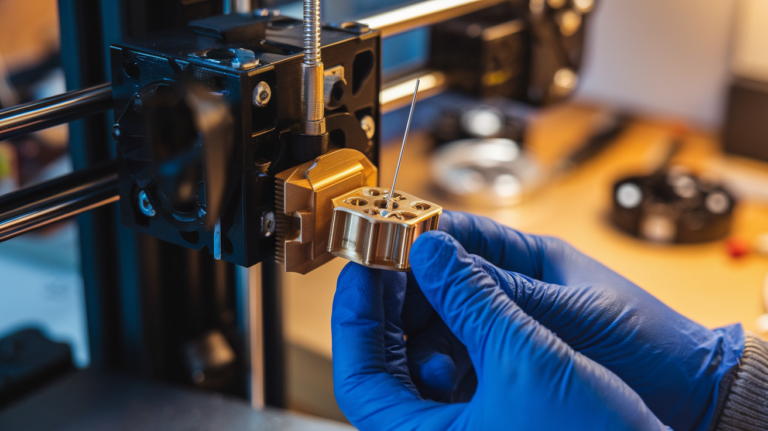
Method 2: Acupuncture Needle
For quick on-the-spot fixes:
- Heat the nozzle to printing temperature
- Insert a cleaning needle (0.3mm for a 0.4mm nozzle) from below, through the nozzle opening
- Gently push up and down 10-15 times to dislodge debris
- Extrude some filament to flush out loosened particles
This is a temporary fix. It breaks up the blockage but doesn’t remove it — the debris often re-settles. Follow up with a cold pull when possible.
Method 3: Temperature Purge
Heat your nozzle 20-30°C above your normal printing temperature and manually extrude a large amount of filament (at least 100mm). The higher temperature helps soften and flush out carbonized material. Don’t go too high — exceeding 260°C with a PTFE-lined hotend will damage the tube and create an even bigger problem.
Method 4: Solvent Soak
For stubborn clogs that resist cold pulls:
- Remove the nozzle from the hotend (while hot, using proper tools)
- Soak it in acetone for ABS/ASA residue, or in a dedicated cleaning solution
- After 12-24 hours, use a torch to burn off remaining residue
- Clear the nozzle opening with a drill bit or needle
- Reinstall and do a cold pull to verify it’s clean
Method 5: Just Replace the Nozzle
Brass nozzles cost less than a dollar. If you’ve spent more than 20 minutes trying to clean a clog, it’s more cost-effective to simply swap the nozzle. Keep a pack of spares on hand — they’re consumables, not permanent parts.
Preventing Partial Clogs
Fixing clogs is reactive. Here’s how to stop them from forming:
- Don’t leave the nozzle hot and idle. If you’re not actively printing, cool down the hotend. Even 10 minutes at temperature degrades filament inside the nozzle
- Use a filament dust filter. A simple sponge clip on the filament path catches dust and debris before it enters the hotend. You can print one — the irony isn’t lost on me
- Purge when switching materials. Extrude at least 50-100mm of the new filament before starting a print. When switching between very different materials (like PLA to PETG), do a cold pull between them
- Run cold pulls periodically. Even if everything seems fine, a monthly cold pull is like an oil change — preventive maintenance that catches problems before they affect your prints
- Store filament properly. Sealed containers with desiccant prevent moisture absorption, which reduces one source of nozzle contamination
- Use quality filament. This doesn’t mean expensive — it means consistent. Brands with tight diameter tolerance and clean manufacturing produce fewer nozzle issues
When It’s Not Actually a Clog
Before you tear apart your hotend, rule out these clog imposters:
- Worn drive gear: Produces symptoms similar to a partial clog. Check for filament shavings around the extruder
- Heat creep: Filament softens too early in the cold zone, creating a plug. Verify your hotend cooling fan is running at 100%
- Wrong temperature: Printing too cold produces under-extrusion that looks like a clog. Try raising temperature by 5-10°C
- Wet filament: Moisture causes popping, inconsistent flow, and surface defects. Listen for crackling sounds during printing
- Bowden tube gap: A gap between the tube and nozzle causes filament pooling. Disassemble and reseat the tube flush against the nozzle
Bottom Line
Partial clogs are common, annoying, and — once you know what to look for — straightforward to fix. The cold pull method solves 90% of cases. Keep nylon filament handy, clean your nozzle monthly, and don’t let the hotend sit at temperature when you’re not printing. Your future self will thank you for the five minutes of prevention that saves hours of troubleshooting.