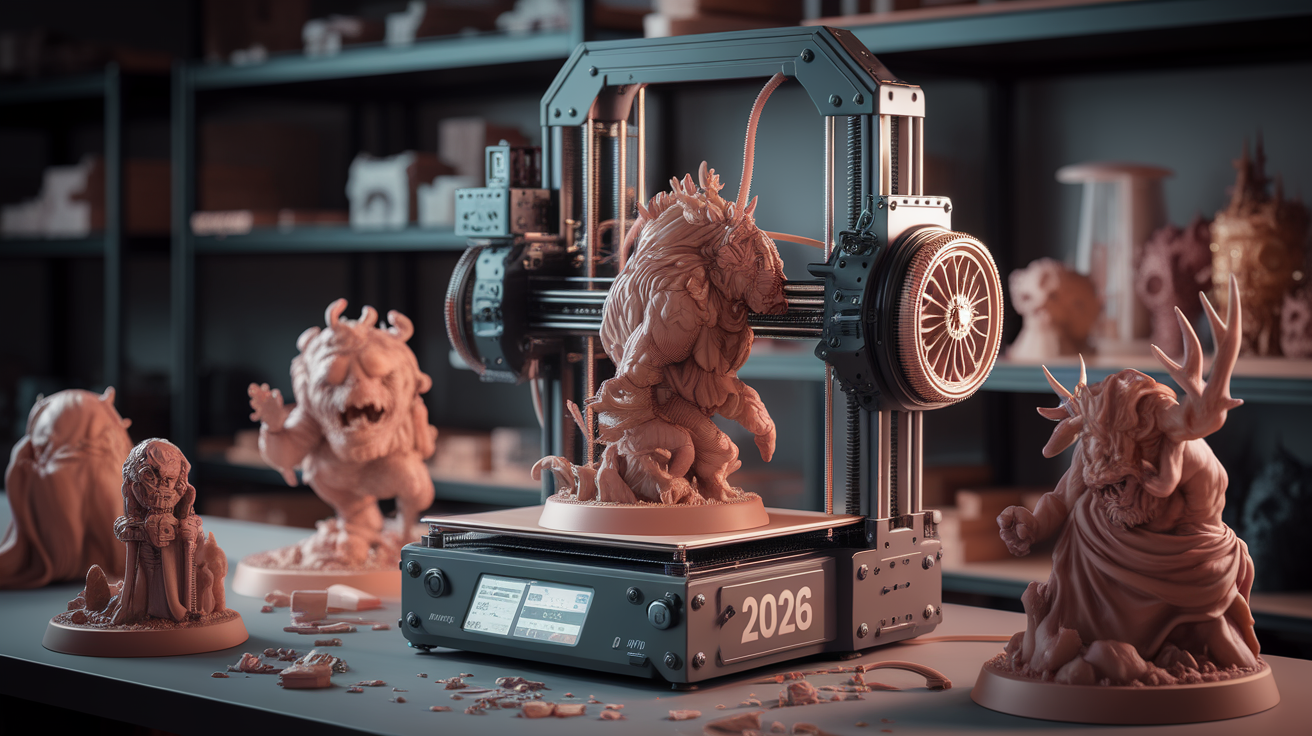
Best FDM 3D Printer for D&D Miniatures (0.2mm Nozzle, 2026)
FDM Miniatures in 2026: Why It Finally Works
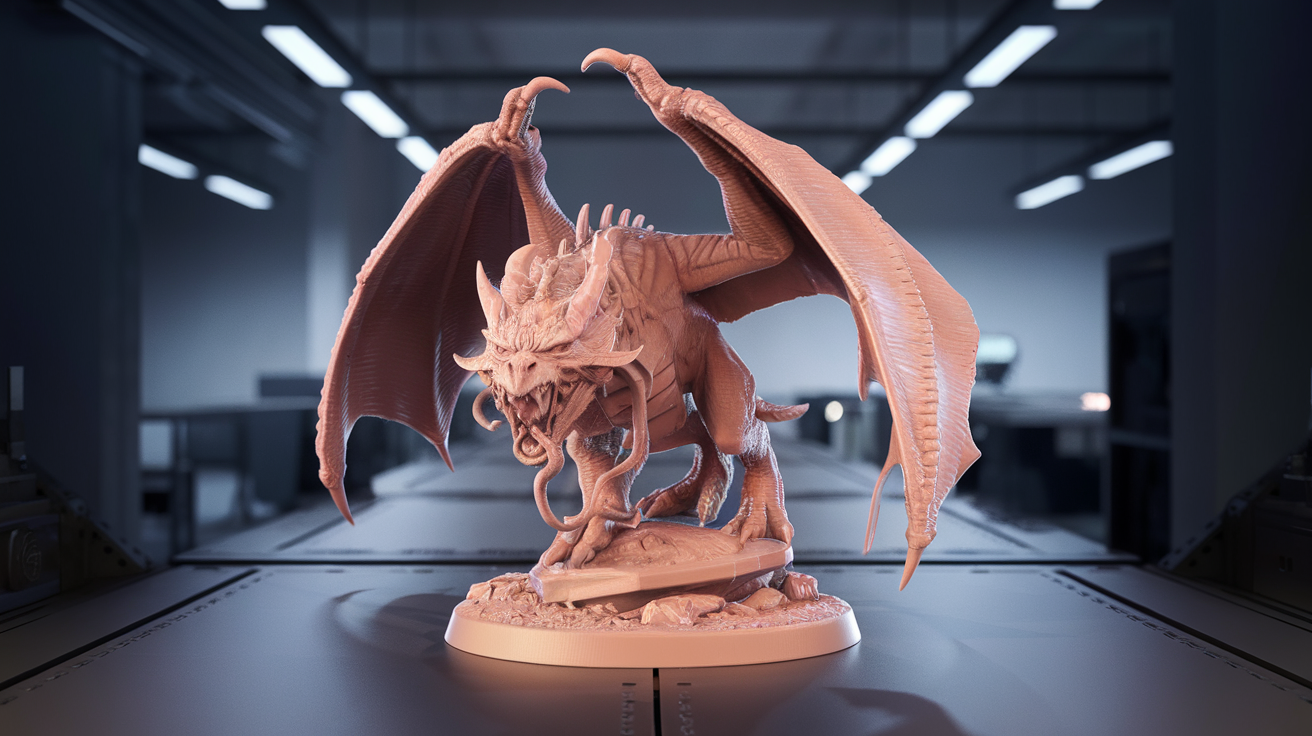
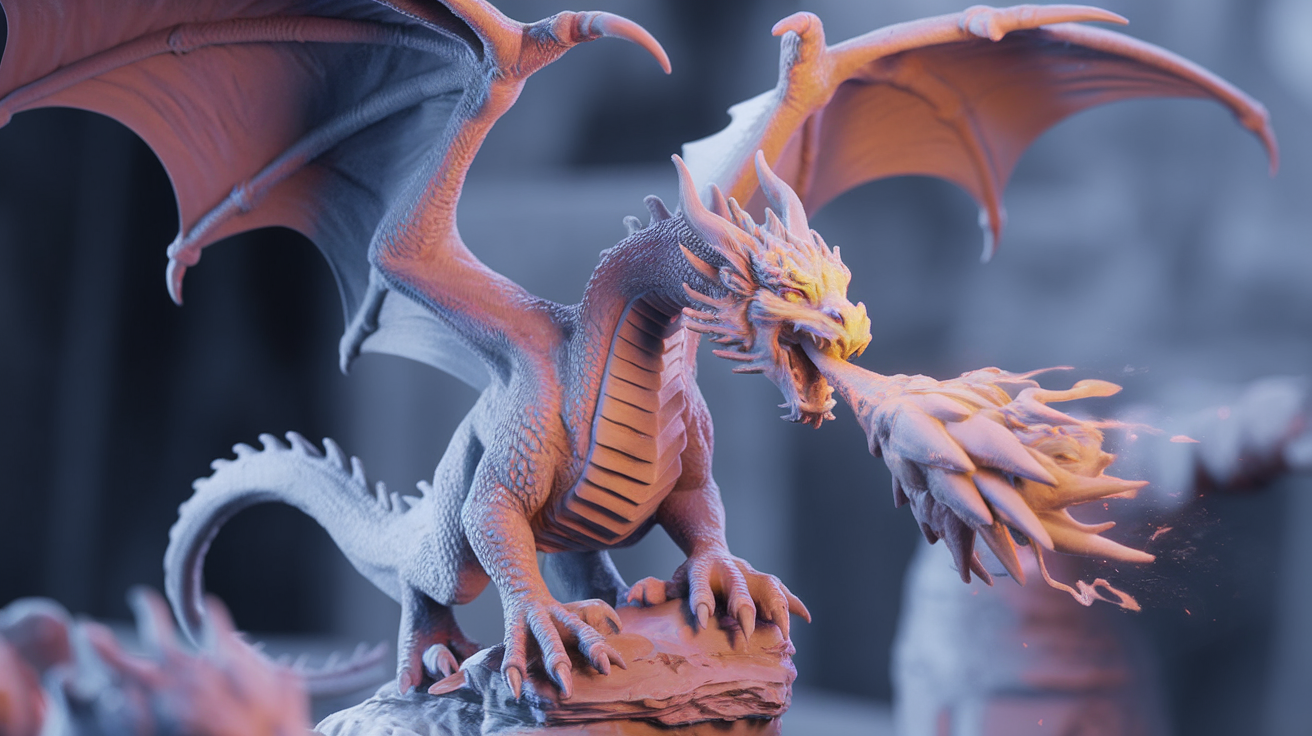
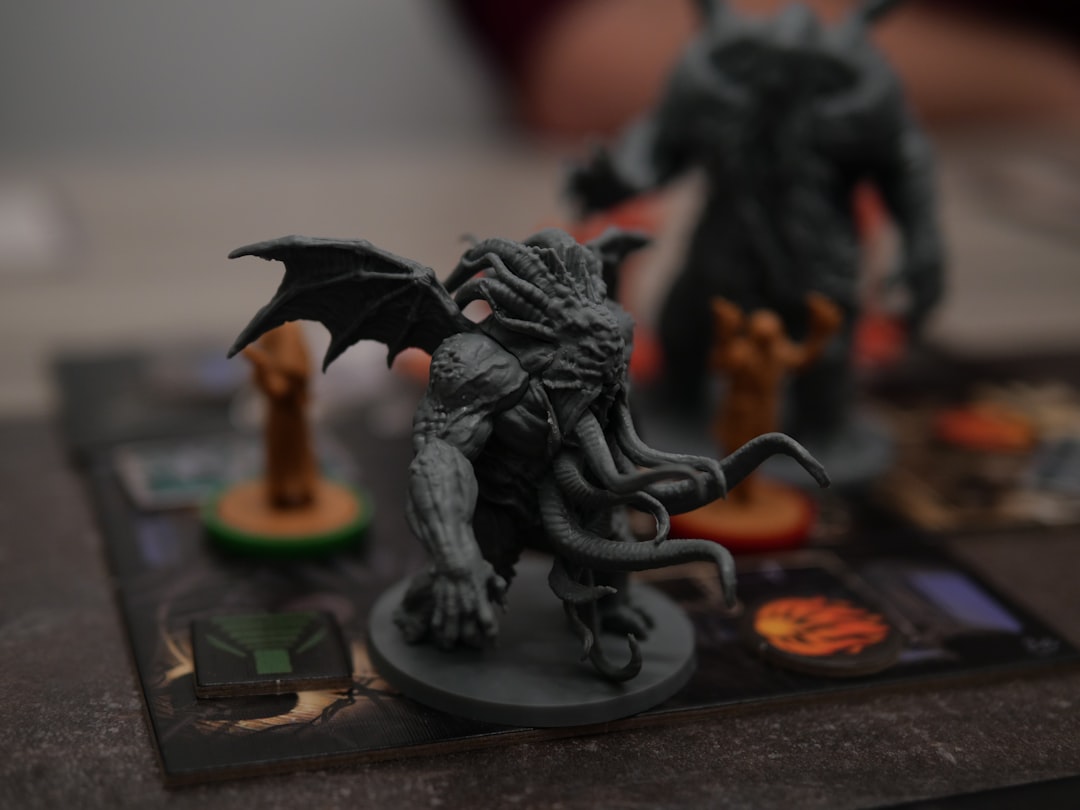
For a decade the answer to “what FDM printer should I buy for D&D miniatures?” was “buy a resin printer.” Resin held a real advantage: 25-micron XY resolution that captured chainmail texture, facial features, and the fold of a cloak. FDM printers, even at their best, smeared all that detail under 0.4 mm extrusion lines that read as a fuzzy approximation of the original sculpt. That ended around 2024 when the combination of 0.2 mm nozzles, input shaping, and modern slicers finally produced FDM minis that, while still not resin-quality up close, are fully tabletop-acceptable at arm’s length.
This guide ranks the FDM printers worth considering specifically for D&D minis in 2026, with focus on the 0.2 mm nozzle workflow that delivers the actual detail. Standard 0.4 mm minis are no longer competitive — if you want a Bambu A1 because it ships with 0.4 nozzle and you don’t want to swap, this guide is not for you. Plan to print at 0.2 mm nozzle, 0.08–0.12 mm layer height, and 30–50 mm/s speed. That is the workflow.
What Makes a Printer Good for 0.2mm Nozzle Minis
The 0.2 mm nozzle is not just a smaller hole. It demands a printer architecture that supports the fine extrusion calibration, low-vibration motion, and well-tuned cooling that prevents the failure modes specific to micro-extrusion. The selection criteria:
- Direct drive extruder: Bowden setups produce too much hysteresis at the low extrusion volumes (under 1 mm³/s) that 0.2 mm nozzles need. Direct drive only.
- Input shaping (or low natural vibration): Mini features at 0.4 mm wall width are wrecked by ringing. Input shaping or a rigid frame is mandatory.
- Strong part cooling: Tiny features overheat and slump. A printer with at least one 4010 part cooling fan plus secondary auxiliary fan handles small overhang detail without drooping.
- Bed leveling precision: 0.08 mm first layer leaves no margin for bed tilt. Auto bed leveling with mesh compensation is required.
- Hardened or DLC-coated nozzle option: 0.2 mm brass nozzles wear through quickly with anything but pure PLA. The ability to swap to hardened steel matters.
Five printers in 2026 hit all these criteria. The ranking below is by overall miniature print quality with stock settings, weighted toward time-to-first-good-print rather than maximum tweakable potential.
1. Bambu Lab X1 Carbon — The Reference
The X1C with the 0.2 mm hardened nozzle accessory remains the printer that produces the cleanest FDM miniatures in 2026. Out of the box, with a fresh Bambu Studio mini-print profile, you get faces that are clearly recognizable, weapon hilts with finger grooves, and cloak folds that read as drapery rather than blob terrain. The auto-calibration handles flow, pressure advance, and input shaping for each filament, which is the difference between a fight-with-the-printer experience and printing a 30-mini army for a campaign.
The downsides are real: the X1C costs $1,200 (often closer to $1,400 with the 0.2 mm nozzle and high-flow hot end add-ons), the AMS multi-color system is less useful for monochrome minis, and the cloud connectivity has caused privacy concerns for some users. For pure miniature production at the highest current FDM quality, no other printer matches it.
Mini-specific settings that work: 0.2 mm nozzle, 0.08 mm layer height, 30 mm/s outer perimeter, 50% part cooling, 0.4 mm extrusion width, 215°C for PLA. Print time per 28 mm mini: about 90 minutes.
2. Prusa MK4S — The Tank
The MK4S launched in 2024 as Prusa’s response to Bambu, and for miniature work it sits right behind the X1C. The Nextruder direct drive handles small flows beautifully, the loadcell-based bed leveling is the most accurate in the consumer space, and the firmware lets you adjust per-feature speeds with more granularity than Bambu Studio allows.
The MK4S advantages over the X1C: open-source firmware, better single-color print quality on parts where AMS multi-color doesn’t matter, and the ability to keep using it without cloud dependency. The disadvantages: slower print speeds (a 28 mm mini takes 120 minutes vs Bambu’s 90), louder operation, and a fiddlier first-time setup.
Cost: $1,099 with hardened nozzle option, $799 in kit form. For users who want best-in-class FDM minis without Bambu’s ecosystem, the MK4S is the pick.
3. Sovol SV08 — The Surprise
The SV08 is a CoreXY printer designed by Sovol with significant input from the Voron community. At its $599 price point, it has no business producing minis as cleanly as it does. With a 0.2 mm hardened nozzle (an aftermarket swap), input shaping enabled, and a slicer profile from the OrcaSlicer community, SV08 minis are within 10% of MK4S quality at half the price.
The catch is that the SV08 requires more user engagement to reach this level. Stock firmware is fine for general printing but mini-specific tuning needs a Klipper config edit, pressure advance calibration per filament, and the willingness to swap nozzles regularly. For users who enjoy tinkering, this is the best value FDM mini printer in 2026.
4. Bambu Lab A1 with 0.2mm Nozzle — The Budget Option
The A1 is Bambu’s bed-slinger, sold at $399 (often $349 on sale). Add the 0.2 mm nozzle accessory ($24) and you have the cheapest current path to acceptable FDM minis in 2026. The A1’s input shaping calibration runs on every print, which compensates for the bed slinger format’s inherent vibration disadvantage, and the print quality at 0.2 mm nozzle is genuinely impressive given the price.
Compared to the X1C, A1 minis show slightly more visible layer lines on curved surfaces, slightly less crisp facial detail, and longer print times (the bed slinger format limits acceleration). For a player who wants to print a few minis per session for a long-running campaign, the A1 is the most cost-effective entry point in 2026.
5. Voron 0.2 r1 — The Enthusiast Build
The Voron 0.2 r1 is a self-build CoreXY in a tiny 120×120 mm form factor, popular in the dedicated mini-printing community for its rigid frame, short toolhead distances, and tunability. Built carefully with quality parts (BOM cost: $400-600), a Voron 0.2 produces miniature quality competitive with the X1C, in a footprint that fits on a desk corner.
This is not a beginner pick. Plan for 30+ hours of build time, source parts from quality vendors (LDO Motors, Fysetc, the official Voron sources list), and budget another $200 for tools you might not own. For users who already have basic 3D printer experience and want to learn the deepest level of how the machine works, the Voron 0.2 is the only printer in this list that you will be tuning two years from now.
Filament Choice for FDM Miniatures
The printer matters less than the filament when chasing maximum mini detail. The recommendation set has narrowed in 2026:
- Bambu Matte PLA: The current champion for primer-ready surface finish. Matte texture hides layer lines pre-priming. $25/kg.
- Polymaker PolyTerra Matte PLA: Equivalent to Bambu Matte at lower cost. $18/kg. Slightly higher tendency to brittleness.
- SUNLU Marble PLA (for terrain pieces): The marble finish reads as natural stone for terrain prints, saves a paint step. $20/kg.
- Avoid silk PLA, glow-in-the-dark, and metallic-fill: All three sacrifice surface finish for visual effect, defeating the purpose of fine-detail printing.
The matte PLA preference is specifically because of the post-print workflow. Glossy PLA reflects light and amplifies any surface defect. Matte PLA diffuses light and reads as smoother than it physically is.
Slicer and Settings Summary
Whichever printer you choose, the 0.2 mm nozzle settings cluster within a narrow band:
- Layer height: 0.08–0.12 mm (0.10 is the sweet spot for time vs detail)
- Outer perimeter speed: 25–35 mm/s
- Print temperature: 200–220°C depending on filament brand
- Part cooling: 70–100% for PLA
- Walls: 3 walls minimum (visible features need the wall density)
- Infill: 15–20% gyroid (terrain) or 100% (small minis under 28mm)
- Supports: Tree supports with 0.5 mm contact distance
For deeper guidance on slicer-specific mini settings, our best settings for 3D printing miniatures FDM walks through the OrcaSlicer profile that ships with the most-tuned mini-specific defaults. For the broader resin-vs-FDM decision, see our resin vs FDM 3D printing comparison.
Supports Make or Break a Mini Print
Tree supports are the only real choice for FDM miniatures in 2026. Standard grid supports leave a sanding job that takes longer than the print itself; tree supports break off cleanly from most areas with minimal cleanup. The settings that produce removable supports without surface scarring:
- Support type: Tree supports (Bambu Studio’s default tree organic algorithm, or PrusaSlicer’s tree organic).
- Top contact distance: 0.20–0.24 mm. Too low and the support fuses to the mini surface; too high and the surface drops in the gap.
- Tree branch angle: 40°. Tighter angles produce more fragile supports that snap before they reach the model; wider angles use more material than necessary.
- Support placement: “Touching buildplate only” for simple minis, “Everywhere” for complex poses with overhangs above 50°.
- Manual support painting: Use the slicer’s manual paint feature to add supports to specific overhangs (capes, weapon hilts, outstretched arms) and remove them from areas you can clean later (under boots).
The post-print support removal is its own skill. Use a fresh X-Acto blade to slice the support contact point cleanly rather than pulling — pulling tears small surface details off with the support. For minis with delicate weapons or thin features, a 30-second hot water bath softens supports enough that they peel off without surface damage.
Post-Processing for FDM Mini Quality
The mini straight off the bed is not the finished product. The standard post-processing workflow that elevates FDM minis to tabletop quality:
- Wash: Warm soapy water with a soft toothbrush to remove finger oils and any release agent residue.
- Inspect under bright light: Look for stringing, layer artifacts, and any partial support material still attached. Address with a fresh blade.
- Light sanding: 600 grit sandpaper or fine sanding sticks on the most visible curved surfaces (face, helmet, chest). Skip flat panels.
- Filler primer coat: Tamiya Surface Primer L (gray) or Vallejo Surface Primer Black, applied as 2–3 light coats. This is the single biggest quality improvement step.
- Wet sand between primer coats: 1500 grit with water on a flat block. Layer lines vanish.
- Final primer coat: Color-matched to your base scheme (gray for fantasy, black for sci-fi, white for bright color schemes).
The painting that follows is identical to painting a resin mini from the same source file — the FDM process produces a print, but the finishing process produces a miniature. Skip the post-processing and your FDM minis will look like 3D prints. Embrace it and they will sit credibly on the table next to resin pieces from Reaper or Wizkids.