Cosplay Armor Finishing — Primer, Bondo, Sanding, Paint, and Weathering That Survive a Convention
Why Cosplay Armor Finishing Is Where Most 3D Printed Costumes Fall Apart
A 3D printed cosplay armor finishing primer bondo sanding paint weathering technique is what separates an Instagram-worthy chest plate from one that gets called a “plastic toy” on the convention floor. The print is roughly twenty percent of the work. The remaining eighty percent is filling layer lines, smoothing curves, hiding seams, laying paint, and adding the wear that makes injection-molded plastic look like a battle-worn helmet from a dying empire. Skip any of those steps and the lighting at any photo booth will betray you within seconds.
The good news is that the entire workflow is mature. Prop builders have spent the last fifteen years figuring out which automotive primers play nicely with PLA, which fillers do not crack when you sit down in an exoskeleton, and which paint chemistries survive a sweaty afternoon under stage lights. This guide walks the full pipeline from the moment you peel a print off the bed to the moment you walk into the masquerade ballroom — primer choice, body filler workflow, sanding grit ladder, base painting, weathering, and sealing.
Primer Choice — High-Build Filler Primer Is Not Optional
Filler primer is the first product to apply after a print comes off the bed, and it is the single biggest finish-quality multiplier in the cosplay armor finishing primer bondo sanding paint weathering technique stack. A standard “auto primer” deposits maybe twenty microns of solids per coat. A filler primer — Rust-Oleum 2-in-1 Filler Primer, Duplicolor Filler Primer, or U-POL Acid #8 in shops with better access — deposits closer to one hundred microns of high-solids material per heavy coat. That extra mass is what bridges and obliterates 0.16 mm layer lines without forcing you to sand through the print itself.
Apply three coats wet-on-tacky with about ten minutes of flash time between coats. Hold the can roughly twenty centimeters from the surface and move in long even passes. After the third coat, let the part cure for twelve hours minimum before any sanding, regardless of what the can says. Cosplay armor that gets sanded too early will gum up your sandpaper and tear out filler in chunks. Patience here pays for itself the first time you take a flashbulb hit and the layer lines have simply disappeared.
Avoid white primers on first coat — they hide your defects. Use grey or oxblood. The contrast between the primer color and the eventual base coat will let you see exactly where the surface is still uneven during sanding.
Bondo and Body Filler — Where to Use It and Where to Stop
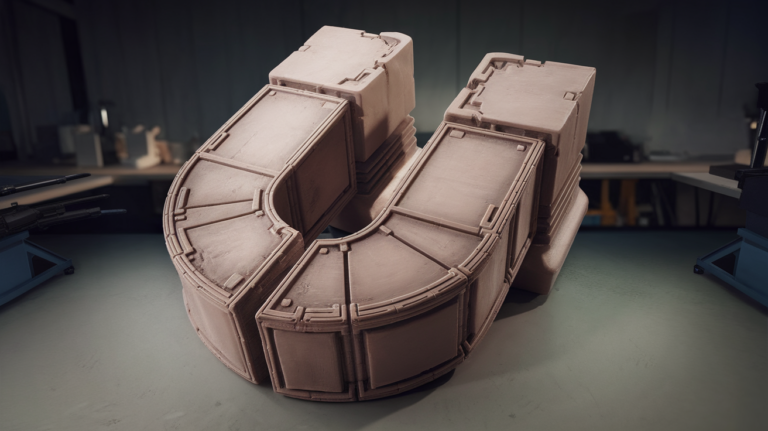
Bondo (or any two-part automotive body filler such as 3M Premium, Evercoat Rage Gold, or U-POL Dolphin Glaze) is reserved for two specific failure modes: large gaps at glued seams between segmented prints, and dramatic surface defects that filler primer cannot bridge. It is not a substitute for a good print and it is not an all-over coating. Cosplay armor finishing primer bondo sanding paint weathering technique done correctly uses bondo as a targeted patch, not a layer.
Mix small batches — golf-ball sized at most. Two-part fillers kick in three to five minutes once catalyzed. Apply with a flexible plastic spreader pressed firmly into the defect, leaving roughly one millimeter proud of the surrounding surface. The proud edge is your sanding allowance. As soon as the filler reaches the “cheese” stage — firm but not yet rock-hard, usually six to eight minutes after mixing — knock the high spots down with a Surform rasp or 80-grit on a hard sanding block. Removing material at the cheese stage saves enormous amounts of time later.
Always shoot a coat of filler primer over patched areas before final sanding. The primer reveals pinholes in the filler that you will not see otherwise. Pinholes are the single most common reason convention photos show “patchy” armor — the filler looked smooth, but the paint settled into invisible bubbles and showed every one.
The Sanding Grit Ladder — From Rough to Glass
Sanding is where novice cosplayers lose patience and where veterans win contests. The ladder is non-negotiable. Skipping a grit forces the next paper to do double work and leaves a halo of scratches that paint will magnify under stage lighting.
Start at 220 grit on a hard sanding block to knock down filler primer high spots and any visible layer line ridges. Work in long, overlapping passes — not circles. Circles cause swirl marks that show through metallic paints. Move to 320 grit once the surface feels uniformly matte to the back of your hand. Recoat with two more coats of filler primer over any spots that sand through to bare PLA, then let cure twelve hours and continue.
Step up to 400 grit wet, using a small dish of water with a single drop of dish soap. Wet sanding starting at 400 grit is what turns “smooth” into “glass.” Wet 600 grit follows for parts that will receive metallic or candy paints. Wet 800 grit is the stop point for anything below piano-black gloss; only mirror-finish paints (high-gloss black, chrome wraps) need to go to 1500 wet.
Between every grit, wipe the part down with a tack cloth and inspect under raking light from a phone flashlight held at thirty degrees off the surface. Raking light reveals scratches and waves your eye misses under overhead lighting. Anything you see now will be twice as visible under paint.
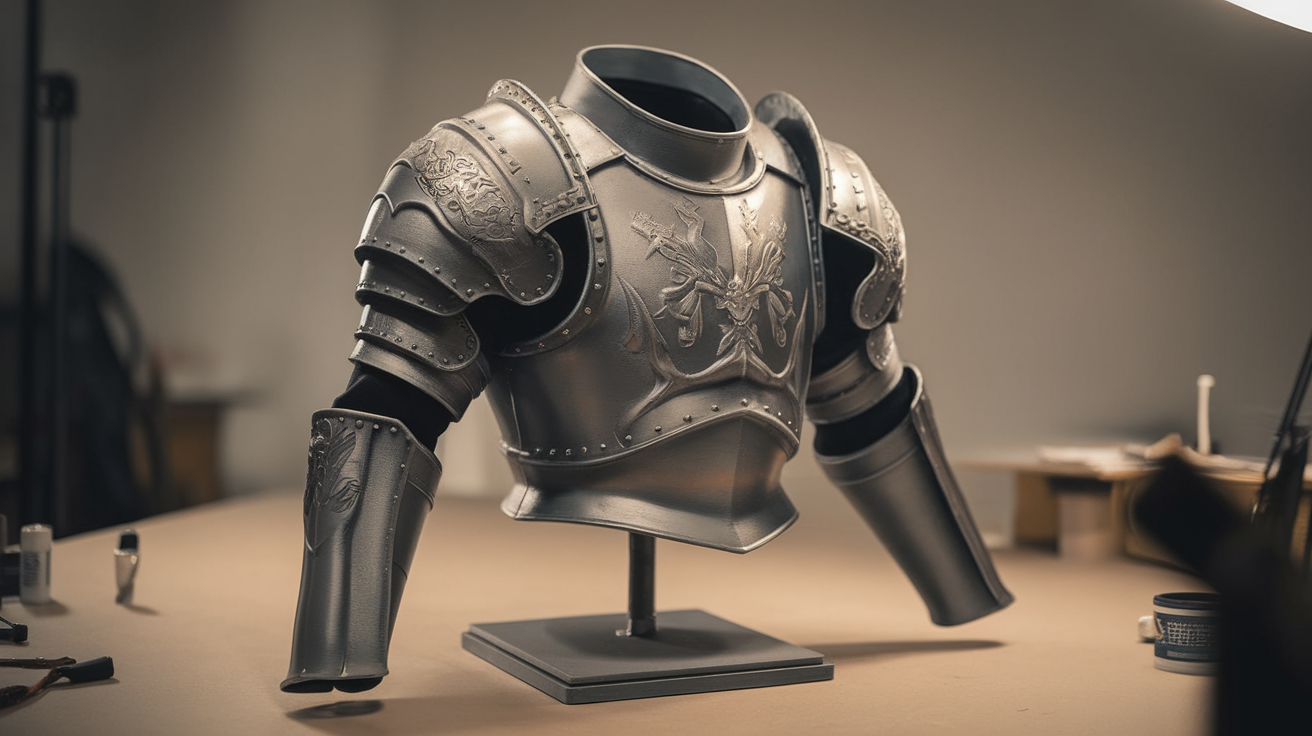
Base Coat Painting — Adhesion, Color, and Building It Right
Base coat is where cosplay armor finishing primer bondo sanding paint weathering technique transitions from substrate prep to color work. The base coat does three jobs: it provides chip-resistant adhesion to the primer, it establishes the dominant color of the piece, and it creates the optical foundation for any weathering or detail work that follows. Cheap rattle-can paint will fail at all three.
For armor that needs to look metallic, use Tamiya TS-series acrylic lacquers, Createx Wicked Colors through an HVLP gun, or Duplicolor Mirage where you want a color shift. Each of those products is engineered to deposit color over filler primer without lifting it. Hardware-store enamel will react with filler primer, especially on hot convention floors, and lift in long peeling sheets that you cannot fix without stripping the entire piece.
Apply the base coat in three medium-wet coats with fifteen to twenty minutes flash time between coats. The first coat should look transparent and patchy — it is the bond coat. The second coat builds opacity. The third coat is where you slow down and let the surface “lay down” wet so that the metallic flake or pearl orients evenly. Do not apply coats heavy enough to run; runs cannot be sanded out of a metallic without losing the metallic effect.
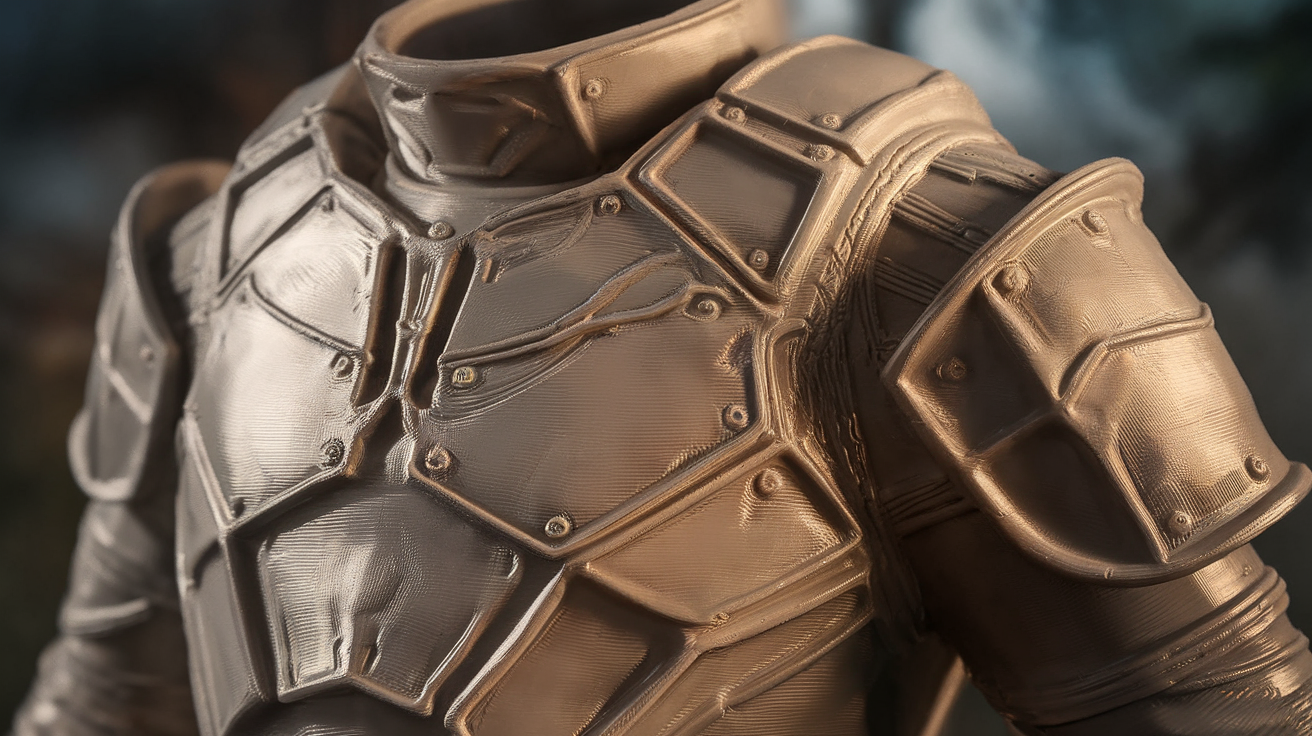
Weathering — The Step That Sells the Story
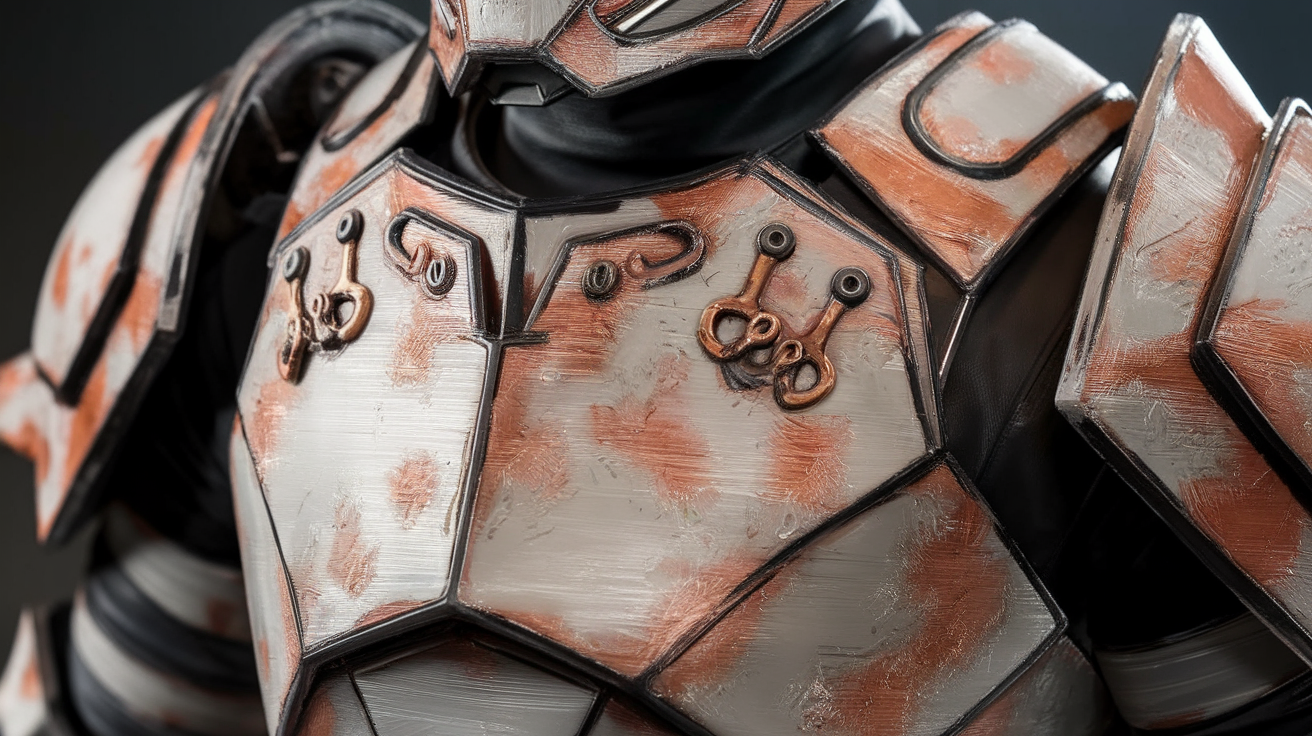
Pristine, freshly-painted armor reads as plastic. Weathered armor reads as a prop with history. Effective weathering uses three layered techniques: edge wear, panel wash, and dust glaze, applied in that order over the cured base coat.
Edge wear simulates paint chips along corners, raised edges, and high-friction zones such as elbow points and knuckle plates. Apply with a torn piece of dense kitchen sponge dipped in a contrasting color — silver under colored topcoats, dark grey under metallics. Tap excess paint off on cardboard until the sponge leaves only faint impressions, then dab — never wipe — along edges. The randomness of the sponge texture is what reads as authentic wear.
Panel wash is a heavily thinned dark-brown or grey enamel (Tamiya Panel Line Accent Color is the standard) flowed into recessed lines and panel breaks with a fine brush. Capillary action carries the wash into the recess; immediately wipe the surface with a cotton swab dampened in odorless mineral spirits, leaving wash only in the recesses. This step is what gives armor depth on camera.
Dust glaze is a final airbrushed mist of ochre or grey at twenty percent opacity, biased toward the lower third of the piece. It simulates road dust collecting from below. Most cosplay armor finishing primer bondo sanding paint weathering technique tutorials skip the dust glaze, which is exactly why amateur armor looks fresh-from-the-mold and pro armor looks lived in.
Sealing — The Coat That Decides Whether Your Work Survives
Two coats of clear topcoat protect every step that came before. For matte armor finishes use Testors Dullcote or Mr. Hobby Premium Matte Top Coat. For semi-gloss leather and helmet visors use Krylon Satin Crystal Clear. For full gloss display pieces use 2K automotive clear from a spray gun, but only outdoors with a respirator — 2K isocyanates are not optional safety equipment, they are the only acceptable kit for that chemistry.
Apply two light tack coats followed by a single medium wet coat. Allow forty-eight hours to fully cure before flexing, packing, or wearing the piece. The single most heartbreaking outcome in the cosplay armor finishing primer bondo sanding paint weathering technique pipeline is finishing a piece, packing it for the convention twelve hours later, and unpacking a fingerprint-pocked surface at the hotel because the topcoat had not fully cured. Build cure time into your schedule from the start.
For more on the structural side that comes before any of this finishing work, see our piece on segmenting large cosplay props with magnet and pin joinery, and for picking the right printer to start with, our roundup of best 3d printers for cosplay armor covers bed size and material compatibility for prop builders.