Wood Filament Printing Settings: How to Get Perfect Wooden 3D Prints
What Is Wood Filament and How Does It Work?
Wood filament (sometimes called “wood PLA” or “wood-fill”) is a composite material made from a PLA base mixed with finely ground wood fibers or wood dust, typically making up 10-40% of the filament by weight. Popular brands include Hatchbox Wood, ColorFabb WoodFill, SUNLU Wood, and Bambu Lab PLA Wood. The wood particles give printed parts a genuine wood-like texture, a subtle natural scent during printing, and the ability to be stained and finished just like real wood.
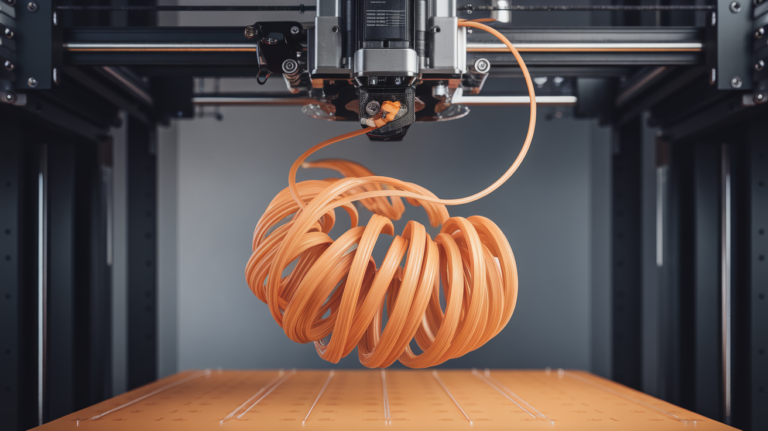
Unlike standard PLA, wood filament behaves differently during printing. The wood particles can clog small nozzles, the filament is more brittle (prone to snapping in Bowden tubes), and temperature changes visibly affect the color—higher temperatures produce darker “burnt” tones while lower temperatures yield lighter shades. This temperature-color relationship is actually one of the most powerful features of wood filament, enabling stunning gradient and grain effects.
Optimal Print Settings for Wood Filament
Here are the recommended settings that work across most wood filament brands. Start with these and fine-tune based on your specific filament and printer:
Temperature
- Nozzle temperature: 190-220°C. Start at 200°C and adjust. Lower temperatures (190-200°C) produce lighter colors; higher temperatures (210-220°C) produce darker, “toasted” colors. Never exceed 230°C—the wood particles will carbonize and cause clogs.
- Bed temperature: 50-60°C. Wood PLA adheres well and rarely warps, so lower bed temps work fine. Some makers print successfully on a cold bed with a glue stick.
Speed
- Print speed: 40-60 mm/s. Slower than regular PLA due to the composite nature. The wood particles create more friction in the nozzle.
- First layer speed: 20-25 mm/s for reliable adhesion
- Travel speed: 120-150 mm/s (keep standard)
Retraction
- Retraction distance: 4-6mm (Bowden) or 1-2mm (direct drive)
- Retraction speed: 25-35 mm/s. Slower than standard PLA because aggressive retraction can snap the brittle filament.
- Important: Minimize retractions where possible. Each retraction cycle grinds the filament slightly, and wood filament is softer than pure PLA. If you’re getting ground-out filament at the extruder gear, reduce retraction speed and distance.
Nozzle Size
- Recommended: 0.5mm or 0.6mm nozzle. The wood particles are 0.1-0.3mm in size and can accumulate in a standard 0.4mm nozzle, especially during retractions or ooze.
- Minimum: 0.4mm works but requires more attention. Never use 0.2mm or 0.3mm nozzles with wood filament—clogs are virtually guaranteed.
- Material: Brass is fine. Wood particles are soft and don’t cause nozzle wear.
Layer Height and Extrusion
- Layer height: 0.2-0.3mm. Thicker layers show less visible layer lines and give a more natural wood grain appearance. Avoid thin layers (0.1mm)—they’re more clog-prone and the smooth surface looks less like wood.
- Extrusion multiplier / flow rate: 100-110%. Slight over-extrusion fills gaps between wood particles and gives a smoother, more solid surface.
- Line width: 0.5-0.6mm (match nozzle size or slightly wider)
Preventing and Fixing Clogs
Clogging is the number one issue with wood filament. The wood particles can char inside the nozzle if the filament sits at high temperature without extruding. Here’s how to prevent and deal with clogs:
Prevention
- Never leave filament sitting hot. If you pause a print for more than a few minutes, retract the filament or lower the nozzle temperature. Wood particles begin to carbonize after 5-10 minutes of heat soak.
- Print continuously. Avoid models with many travel moves and retractions. This limits the time filament sits cooking in the nozzle between extrusions.
- Clean between prints. Push through 20-30cm of regular PLA at 220°C after each wood filament session. This purges any remaining wood particles before they carbonize.
- Use a larger nozzle. Moving from 0.4mm to 0.6mm dramatically reduces clog frequency.
Unclogging
If you do get a clog, don’t panic. Heat the nozzle to 230°C and push filament through manually. If that fails, perform a cold pull: heat to 230°C, push nylon cleaning filament in, cool to 90°C, then yank the filament out sharply. The solidified nylon grabs the carbonized particles and pulls them out. Repeat 3-4 times until the nylon comes out clean.

Creating Wood Grain and Color Variation Effects
One of wood filament’s unique properties is its temperature-dependent coloring. You can exploit this to create stunning effects:
Simulated Wood Grain
By varying the nozzle temperature during a print, you can create alternating light and dark layers that mimic natural wood grain. In Cura, use the “ChangeAtZ” plugin. In PrusaSlicer/Bambu Studio, add temperature change G-code at specific layer heights. A pattern like 195°C for 5 layers, then 215°C for 2 layers, then back to 195°C creates a convincing grain pattern.
Gradient Color
Gradually increase temperature from bottom to top (e.g., 195°C to 220°C) for a natural gradient from light heartwood to dark sapwood. This works beautifully on vase-mode prints and tall decorative pieces.
Consistent Color
If you want uniform color throughout, pick one temperature and stick with it. 200°C gives a “pine/birch” look, 210°C gives “oak/walnut,” and 215-220°C gives a “dark roast” appearance. Test with a temperature tower first to see the exact colors your specific filament produces.
Post-Processing Wood Prints
Wood filament can be finished exactly like real wood, which opens up incredible possibilities:
Sanding
Sand starting at 120-grit, progressing to 220 and then 400. Wood filament sands beautifully—the wood particles create a texture almost indistinguishable from sanded real wood. Don’t skip grits or you’ll leave visible scratch patterns.
Staining
Regular wood stain works on wood filament. Oil-based stains (Minwax, Varathane) penetrate the wood fibers in the filament and produce realistic color that varies with the grain direction and layer pattern. Water-based stains work too but penetrate less deeply. Apply with a brush or rag, let sit for 5-10 minutes, wipe off excess. Multiple coats deepen the color.
Sealing
After staining, seal with polyurethane (brush-on or spray), wax, or Danish oil. This protects the surface and adds either a satin, semi-gloss, or matte finish. Tung oil gives the most natural wood feel. For items that will be handled frequently (phone cases, figurines), apply 3-4 coats of polyurethane.
Burning / Pyrography
A wood-burning pen works on wood filament just like it does on real wood. You can add woodburned details, text, or patterns. This technique is popular for signs, nameplates, and decorative items. The PLA base melts slightly differently than real wood, so practice on a test piece first.
Best Models and Projects for Wood Filament
Some prints showcase wood filament better than others. Here are the projects where wood PLA really shines:
- Planters and vases — Vase mode prints in wood filament look stunning, especially with temperature gradient effects. They’re lightweight and the natural look complements plants.
- Signs and nameplates — CNC-router-style signs printed flat with raised lettering. Stain and seal for an authentic wood shop sign.
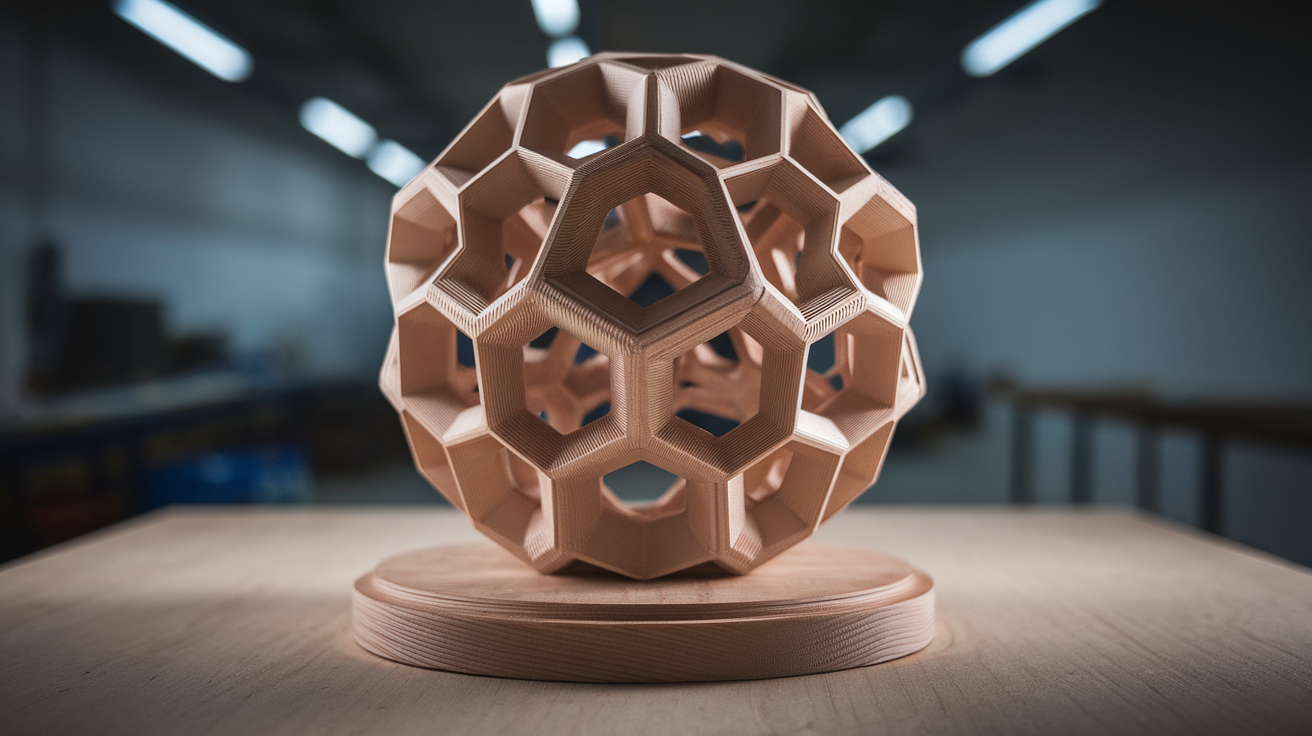
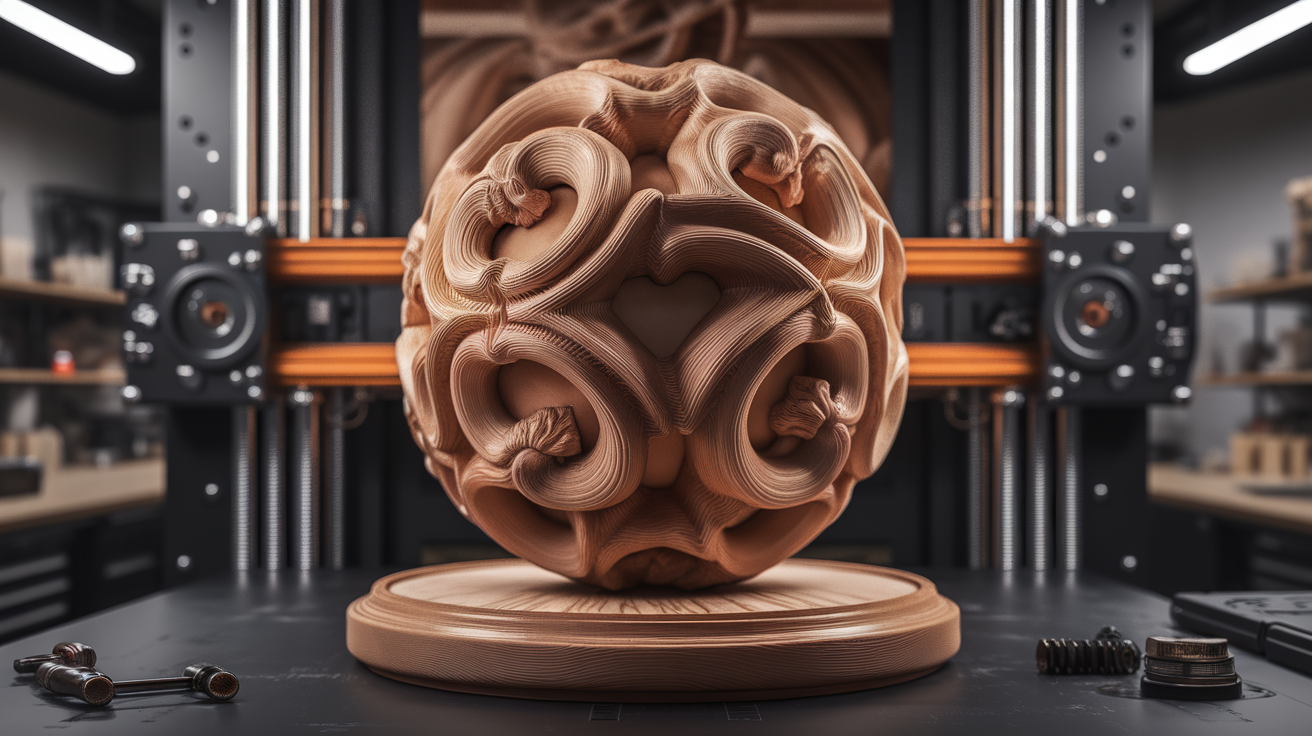
- Figurines and sculptures — Mythological figures, animals, and decorative busts look carved from wood after sanding and staining.
- Phone/tablet stands — Functional items where the wood aesthetic adds warmth to a desk setup.
- D&D and tabletop accessories — Dice towers, treasure chests, dungeon tiles. The wood look is perfect for fantasy settings.
- Picture frames — Print custom frames that look like hand-carved wood for a fraction of the cost.
- Cosplay props — Wands, staffs, wooden shields, and medieval weapon handles look more realistic in wood filament than painted PLA.
Troubleshooting Common Issues
Q: My prints are coming out blotchy with uneven color.
A: This usually means inconsistent temperature. Check your hotend’s PID tuning—poor PID settings cause temperature fluctuations of ±5-10°C which translate directly into color variation. Run a PID autotune and ensure temperature swings are under ±2°C.
Q: The filament keeps snapping in the Bowden tube.
A: Wood filament is brittle, especially after absorbing moisture. Dry the filament at 45-50°C for 4-6 hours and consider switching to a direct drive setup. If stuck with Bowden, use the shortest tube possible and ensure there are no tight bends.
Q: Layer adhesion is poor and layers are splitting.
A: Increase nozzle temperature by 5-10°C and reduce cooling fan to 50-70%. Wood filament benefits from slower cooling for better inter-layer bonding. Also try increasing flow rate to 105-110%.
Q: Can I mix wood filament with regular PLA in a multi-material print?
A: Yes, and the results can be striking—wood-accented functional parts, two-tone designs, etc. Use similar temperatures for both materials (standard PLA prints fine at 200-210°C which overlaps with wood PLA settings).
Q: Is wood filament food safe?
A: No. The wood particles create a porous surface that harbors bacteria, even if sealed. Use it for decorative items only. For food-contact items, stick to food-safe PETG or PP.