Klipper Firmware Migration: The Backup Procedure That Saves You at Midnight
Why a real Klipper migration backup matters
Almost every Klipper migration story that ends badly skips the same step — the original Marlin configuration was never captured before the flash, and when something failed the only path back was a manufacturer firmware reset that lost months of calibration. A Klipper firmware migration backup procedure printer.cfg setup is not a bureaucratic checkbox; it is the rollback path that lets you experiment with Klipper without putting your printer at risk. Done right, the procedure adds maybe an hour to the migration. Done wrong, it adds days when you need to recover.
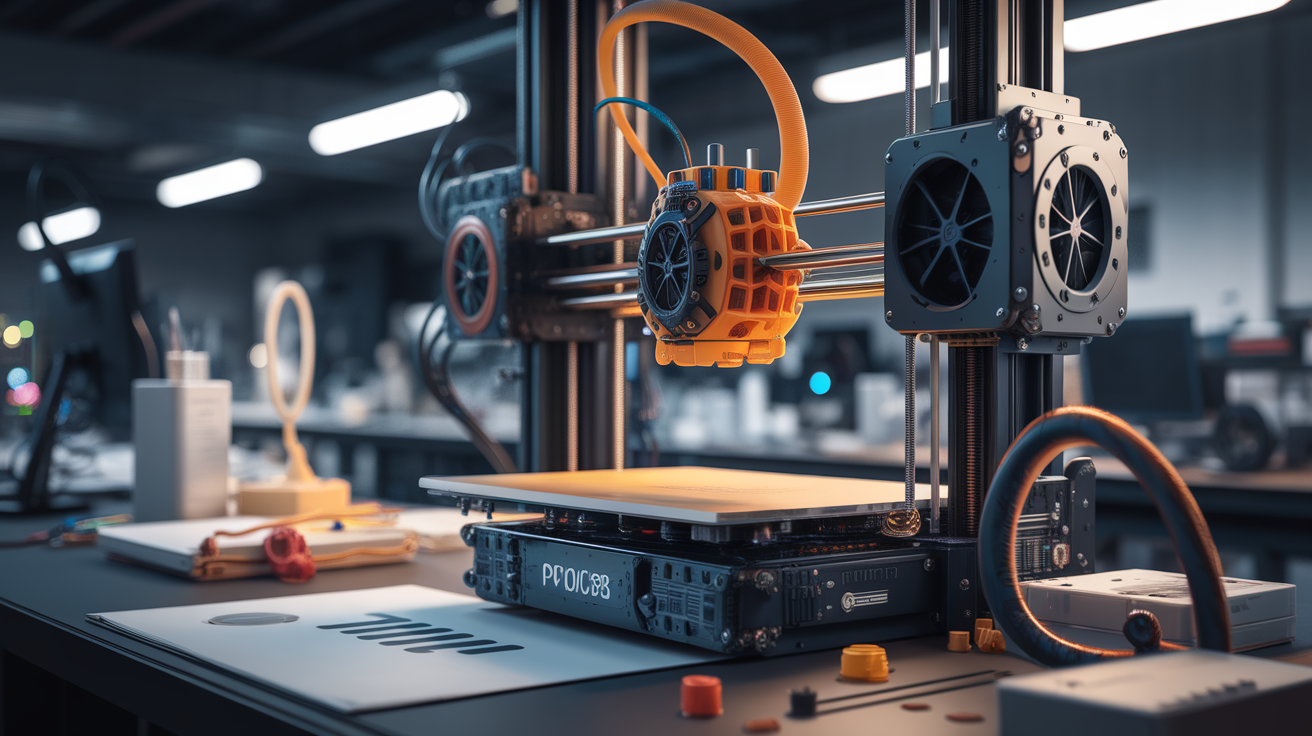
The printers most people migrate to Klipper are also the printers that have been tuned the most. An Ender 3 with auto bed leveling, a custom hotend, a flashed bootloader, an updated stepper driver set, and a year of EEPROM tuning is not the printer that came out of the box. None of that lives in the firmware binary — most of it lives in EEPROM and in slicer profiles. The migration plan needs to capture both before any new firmware touches the board, because the first thing a Klipper flash does is wipe the EEPROM.
Inventory before you flash anything
Before opening any firmware tool, write down what your printer currently is. Make and model is the easy part — board version is the part people miss. An Ender 3 V2 might have an SKR Mini E3 V1.2, V2.0, V3.0, or the original Creality 4.2.2 or 4.2.7. Each board takes a slightly different Klipper config and a different flashing procedure. Open the case, look at the silkscreen, and write down the exact board name and version. If there is no silkscreen, search the chip markings — the STM32F103, STM32F401, GD32F303, and similar chips each have their own MCU type entry in Klipper.
While the printer is open, photograph the wiring. Klipper migration is a good moment to verify that the thermistor cable, hotend cable, fan cables, and stepper cables are all in known-good condition, but you do not want to discover a marginal connector at midnight after a failed flash. The photographs become reference material when the new printer.cfg needs pin assignments — the silkscreen tells you which physical port is which, but the photo tells you what was actually plugged in.
List your hardware extras: BLTouch or CR Touch, dual Z motors with separate steppers, filament runout sensor, microswitch endstops vs optical endstops, fan upgrades, accelerometer for input shaping. Each of these adds lines to printer.cfg, and each one has a known-good configuration block in the Klipper documentation that you can copy and adjust. Working from a list is faster than discovering one extra at a time during the first calibration run.
Capturing the Marlin EEPROM
Connect to the printer over USB with Pronterface, OctoPrint terminal, or any G-code-aware tool, and run M503. The output is the entire EEPROM as G-code commands — bed level mesh, steps per mm, jerk, max acceleration, PID values, probe offset, e-step calibration, all of it. Save the M503 output to a text file and store it somewhere that is not the printer. Cloud, USB stick, anywhere not on the SD card you are about to overwrite.
The M503 dump is the single most important artifact of the migration. The values transfer almost directly into printer.cfg — bed mesh becomes a bed_mesh section, steps per mm become rotation_distance entries, PID values become control parameters. Without it, you will spend the first day after migration redoing PID tuning, e-step calibration, and probe offset measurement, all of which were already done. With it, you start the new firmware with most of your old calibration intact.
Beyond M503, capture two more things. First, your last known-good slicer profiles — Cura, PrusaSlicer, OrcaSlicer, whichever you use. Slicer profiles encode start/end G-code that needs to be rewritten for Klipper, and having the originals lets you translate rather than recreate. Second, take a photograph of the current Marlin LCD screen showing the firmware version and any custom strings — useful for both rollback and for the “before” half of any forum post you might write later.
Building printer.cfg from your current state
Klipper does not generate printer.cfg from your printer; you generate it from a template that matches your board, then customize it. The template lives in the klipper/config/ directory of the Klipper source. Find the template that exactly matches your board (not “close enough” — pin maps differ board to board). Copy it to printer.cfg in the printer_data/config/ directory of your host (Pi or equivalent).
The customization pass is where the M503 dump pays off. The default template assumes default Marlin steps and accelerations. Walk through the [stepper_x], [stepper_y], [stepper_z], and [extruder] sections and replace rotation_distance and microsteps with values calculated from your M503 e-step and acceleration outputs. Walk through [printer] and set max_velocity and max_accel to match your old M201/M203 limits. Walk through [bed_mesh] and set the probe area to match your bed.
For BLTouch or CR Touch, copy the [bltouch] block from the Klipper documentation and set z_offset to your old Marlin probe offset. For input shaping, leave it alone for now — that is a calibration that requires the printer to be running, and it comes after first flash. For PID, copy the M503 PID values directly into the [extruder] and [heater_bed] control sections.
Flashing the MCU without bricking it
Most modern boards (SKR Mini E3 V2/V3, BTT Manta, Creality 4.2.7) flash from SD card by renaming a klipper.bin file to firmware.bin and powering on. Older boards or 8-bit boards flash over USB with avrdude or stm32flash. Read the per-board flashing guide in the Klipper documentation before powering on the printer for the first time after the flash — many boards require a specific power-on sequence (USB connected, 24V off, then 24V on, etc.).
Build the klipper.bin from the host using make menuconfig and make. The menuconfig settings depend on the board — get them wrong and the binary will not run. Common settings: STM32F103 with 28KiB bootloader for SKR Mini E3 V1.2, STM32F401 for V2.0, STM32G0B1 for V3.0. Get this from the official board page, not from a forum post — forum posts go stale.
After flashing, the host needs to find the MCU. Klipper communicates over a serial device — typically /dev/serial/by-id/usb-Klipper_… after flashing. List the device, copy the path, and paste it into the [mcu] section of printer.cfg. Save, restart Klipper, and watch the log. If the log shows “MCU online”, the flash worked. If it does not, do not flash again — debug first. Repeat flashing on a board that did not communicate the first time is the most common way to brick an MCU.
The first calibration sweep
After Klipper is running, do not start a long print. Run the calibration sweep first. Endstop check: home each axis individually and verify direction. PID tuning: PID_CALIBRATE HEATER=extruder TARGET=210 and PID_CALIBRATE HEATER=heater_bed TARGET=60, save with SAVE_CONFIG. Probe offset: PROBE_CALIBRATE if you use a BLTouch, save with SAVE_CONFIG. Bed mesh: BED_MESH_CALIBRATE, save the result. Print a test cube — single wall, 0.4mm nozzle, low speed — and verify dimensional accuracy.
Only after the calibration sweep passes should you run a longer print, and even then keep the first long print under an hour and within visual range. Klipper exposes more printer behavior than Marlin does, and bugs in your config will surface in the first hour of real printing — thermal runaway tuning, fan PWM ranges, stepper currents. Catching them in the first hour means a paused print and a config edit. Catching them in hour twelve means a melted print and a much longer recovery.
Rolling back to Marlin
If the migration goes badly enough that staying on Klipper is not productive, the rollback path is the same flashing process in reverse. Download the original Marlin firmware for your board from the manufacturer website (this is why you wrote down the exact board version), copy to SD, power cycle, and the printer comes up on Marlin. Restore EEPROM from the M503 dump by streaming the saved file as G-code over USB; every M-code in the dump is a setting that gets applied.
The rollback is rarely needed if the inventory and backup steps were done well. The rollback being available is what makes the migration low-risk in the first place — knowing you can be back on the original firmware in twenty minutes removes the pressure that produces hasty decisions during a difficult flash. Most migrations that get stuck get stuck because the operator was racing the clock. With a clean rollback path, the clock stops mattering and the migration finishes properly.
What to do in the first week after a successful migration
The migration ending without smoke is the start of the work, not the end. Klipper exposes settings that Marlin never let you touch — pressure advance, input shaping, per-stepper currents, smooth time, square corner velocity — and tuning these unlocks the print quality improvement that motivated the migration in the first place. Without that tuning pass, Klipper looks like Marlin running on a Pi, and the time spent migrating produces no visible benefit.
Day one after migration: pressure advance calibration. The Klipper documentation has a step-by-step procedure that takes one test print and converges quickly. Pressure advance reduces ringing on corners and produces visibly cleaner extrusion control, especially on bowden setups. Day two: input shaping calibration if you have an accelerometer. ADXL345 sensors cost ten dollars and the calibration produces dramatic ringing reduction at high print speeds — often the single biggest visible improvement of the entire migration.
Day three through seven: re-tune your slicer profiles. Klipper changes how the printer responds to acceleration and jerk, and slicer profiles tuned for Marlin will be either too conservative (slow prints with no quality improvement) or too aggressive (fast prints with visible ringing). The right approach is to start from a Klipper-aware profile in your slicer and adjust toward your printer’s tested limits, rather than copying old Marlin profiles directly. Within a week, the Klipper printer is producing prints that the Marlin printer could not have produced in any reasonable time, which is the migration paying back the work.