Miniature 3D Printing Support Cleanup: The Razor, Scalpel, and Sequence That Actually Works
Why support cleanup is the make-or-break step for miniatures
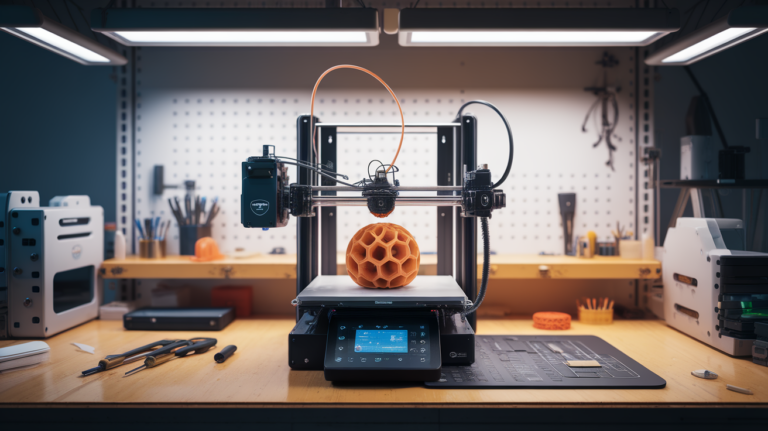
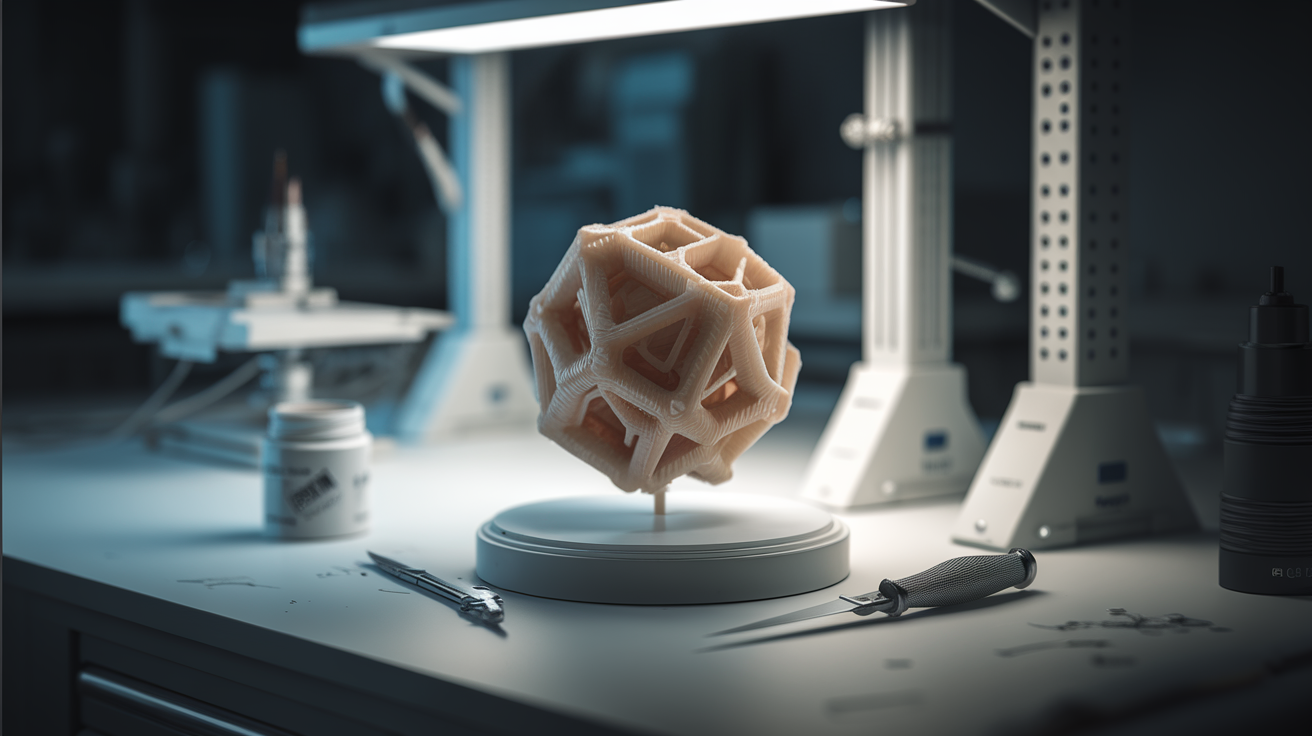
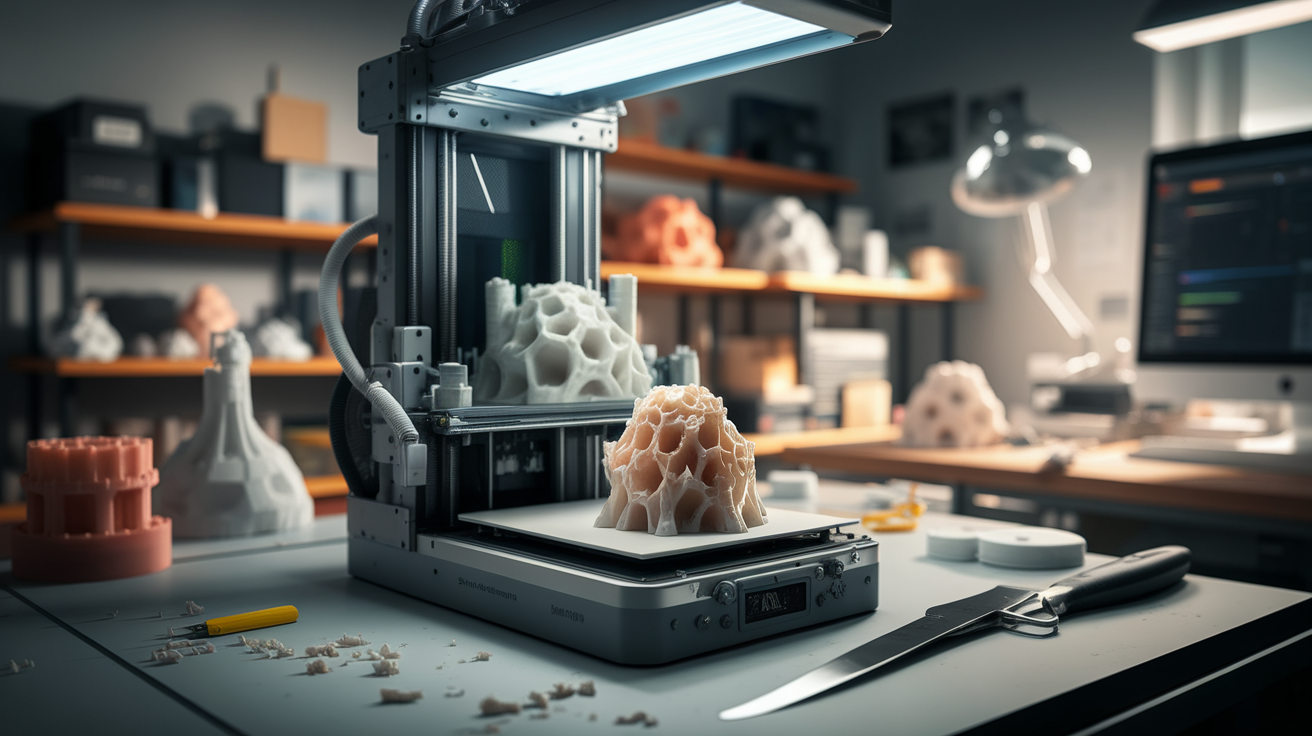
The print itself is rarely what separates a clean miniature from a hacked-up one. The print itself is fine — slicers handle support generation, layer heights are tuned, the resin or PLA cures predictably. What turns a sharp tabletop figure into a sad one is what happens between “print finished” and “ready to prime.” Support cleanup is the craft step, and the difference between someone who has cleaned five hundred minis and someone who has cleaned five is visible from across a table. The good news is that almost all of the technique transfers from a few hours of conscious practice — there is nothing magical about it once the workflow makes sense.
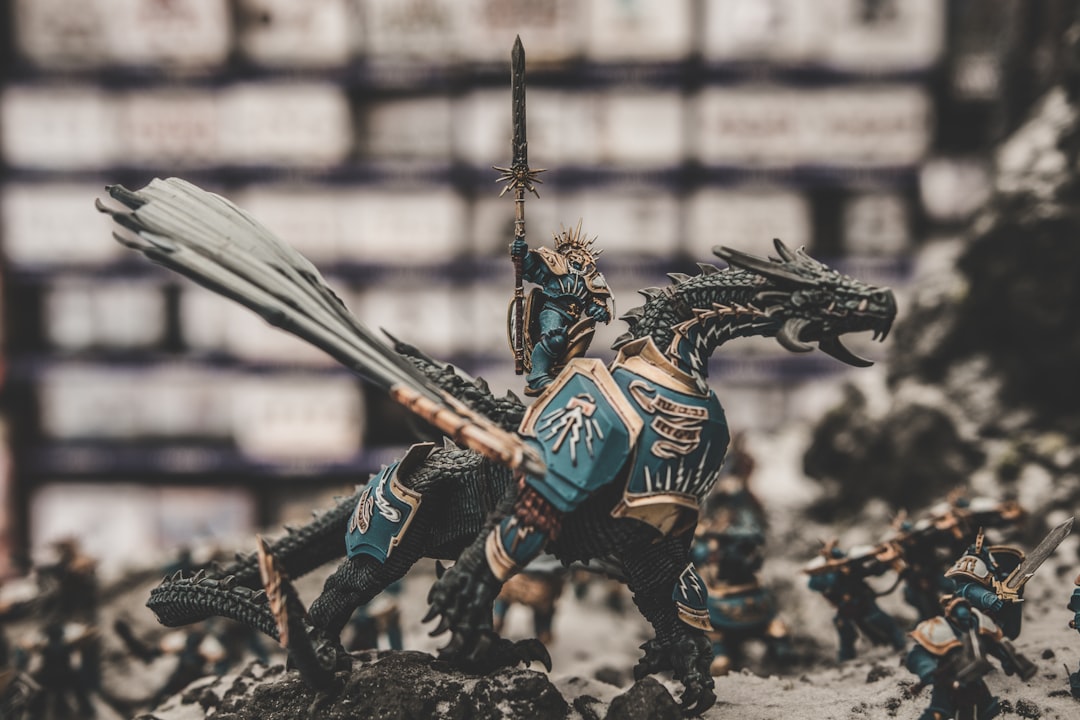
Miniatures are the worst case for support cleanup because everything is fragile and small. A bayonet on a 28mm trooper is half a millimeter thick. A scabbard chape, a banner pole, a spear tip, a power-armor antenna — these are exactly the parts that supports tend to attach to, and they are exactly the parts you do not want to snap. Larger functional prints can lose a support scar without consequence. Miniatures cannot. Every leftover nub gets seen the moment primer hits the surface, because primer flattens shadows that previously hid the damage.

The toolkit you actually need (and what to skip)
You do not need a hobby store full of tools to clean miniatures well. You need five things, and three of them cost less than a coffee. The first is a fresh X-ACTO #11 blade or equivalent — sharpness is the whole point, and a dull blade tears more than it cuts. Buy a pack of replacement blades and treat them as consumables; one blade is good for maybe two evenings of cleanup before it starts dragging. The second is a pair of sprue cutters, the kind sold for plastic models. Side-cutters from the hardware store are too thick at the tip and will crush detail.
The third is a small hobby file in a flat profile, ideally a needle file. The fourth is fine sandpaper — 600 grit and 1000 grit, both wet-dry. The fifth, and the one most people skip, is good lighting and magnification. A cheap clip-on LED magnifier on a swing arm is the single biggest quality upgrade you can make to your cleanup station, more than any blade or file. You cannot fix what you cannot see, and miniature support scars are at the limit of unaided vision.
What to skip: rotary tools, motorized engravers, and anything that runs on batteries. The temptation to use a Dremel on cleanup is universal and it is wrong. Rotary tools remove material faster than you can react, and on a 28mm figure that is exactly the failure mode you are trying to avoid. Save them for resin sprue gates on terrain or vehicle kits where the part is large enough to forgive overcorrection.
Order of operations that prevents broken parts
The order matters more than the technique. Almost all broken bayonets and snapped sword tips happen because someone removed the wrong support first and the figure lost its scaffolding before the fragile bit was cleared. The sequence that holds up across both FDM and resin is: bulk supports first, fragile-area supports last, and never apply lateral force to a thin protrusion that still has a support attached upstream of where you are cutting.
Concretely: start with the wide base or bulk supports under the legs, torso, and shield arm. These are the supports that anchor the print and they come off cleanly. Move to medium-detail supports next — backpack edges, cape interiors, weapon hilts. Save thin-feature supports for last — bayonets, antennas, fingers, banner poles, the tip of a sword. By the time you reach those, the rest of the figure is clean and the only force on the fragile part is the cut itself.
The cut itself uses sprue cutters set against the support so the blade closes onto the support, not onto the model. Then the X-ACTO trims the residual nub flush. Then the file or sandpaper smooths the witness mark. Three passes, one tool each. Trying to do all three with a knife alone is what produces the chewed-up scars.
Tree, accordion, and cone supports remove differently
Modern slicers offer multiple support styles and they require different removal techniques. Tree supports — the branching kind — are the easiest because they touch the model at a single small contact point and the rest of the structure peels off in one piece. Sprue cutters at the contact, then a trim, and you are done. Tree supports are also the kindest to fragile features because the contact is tunable in the slicer.
Accordion or zigzag supports, common in Cura and PrusaSlicer, leave a witness line rather than a witness dot. The line removes cleanly with a flat file run parallel to the surface, but it cannot be trimmed away with a knife alone — the line is too long. If you only have a knife, score along the line and then sand. If you have a file, the file is faster.
Cone or pillar supports — the older default — are the worst on miniatures because each pillar leaves a separate dot, and on a curved surface the dots are at slightly different heights. Removal is one pillar at a time with sprue cutters, then a careful trim, then sanding to bring the surface back to a continuous curve. If your slicer offers tree supports, switch — the cleanup time difference is roughly half.
Repairing the inevitable scars
Some damage is unavoidable, and a workflow that pretends otherwise produces stress rather than minis. The two most common forms of damage are surface pitting where a support tore rather than cut, and lost edges where a corner came off with a support. Both are repairable with twenty minutes of work and standard hobby putty.
For surface pitting, mix a small amount of two-part epoxy putty (Green Stuff or Magic Sculpt) and press a tiny amount into the pit with a sculpting tool. The putty cures in a few hours, sands smooth, and takes primer the same as the surrounding plastic. The trick is to use less putty than you think — a smear that is thinner than the pit is depth produces a flatter surface than overfilling and sanding back. For lost edges, build the edge back with putty and let it cure overnight before refining the geometry with a needle file.
If a thin protrusion broke off entirely — a bayonet or a weapon tip — replacement is faster and more reliable than rebuilding. Cut the broken stub flush, drill a small hole, and pin a piece of guitar string or paperclip wire to length. The pin will be straighter and stronger than the original printed feature, and the visible joint disappears under primer.
The “ready to prime” test
Cleanup is finished when the model passes a simple visual check under raking light. Hold the model so a light source crosses the surface at a shallow angle and look for any shadows that catch a pit or a nub. Primer will exaggerate every one of those shadows, so a model that looks clean under flat light but throws shadows under raking light is not done. If the raking-light test reveals nothing, the model is ready.
A second test: run a fingertip over every surface. Skin is more sensitive to small bumps than vision is, especially on smooth-curved areas like a helmet or a shield. A nub you cannot see but can feel will become visible the moment primer hits it. Both tests take ten seconds and they prevent the most common painting frustration — discovering scars after primer.
Scaling from five minis to fifty
The workflow that holds up across volumes is the same workflow regardless of how many minis are in the queue. The temptation when cleaning a fifty-figure army is to skip the slow steps — the file pass, the magnification check, the raking-light test. Skipping those steps does not save time at the army level; it shifts the time to the painting stage where every scar slows down a brushstroke. The minutes saved at cleanup are paid back, with interest, during basecoat.
For volume, the lever that actually saves time is parallelization. Set up an assembly line: stage A is sprue cutter, stage B is X-ACTO trim, stage C is file, stage D is final inspection. Move five minis through one stage at a time, then the next stage, then the next. Switching tools fewer times saves more time than rushing each step. The five-minute-per-mini target that experienced hobbyists hit on a 50-mini batch comes entirely from process discipline, not from working faster.
The cleanup step is where the model becomes yours
The print stage is mechanical. The slicer made the choices, the printer executed them, and the result is a generic instance of whatever file you fed in. Cleanup is the first step where the figure becomes a specific object made by a specific person. Two hobbyists cleaning the same print produce subtly different miniatures because they make subtly different decisions about which scars to file and which to leave, which features to pin and which to sculpt back. Treat the support cleanup step as the first painting step, because it is — and the figures that come out of it look like they were made on purpose.