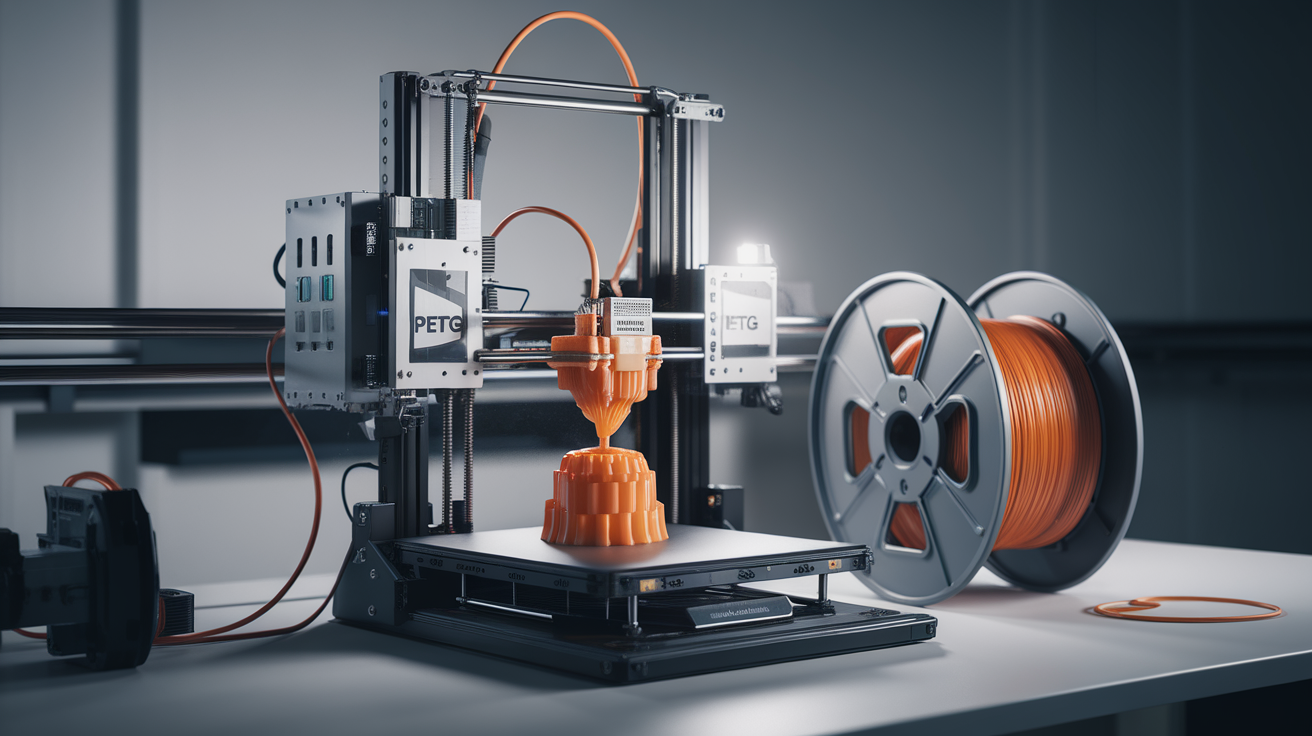
3D Printer Setup for PETG: First-Time Print Calibration Guide (2026)
Why PETG Needs Its Own First-Print Procedure
If your first PETG print fails, the failure mode is usually distinctive: a smear of stuck plastic where the nozzle dragged across the bed, fused to the build plate so firmly that you need a razor blade and patience to remove it. PETG sticks to bare glass, PEI, and even kapton tape with conviction. It also stretches, oozes, and refuses to stop extruding when you tell it to. None of the calibration habits you built printing PLA transfer cleanly. The slicer profile that produces a perfect Benchy in PLA will produce a stringy, glued-down mess in PETG.
This guide walks the first-time PETG user through the exact sequence: bed surface choice, temperature tuning, retraction calibration, first-layer Z offset, and the trial print that tells you whether the rest of the spool will run cleanly. The procedure assumes a stock printer with a 0.4 mm nozzle and a heated bed capable of at least 80°C — the baseline of any current FDM machine.
Choose the Bed Surface Before You Heat Anything
The single decision that determines whether your first PETG print succeeds is the bed surface. PETG bonds chemically with PEI, which is the most common bed coating shipped with modern printers (Bambu, Prusa, Sovol, most Elegoo). That bond is too strong without a release agent. Print PETG straight onto bare PEI and you will gouge the surface trying to remove the print. The PEI sheet is then permanently scarred.
The mitigations, in order of how foolproof they are:
- Glue stick on PEI: A thin layer of standard PVA glue stick — Elmer’s purple, UHU, generic — applied with a single pass over the print area. The glue forms a release barrier. Wipe with a damp cloth between prints to refresh.
- Hairspray on glass: If you swap the PEI sheet for a glass plate, two short bursts of hairspray (Aqua Net unscented or any aerosol with PVP) gives identical adhesion to glue stick. Cleaner-looking print bottoms.
- Smooth PEI dedicated to PETG: Some users keep a second sheet specifically for PETG, accepting that the surface will eventually scuff. With a release coating it lasts longer.
- Painter’s tape (3M blue): A budget option for printers without heated beds capable of 80°C. The tape releases the part when it cools.
Whatever surface you choose, the rule is: PETG must touch a release layer, never the bed directly. Skipping this step is the most common reason first PETG prints destroy the build plate.
Calibrate Temperature With a Tower Print
PETG’s temperature window is wide — most spools work somewhere between 220°C and 250°C — but the right temperature inside that window varies brand to brand. Print a temperature tower (the Smart Compact Calibration tower from Teaching Tech is the de facto standard) and the right value reveals itself: the band where strands are clean, layer adhesion is solid, and stringing is minimal.
For most generic PETG, 235°C is the starting point. Drop in 5°C steps if you see stringing, ooze, or smoking. Bump up if layers separate when you flex the part. The signs to watch:
- Too hot (above optimum): Stringing between perimeters, glossy over-extruded surfaces, smoke from the nozzle, brown discoloration on the strand.
- Too cold (below optimum): Layer separation when flexed, gaps in straight walls, dull matte surface that should be glossy, audible clicking from the extruder.
- Just right: Glossy continuous walls, minimal stringing that wipes off easily, strand snaps cleanly when bent rather than tearing.
Bed temperature for the first layer should be 80°C with a release coating, dropping to 70°C for subsequent layers if your slicer supports per-layer bed temp control. Going hotter than 80°C does not improve adhesion and will cause elephant’s foot.
Z Offset: The Hidden PETG Killer
PETG is forgiving of nozzle distance during normal printing — but a too-low first layer is fatal. Squashing PETG into the bed creates micro-welds that will not release, even with glue stick. The “paper test” first-layer feel that works for PLA — slight resistance when you slide a piece of paper between the nozzle and bed — needs to be looser for PETG. The paper should slide with no resistance at all on the first try.
Concretely: if your PLA Z offset is -1.85 mm, raise the nozzle to -1.80 mm for PETG. The 50-micron lift makes the first layer slightly proud, gives the release layer room to do its job, and prevents the worst of the bed-destroying stuck-on-failures. The first layer will look slightly under-squished — wider gaps between extrusion lines than you would tolerate in PLA. That is correct. PETG bonds to itself well; it does not need the squish that PLA requires for layer adhesion.
Run a single-layer adhesion test print before committing to a multi-hour job. A 100×100 mm single-line square at 0.2 mm layer height shows you immediately whether your Z offset, bed surface, and first-layer speed are all in the right window. If the square peels off the bed when cool, you have your starting point.
Retraction Settings That Actually Work for PETG
The biggest difference between PLA and PETG slicer profiles is retraction. PETG strings and oozes more than PLA at any given temperature, but it also reacts badly to long aggressive retractions — the molten plastic in the melt zone gets pulled past the heat break, cools, and clogs the hot end. The trick is short retractions executed at a controlled speed.
The starting point for direct drive printers (Bambu, Voron, Sovol, modern Ender direct drive mods):
- Retraction distance: 0.8 mm. Stock PLA profiles often have 0.5 mm — bump for PETG.
- Retraction speed: 25 mm/s. Slower than PLA’s typical 40 mm/s — PETG needs gentler retraction to avoid cavitation in the melt zone.
- Coasting: Disable. Coasting introduces under-extrusion that PETG fills with strings during travel.
- Wipe distance: 1.0 mm. Helps clean the nozzle without dragging plastic across the print.
For Bowden printers (Ender 3 stock, older Creality units), bump retraction distance to 4 mm and retraction speed to 35 mm/s. The longer filament path needs more pull to break the ooze chain.
If you still see stringing after dialing in retraction, the next lever is a 5°C temperature drop. Most users keep cranking retraction distance and end up with extruder skipping. Resist that path — temperature first, distance second.
Cooling and Speed Settings
PLA defaults to 100% part cooling because PLA crystallizes fast and benefits from rapid cooling. PETG is the opposite: too much cooling weakens layer bonds because the next layer never properly fuses to the cooled surface. Run PETG with part cooling at 30–50%, never above 60%.
Print speed for the first PETG print should be conservative: 40 mm/s outer perimeter, 60 mm/s inner perimeter, 80 mm/s infill. PETG can go faster — high-flow PETG variants will sustain 200 mm/s on a CoreXY — but the first print is for catching settings problems, not setting speed records. Once you know your printer handles standard PETG cleanly, you can push speed in subsequent jobs.
Layer height for the first print should be 0.2 mm. This is the height that almost every PETG profile is tuned around. Going thinner reveals stringing more visibly; going thicker stresses extrusion flow. 0.2 mm is the diagnostic baseline.
The First Real Print: A Useful Calibration Object
Skip the 3D Benchy for PETG calibration. The Benchy was designed for PLA characterization — its overhangs and bridges punish PETG’s slow cooling unfairly, and a poor Benchy result tells you nothing actionable. Instead, print one of these first:
- All-in-One 3D Printer Test (printables.com #25257): Single object that exercises bridging, stringing, overhangs, and dimensional accuracy. PETG-friendly geometry.
- The 1x1x1 inch hollow cube: Boring, fast, tells you everything about wall quality, top layer, and corner accuracy.
- A small functional part you actually need: A cable clip, a phone stand, a battery tray. The motivation to dial in settings is higher when the print has a use.
Whatever you choose, look at the result with these criteria: walls should be glossy and continuous, top layer should be smooth without gaps, corners should be crisp not blobby, the part should release from the bed cleanly when cool. Hit all four and your PETG profile is ready for production work.
Common First-Print Failures and What They Mean
Even with all the calibration above, the first PETG print often surfaces one specific problem. Match the symptom to the fix:
- Print won’t release from the bed: Z offset too low, no release coating, or both. Reapply glue stick generously. Raise Z offset 50 microns.
- Print pops off mid-job: Z offset too high, or part cooling too aggressive. Lower Z offset 30 microns. Drop fan speed to 30%.
- Stringy bird’s nest after travel moves: Temperature too high or retraction too short. Drop temp 5°C first. Then bump retraction 0.2 mm.
- Layers separate when squeezed: Temperature too low. Bump 5°C and reprint.
- Smoke and burnt smell: Nozzle too hot. Drop to 225°C. Check that filament is dry — wet PETG smokes earlier.
- Audible clicks from extruder: Either flow is too high or temperature too low. Drop print speed by 25% before changing temperature.
Once Your First Print Succeeds
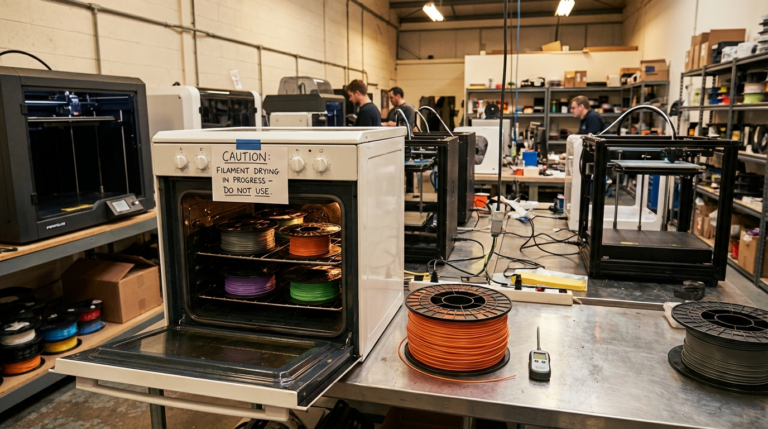
A single clean PETG print does not mean the next one will succeed. PETG absorbs moisture from the air faster than PLA, and a spool that sat open for two weeks in a humid environment will print noticeably worse than the same spool fresh out of vacuum. Store opened PETG in a sealed dry box with desiccant. If you see any popping, hissing, or steam from the nozzle on a previously-good profile, the filament is wet — dry it at 65°C for 6 hours before reprinting.
The slicer profile you tuned for the first print should serve as your baseline for that brand and color of PETG. Different brands and even different colors of the same brand can shift the optimum temperature by 10–15°C. Keep brand-specific profiles. Repeat the temperature tower whenever you switch brands.
For deeper context on PETG variants and which one matches your use case, see our PETG variants compared 2026 guide. For the broader stringing-fix workflow, our PETG stringing and oozing how to fix covers the diagnostic chain when settings drift on a previously-tuned printer.