3D Printing Cosplay Armor: Full-Size Pepakura Wearable Build Guide (2026)
Why 3D Printing Changed Cosplay Armor Forever
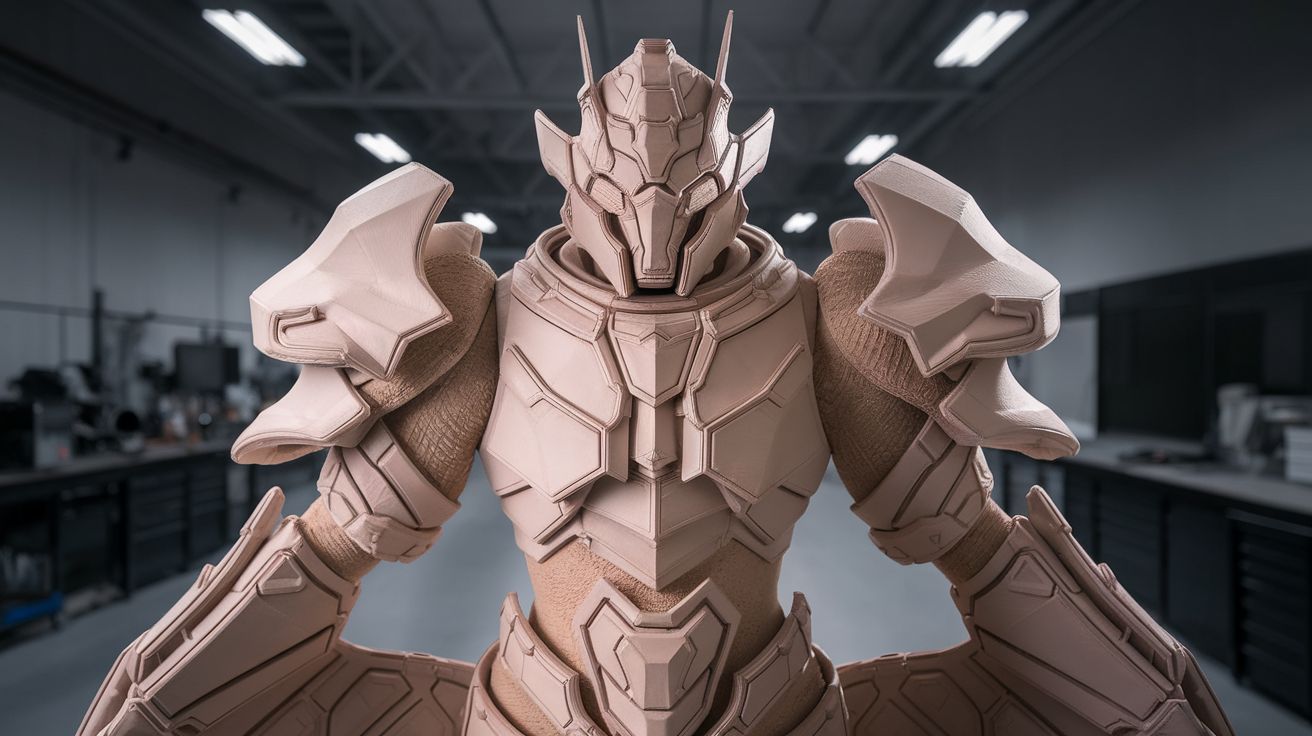
Pepakura builds — the foam and paper craft method that ruled cosplay armor for two decades — are still alive in 2026, but they have moved sideways. The pepakura model files now serve as the geometry source for FDM 3D printers, not as templates for hand-cut foam panels. The advantages are obvious: parts repeat exactly across multiple builds, screw holes line up, edges are sharp where you want them sharp, and the surface starts much smoother than EVA foam ever finished. The disadvantages are equally real: a full Master Chief armor build runs 12–18 prints, takes 80+ hours of print time across multiple machines, and demands a finishing process that EVA foam never required.
This guide walks through a complete full-body 3D printed cosplay armor build in 2026: model sourcing, slicing for wearability and weight, print farm scheduling, joining the parts after they come off the bed, primer and paint workflow, and the wearability adjustments — straps, padding, articulation — that turn a stack of plastic shells into a costume you can actually wear at a convention without overheating or losing parts on the floor.
Where to Find Wearable Armor Files
Not every armor STL is built for wearing. Many are display models — beautifully detailed busts and statues that would not flex around your body, lock to themselves with hidden hinges, or accept padding inside. The reliable sources for wearable cosplay armor in 2026 are designers who specifically scale and split their models for full-body builds:
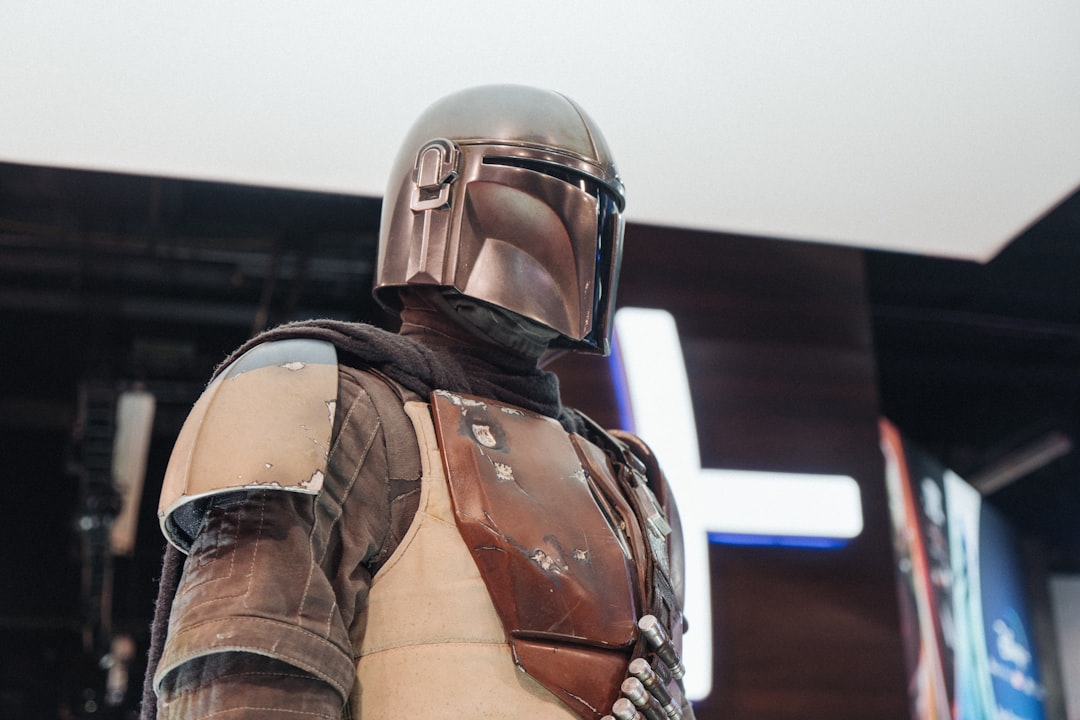
- Galactic Armory (galacticarmory.com): Halo, Mandalorian, and original sci-fi armor sets pre-split for printing. Files come with assembly instructions and recommended infill/wall settings.
- Etsy 3D armor sellers: Many independent designers list wearable-scale armor at $15–40 per file. Look for listings that specify “split for printing” and include strap mount points in the geometry.
- Pepakura archives converted to STL: Tools like Pepakura Designer can export the original 405th archive paper-craft files as solid mesh. Some manual cleanup needed, but the back catalog of armor designs is huge.
- Free archives (printables.com, thingiverse.com): Patchy quality. Stick to designers with multiple uploads and visible build photos in the comments.
Whichever source you use, check the file count before committing. A full Mando build is typically 14–20 separate prints. A Master Chief is 16–22. If a listing claims to be “complete armor” in 4 files, those parts are probably too large to print on standard hobby printers and will need re-splitting yourself.
Sizing the Armor to Your Body
The armor you download is sized for an average adult — usually around 6’0″ / 180 cm with average build. If you are taller, shorter, broader, or narrower than average, you will need to scale the parts. The simple uniform scale (110% across all axes, for example) only works for small adjustments. Beyond about 5% size change, certain parts need anisotropic scaling: chest pieces want extra width without extra depth, helmets want exactly your head circumference, gauntlets want forearm length matched to your actual forearm.
The practical workflow: take body measurements before printing anything. Chest circumference, waist, hip, shoulder width, head circumference at brow, bicep, forearm, thigh at widest, calf at widest. Compare to the model’s intended dimensions (most designers publish these). Scale each part to match its corresponding measurement, with 10–15 mm extra clearance for padding and undersuit thickness.
For helmets specifically, do not trust the headphone test. Print a foam-paper sizing band first — a single-layer hollow ring at the planned helmet diameter — and verify it sits comfortably around your skull with room for padding. If it’s tight before padding, the finished helmet will give you a headache after an hour at the convention.
Slicing for Strength, Weight, and Print Time
Cosplay armor is the rare 3D printing application where you want low infill and few walls. The parts need to be light enough to wear all day, sturdy enough to survive moderate impacts, and flexible enough that joints can articulate. The starting point for armor pieces:
- Wall count: 3 walls (1.2 mm at 0.4 mm nozzle). Two walls flex too much; four walls add weight without strength gain at this scale.
- Infill: 10–15% gyroid pattern. Gyroid distributes loads in all directions and prints fast. Lower infill saves weight; higher adds rigidity for impact zones.
- Top/bottom layers: 4 layers each. Visible armor surfaces need this for a smooth top finish that takes paint well.
- Layer height: 0.24 mm. Faster than 0.2 mm with no perceptible quality loss after primer and paint.
- Filament: PLA+ for indoor cons, PETG for outdoor or hot-car-transport scenarios. Standard PLA warps badly if you leave armor in a sunny car for two hours.
Print orientation matters more for armor than for other prints. Orient parts to put visible surfaces facing up (away from supports) when possible. Layer lines on a curved surface that sits at 45° to the camera read as texture; layer lines facing the camera straight-on read as cheap.
For a full Master Chief build at these settings on a Bambu P1S, total print time runs about 95 hours across 18 parts. Two printers in parallel cuts that to about a week of overnight queues. One printer alone is two-and-a-half weeks of constant printing.
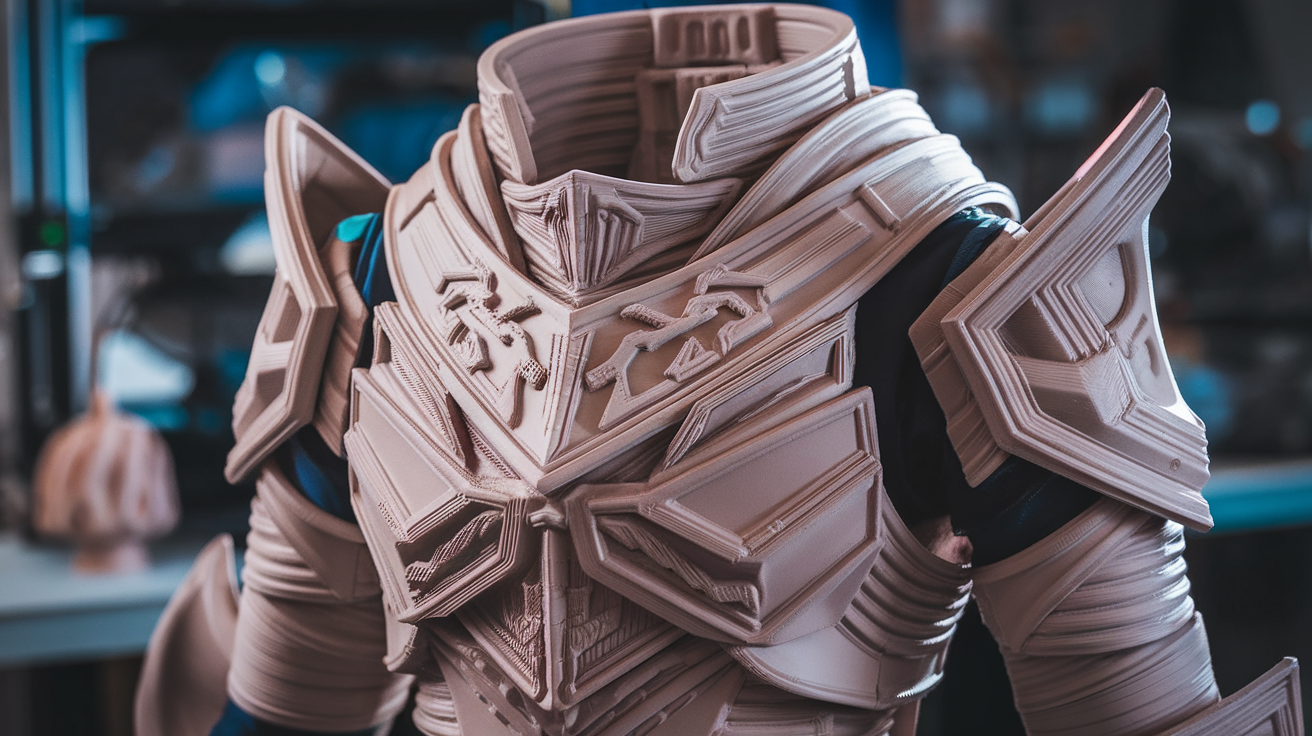
Joining Parts: Glue, Filler, Sand
Most armor pieces print in 2–6 sub-parts that need joining before primer. The professional process for clean joins:
- Dry fit first. Check that the parts mate properly before any adhesive. If they don’t fit cleanly, sand the join surfaces with 80-grit until they do.
- CA glue (cyanoacrylate) for primary join. A thin bead along one mating surface, press together, hold 60 seconds. Bondic UV-cure glue works for parts where you need positioning time before lock.
- Reinforce joins inside. A bead of 5-minute epoxy on the inside seam, plus a strip of fiberglass mesh tape pressed into wet epoxy. The join becomes structurally stronger than the surrounding plastic.
- Fill the visible seam with Bondo or Apoxie Sculpt. Thin layer along the outside seam, smooth with a spatula, sand smooth after cure.
- Block-sand the entire panel with 220 grit, then 400 grit. This is where layer lines disappear and the armor starts looking like a solid object instead of a 3D print.
The block-sanding step is the one most builders skimp on. It is also the step that separates convention-quality armor from “looks 3D printed” armor. Budget two evenings of sanding per major panel.
Primer, Paint, Weathering
The primer step gives the paint something to grip. PLA and PETG both accept rattle-can primer well, but the type matters. Use filler primer (Rust-Oleum 2X Filler Primer, Tamiya Surface Primer L) for the first coat — it builds film thickness and lets you sand layer lines into oblivion. Two coats with sanding between, and the armor surface reaches injection-molded smoothness.
For paint, follow whatever scheme the character calls for, but in practice the proven workflow is:
- Base coat: Rattle-can lacquer in the dominant color. Two thin coats from 25 cm distance.
- Detail and panel lines: Brush enamel in dark colors along recessed lines, wiped back with a clean cloth.
- Weathering wash: Heavily thinned umber or black oil paint applied to recessed details, wiped back with white spirit-dampened cloth.
- Drybrush highlights: Almost-dry brush of metallic silver or aluminum across raised edges to simulate worn metal.
- Sealing coat: Matte clear sealer to lock everything down and unify the finish sheen.
The weathering steps make the difference between cosplay armor that reads as toy-store plastic and armor that reads as battlefield-worn equipment. Even on bright clean designs, a subtle wash brings out the surface detail.
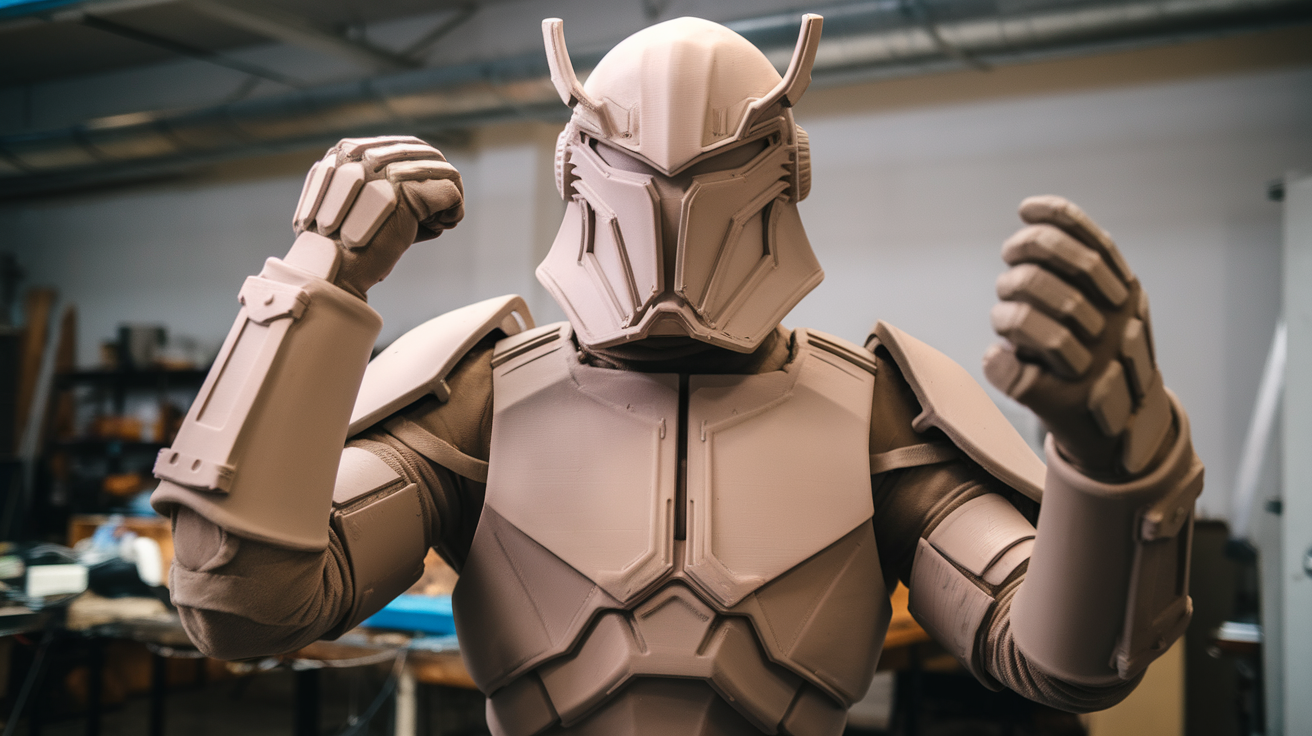
Wearability: Straps, Padding, Articulation
The mistake every first-time builder makes is treating armor as a rigid shell. Real wearable armor has flex points, padded contact surfaces, and a strap system that distributes weight. The systems that work:
- Elastic strapping (5/8 inch black elastic): The default. Hot-glued or epoxied to interior anchor points, sized loose enough to slip into. Works for chest, back, shoulders.
- Magnetic closures: Neodymium magnets glued into mating surfaces. Works for forearms, calves, sides of chest plate. Allows quick on/off.
- EVA foam padding: 6 mm EVA foam (the same stuff used in non-3D-printed cosplay) glued to interior contact surfaces. Reduces sweat, prevents chafing, eliminates rattle.
- Articulation joints: For shoulder pauldrons and elbow caps, a 30 mm overlap with the adjacent piece allows arm movement without gaps. Plan this in the slicing stage.
Test the full assembled costume for at least an hour before any convention. Armor that fits in the living room often binds painfully when you lift your arms above your head, sit down, or climb stairs. Discover those problems at home, not three hours into a 12-hour con day.
Conclusion: 3D Printed Armor in 2026
3D printed cosplay armor is no longer experimental. The model libraries are mature, slicer profiles are settled, and the finishing workflow is well-documented across the cosplay community. A first-time builder with a single Bambu P1S can produce convention-grade Mando, Master Chief, or Boba Fett armor in 4–6 weeks of weekend work, for a material cost under $250. That is faster, cheaper, and more dimensionally consistent than the equivalent foam build, with the trade-off of more upfront tool investment in printers, sanding equipment, and paint supplies.
For helmet-specific guidance with a focus on smoothing and painting, see our best 3D printer for cosplay props guide. For deeper material selection on which filaments survive convention transport and outdoor shoots, our best PLA filament brands covers the durability angle for cosplay-grade prints.