3D Printer Thermistor Problems: How to Diagnose and Fix Temperature Errors
Your 3D printer’s thermistor is a tiny sensor that plays a massive role — it tells the firmware exactly how hot the hotend and heated bed are. When it fails or malfunctions, you get erratic temperatures, thermal runaway errors, failed prints, and potentially even a fire hazard. In this guide, I’ll cover every common thermistor problem, how to diagnose each one, and how to fix them without replacing your entire hotend.
What Does a Thermistor Do?
A thermistor is a temperature-dependent resistor. The most common type in 3D printers is an NTC (Negative Temperature Coefficient) thermistor — its resistance drops as temperature increases. The printer’s control board reads this resistance, converts it to a temperature reading, and uses that reading to control the heater.
There are typically two thermistors in a 3D printer: one embedded in the hotend heater block and one attached to the heated bed. Both are critical — if either sends incorrect readings, the firmware can’t maintain stable temperatures. Most budget printers use 100K NTC thermistors (often called “NTC 100K B3950”), which read approximately 100,000 ohms at room temperature and around 500 ohms at 200°C.
Common Thermistor Problems and Symptoms
1. “THERMAL RUNAWAY” or “MINTEMP” Error
This is the most common thermistor-related error and also the scariest-sounding. Modern firmware (Marlin, Klipper) includes thermal runaway protection that triggers when the detected temperature doesn’t match expected behavior. You’ll see this when:
- The thermistor wire is broken or has a loose connection — the firmware reads an impossibly low or high temperature
- The thermistor has shifted out of position — it reads ambient temperature instead of hotend temperature
- The heater cartridge is failing — temperatures drop during printing, triggering the safety shutdown
This error halts your print and turns off all heaters. That’s by design — thermal runaway protection prevents fires. Never disable it.
2. Temperature Fluctuations (±5°C or More)
If your temperature display bounces around instead of holding steady, the thermistor is likely:
- Poorly seated — it’s loose in the heater block and reads inconsistently as it moves
- Developing a bad connection — intermittent contact in the wiring or connector causes readings to jump
- Near end of life — thermistors degrade over time, especially at high temperatures
Temperature swings of ±2°C during printing are normal (PID tuning dependent). But ±5°C or more indicates a hardware issue.
3. Temperature Reads Too High or Too Low
If your printer thinks the hotend is 250°C when it’s clearly not (you can tell because filament isn’t melting), or reads 20°C when the heater has been on for 5 minutes:
- Wrong thermistor type configured — if you replaced the thermistor, you need to tell the firmware which type it is. A 100K NTC and a 104GT-2 look identical but have different resistance curves.
- Short circuit in the wiring — damaged insulation causing the wires to touch reads as very low resistance (high temperature)
- Open circuit — a broken wire reads as infinite resistance (very low temperature, often -14°C or similar)
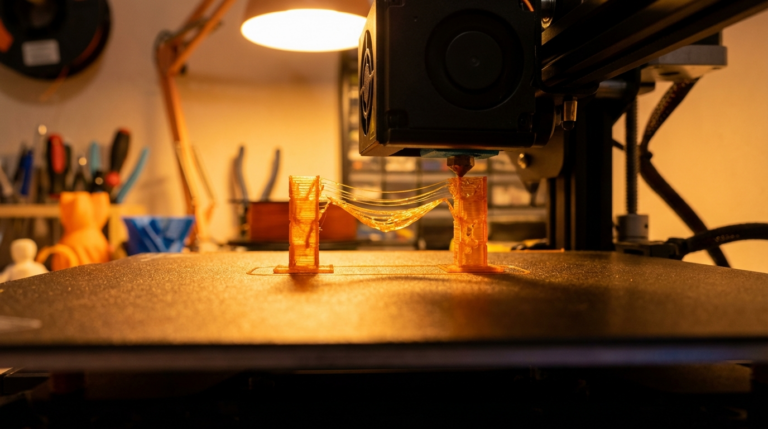
4. Printer Heats Endlessly Without Reaching Target
You set 200°C but the temperature climbs painfully slowly and never arrives, or overshoots wildly. Possible causes:
- Thermistor not making good thermal contact — it’s measuring air temperature near the block, not the block itself
- PID values need retuning — after replacing a thermistor or heater, always retune PID
- Heater cartridge underpowered — not a thermistor issue, but presents similarly. Check heater wattage matches your printer’s spec.
How to Diagnose Thermistor Problems
Step 1: Visual Inspection
With the printer off and cooled down, examine the thermistor wiring from the control board all the way to the sensor:
- Look for damaged insulation, pinched wires, or obvious breaks
- Check the thermistor’s position in the heater block — it should be seated fully in its hole
- Inspect the connector at the control board — loose pins are a common culprit
- Look for signs of heat damage on the wires near the hotend
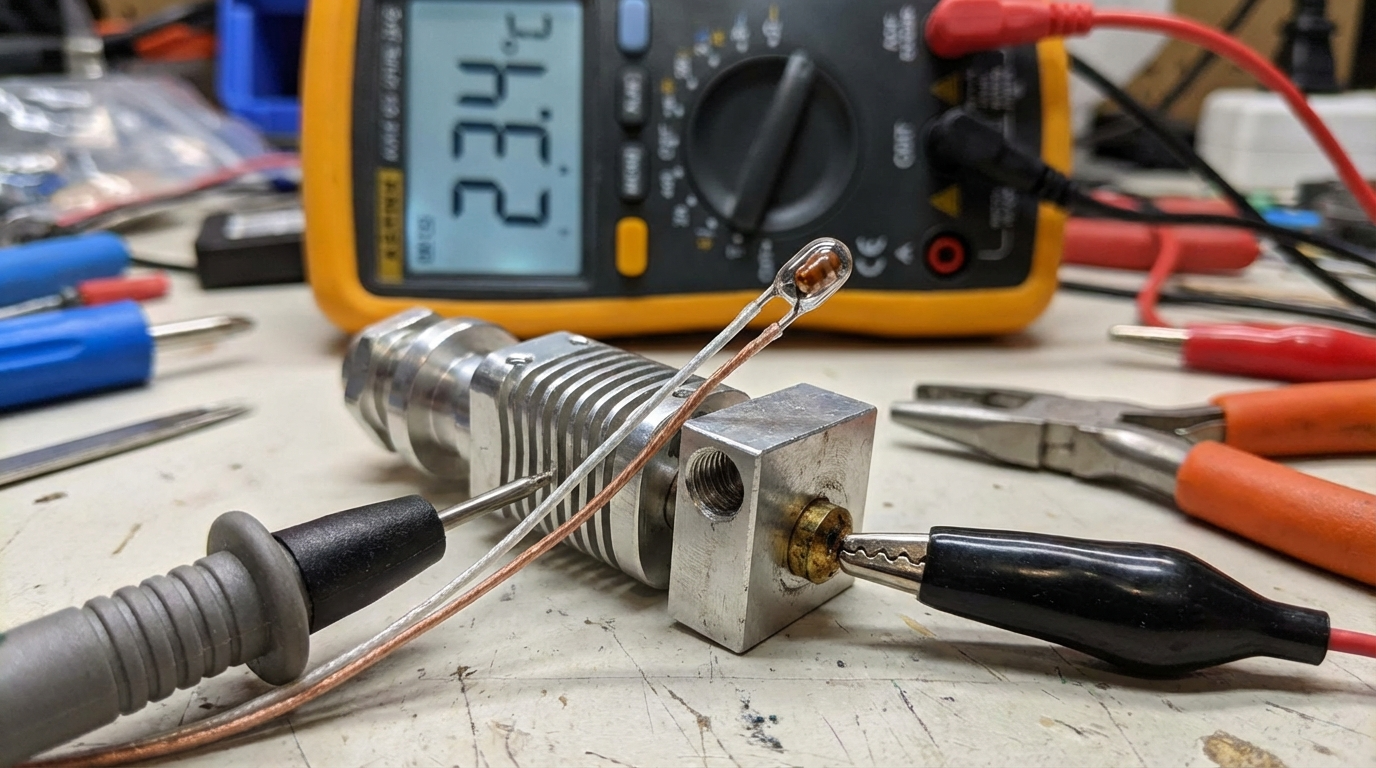
Step 2: Multimeter Test
Set your multimeter to resistance (ohms) mode and disconnect the thermistor from the board:
- Room temperature (~25°C) — should read approximately 100K ohms for a 100K NTC thermistor
- Pinch the bead with your fingers — body heat should cause the resistance to drop noticeably (to ~80-90K)
- Infinite resistance (OL) — the thermistor is broken or wires are disconnected
- 0 or very low resistance — short circuit in the wiring
- Unstable/jumping readings — intermittent connection, usually a cracked bead or damaged wire
Step 3: Firmware Check
Make sure your firmware is configured for the correct thermistor type. In Marlin, this is set in Configuration.h:
TEMP_SENSOR_0— hotend thermistor typeTEMP_SENSOR_BED— bed thermistor type- Common values: 1 (EPCOS 100K), 5 (100K NTC B3950), 11 (QU-BD 104GT-2)
In Klipper, check your printer.cfg for the sensor_type setting under [extruder] and [heater_bed]. Using “Generic 3950” covers most common thermistors.
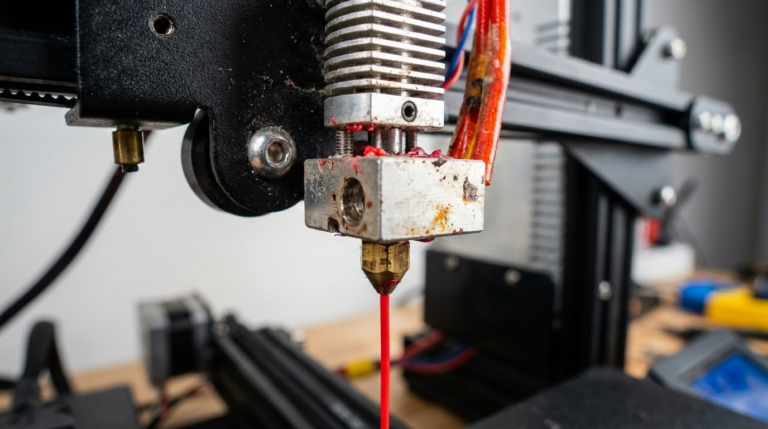
How to Replace a Hotend Thermistor
What You Need
- Replacement thermistor (match the type — 100K NTC B3950 is most common)
- Small screwdriver or hex key for the set screw
- Kapton tape or thermal paste (optional, for securing the thermistor)
- Wire crimps or solder + heat shrink
Replacement Steps
- Heat the hotend to 150°C — this makes it easier to remove the old thermistor if it’s stuck with residue
- Power off and unplug — safety first, always
- Remove the old thermistor — loosen the set screw (or small grub screw) holding it in the heater block. Gently pull the thermistor out. If it’s cemented in with thermal paste, it may take some wiggling.
- Insert the new thermistor — push the glass bead fully into the hole. It should sit snugly at the bottom. Apply a tiny dab of thermal paste if desired (improves thermal contact but isn’t strictly necessary).
- Secure with set screw — tighten gently. The screw should hold the thermistor in place without crushing the glass bead. Overtightening cracks the bead instantly — you’ll know because the reading will go to zero or infinity.
- Route the wires — keep them away from the heater cartridge and the nozzle. Use a small zip tie or Kapton tape to secure the wires to the heater block’s wire channel.
- Connect to the board — thermistor connections are not polarized (either wire to either pin).
- Retune PID — send
M303 E0 S200 C8(Marlin) or runPID_CALIBRATEin Klipper to dial in the new temperature response.
Heated Bed Thermistor Issues
Bed thermistors fail less often but present unique challenges. The thermistor is usually taped or clipped to the underside of the bed, and the wiring runs through the cable chain or along the gantry. Common issues:
- Wire fatigue — the constant back-and-forth motion of the bed eventually breaks the wire, especially at stress points
- Poor thermal contact — if the thermistor lifts away from the bed surface, it reads low and the firmware overheats the bed to compensate
- Connector burnout — high-current bed connectors (especially screw terminals on cheap boards) can overheat and damage nearby thermistor connections
To check bed thermistor placement: flip the bed over (if possible) and verify the thermistor is firmly pressed against the aluminum/steel surface with Kapton tape. Add a small piece of insulation on top to prevent ambient air from affecting the reading.

Preventing Thermistor Problems
- Use strain relief — secure thermistor wires near the heater block so movement doesn’t stress the connection
- Don’t overtighten the set screw — finger-tight plus a quarter turn. The glass bead is fragile.
- Retune PID after any hardware change — new thermistor, new heater, new nozzle, new silicone sock
- Keep spares on hand — thermistors cost $2-5 each. Buy a 5-pack and save yourself emergency downtime
- Upgrade to a PT1000 sensor — if your board supports it, PT1000 RTD sensors are more accurate, more durable, and less prone to drift. Klipper handles them natively.
Final Thoughts
A failing thermistor can disguise itself as half a dozen other problems — bad prints, inconsistent extrusion, random errors. Before you start replacing nozzles, rebuilding hotends, or reflashing firmware, spend five minutes with a multimeter on your thermistor. It’s the simplest, cheapest component in your hotend, and it’s often the actual culprit when things start going wrong. Keep spares, learn to recognize the symptoms, and you’ll save hours of troubleshooting.