3D Printed Miniature Painting Prep: Workflow, Primer Adhesion, and Layer-Line Treatment for FDM and Resin
The Miniature Painting Step Most Articles Skip
Buyer guides for “the best 3D printer for miniatures” rank machines by their ability to produce printed parts at high enough resolution to look like miniatures. They rarely cover the bridge between the printed mini and a paint-ready miniature, which for FDM-printed minis is a multi-step prep process and for resin-printed minis is a different multi-step process. The buyer who follows the buyer guide, prints their first mini, and discovers that a coat of primer made every layer line glaringly visible at three feet does not get the help they need from the buyer guide.
This article walks through the painting prep workflow for both FDM and resin miniatures in 2026, covering primer adhesion testing, the layer-line treatment options that actually work, the priming sequence that determines whether your paint sticks, and the failure modes that will silently degrade your final paint job. The goal is to take a printed mini and make it ready for paint — not to teach painting itself, which is a different skill.
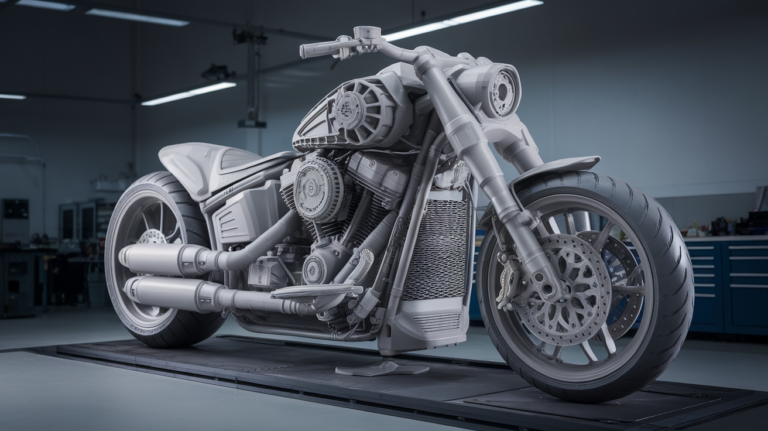
FDM Layer Lines — What You Can and Cannot Hide
An FDM-printed miniature at 0.08 mm layer height shows visible layer lines under primer, period. No print setting hides them entirely. The hobbyist who tries to push toward 0.05 mm layer heights to hide the lines runs into print quality issues (under-extrusion, oozing, melt-zone problems on small features) that produce worse miniatures than printing at 0.12 mm and treating the lines in post-processing.
The two layer-line treatment workflows that work in practice: chemical smoothing for PETG-based prints (using either commercial PETG smoothing solvents or a mild blend of dichloromethane and ethanol — handle with serious ventilation precautions), and progressive sanding plus filler primer for PLA prints. ABS smoothing with acetone vapor is the third option but is rarely worth the safety overhead for hobbyists doing display miniatures.
The sanding workflow: start with 320-grit on the major flat surfaces and broad curves. Move to 600-grit for the second pass. Apply a coat of filler primer (Tamiya Surface Primer, Vallejo Surface Primer, or Citadel’s similar product). Sand the primer with 800-grit to knock down the filler-primer texture. Apply a finish primer coat. The result is a surface that conceals the layer lines well enough that paint applied over it does not telegraph the underlying FDM artifacts.
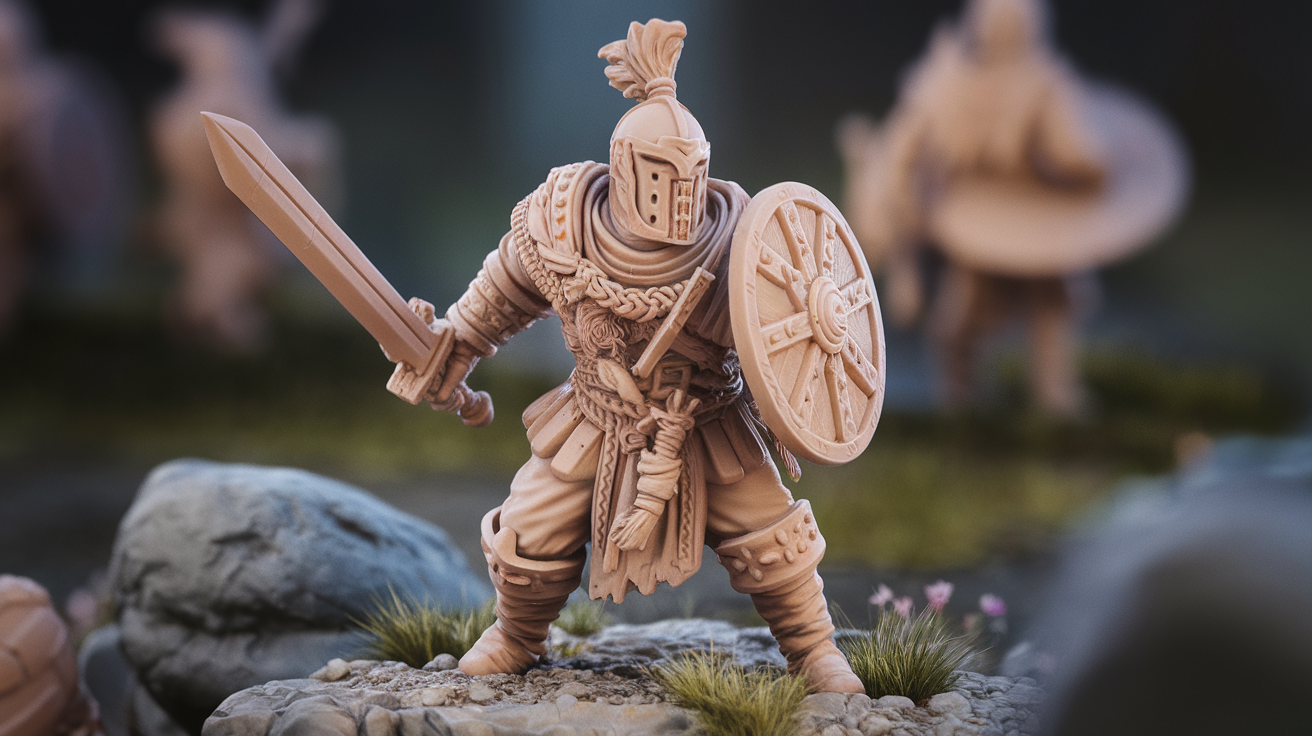
Resin Miniature Cleaning and Prep
Resin-printed miniatures have a different prep problem. The print itself shows essentially no layer lines at modern LCD-resin resolutions (8K-12K screens at 22-28 micron pixel pitch produce surfaces that are smoother than the human eye can resolve). The challenge is removing the residue resin, fully curing the print, and producing a surface that primer adheres to without bleeding.
The cleaning sequence that works: rinse the print in IPA (isopropyl alcohol, 91%+ purity) for 5-10 minutes immediately after printing. Transfer to a second IPA bath (clean alcohol, not the one you just used) for an additional 3-5 minutes. The two-bath approach prevents the first bath’s accumulated resin from re-coating the print. Pat dry with a clean cloth, then UV-cure the print fully — for most photopolymer resins this is 2-3 minutes per side in a desktop curing chamber, or 10-15 minutes total in direct sunlight.
Under-cured resin miniatures show a tacky surface that fights primer adhesion and slowly outgases over weeks, which can cause paint to lift after weeks or months. Over-cured miniatures become brittle and sometimes shift color slightly. The middle window is the goal, and in 2026 most desktop UV chambers are calibrated to land in that window with their default cure settings.

Primer Choice Matters More Than Most Painters Realize
Primer is not paint thinned for the first coat. Primer has a different chemistry — it bonds to the substrate, provides a uniform color base for the actual paint, and includes additives that fill very fine surface imperfections. The wrong primer on the right miniature produces paint adhesion problems that are blamed on bad paint. The right primer on the right miniature is invisible until the paint applied over it lasts.
For PLA miniatures: Tamiya Fine Surface Primer (light gray) is the safest default. It is solvent-based but the solvent is mild enough to avoid attacking PLA, the pigment loading is appropriate for showing through subsequent paint coats, and it dries to a matte finish that paint binds well to. Acrylic primers (Vallejo, Citadel sprays) work but with more finicky humidity sensitivity during application.
For PETG miniatures: PETG resists most primer adhesion better than PLA does. The reliable workflow is light scuffing with 600-800 grit before priming, then either a Tamiya solvent primer (which does etch the PETG slightly and provides the strongest adhesion) or an acrylic primer applied in two thin coats with full drying between coats. Plasti-Dip primer products are an option but produce a flexible base that does not photograph well in display photography.
For resin miniatures: any quality acrylic primer works because the cured resin surface is chemically inert and uniform. The traditional miniature-painter primers (Citadel Chaos Black, Citadel Corax White, Vallejo Polyurethane Primer) all perform identically on properly cured resin. The choice between them is about color and price.
Adhesion Testing Before You Paint
Spending 20 hours painting a miniature whose primer is going to lift in two months is exactly the kind of failure that hobbyists discover only after it has happened. The fix is a five-minute adhesion test before committing to the paint job: prime a sacrificial print using the same workflow you intend to use on your real miniature, wait 24 hours for full primer cure, and apply a piece of high-quality painter’s tape (3M Scotch Blue or equivalent) firmly to the primer surface. Pull the tape off in a quick motion. If the tape comes off clean, your primer is adhered. If primer transfers to the tape, you have a failure mode and need to address it.
Common failure modes the tape test will surface: insufficient surface preparation (PETG without scuff-sanding), under-cured primer (not waiting the recommended dry time), and humidity contamination during priming (priming in a 70% humidity garage is a leading cause of inconsistent adhesion). Each has a fix, and identifying which fix you need is what the test reveals.
The Painting Sequence That Works
For a paint-ready miniature, the sequence: clean the print and remove all residual oils (running water plus mild dish soap is sufficient for PLA, IPA wipe for resin). Mount the miniature on a painting handle (a wine cork plus blue tack is the budget version; commercial painting handles work too). Apply primer in 2-3 thin coats from approximately 25 cm distance, with full drying between coats. Inspect under good lighting for primer thickness inconsistencies — heavy primer pooling on overhangs is the most common defect, and a light pass with 1000-grit can address it. Apply your basecoat color.
If the primer is not uniformly opaque after the priming sequence, the problem is almost always primer thickness. Adding more coats to thicken the primer obscures fine surface detail. The right answer is starting over with thinner primer applied from a slightly closer distance.
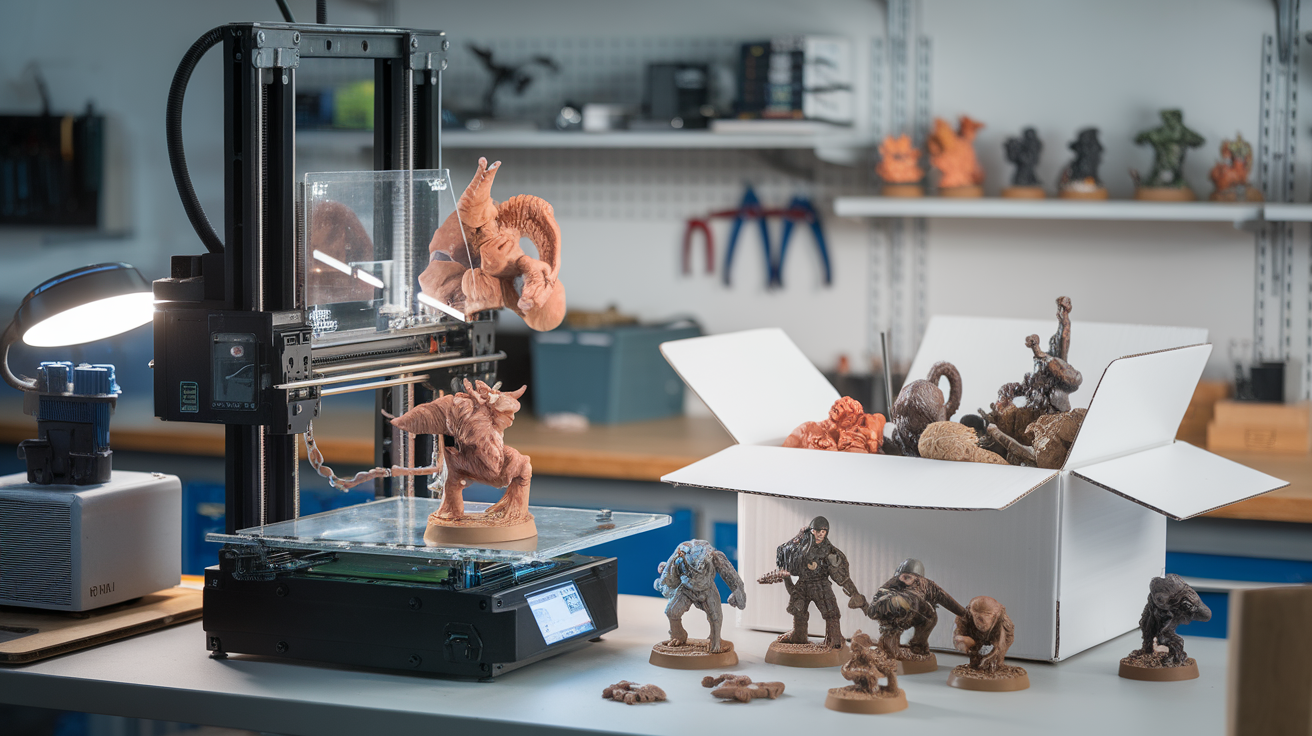
FDM vs Resin for Painting — The Honest Comparison
For painters who care about the final result more than the printer experience, resin is meaningfully better than FDM. The surface finish demands less prep work, the detail capture is finer, and the primer adhesion is more predictable on properly cured resin than on PETG. The trade-off is the resin printing workflow itself: vat resin printers require ventilation, IPA washing infrastructure, and tolerance for handling sticky uncured resin during cleanup.
For painters who want the simpler printing workflow and are willing to invest in post-print prep, FDM at 0.08-0.12 mm layer heights with proper sanding and filler primer produces miniatures that survive 5-foot table inspection. They will not survive 12-inch macro photography in the same way that resin miniatures do, and that gap is unlikely to close at any FDM resolution.
Storage After Painting
The most underappreciated step is storage. A painted miniature exposed to direct sunlight will see colors fade meaningfully within months, and even indirect sunlight in a window-side display case causes visible fading over a year. UV-protective varnish (matte, satin, or gloss as your preference) extends paint life by 5-10x in display environments. The varnish step takes 2 minutes and is the difference between a paint job that lasts a decade and one that fades visibly within a year.
For tabletop wargaming miniatures that will see physical handling, varnish is not optional — it is the layer that prevents your basecoat from chipping off when the miniature gets dropped on the table. Citadel Munitorum varnish (matte) and Vallejo Mecha Varnish (satin or matte) are both reliable defaults. Avoid spray varnish in high humidity; it produces a frosting effect that is essentially un-fixable.
Common Mistakes That Ruin a Good Paint Job
Three failure modes account for most of the “I did everything right and the paint still failed” complaints we see from hobbyists. Painting over uncured primer: the visible top layer of primer dries within an hour, but full primer cure for solvent-based primers takes 24 hours and for acrylic primers takes 6-8 hours. Paint applied within the cure window can lift later. Failing to remove mold release residue: resin miniatures that were not adequately washed retain a thin oily film that primer and paint never fully bond to. The third bath in IPA, even though it feels excessive, is the difference between paint that lasts and paint that flakes off after a year. Skipping the varnish step on a display piece: even careful painters lose paint to dust accumulation and gentle handling without varnish, and discovering the loss after years of display is genuinely demoralizing.