3D Printing Cosplay Weapons in 2026: Convention Safety, Quick-Disconnect Joints, Weight Limits
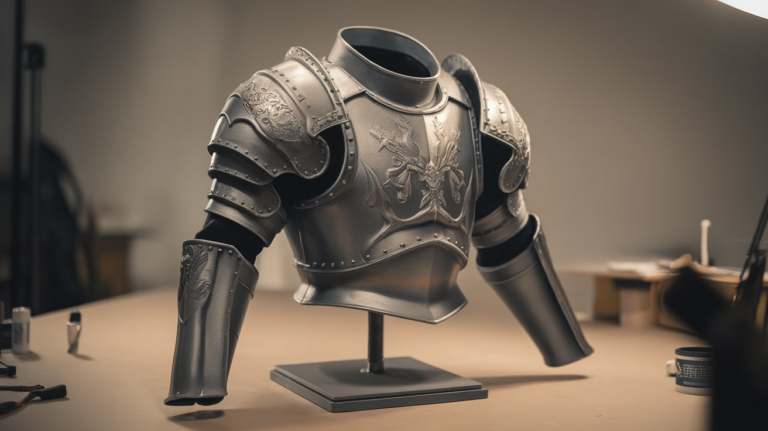
Why Cosplay Weapons Are a Different Print Problem
A cosplay armour piece is a wearability problem. A cosplay weapon is a logistics problem. The print itself is usually the easy part — most replica swords, hammers, blasters, and staves split into four to eight segments that fit on a 256 mm bed and join with magnets or threaded inserts. What ruins a cosplay weapon at a convention is almost never the print quality. It is the door check at registration, the weight against the wearer’s shoulder by hour four, or a centre-of-gravity that turns a five-foot polearm into a tripping hazard in a packed dealer hall.
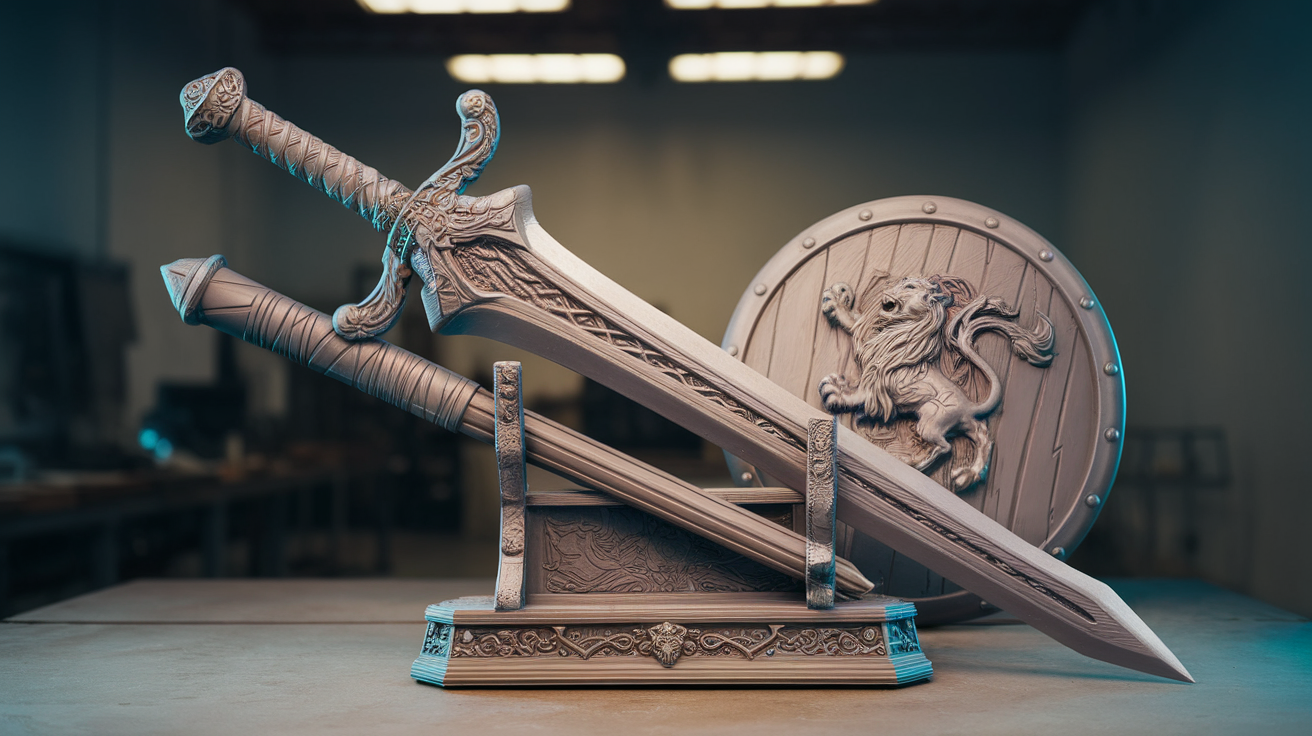
This guide is the 2026 build playbook for printable cosplay weapons that actually clear convention security, stay together for a full day on the floor, and pack down to airline-checkable size for the trip home. The recommendations apply equally to swords, axes, polearms, blasters, and staves; the constraints scale roughly with overall length.
Convention Weapon Policies in 2026
Convention weapon policies have tightened steadily since the 2010s and the 2026 baseline at major North American and European cons looks similar across venues. Bladed props of any material must be blunted at the edge with a minimum 3 mm radius. Pointed weapons must have either a dome cap or a soft-tip cover for the entire convention floor. Functional projectile weapons (working blasters, crossbows, dart launchers) are not permitted inside the venue regardless of dart material. Maximum length is usually capped between 6 feet (1.8 m) and 7 feet (2.1 m), measured assembled.
The implication for printed weapons is concrete. Edges and tips need to be designed soft from the CAD stage, not blunted by sanding after print. Any moving part that resembles a trigger needs to be visibly inert — most cons accept a clearly mechanical trigger that produces no light, sound, or motion when squeezed. Length limits mean a 7-foot scythe needs to break into segments that ship and check in under 60 inches (152 cm), and the segmented assembly must be obvious to security at the door without requiring explanation.
Quick-Disconnect Joints That Survive Travel
The single highest-value design decision for a long cosplay weapon is the joint system that lets it break down for transport and snap back together on the convention floor without tools. Three joint families work reliably for printable weapons in 2026, each with different tradeoffs.
The first is the magnet-and-keyway joint. Two flat mating faces with a recessed 8 mm or 10 mm rare-earth magnet at the centre, surrounded by 6 mm tall keyway pegs that prevent rotation. Magnets are inexpensive, the joint clicks together one-handed, and the pegs handle all torque so the magnets only resist axial pull. The weakness is axial force — a magnet joint carries roughly 5-8 kg of pull before it separates, which is fine for a horizontal sword but marginal for a polearm being lifted by one end.
The second is the threaded insert joint. A brass heat-set insert in one segment receives a steel bolt or knurled knob from the other. Threaded joints carry essentially unlimited axial load and resist rotation when fully tightened. The downside is assembly time — twenty seconds per joint multiplied by six joints on a polearm is two full minutes of fiddling at the convention door. For weapons that do not need to break down on the show floor, threaded joints are the right answer.
The third is the bayonet-twist joint. Two mating tubes with internal pins that engage helical slots; a quarter-turn locks them together with a positive click. Bayonet joints are the fastest to assemble, carry significant axial load, and look mechanical, which adds to the prop’s character. They are also the hardest to print correctly — the helical slot needs to be modelled with 0.3 mm clearance on every face, and a single layer line in the wrong place will jam the joint permanently.
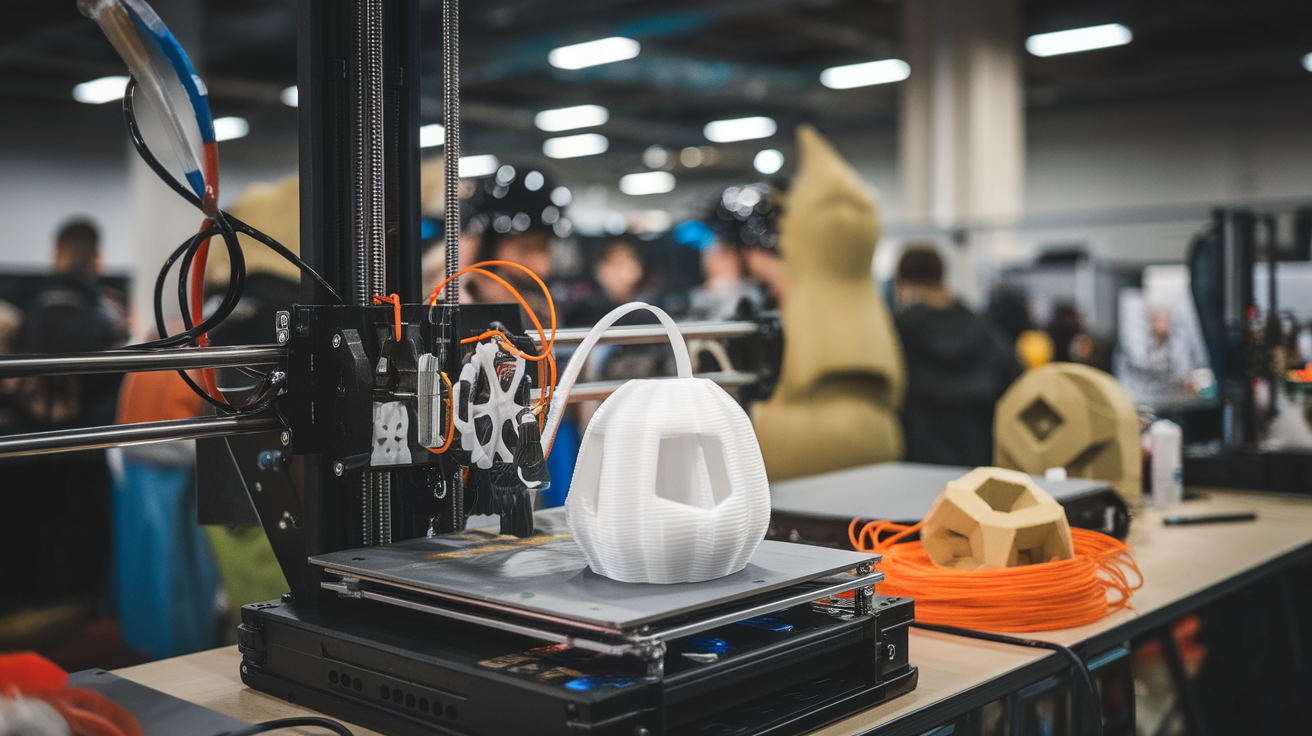
Weight Limits: Materials, Walls, and Infill Strategy
A two-handed cosplay weapon over 1.5 kg is fatiguing at hour two and disabling by hour six. The target weight for a wearable polearm or large axe is 800-1200 grams assembled. For a one-handed sword the target is 400-600 grams. Hitting these targets with PLA at typical wall thicknesses is the difference between a prop that looks great in photos and one that gets carried instead of worn for half the day.
The biggest savings come from wall and infill choices. A two-perimeter PLA shell at 0.4 mm nozzle width with 8 percent gyroid infill has structural integrity for a non-load-bearing prop and saves 35-45 percent weight versus a typical four-perimeter, 20 percent infill default. Gyroid is the right infill pattern because it carries load in all axes equally — a directional pattern like rectilinear can collapse under sideways pressure when the weapon is leaned against a wall.
Material selection helps further. PLA-Lite and foaming PLA variants from Polymaker and ColorFabb expand at the nozzle and cut another 25-35 percent off equivalent-volume weight. The print temperature window is narrow — usually 220-235 C for foaming filaments — and surface finish is slightly textured, which works in favour of weathered metal looks but against polished chrome props.
Centre of Gravity and Balance
A heavy prop is a fatigue problem. A badly balanced light prop is a control problem. A 900 gram polearm with all the weight in the head feels heavier than a 1.4 kg evenly-balanced weapon because the wearer’s wrist works against the moment arm continuously. The fix is mass placement at the design stage, not weight reduction.
For polearms and long swords, a steel weight or a printed pocket holding a strip of lead shot near the grip rebalances the prop dramatically. The target balance point for a one-handed weapon is roughly 10-15 cm forward of the grip; for a two-handed weapon it is 25-35 cm forward of the rear hand. Achieving this with print alone usually requires hollowing the head and adding a counterweight pocket near the pommel.
This is also where carbon fibre tubing earns its place in the build. A 12 mm CF tube running the length of a polearm, glued into the printed segments, both stiffens the weapon against flex and lets the wearer add removable end weights to tune balance. Most polearm builds in 2026 use CF spine tubing as the structural backbone, with printed shells acting as cosmetic skin.
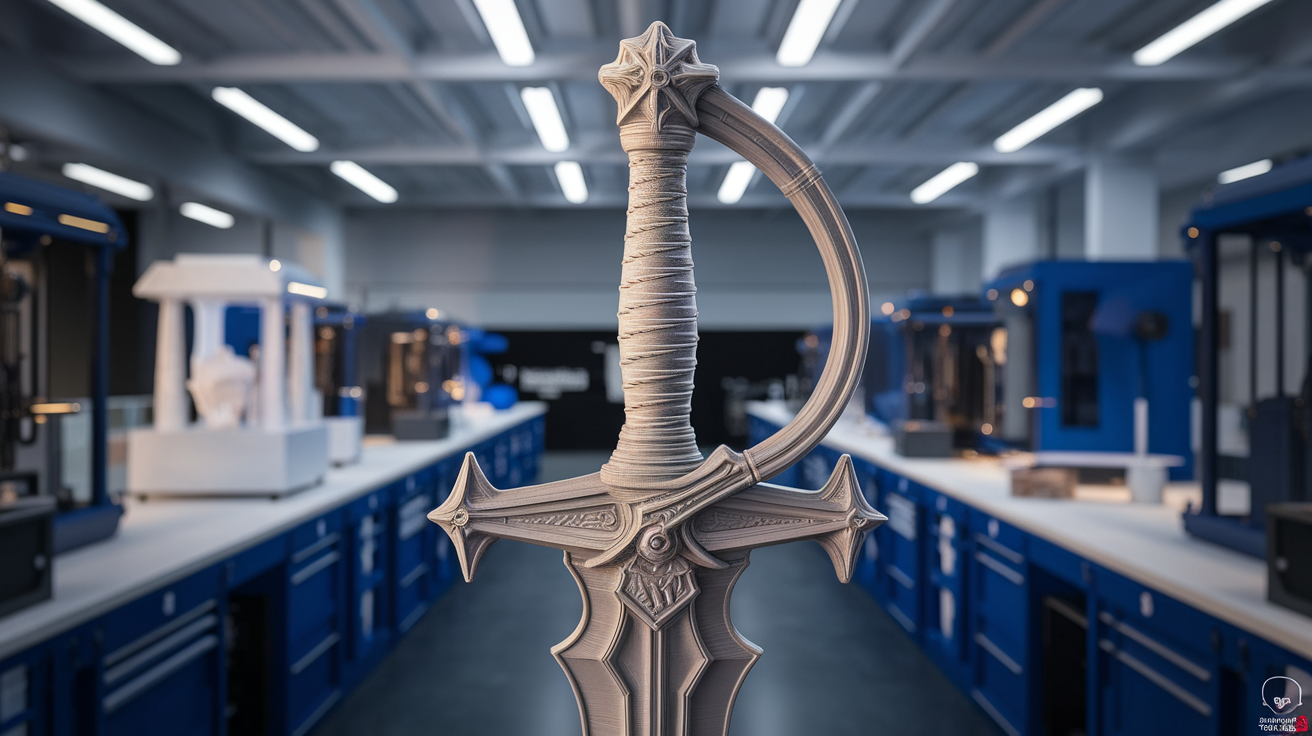
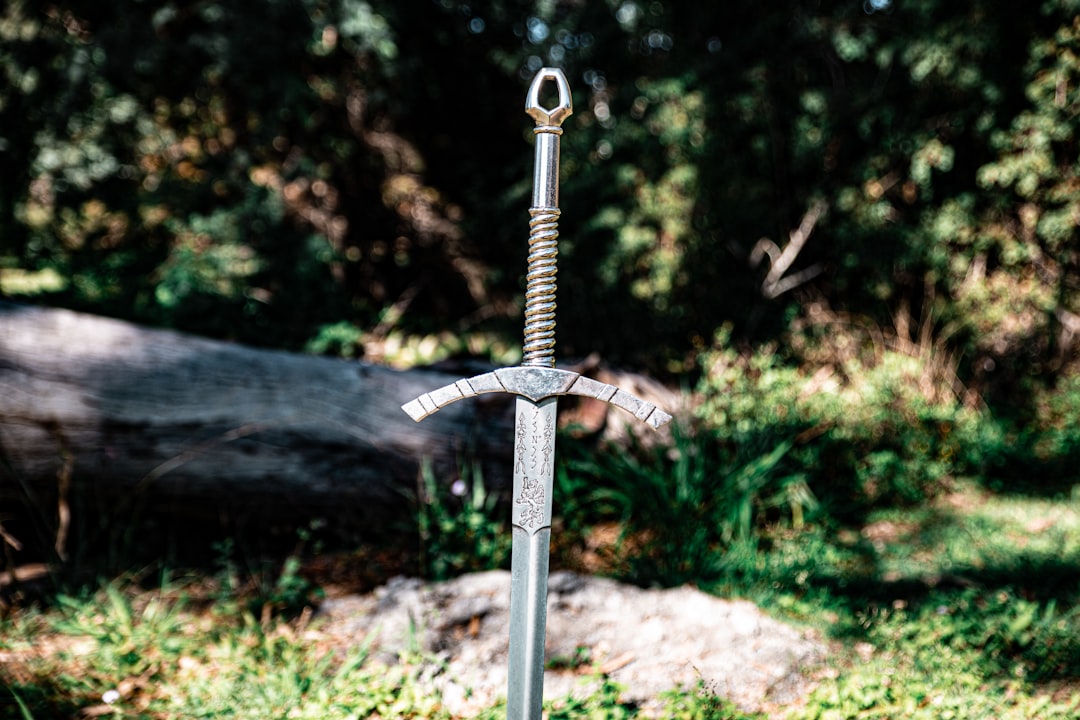
Edge and Tip Treatment
Convention security wants a finger-safe edge. The way to deliver one without compromising the prop’s silhouette is to design the cutting edge with a 3 mm radius from the start in CAD. A correctly-radiused PLA edge looks sharp from photo distance because the human eye reads the highlight line, not the actual edge profile, and is genuinely safe to hand to a security guard for inspection.
Tips are handled the same way. A spear point should be modelled with a small hemispherical cap rather than a true point. If the silhouette demands a needle-fine tip, a removable soft-tip cover made from EVA foam or 3D-printed TPU at 95A hardness is the standard solution. The TPU cap slips over the printed tip and is held by friction; it adds visual weight that most photographers crop out of frame and removes a major liability.
Travel and Packing
A weapon that breaks into 50 cm segments fits in a checked airline bag with room for armour pieces. Plan the segmentation around airline checked-bag dimensions (158 cm linear total: length plus width plus height) rather than around the print bed alone. A single-segment print that fits the bed but does not fit the bag is a build error.
Inside the bag, padding matters more than people assume. A printed weapon that survives the print and assembly process can crack at a joint when a baggage handler drops the case from waist height. Each segment should be wrapped individually in foam and the joints should be unmated for transit — leaving a magnet joint coupled in the bag turns it into a stress concentrator. Threaded joints should be unscrewed and the inserts taped over to keep brass shavings out of the prop body.
Build Order: What to Print First
Plan three iterations. First iteration: print a 30 cm test segment with the chosen joint design and verify it survives 50 connect-disconnect cycles without play. Second iteration: print the head and grip ends to confirm overall balance and silhouette. Third iteration: print the full length in cosmetic finish. Skipping the joint test is the most common cause of a finished weapon that fails on day one of the convention because the magnet pockets cracked from repeated assembly stress.
Finishing for Photos vs Finishing for Wear
A weapon finished for showpiece photography and a weapon finished for a wearable convention day are not the same build, and trying to satisfy both targets in one finishing pass usually fails at both. Showpiece finishing prioritises a glassy, uniform surface — primer, sand, primer, sand, paint, clear coat — that catches studio lighting cleanly. Wear finishing prioritises chip resistance and matte light reflection, so the prop reads as solid material under the harsh and uneven LED arrays of convention halls rather than as a paint-coated plastic shell.
For wearable weapons in 2026, the right finishing recipe is automotive primer (one to two thin coats), 320-grit sand only at obvious layer-line concentrations, base colour in a satin or matte finish, weathering in oils or acrylics, and a matte clear coat as the final seal. The matte clear coat is the most important step — it uniformly diffuses light across the surface and hides the small inconsistencies in colour and texture that fluorescent and LED convention lighting otherwise highlights. A glossy clear coat over the same paint reads as plastic under bad lighting, even when the underlying paint job is excellent.
Weathering is what separates an obviously-printed prop from one that reads as forged metal or worn wood from photo distance. Targeted use of dry-brushed silver acrylic on edges that would historically wear (sword blade backbone, axe head striking face, hammer leading edge) and dark oil washes in recessed details (engravings, rivets, joint lines) adds the visual depth that flat paint lacks. The technique is forgiving — most weathering mistakes can be wiped off with the appropriate solvent within the first hour after application — but it requires patience to layer correctly. Plan a half-day of weathering work for any large weapon and budget reference photos of real weapons in similar materials to guide the wear pattern placement.