Best 300mm 3D Printer Options in 2026: Large Build Volume Without the Industrial Price
Why 300mm is the new sweet-spot build volume
A 300mm 3d printer sits in a specific slice of the market that did not exist five years ago. Below 220mm you have the hobby-standard Ender 3 and its descendants. Above 500mm you have industrial format printers costing thousands. The 300mm segment — machines with build volumes around 300 x 300 x 300 mm or a little larger — is where prosumer users land who need to print helmet halves, cosplay armour panels, enclosure lids, and multi-part jigs in single pieces instead of gluing seams together. In 2026 this segment has matured enough that there are four or five credible options, and choosing between them is a real decision rather than a resignation to compromise.
This guide covers what you actually gain with a 300mm build volume, what the hidden costs are, and the specific machines worth considering in 2026 under $1500. I will be honest about where these printers fall short compared to either smaller hobby printers or the larger industrial tier, because nothing annoys a new large-format owner more than discovering a trade-off after the credit card has cleared.

What you can print at 300mm that you cannot at 220mm
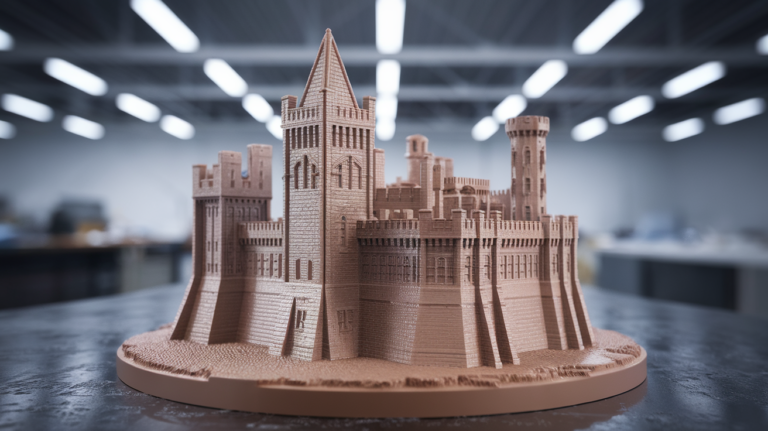
The obvious answer is size, but the useful answer is single-piece prints of specific functional objects that previously required assembly. A full-face helmet for cosplay prints in two halves on a 220mm machine and four pieces on a 180mm machine. At 300mm the helmet is two pieces at most, often one piece if you design the print orientation carefully. Seams disappear or collapse to a single glue line that can be hidden in the design.
Other prints that move from multi-piece to single-piece at the 300mm threshold: full-scale RC car bodies, large enclosures for electronics projects, decorative vases 280mm tall, lamp shades, drone frames in one print, terrarium domes, and planters in proportions that look right. None of these are impossible at 220mm, but at 220mm they all require glue-up.
Print time is the other change. A large part at 220mm that has to be split into three pieces is usually faster than the same part at 300mm as one piece because the smaller machine can run higher speeds in its smaller format. You trade time on the print for time on the assembly. For some workflows the assembly time dominates and 300mm is a clear win; for others the print time dominates and 220mm is faster end-to-end.
The hidden costs of a large build volume
Bigger prints eat more filament. A full-face helmet in one piece uses 400-700g of PLA. That is $20-40 of filament per attempt, and attempts fail. A failed 30-hour print on a 300mm machine is a real financial and time loss in a way a failed four-hour print on an Ender 3 is not. This economic reality drives two behavioural shifts in 300mm owners: they calibrate more obsessively, and they print fewer experimental designs.
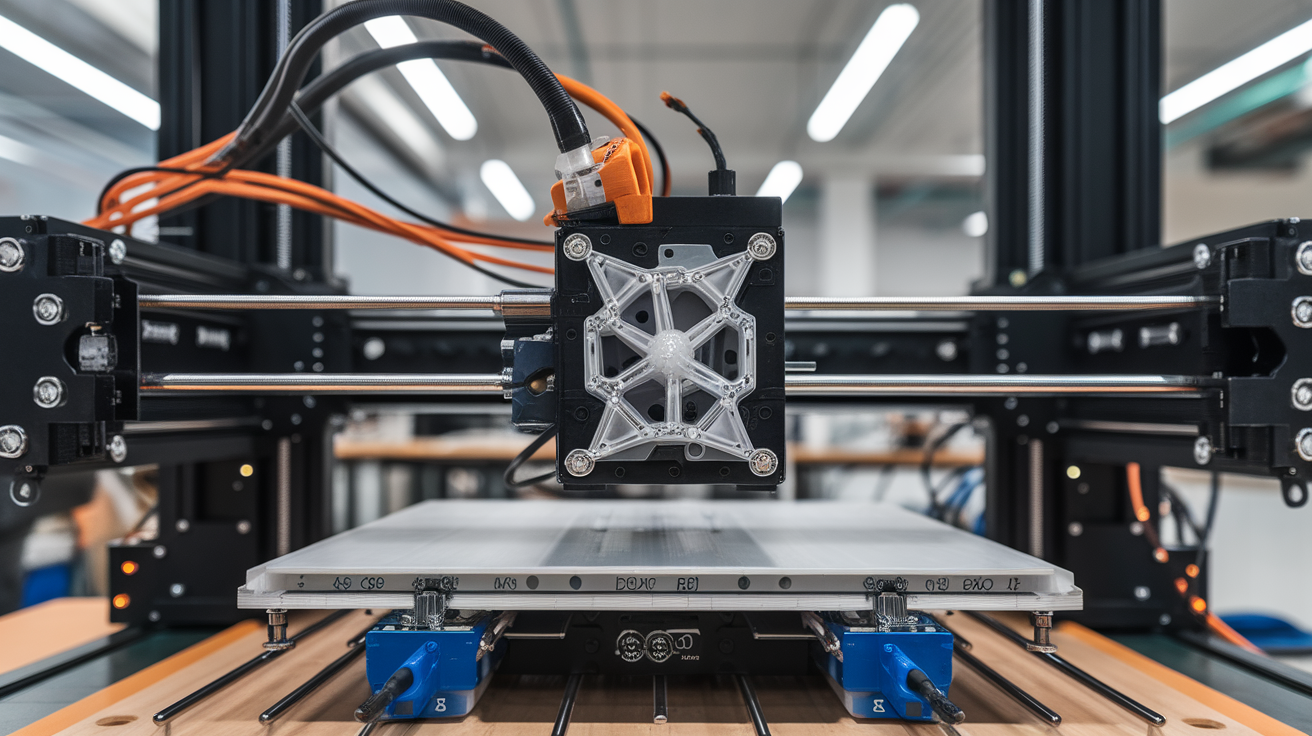
Bigger prints also expose first-layer problems more dramatically. A 300mm bed that is 0.05mm out of level across the diagonal is invisible on small parts and fatal on large ones. Every 300mm machine needs automatic bed leveling and a glass or PEI build surface that stays flat. Manual bed leveling on a 300mm printer is an exercise in frustration; do not buy one that requires it.
Thermal mass is the other cost. A 300mm heated bed takes 8-15 minutes to reach 100°C for ABS work on most 2026 machines, compared to 3-5 minutes for a 220mm bed. Enclosed 300mm machines take longer still. This does not affect the finished print but it does slow your workflow noticeably if you print multiple times per day.
Open-frame 300mm options under $500
The entry point for 300mm is the Creality CR-10 Smart Pro and its many clones, which list around $350-500 in 2026. These are bedslinger Cartesian printers with a 300 x 300 x 400 build volume, automatic bed leveling, and solid community support. Print quality is fine for the price. Speed is limited — 80-120 mm/s cruise is the realistic ceiling — and there is no enclosure, so ABS is off the menu unless you build your own enclosure later.
The Anycubic Kobra 2 Max ($499) is the current direct competitor with a 420 x 420 x 500 build volume at about the same price. Bigger than most users need, so if your target is around 300mm specifically, the CR-10 is the tighter fit.
Sovol SV07 Plus ($399) rounds out the open-frame tier with 300 x 300 x 350 build volume and Klipper firmware out of the box, which means higher real-world speeds than the Creality option if you are willing to learn Klipper’s ecosystem. Recommended for users who want to tinker.
Enclosed 300mm options in the $800-1500 range
If you want to print ABS, ASA, PA-CF, or any engineering filament at 300mm scale, you need an enclosed machine. The options tighten.
The Elegoo Orange Storm Giga ($899) is a 300 x 300 x 400 enclosed bedslinger released in late 2025. Klipper firmware, good temperature control, reasonable AI failure detection, solid materials support. Community reports are positive so far; long-term reliability is still being established.
The QIDI X-Max 3 ($999) is a 325 x 325 x 315 enclosed CoreXY machine. Chamber heating up to 65°C, 350°C hot end, reliable with PA-CF and PEI. This is the strongest choice for engineering materials at 300mm scale and is the machine I would recommend to most people who can afford it.
The Bambu Lab P1S is at 256 x 256 x 256 — not quite 300mm, but often considered in the same buying decision. If 256mm is enough and Bambu’s closed ecosystem does not bother you, it is faster and better-built than most 300mm alternatives. The trade-off is 44mm less per axis.
Going above $1500 brings the Bambu Lab X1 Carbon ($1449 in 2026 with the full combo) at 256mm still, and the Prusa XL at 360 x 360 x 360 for significantly more money with multi-material and toolchanger capability. The XL is a different tier of printer for users who need the professional capabilities, not a direct 300mm competitor.
What to ignore when shopping a 300mm printer
Marketing speed numbers are particularly misleading at this size. A printer claiming “500 mm/s maximum speed” at 300mm build volume is talking about a demo-condition number the slicer never actually allows on a real part. The relevant number is sustained cruise on a real print — typically 80-180 mm/s depending on the printer, regardless of what the spec sheet says. Ignore maximum speed and look for community test prints instead.
Ignore “1mm layer height” claims unless the printer has a 1mm nozzle bundled. Standard 0.4mm nozzles cannot cleanly extrude 1mm layers. Claims like this are laboratory-only.
Multi-material capabilities at the 300mm tier are rare and usually involve external filament switching systems with their own learning curves. If you want multi-material at 300mm, budget for it explicitly; do not expect it bundled.
Bed levelling, first layers, and the single workflow hack that makes 300mm work
Every 300mm user eventually learns the same trick: print a first-layer calibration square that covers the full bed, not just the centre. A 10 x 10 cm centre square tells you nothing about whether the corners of the bed are level. Print a 280 x 280 single-layer square every time you change filament or move the printer. If any corner is gappy or translucent, adjust before starting the real print.
This is not optional at 300mm scale. A first-layer gap on a small print wastes an hour. A first-layer gap on a full-bed print wastes thirty hours. The calibration habit is the single most important workflow adaptation between small and large format printing, and the one new 300mm owners always skip on the first few prints before paying the time cost and adopting it permanently.
When to move up, when to move down
After six months with a 300mm printer, you will have a clear sense of whether it is the right size. If most of your real prints are 100-200mm and you only use the full bed occasionally, a second smaller printer (a $200 Ender 3 V3 KE is fine) is a better addition than upgrading the 300mm machine further. If you frequently use the full bed and wish for more room, look at the Prusa XL or a genuine industrial format in the 500mm+ range. The 300mm tier is a decision point, not a destination — it is where users figure out whether they really needed that build volume or whether they needed a better small printer all along. Both answers are valid, but you only learn which one is yours after six months of real prints.
Filament logistics at 300mm scale
One last workflow detail most buyers do not think about until the first large print: filament feed reliability becomes a recurring headache at 300mm build volumes. A 30-hour print eats through 1-1.5 kg of filament, and if your spool holder stutters or the filament path catches on a guide tube once in that span, you get a layer shift or a missed extrusion that ruins the job. Users of small-format printers never notice these feed issues because the prints finish before they become a problem.
The fixes are all cheap and all important. Use a proper bearing-mounted spool holder rather than the integrated rotating peg most printers ship with. Keep the filament path as straight and short as possible between the spool and the extruder. Add a filament runout sensor if your printer does not have one — 300mm build volume often burns through a full kilogram on a single print, and the probability of running out mid-job is genuinely high. Dry your filament before long prints regardless of material; even PLA picks up enough moisture in a week to cause minor surface defects that become visible on larger parts. These adaptations take a weekend to dial in and then fade into background habit, but skipping them is what separates first-month 300mm owners (constant failures) from six-month 300mm owners (reliable overnight runs).