How Does OctoPrint Work? The Complete Architecture Explainer
The short answer, and why it matters
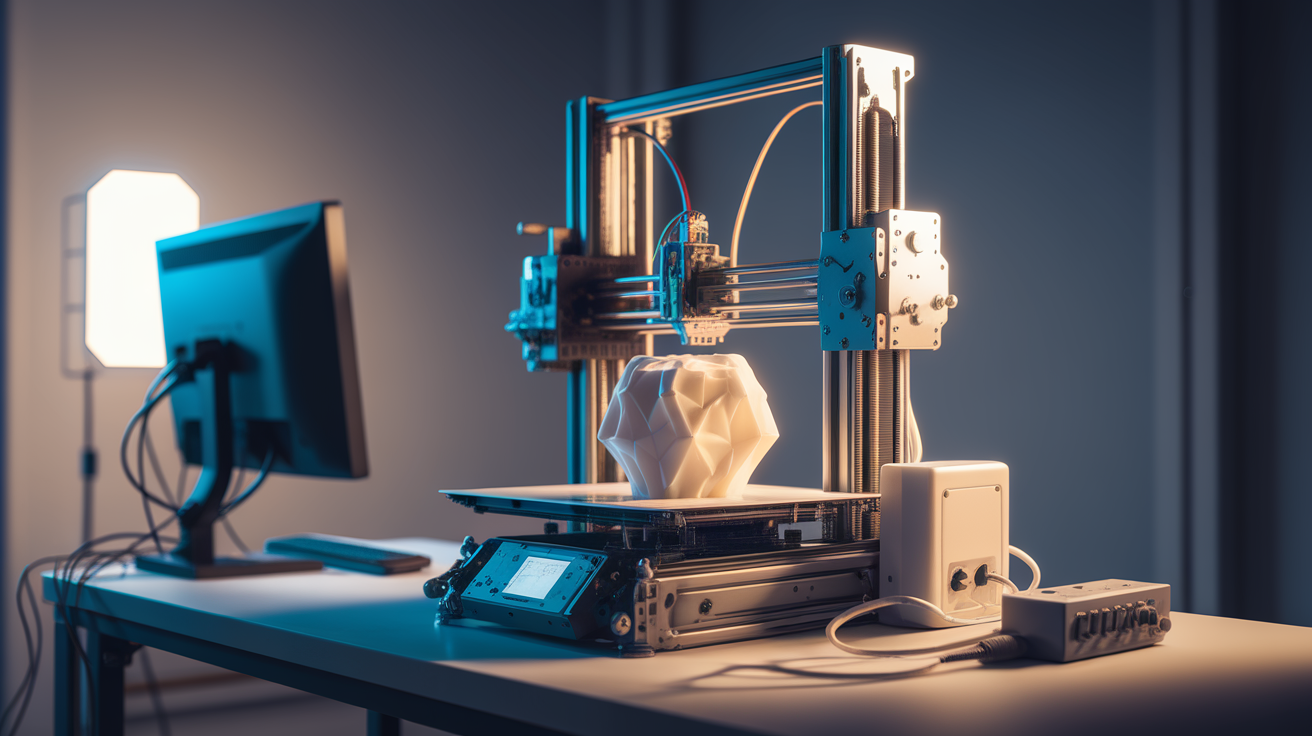
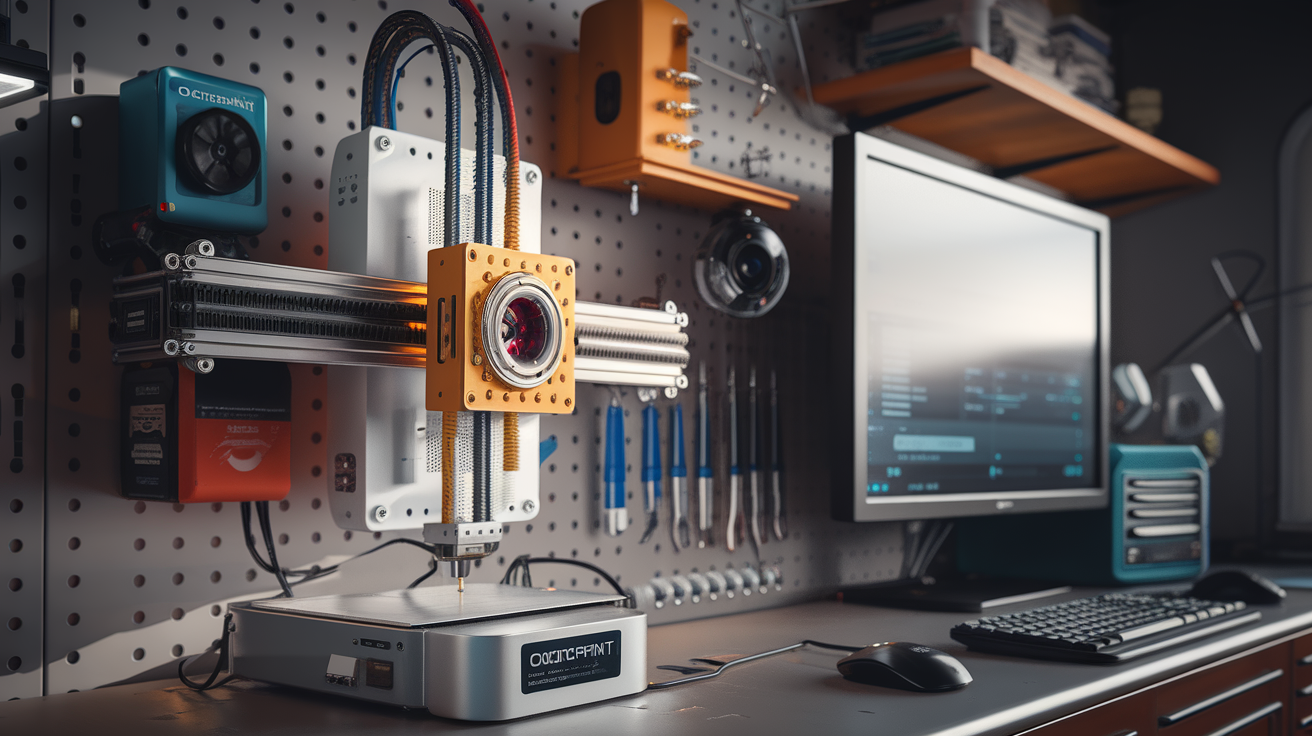
OctoPrint is a web application that runs on a small computer — almost always a Raspberry Pi — which is physically connected to your 3D printer over USB. It takes the G-code file you would normally drop on an SD card, streams those commands to the printer one line at a time, and wraps the entire operation in a browser interface you can reach from your phone or laptop. That is the whole idea in one sentence. Everything people love or hate about OctoPrint follows from this architecture.
Before I installed my first OctoPrint instance in 2019 I treated it as vague magic — the thing people used when they wanted webcams on their prints. Once I understood that it is fundamentally just a G-code streamer with a rich UI bolted on top, the whole plugin ecosystem, the gotchas, and the hardware requirements made immediate sense. This article walks through that architecture piece by piece.
The physical chain: printer, Pi, network, you
A typical OctoPrint setup has four physical links.
The printer and its mainboard. Whether you run an Ender 3, a Prusa MK4, or a Voron, the board accepts G-code over a serial link. On most boards that serial link is exposed as a USB port on the side of the printer. Firmware (Marlin, Klipper, or RepRapFirmware) reads G-code line by line and commands the motors, heaters, and fans accordingly.
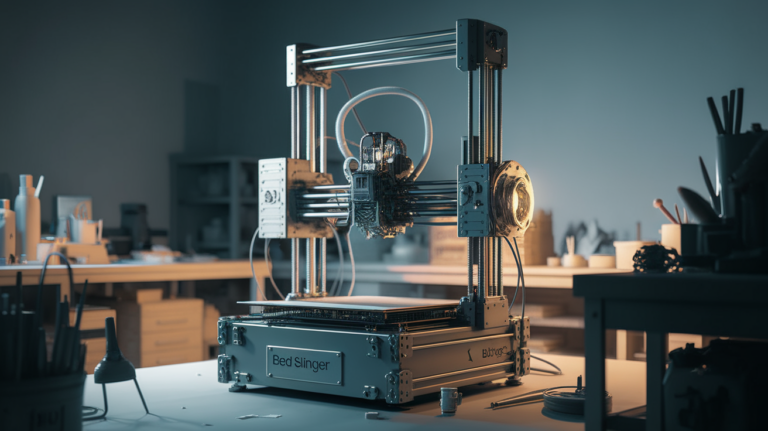
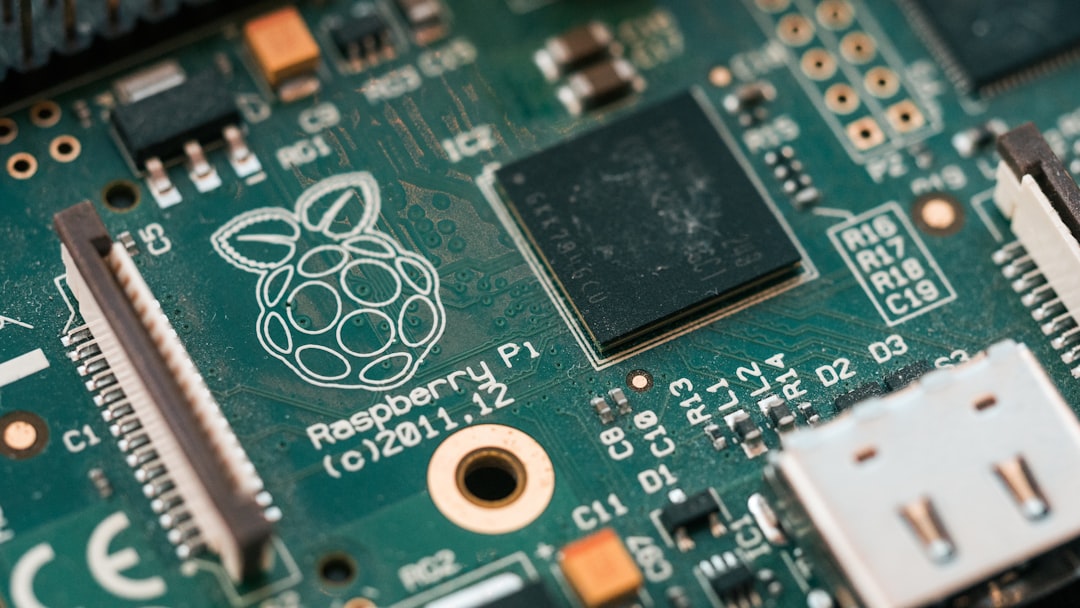
The Raspberry Pi. A Pi 3B or 4 (or Zero 2 W for lighter workloads) runs the OctoPrint server software on top of a Linux OS. The Pi is connected to the printer’s USB port with a short cable, and to your home network over Wi-Fi or Ethernet. It is a tiny computer whose job is to pretend to be the SD card while also being a web server.
The network. Your Pi sits on the same Wi-Fi as your laptop. OctoPrint listens on HTTP port 80 (or 5000 in development). Your router assigns it an IP address, and you access the dashboard by typing that IP into a browser — or using the .local hostname OctoPi sets up for you.
You. You open a browser and interact with OctoPrint. Under the hood you are sending AJAX requests and receiving WebSocket updates; the UI shows temperature graphs, a G-code preview, webcam feed, and a print progress bar, all live.
The software stack from the inside
OctoPrint itself is a Python application built on the Tornado web framework. When you hit the dashboard URL, the server returns a single-page JavaScript app, then keeps a WebSocket open to stream real-time events: temperature readings every second, job progress every few percent, webcam frames if you have MJPG-Streamer or camera-streamer running alongside.
The core event loop has two main jobs. The first is maintaining the serial connection to your printer: opening it at the right baud rate, waiting for the “ready” message, sending “M115” to read firmware identity, and then watching for “ok” responses to acknowledge every command. The second is managing the plugin system: a dozen hooks let third-party Python code react to events like “print started”, “temperature changed”, or “slicing complete”.
That plugin architecture is what makes OctoPrint feel like a completely different product for different users. Someone running OctoLapse sees a timelapse production suite. Someone running Spaghetti Detective sees a failure-detection robot. Someone running just the core sees a G-code streamer with a webcam. All three are the same server.
What actually happens when you hit “Print”
Tracing a single print from click to bed clear helps anchor everything above in a concrete workflow.
You upload a .gcode file through the web UI. OctoPrint stores it in the uploads folder on the Pi and parses the first 100 lines to pull metadata: estimated print time, filament usage, slicer name. That metadata is what populates the file list in the dashboard.
You click “Print”. OctoPrint opens the G-code file, reads the first line, and writes it to the USB serial port. Your printer’s mainboard reads that line, executes it (homing, say), and replies “ok”. OctoPrint receives the “ok” and sends the next line. This request-reply dance repeats thousands of times per print — the whole print is just OctoPrint streaming G-code at the speed the firmware can consume it.
At the same time, OctoPrint is polling the printer for temperatures every few seconds, updating the dashboard graph, and running any active plugins that subscribe to stream events. If your webcam is set up, MJPG-Streamer is separately capturing frames and pushing them to the browser.
When the G-code file ends, the printer reports completion. OctoPrint fires the “print done” event, which cascades through every subscribed plugin — uploading a timelapse, pinging a Telegram channel, turning off a smart plug.
Why streaming G-code is harder than SD card printing
If OctoPrint is “just a G-code streamer”, why do some users report stuttering, layer inconsistencies, or full print failures that never happened when printing from SD? The answer is latency.
Printing from SD, the mainboard reads G-code from local storage at whatever speed it needs. There is no request-reply, no other process in the loop. Streaming from OctoPrint, every line of G-code is a round trip: the mainboard asks, the Pi responds. If the Pi is too busy running webcam capture, a network-heavy plugin, or OS updates, the “ok” responses come late and the print buffer can underrun. Underrun means the printer ran out of commands mid-move, paused for a millisecond, and resumed — leaving a tiny blob on your print.
Modern Pi 4s with good SD cards usually have enough headroom that this does not happen. Older Pi Zero boards and boards running aggressive plugin stacks can stutter on fast prints. The rule of thumb I give newcomers: if you are printing faster than 100 mm/s with lots of short moves, watch your “Job Time” line on the dashboard for irregular progress, and consider Klipper instead of Marlin for heavier workloads.
What OctoPrint adds that SD printing cannot
Ignoring the remote access that most people initially install it for, OctoPrint’s real value is the hooks into the print lifecycle.
- Webcam monitoring. MJPG-Streamer serves a live feed. Combined with OctoLapse, you get broadcast-quality timelapses that only capture after each layer change, not while the toolhead is moving.
- Spaghetti detection. The AI-based plugin (or Obico, its current cloud-hosted form) runs ML inference on webcam frames and pauses the print the moment a failure pattern appears.
- Plugin ecosystem. PrintTimeGenius gives better time estimates than slicers. OctoPi-Monitor shows CPU load. Bed Level Visualizer graphs your mesh. Slack and Telegram notifiers ping you on events. None of this works from an SD card.
- Gcode scripting. Before/after print scripts let you run arbitrary Python or shell commands — turning off lights, emailing reports, anything.
When OctoPrint is the right tool, and when it is not
OctoPrint is the right answer when you want monitoring, remote control, or heavy plugin automation on a printer whose mainboard cannot provide them natively. Older Ender 3s, most Creality printers, and anything running stock Marlin with no onboard Wi-Fi all benefit. If you want to walk away from a 14 hour benchy and get a Slack ping when it finishes, this is your stack.
It is the wrong answer for two groups. First, owners of printers with rich native interfaces: Bambu Lab machines run their own cloud, Prusa Connect ships with MK4s, Mainsail/Fluidd come bundled with Klipper setups. Adding OctoPrint on top of those is redundant. Second, for high-speed input-shaper workflows, Klipper on its own Pi gives you pressure advance, resonance compensation, and multi-core toolpath generation that OctoPrint-over-Marlin cannot touch. Klipper’s UIs (Mainsail, Fluidd) cover most of OctoPrint’s feature surface with a modern, real-time-focused codebase.
Installing it the first time
The canonical install is an OctoPi image, which is a pre-built Raspberry Pi OS with OctoPrint, MJPG-Streamer, and Wi-Fi setup helpers baked in. You flash it to an SD card with Raspberry Pi Imager, pre-configure Wi-Fi credentials in the imager’s advanced settings, boot the Pi, and reach the OctoPrint setup wizard at http://octopi.local in a browser. The wizard walks you through admin password, printer profile (bed size, build volume, heated bed yes/no), and connection test. Ten minutes from SD card to first print.
Hardware notes: buy a good power supply — 3A minimum for Pi 4, 2.5A for Pi 3. Use a real SD card rated A1 or A2. A USB ferrite bead between Pi and printer eliminates a class of spurious disconnects caused by VFDs and stepper noise. Do not skip these. A flaky SD card in an OctoPrint setup corrupts itself mid-print, and you end up with a reboot loop and a wasted spool.
Once it is up, the ecosystem is yours: browse the plugin repository, enable the ones you want, and OctoPrint becomes whatever you need it to be. That is the real answer to how OctoPrint works — it is a platform for your printer that happens to ship with a streamer.
Security, access, and the things people forget
Three practical items tend to catch new OctoPrint users off guard, and all three deserve a mention in any honest “how it works” explainer.
Authentication is optional and you should not leave it optional. The first-run wizard offers to skip login. Do not. OctoPrint exposes full printer control over HTTP — anyone on your network who types your Pi’s IP can print, move axes, and send G-code. On a shared home network this is usually benign. On a coworking space, a flat office LAN, or an IoT-exposed network it is a disaster waiting to happen. Enable ACL, set an admin password, and create a second user account for guests.
Remote access is never just “port forward 80”. Exposing raw OctoPrint to the internet is how people end up with a printer someone else is controlling. The safe routes are a VPN back to your LAN (Tailscale or WireGuard), a reverse proxy with HTTPS and authentication (Nginx plus Authelia), or the bundled OctoEverywhere plugin that handles tunneling for you. Pick one, never just open a port.
Plugin updates can break prints mid-job. When you click “update plugin” from the dashboard, OctoPrint reloads the plugin on completion. If a print is active and the plugin hooks into the print path, you can get a paused or failed job. Update only when the printer is idle. This sounds obvious; the reason I mention it is that I have lost a 20 hour print to exactly this mistake, and so have dozens of people in the r/octoprint archives.
OctoPrint is not fragile — it is a ten year old mature project that runs stably for months between reboots. But it is a real networked application, with real security considerations, running on hardware that moves heaters and motors in your house. Treat it accordingly.