3D Printer Classroom Safety: Enclosure, Ventilation, and the Rules That Keep School Programs Alive
Why 3D printer classroom safety is a different problem from home printer safety
The 3D printer classroom safety enclosure ventilation requirements conversation gets handled badly almost everywhere. Schools either pretend a desktop FDM printer is a sealed industrial appliance and put it in any open room, or they overcompensate with hospital-grade fume hoods and budgets nobody can defend. The honest answer sits in the middle, and it depends on three things — the materials being printed, how many printers run at once, and how often students are within arm’s reach of a hot nozzle. Once you map those three variables, the right enclosure and ventilation setup becomes obvious and not particularly expensive.
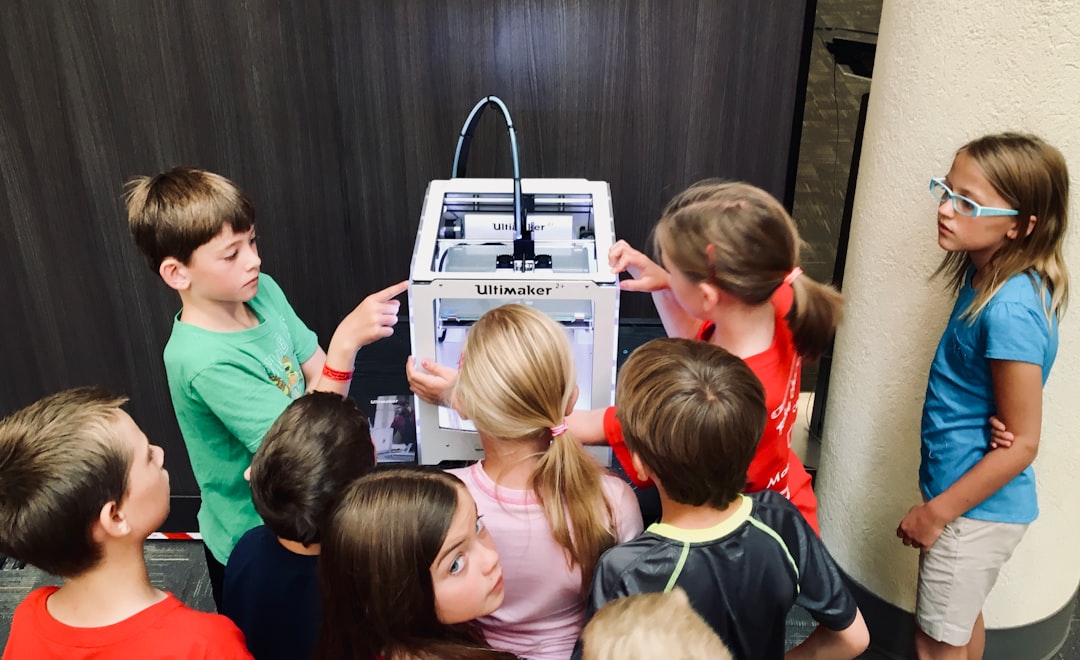
What makes the school context different from a hobbyist garage is not the technology — it is the people. A teacher cannot continuously watch every printer the way a single hobbyist watches their own machine. Students under sixteen will reach for things they should not reach for. Air circulation in classrooms is set by HVAC not by maker preference. And the school district will eventually ask, in writing, what your safety protocol is. The setup needs to survive that question without scrambling.
The materials decision is the first lever
If your classroom only ever prints PLA, the ventilation requirements are minimal and the enclosure question is mostly about burn protection. PLA emits ultrafine particles and small amounts of lactide, neither of which exceeds OSHA workplace limits at the volumes a single classroom printer produces. A general HVAC return that turns over the room air a couple of times per hour handles it. Enclosure on a PLA-only printer is a nice-to-have for thermal stability and noise reduction, not a safety requirement.
If the curriculum touches PETG, the calculus shifts slightly — PETG emits more styrene-related compounds than PLA, but still not at concerning levels for a single hobby-class printer. ABS, ASA, polycarbonate, nylon, and any carbon-fiber composite move the needle hard. ABS in particular emits styrene and acrylonitrile in volumes that absolutely do warrant active ventilation in a classroom setting. The rule that has held up well across school deployments: PLA and PETG can run on a passive setup, anything else needs an enclosed printer with active ventilation to a vent.
Enclosure as a physical safety barrier
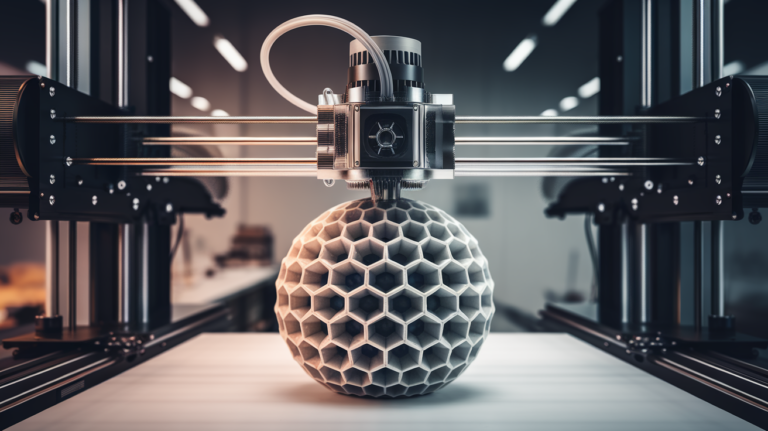
Before any discussion of fumes, the enclosure is doing thermal and mechanical safety work. The hotend on a desktop FDM printer reaches 250-300°C. The heated bed reaches 60-110°C depending on the material. Both temperatures will cause a serious burn to a curious finger. An enclosure with a magnetic-latched door provides the physical interlock that prevents accidental contact while a print is running, and it keeps younger students from instinctively grabbing for moving parts.
For elementary and middle school deployments, the enclosure should be a hard requirement regardless of what filament you print. The enclosure does not need to be expensive — a Creality Sonic Pad-class enclosure or a sealed Bambu Lab P1S costs less than the curriculum hours saved by not having a burn incident. For high school and college contexts where students are older and trained on the equipment, the enclosure is still strongly recommended but the rationale shifts toward print quality and emission containment rather than burn prevention.
Active ventilation — what it actually means
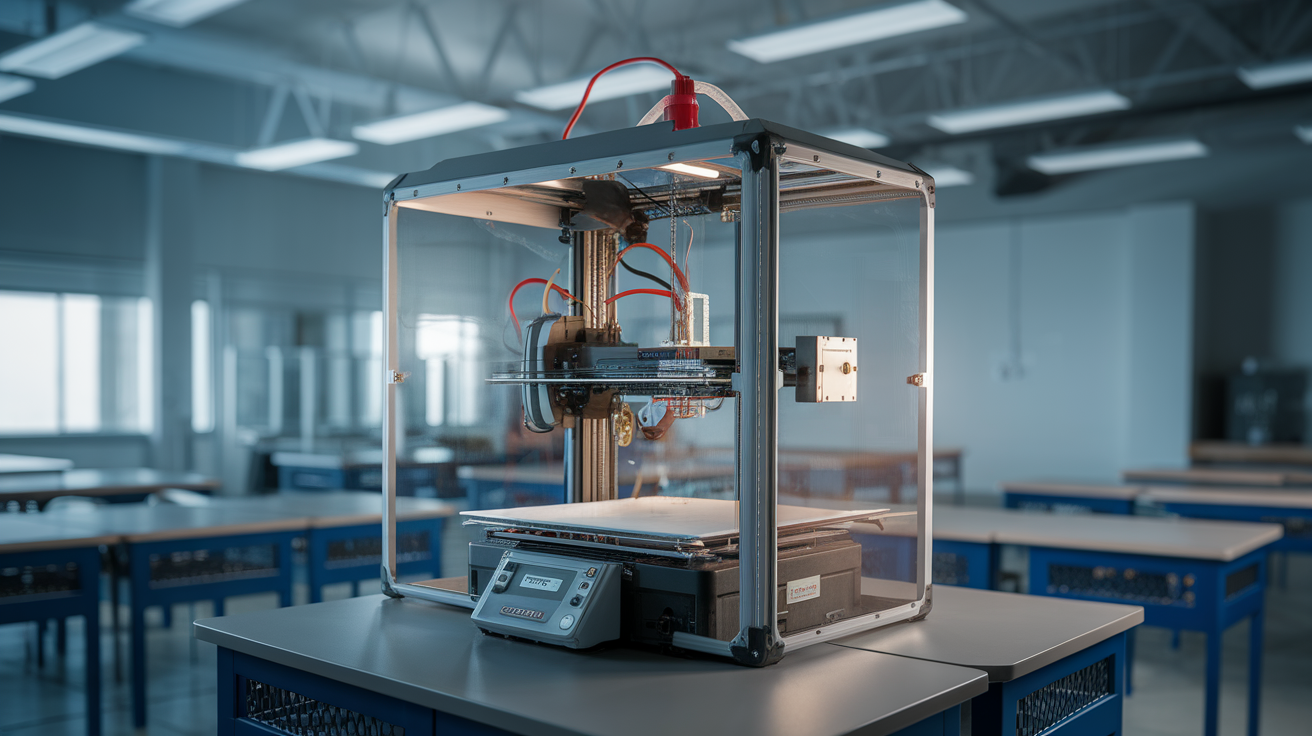
Active ventilation in a classroom 3D printer setup means three things: an enclosure that seals well enough to be pressurized slightly negative, a fan moving air out of the enclosure, and a duct or filter that handles the exhaust. The simplest version is an enclosure with a 4-inch port, a low-noise inline fan rated around 100 CFM, and a flexible duct running to an open window or a wall vent. The more sophisticated version uses a HEPA + activated carbon filter to scrub the air and discharge into the room — useful when you cannot duct outdoors but adds filter replacement cost.
The key number is air changes per hour inside the enclosure. A target of 20-30 ACH inside the enclosure is enough to keep VOC and ultrafine particle concentrations near outdoor ambient levels even during ABS printing. A 100 CFM fan on a 3-cubic-foot enclosure achieves roughly 33 air changes per minute — well above the target — and consumes maybe 15 watts.
Carbon filtration is not optional for ABS in a classroom
If you cannot duct outdoors and you are printing ABS or ASA in a classroom, a HEPA + activated carbon filter combination is required, not optional. HEPA captures the ultrafine particle emissions; activated carbon adsorbs the styrene and acrylonitrile gases. Either one alone is insufficient — particles slip past pure carbon and gases slip past pure HEPA. Combination filters from BOFA or Purex run $150-400 for the cartridge plus $80-200 per replacement, and replacements are typically annual at classroom usage levels.
The cheaper hobby-grade carbon filters sold for 3D printer enclosures use far less carbon by mass and saturate within months at ABS volumes. They are fine for a hobbyist who runs ABS occasionally and replaces filters when they notice odor returning. They are not fine for a school deployment where the safety story needs to hold up to administrative review.
Where the printer physically goes in the room
Placement inside the classroom matters as much as the enclosure itself. The printer should be: against an exterior wall if possible (so ducting outdoors is short and straight), away from student desks (a 3-foot exclusion zone minimum), out of high-traffic walking paths, and within sightline of the teacher’s primary workspace. Printers tucked in back corners get forgotten when they fault, which is when minor problems become bigger problems.
If you have multiple printers — a print farm or a dedicated maker space — group them in a single ventilated zone rather than scattering them. One properly ventilated cabinet handling four enclosed printers is dramatically more cost-effective than four separately vented printers, and it concentrates the maintenance to one set of filters and ducts.
Fire safety belongs to the printer, not the enclosure
An enclosure is not a fire suppression system. The most common fire scenario in a school printer is a thermistor failure that lets the hotend run unconstrained until plastic ignites — and the printer’s own firmware thermal runaway protection is the only thing that stops that. Verify thermal runaway protection is enabled in the firmware of every classroom printer. For Klipper printers, the verify_heater configuration block must be present. For Marlin firmware, THERMAL_PROTECTION_HOTEND and THERMAL_PROTECTION_BED must both be defined in Configuration.h.
A working smoke detector in the printer room is a backup, not a primary defense. For schools, a heat-rated smoke detector that does not false-trip on bed-warming events is preferred. An automatic shutoff smart plug — see our companion guide on OctoPrint smart plug power control — adds a hardware-level cutoff path that does not depend on firmware staying responsive.
The administrative side schools always forget
Most school printer deployments fail their first safety review not because of the hardware but because of missing paperwork. The minimum administrative package: a written usage policy that says who can operate the printer and under what supervision, a Material Safety Data Sheet (SDS) on file for every filament in inventory, an incident-report procedure for any burn or smoke event, and a maintenance log showing nozzle replacements, bed cleanings, and firmware updates. None of this requires special tooling — a binder or shared folder is enough — but it has to exist before the safety officer asks.
Filament suppliers publish SDS sheets on their websites. Hatchbox, Polymaker, Overture, and Bambu Lab all have downloadable SDS for every product they sell. Schools should print and file the SDS for any filament they purchase, and re-pull the latest version annually because formulations occasionally shift. For brand selection in a school context, the filament guide we maintain at best PLA filament brands covers the brands that publish the most complete safety documentation.
Recommended setup tiers by deployment size
For a single PLA-only printer in an elementary classroom, the recommendation is a Bambu Lab A1 Mini or Creality K1 Max with the stock enclosure-style design (the K1 Max is fully enclosed; the A1 Mini is open but PLA-only by design), placed against a wall, with general HVAC providing room ventilation. Total hardware cost: $300-700. Annual filament budget: $200-400.
For a middle or high school maker space running PLA and PETG with occasional ABS, the recommendation is a Bambu Lab P1S or Prusa MK4S with the official enclosure, an active-ventilation cabinet from BOFA or a DIY equivalent ducted to an exterior wall vent, and HEPA + carbon filtration as a redundant layer. Hardware: $1500-3000 per station. Add 30% for the cabinet and ventilation infrastructure.
For a dedicated lab or classroom-as-print-farm with three or more printers, the recommendation is a single ventilated cabinet sized to hold all printers with a shared 200 CFM exhaust ducted outdoors, redundant HEPA + carbon at the cabinet exit, and a maintenance schedule that rotates filters annually. The economics scale heavily favorably here — a $4000 cabinet handling six printers costs less than six individually vented setups would.
Common deployment mistakes to avoid
Three mistakes account for most failed school deployments. The first is buying open-frame Ender-class printers and assuming students will not reach into them — students reach into them. Buy enclosed by default. The second is connecting the printer to a wall outlet on the same circuit as classroom AV equipment, then losing prints every time someone unplugs the projector. Use a dedicated outlet on a circuit that is not shared with frequently-toggled devices. The third is skipping the filament storage piece — filament left in open classroom air for months absorbs moisture, jams, and gets blamed on the printer. A simple sealed box with desiccant solves it; our guide on wet filament symptoms explains the failure modes if you want the deeper context.
The sustainable path forward
School 3D printer safety is not hard. It requires thinking about three things in order: physical access (enclosure as burn barrier), emissions (ventilation matched to the materials), and administrative documentation (SDS, policy, incident log). A correctly tiered setup costs roughly the same as a moderate audiovisual upgrade and lasts a decade with sensible filter replacement. Schools that treat 3D printer safety as a checklist exercise produce the kinds of incidents that kill the program; schools that treat it as a routine operational discipline run printer fleets that quietly produce student projects year after year.
The single highest-impact upgrade for any existing classroom printer setup is verifying that thermal runaway protection is enabled in firmware. The second is installing an enclosure if the printer does not have one. The third is documenting what you have done. Those three steps, in that order, get any classroom printer deployment to a defensible safety baseline.